New article
Recently updated
Setting up and sending supply chain assessments

Who is this article for?
Assessment Admins responsible for setting up and sending Assessments / SAQ's / Audits
Assessments Admin permissions are required.
This tutorial explains how to set up and send assessments using the Ideagen Supply Chain platform.
You will learn how to create assessment projects, select templates, configure assessment settings, and distribute assessments to suppliers and contacts.
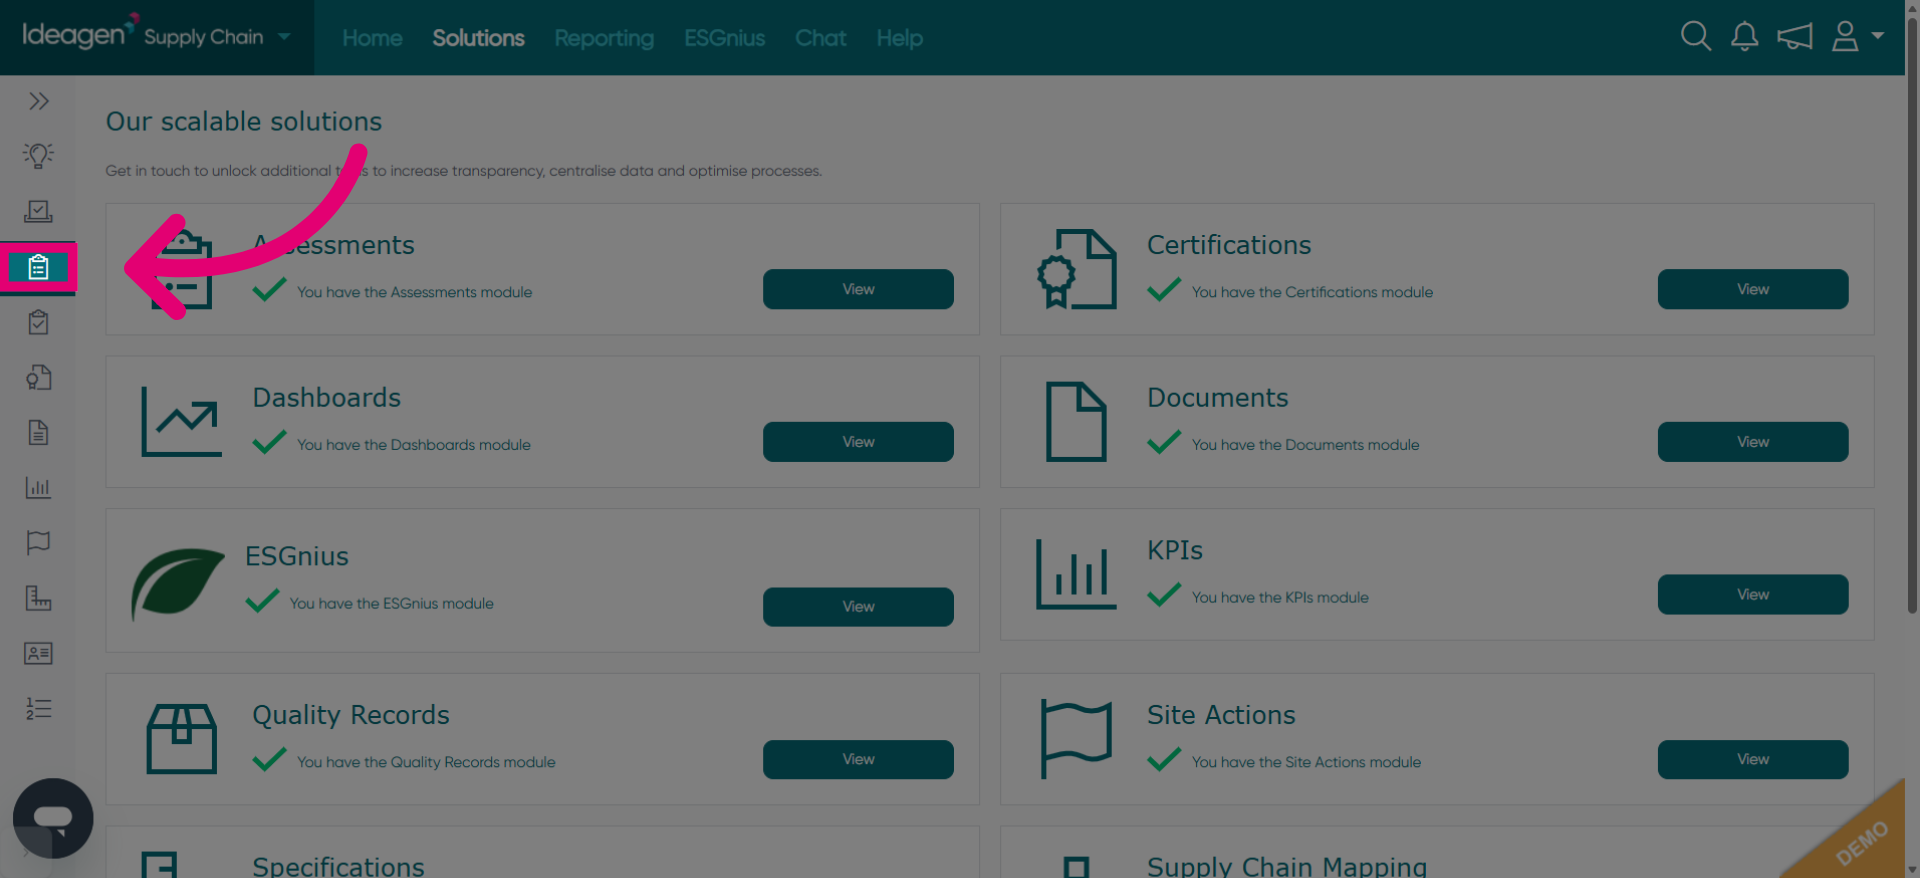
Setting Up and Sending Assessments
Click the next prompt to advance further in the assessment creation process.
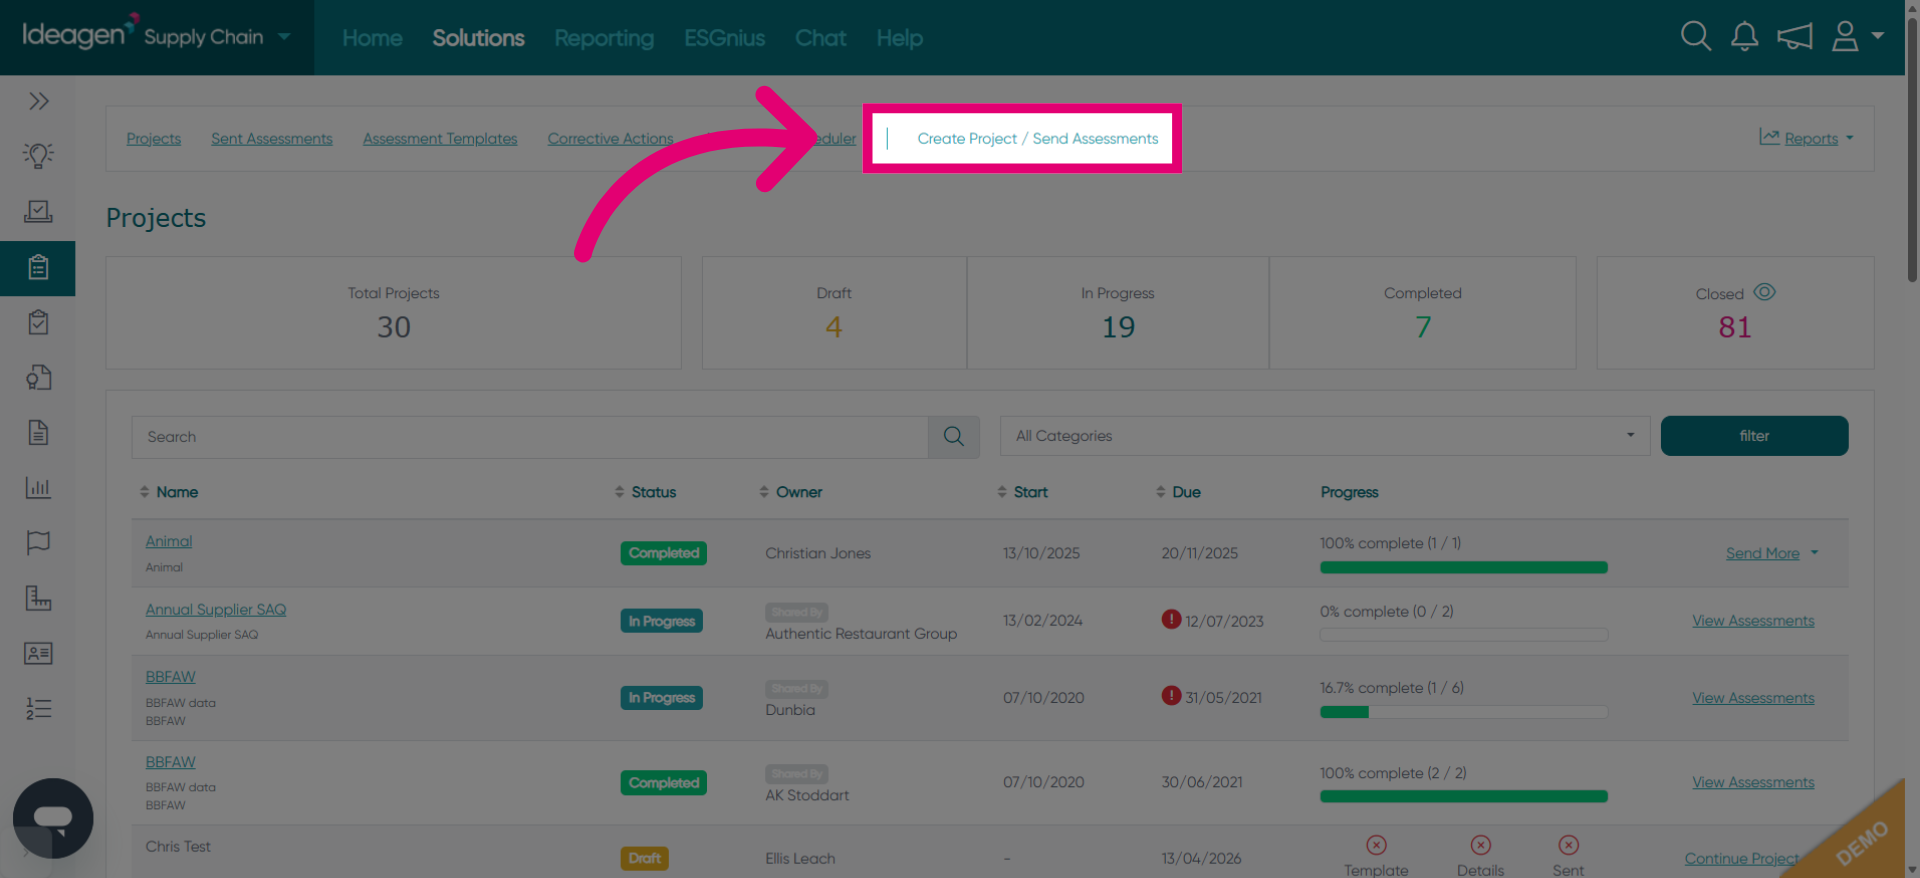
Click Create Project / Send Assessments to initiate a new assessment project.
Switch back to demo-platform.authenticateis.com to continue project setup.
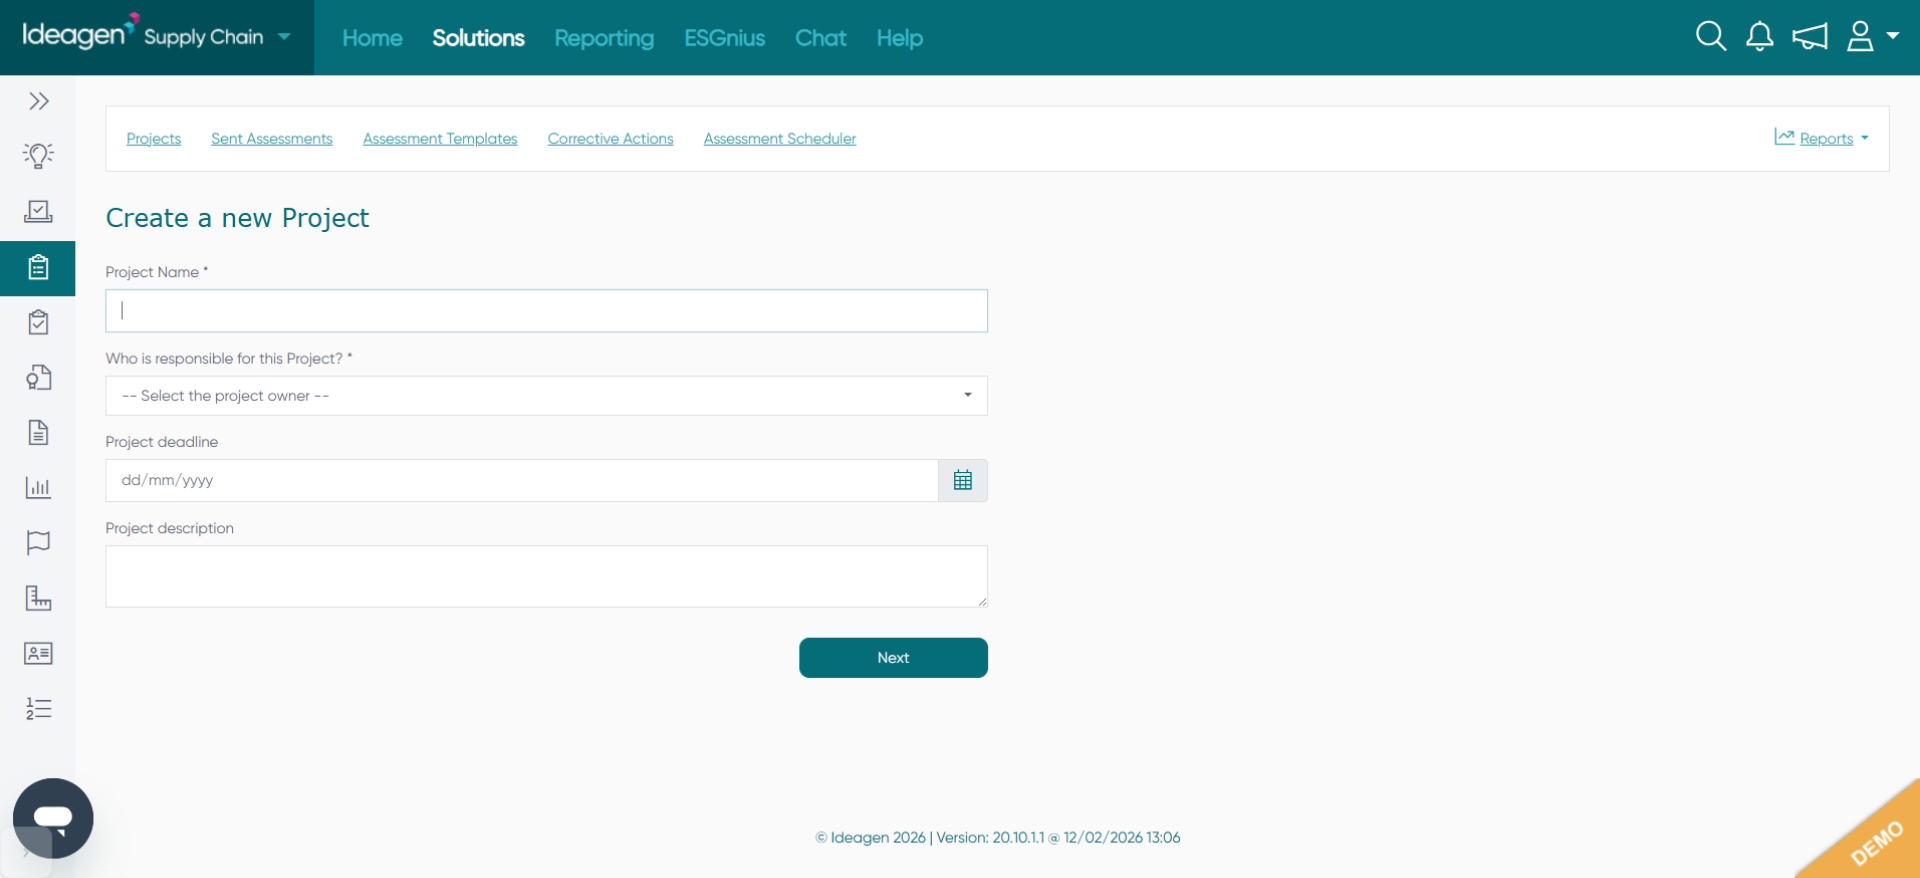
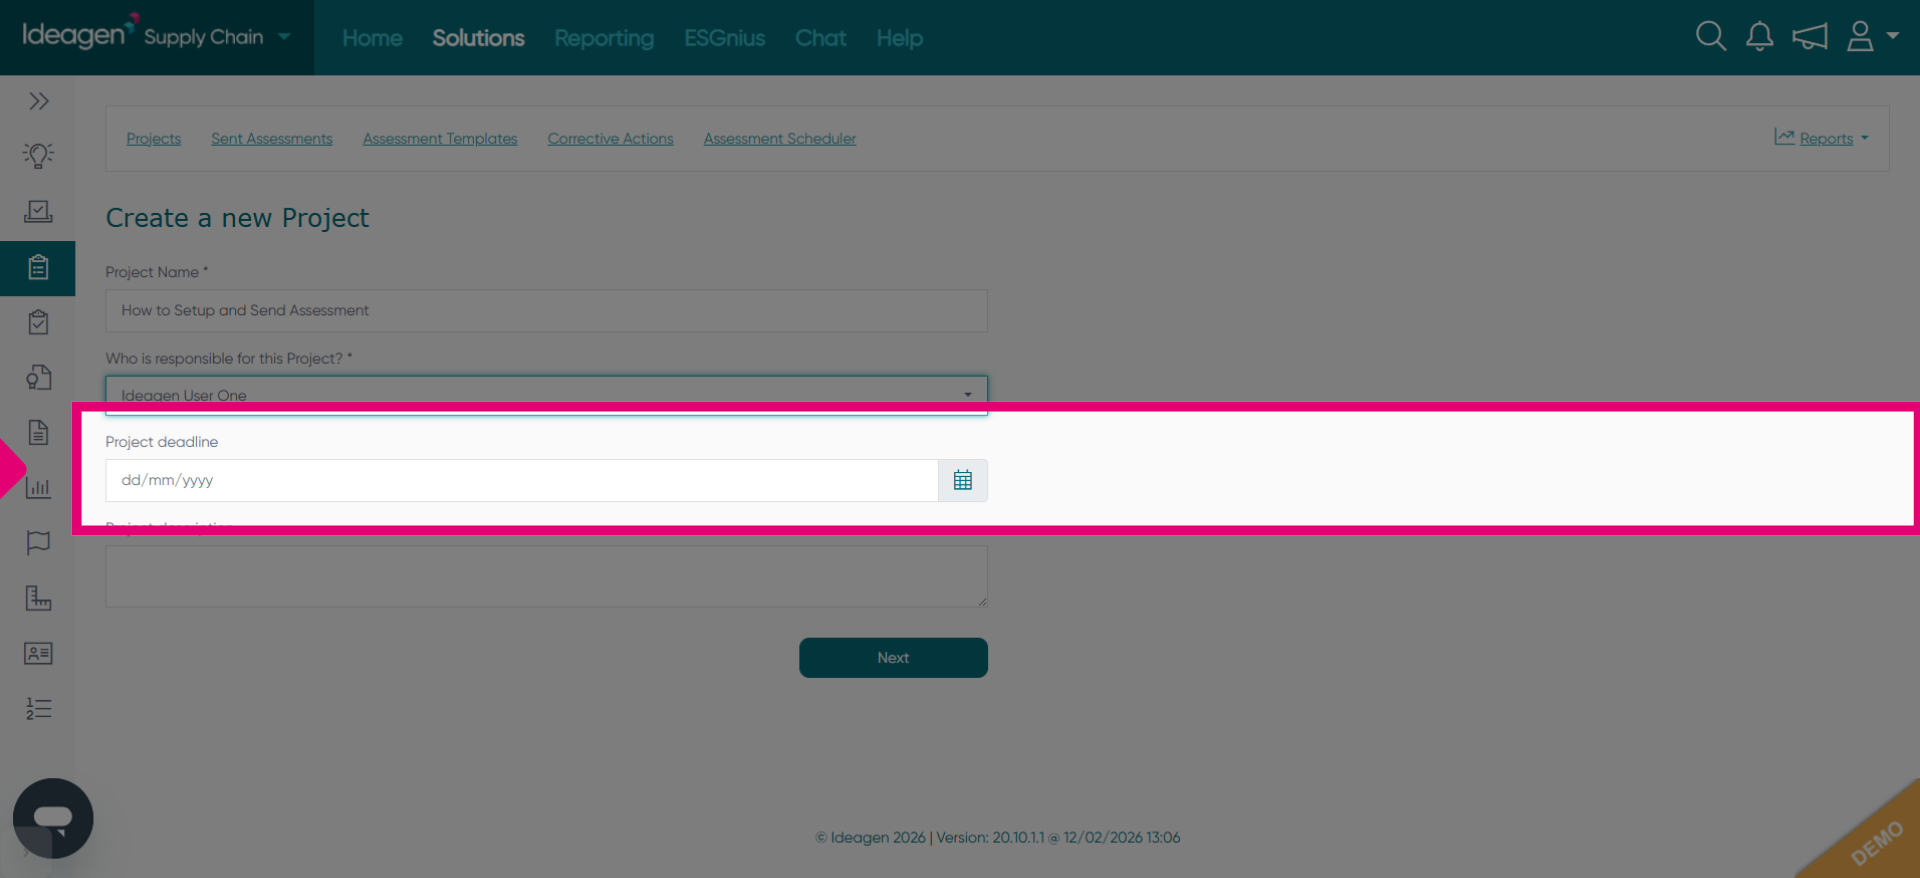
Click the Project Name * field to specify the name of your assessment project.
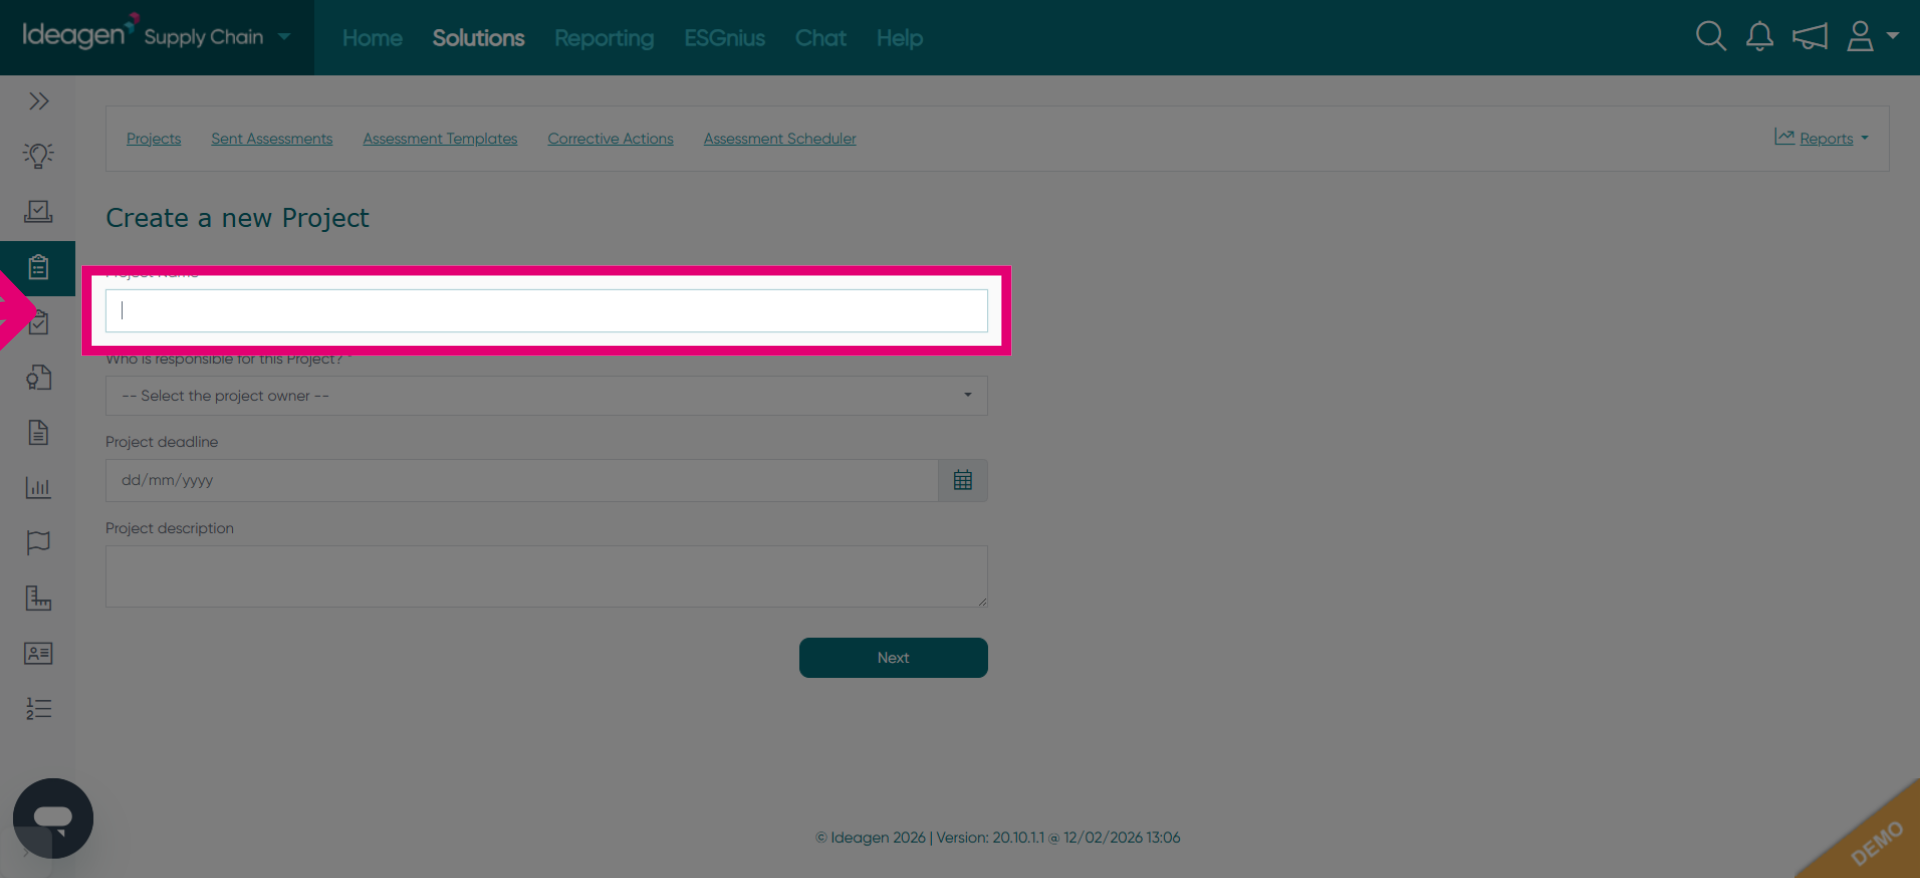
Enter your project name to identify the assessment, such as "How to Setup and Send Assessment".
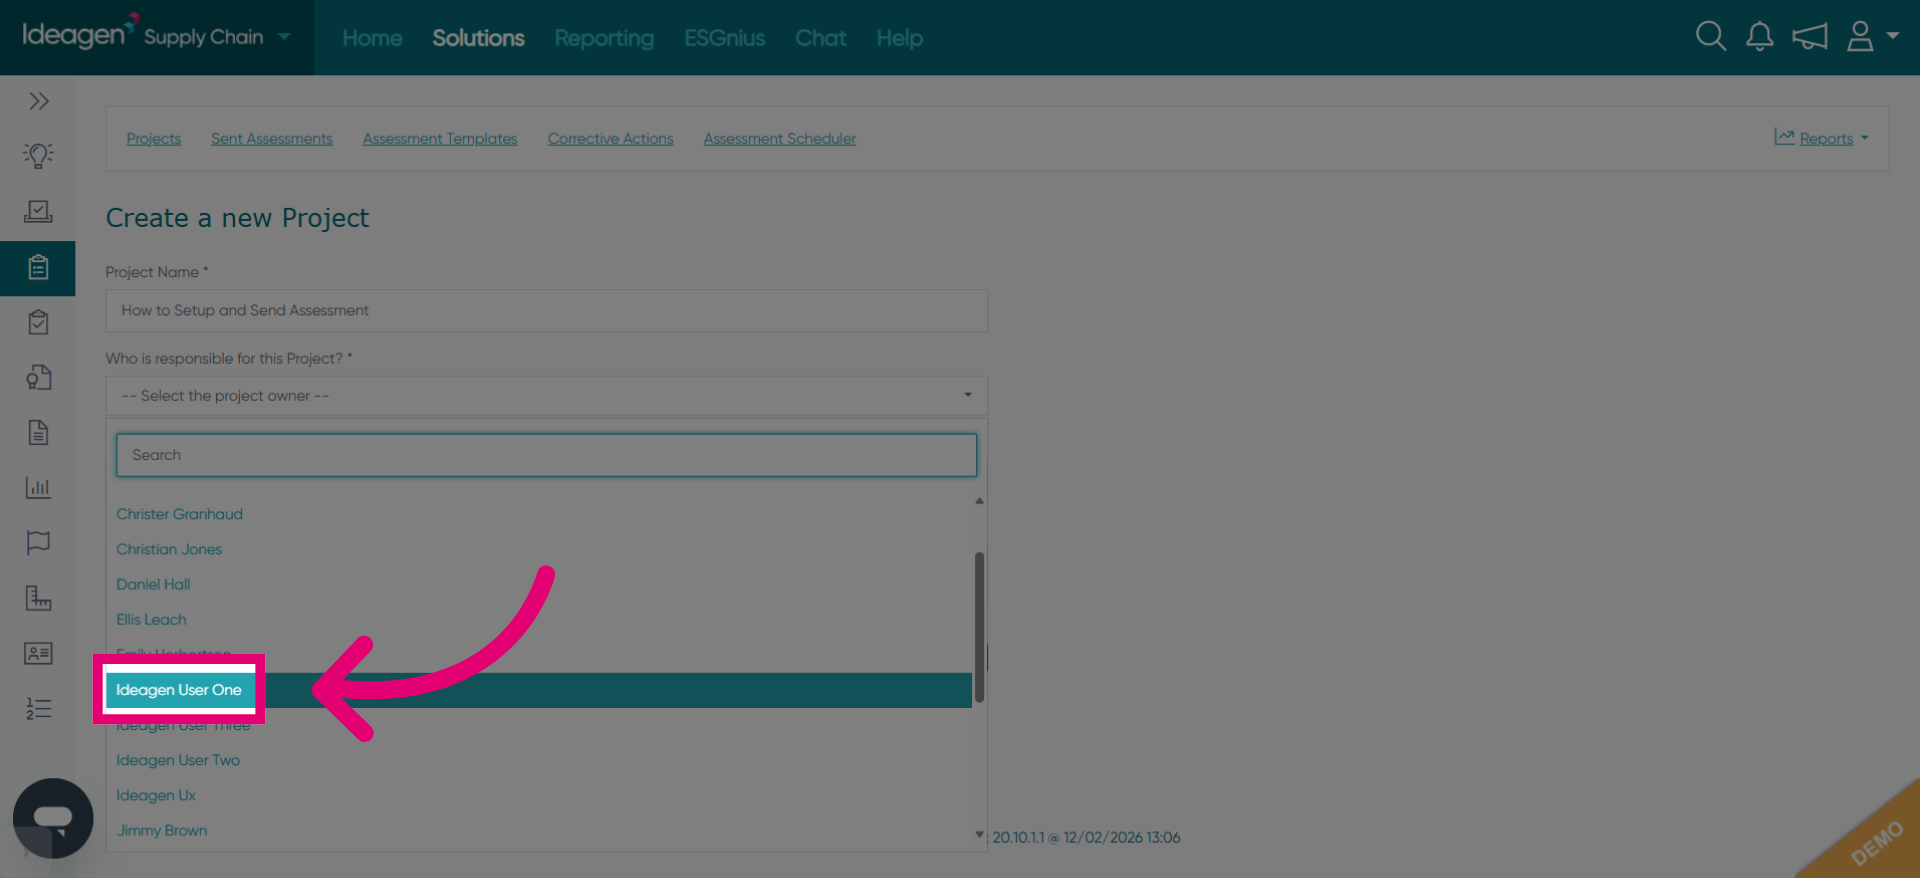
Click the dropdown labeled -- Select the project owner -- to assign ownership.
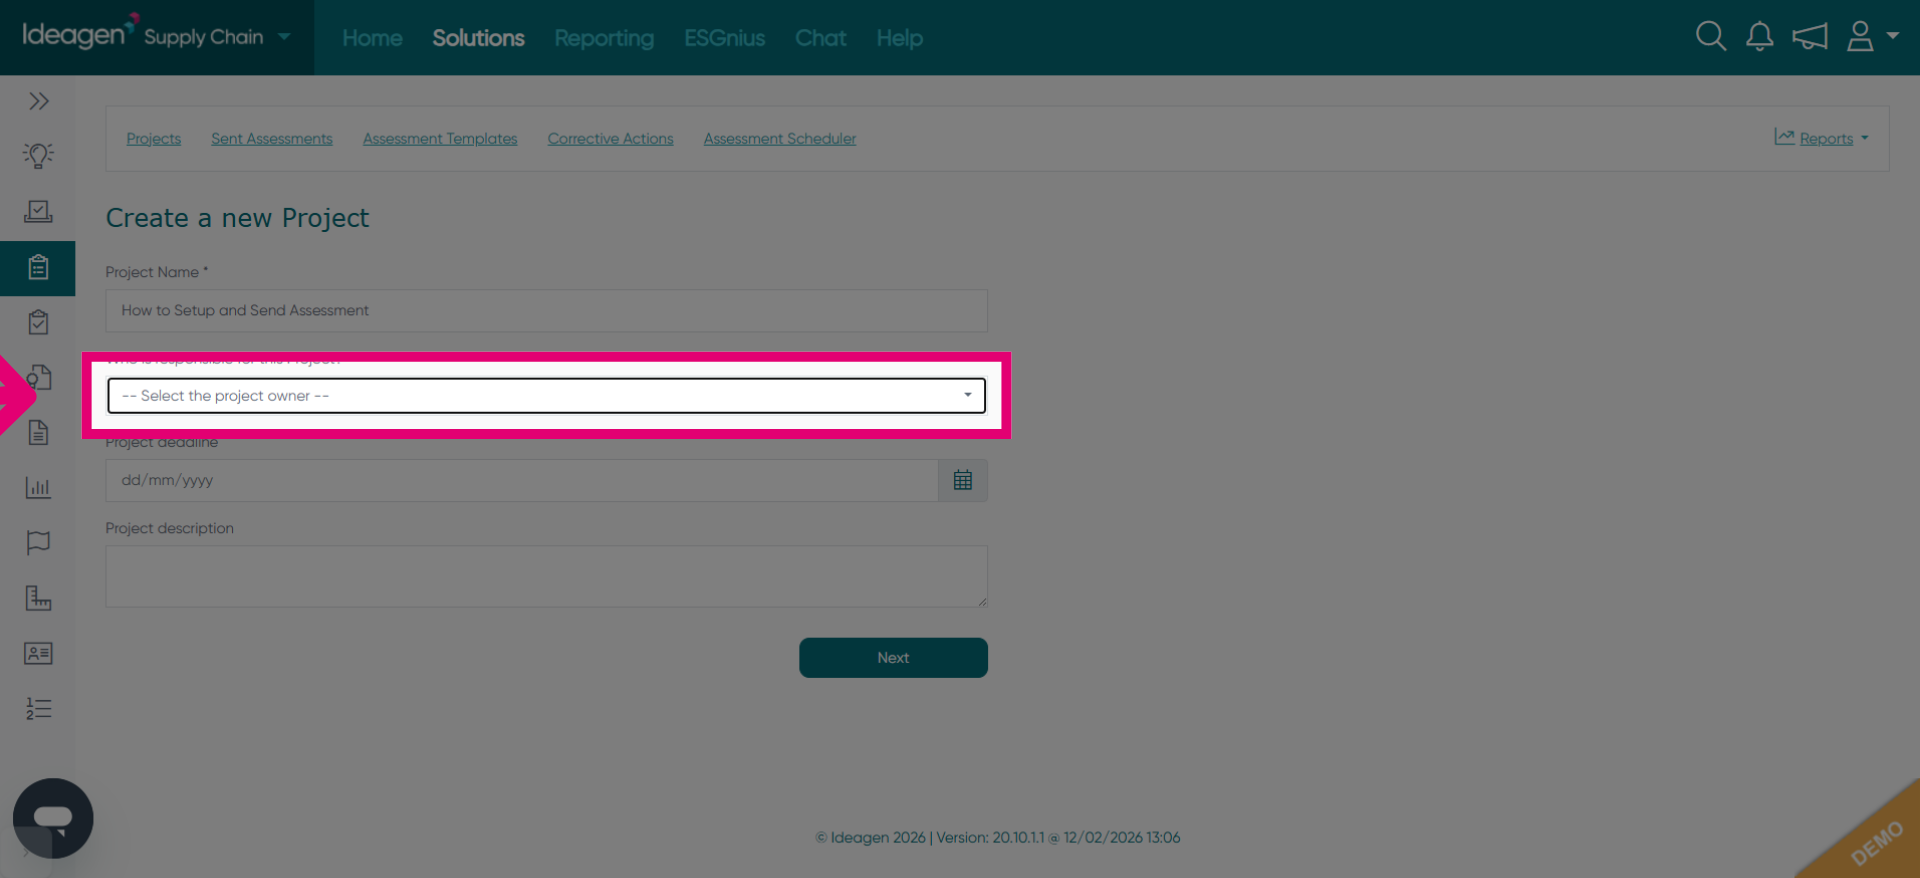
Select the project owner from the list, for example, "Ideagen User One".
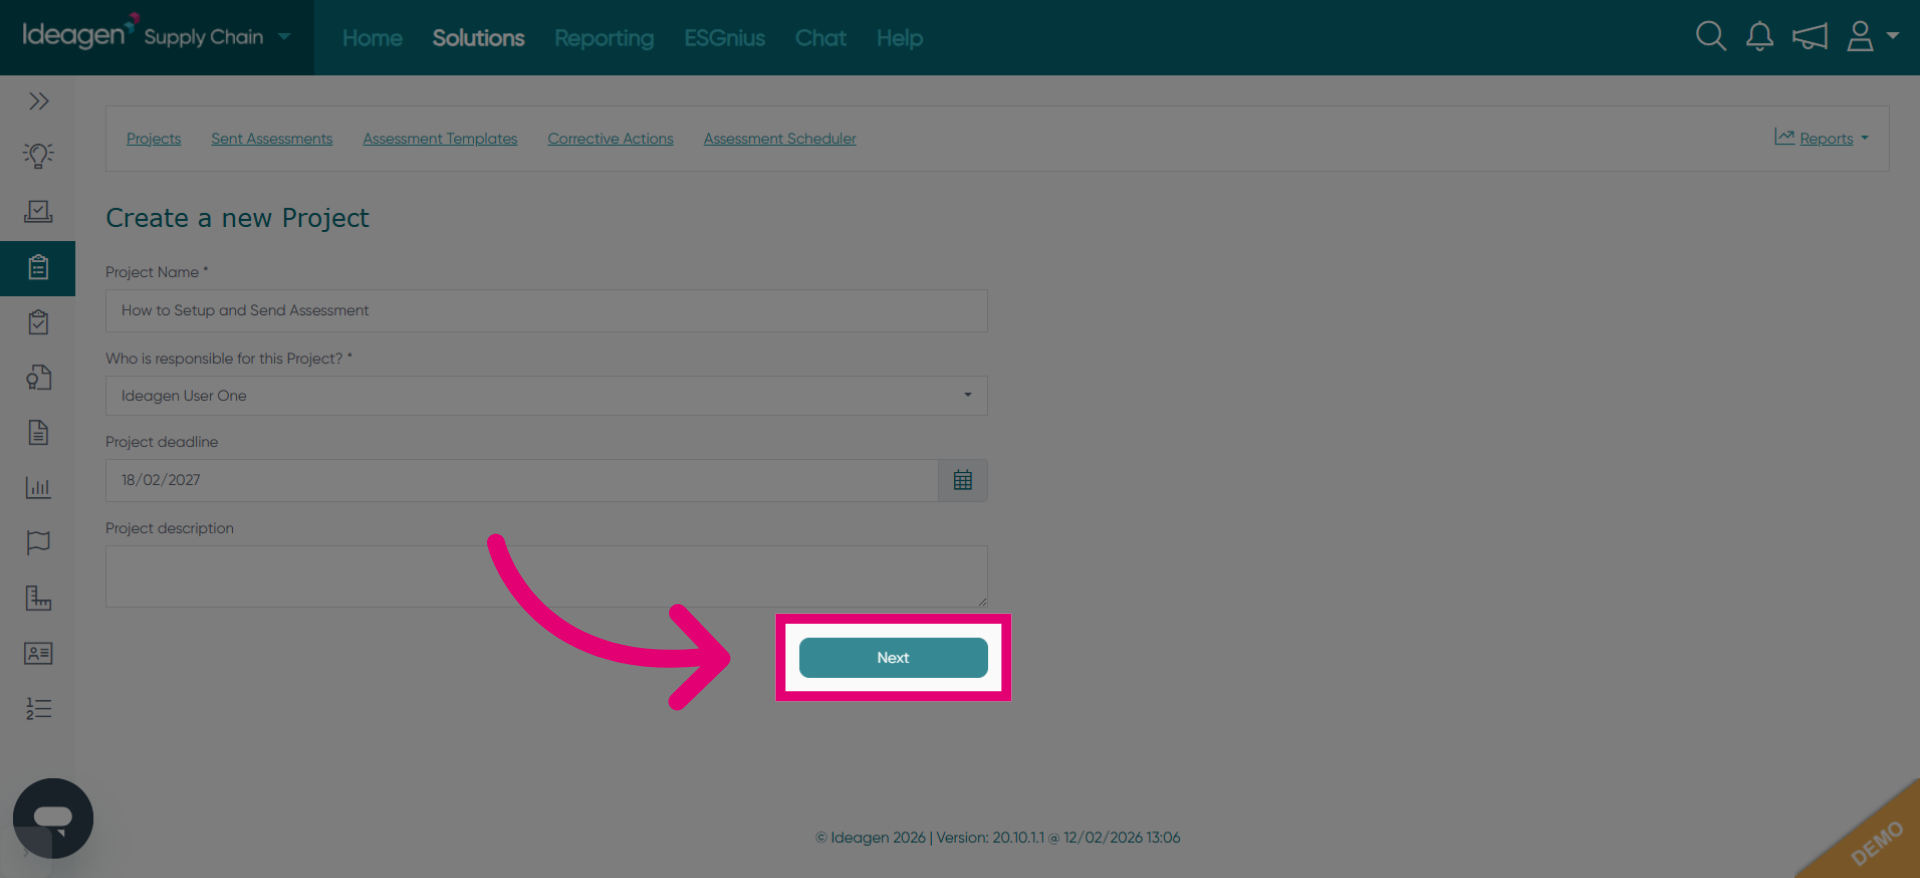
Click the Project deadline field to set the deadline for the assessment project.
Click Next to continue to the template selection phase.
Click Create new template if you want to build a custom assessment template.
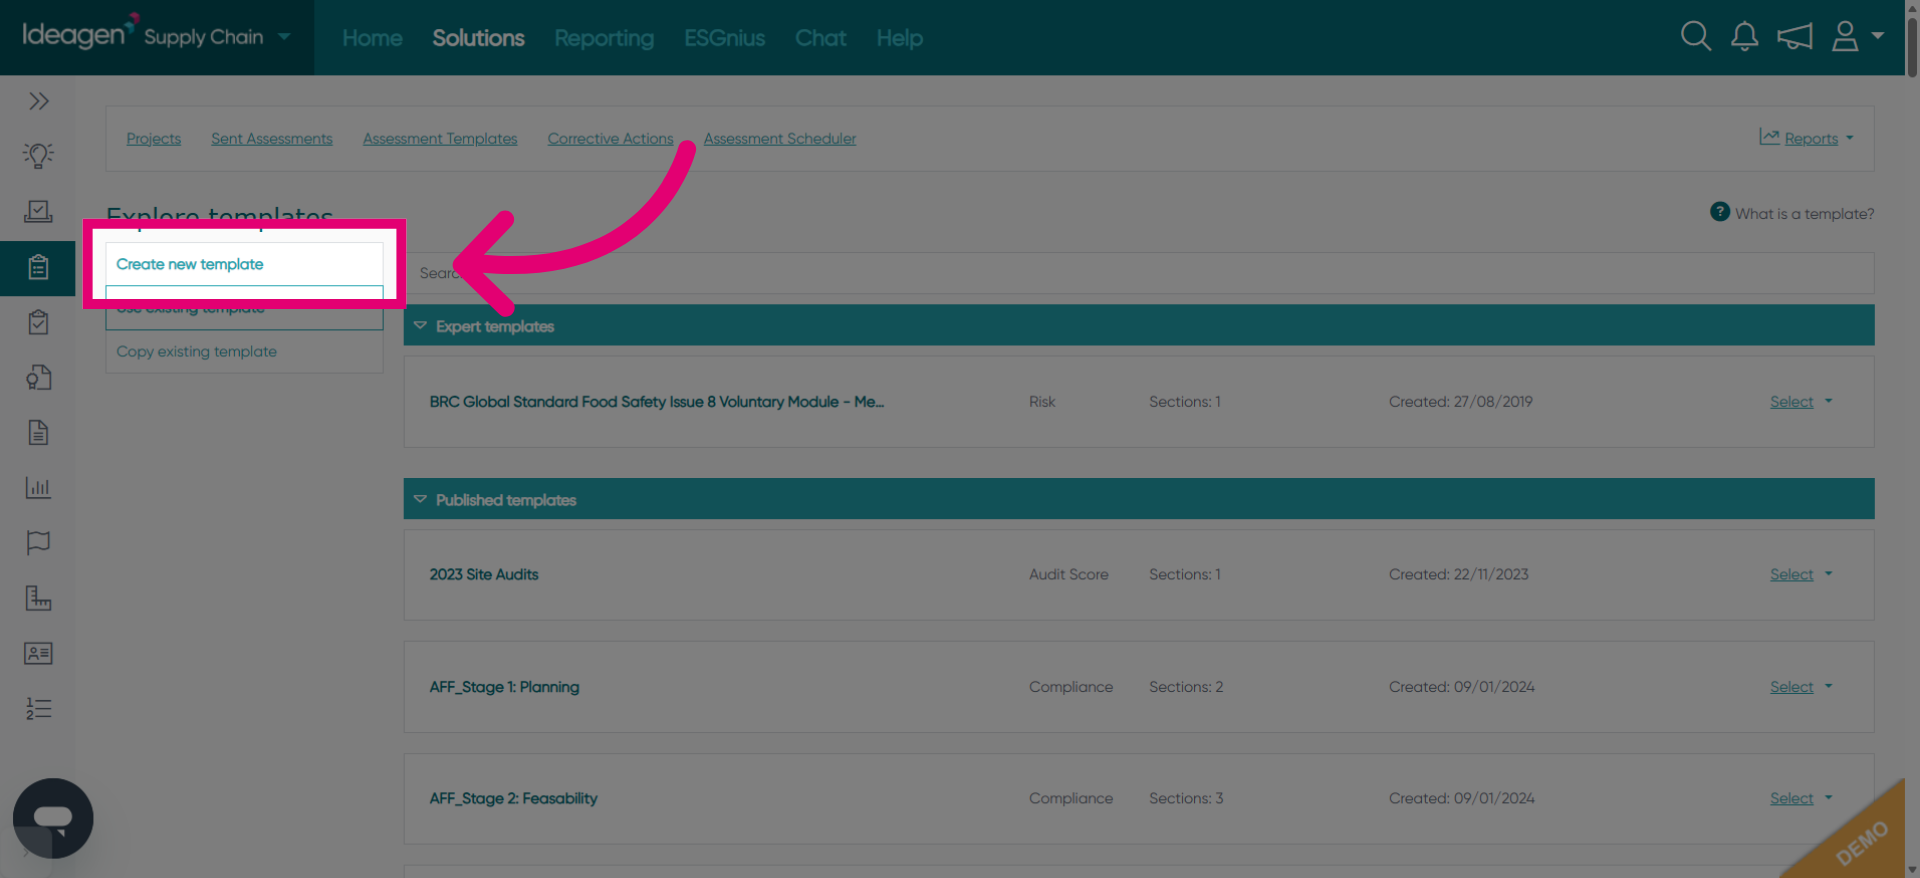
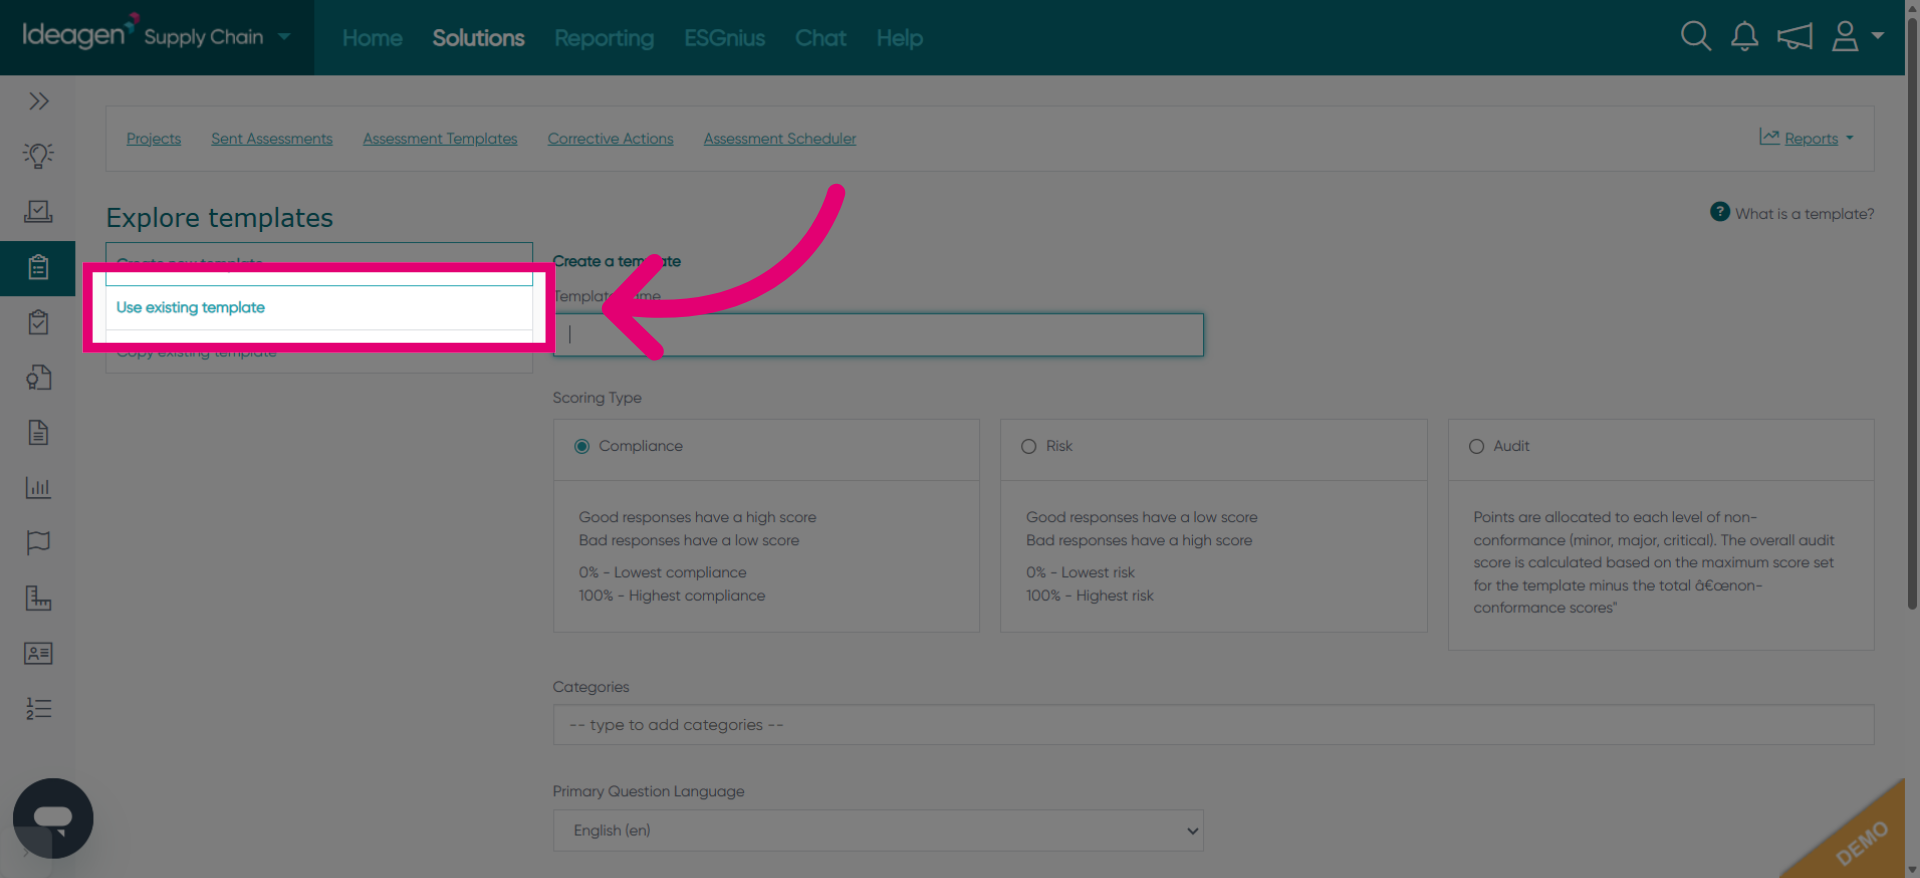
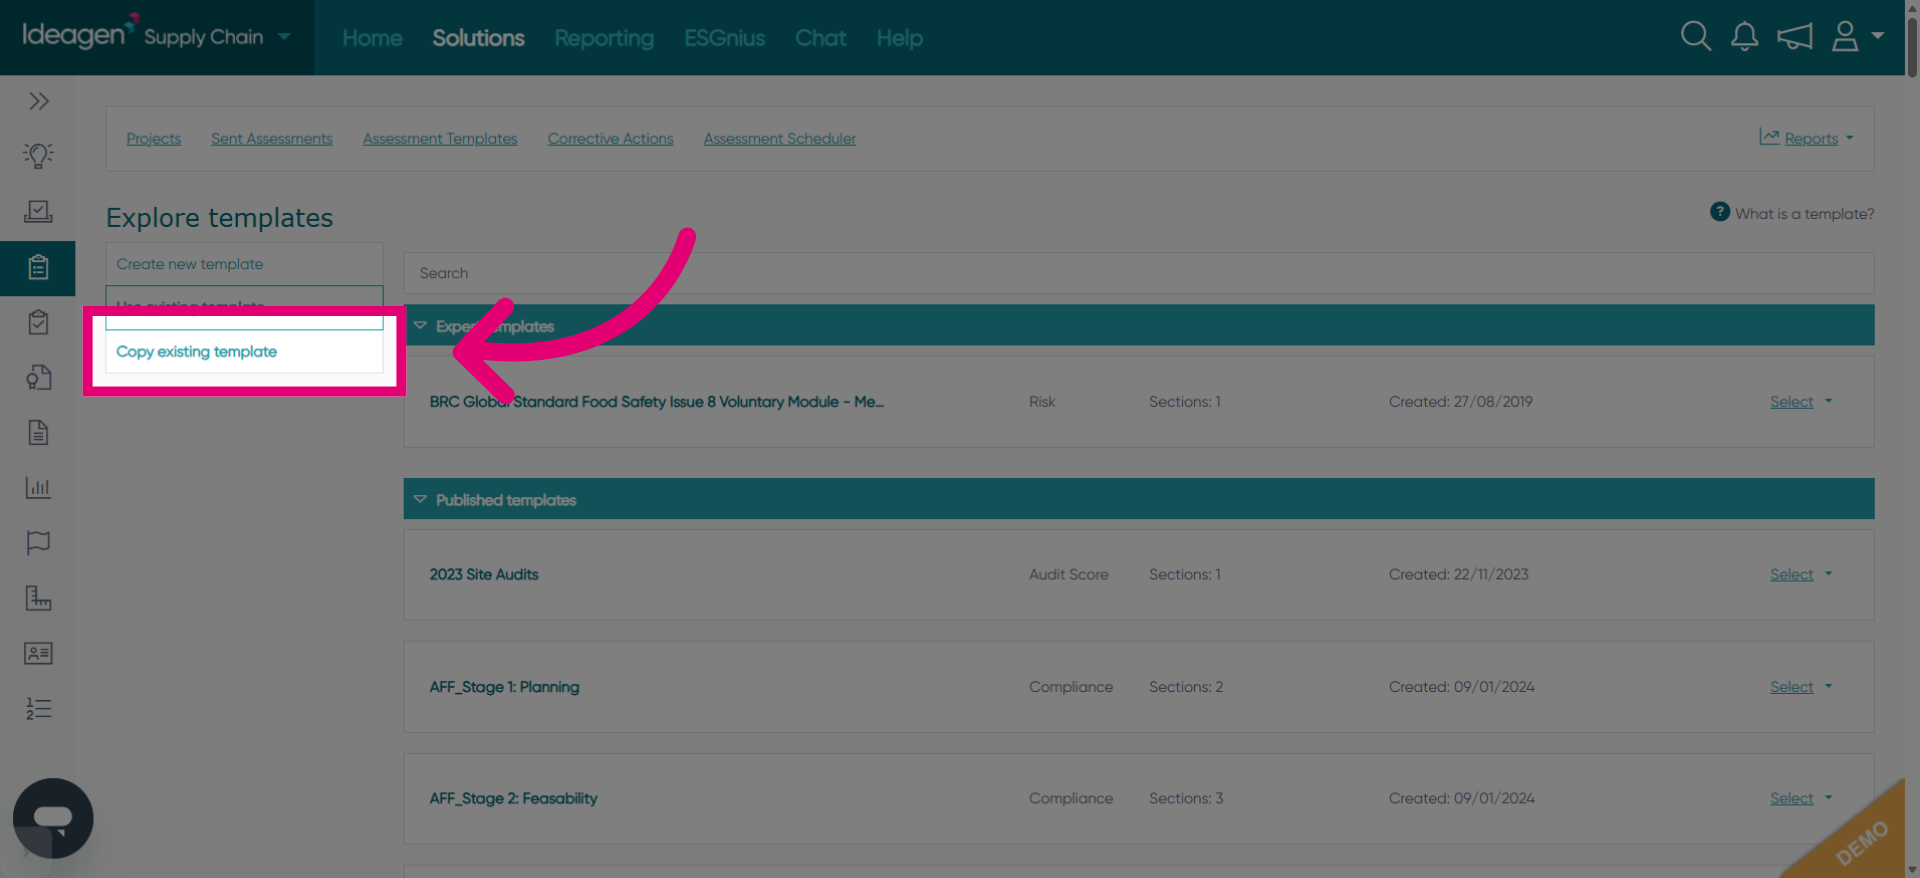
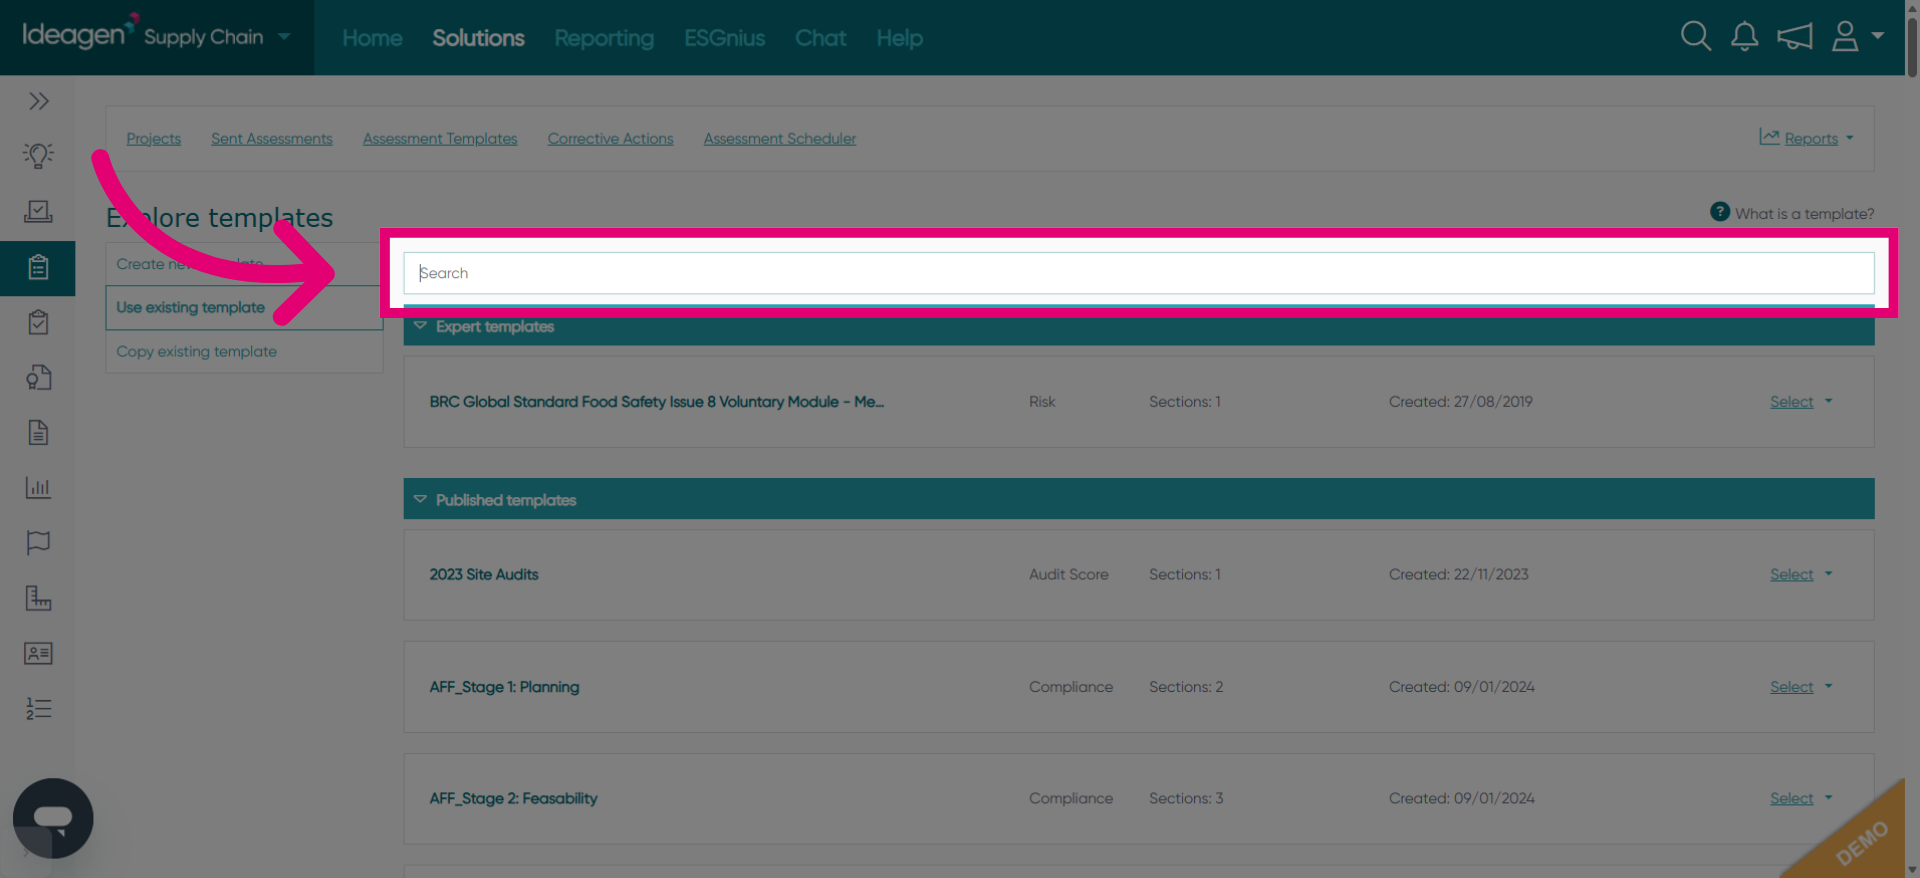
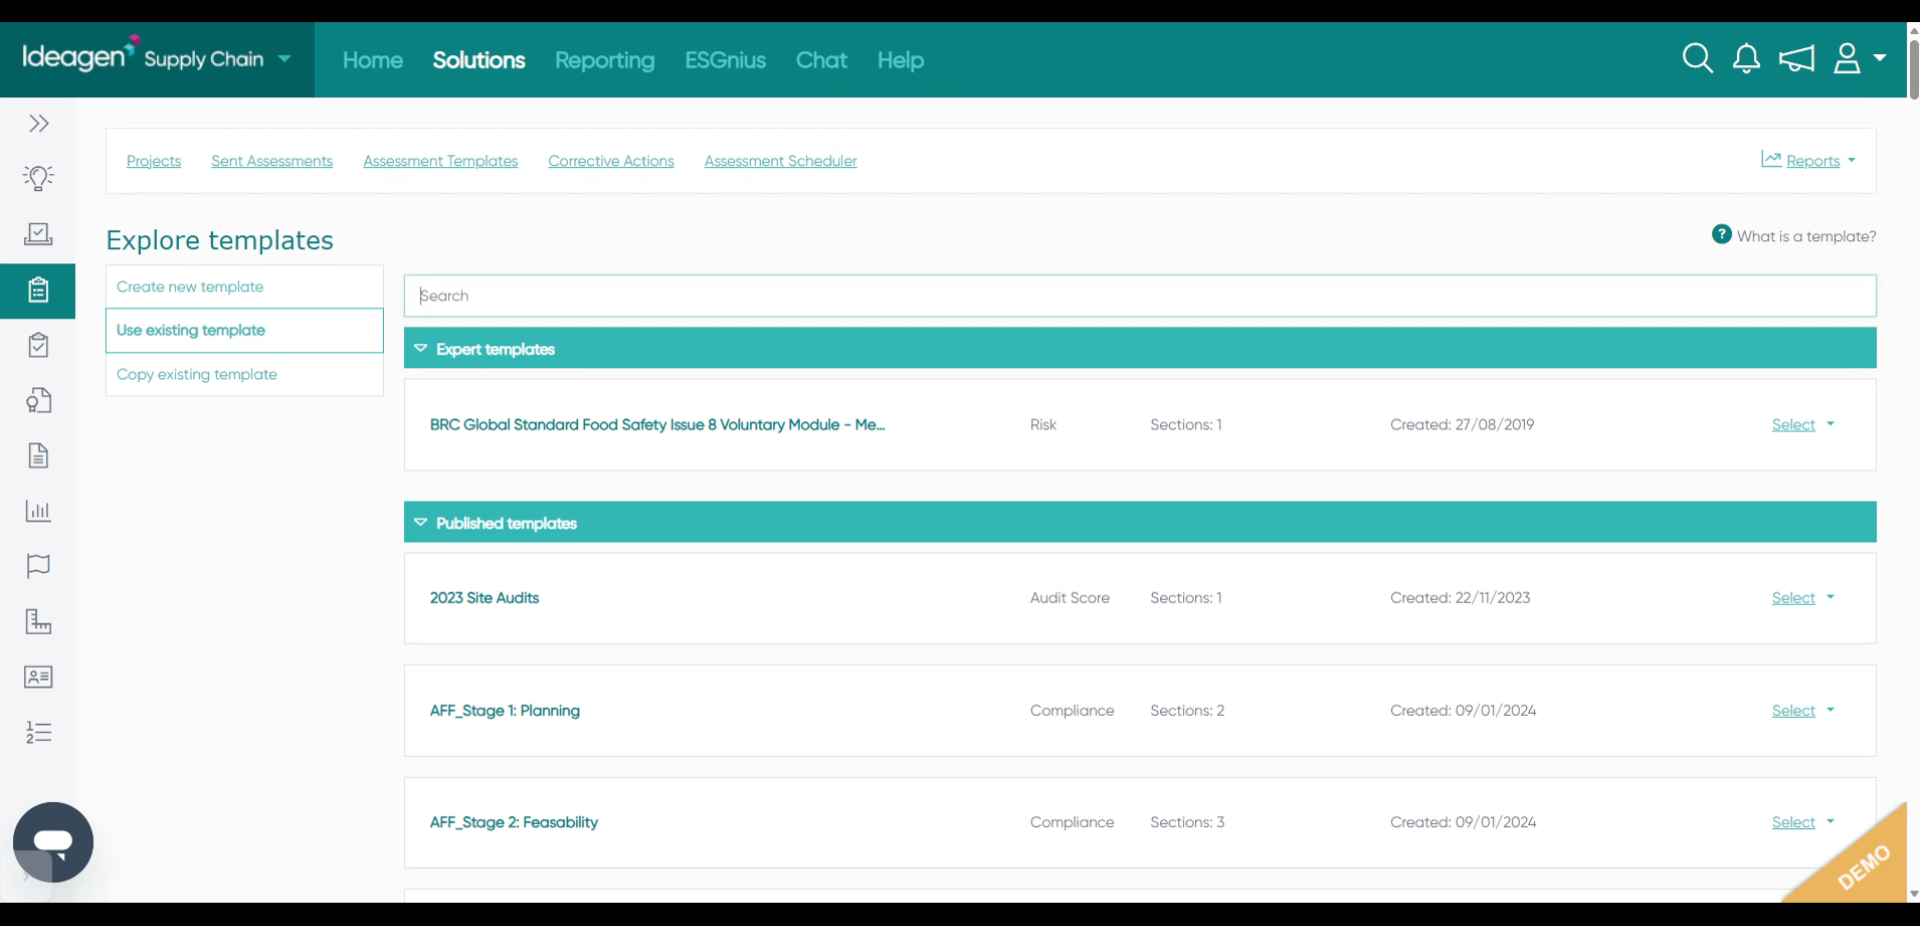
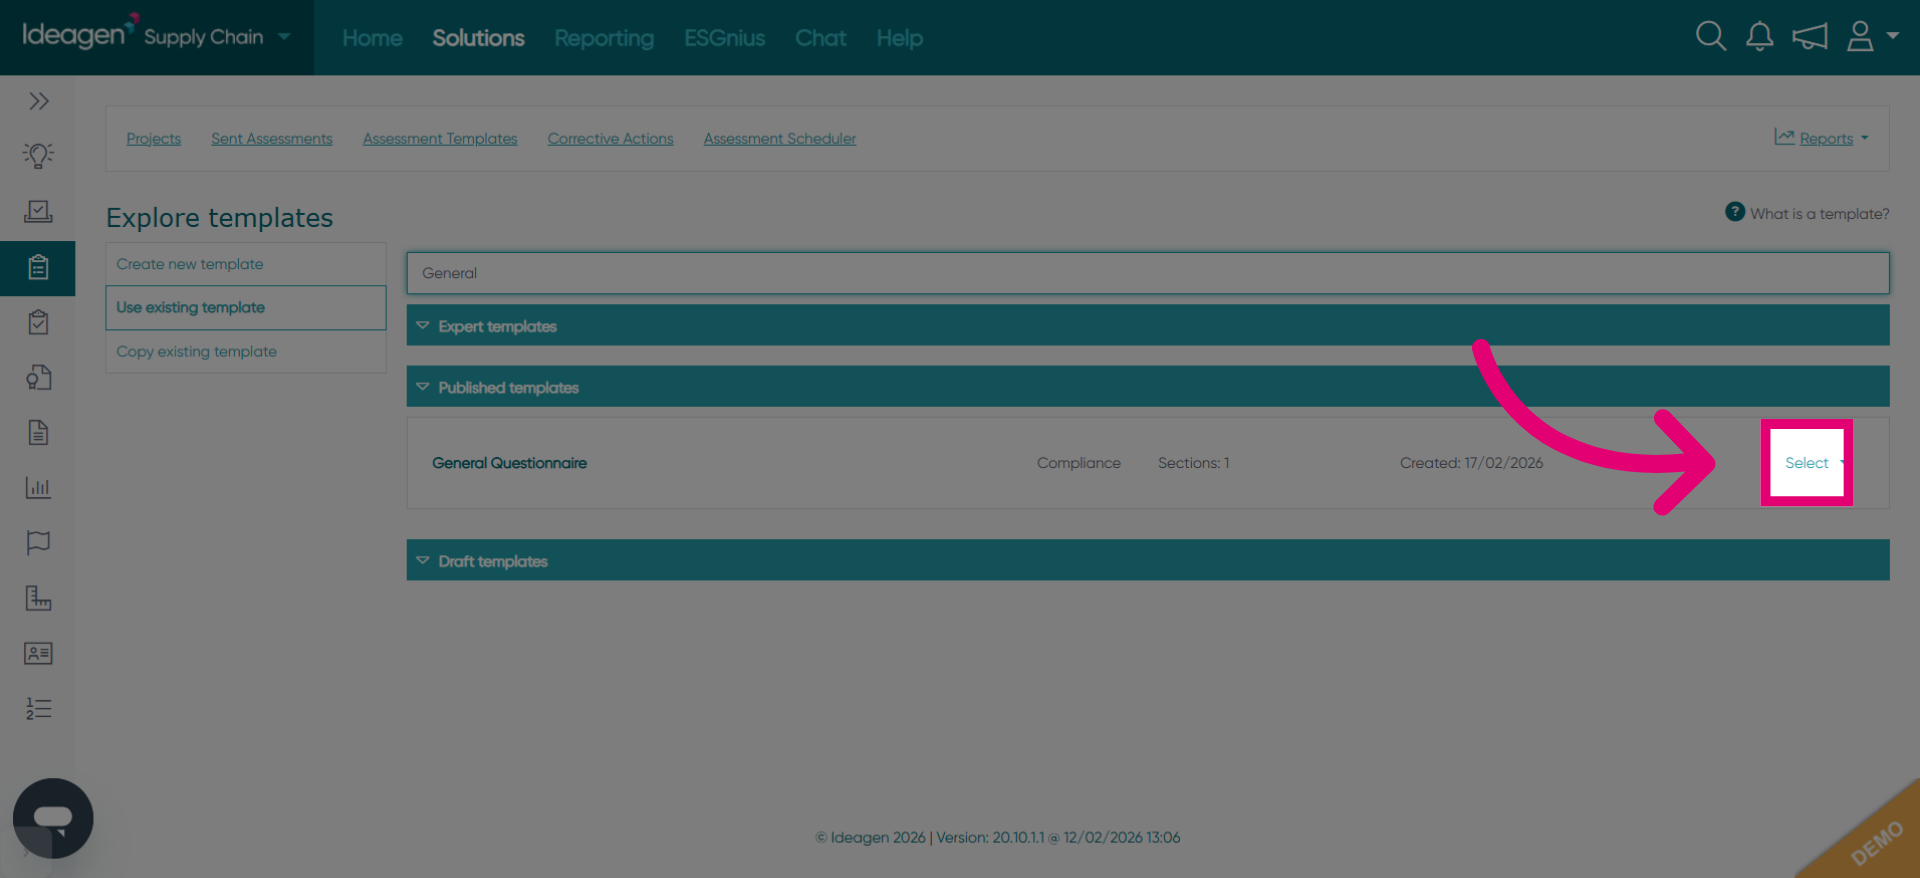
Click Use existing template to select from previously created templates.
Click Copy existing template to duplicate a template for modification.
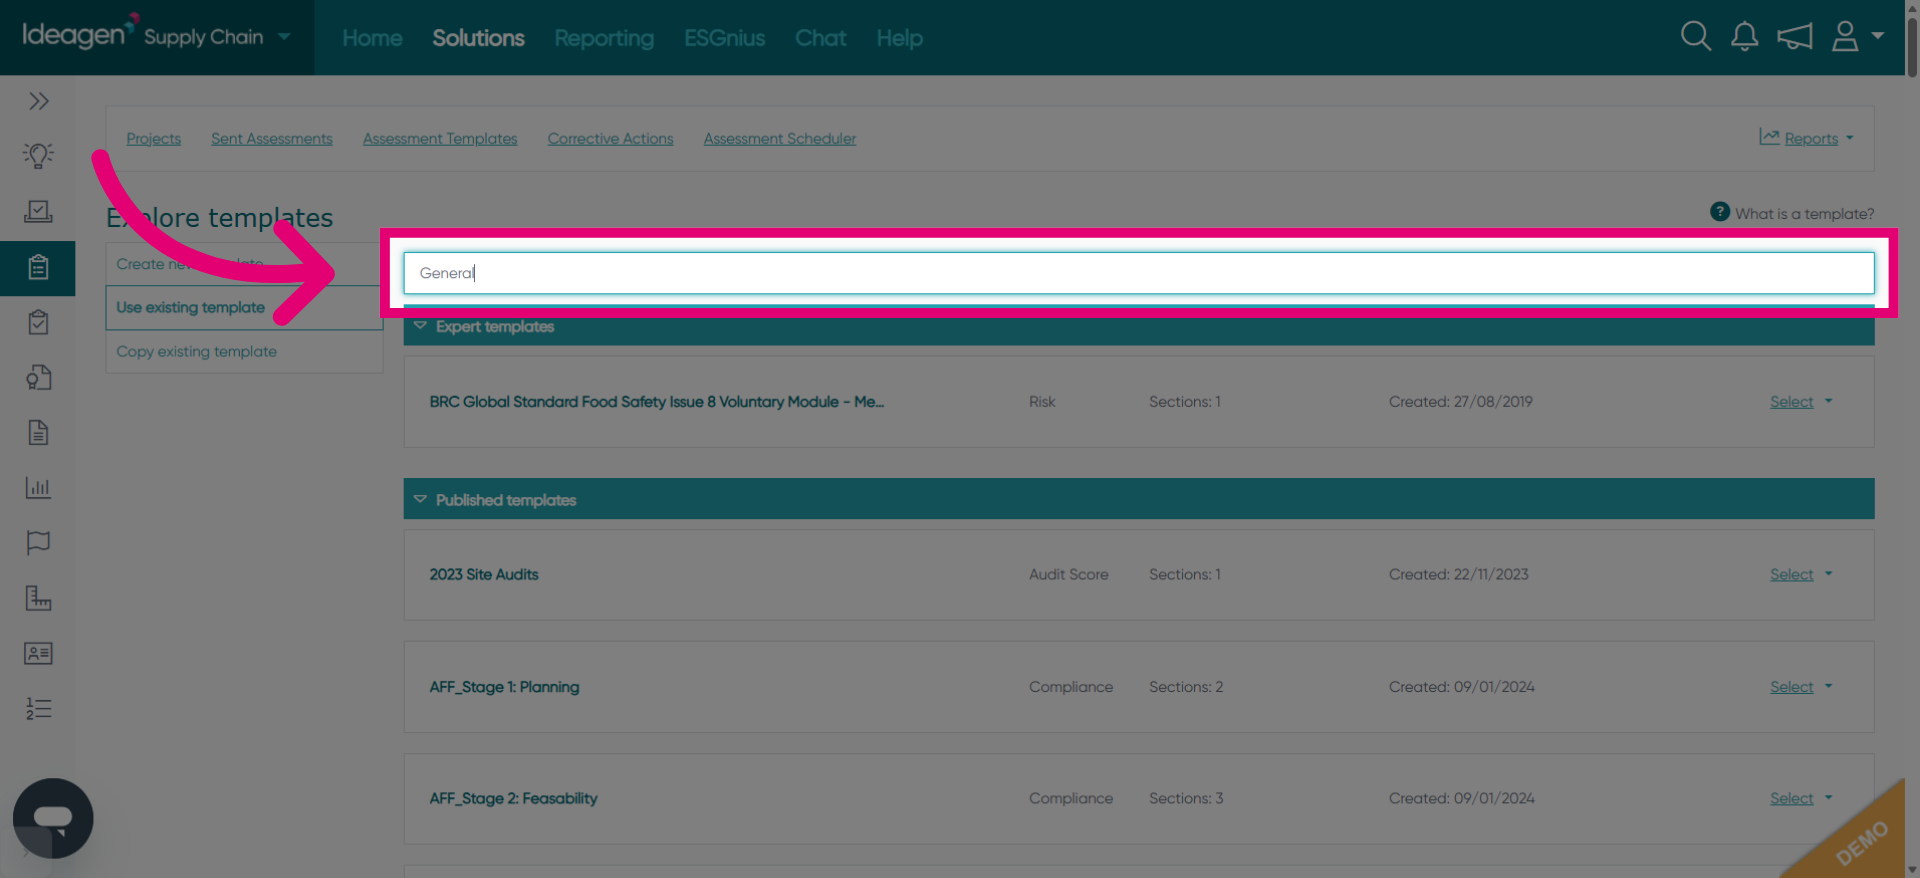
Click the Search field to find a specific template by name or keyword.
Fill in the search term, such as "General", to locate relevant templates.
Go to the area displaying search results for template selection.
Click Select to choose the desired template from the search results.
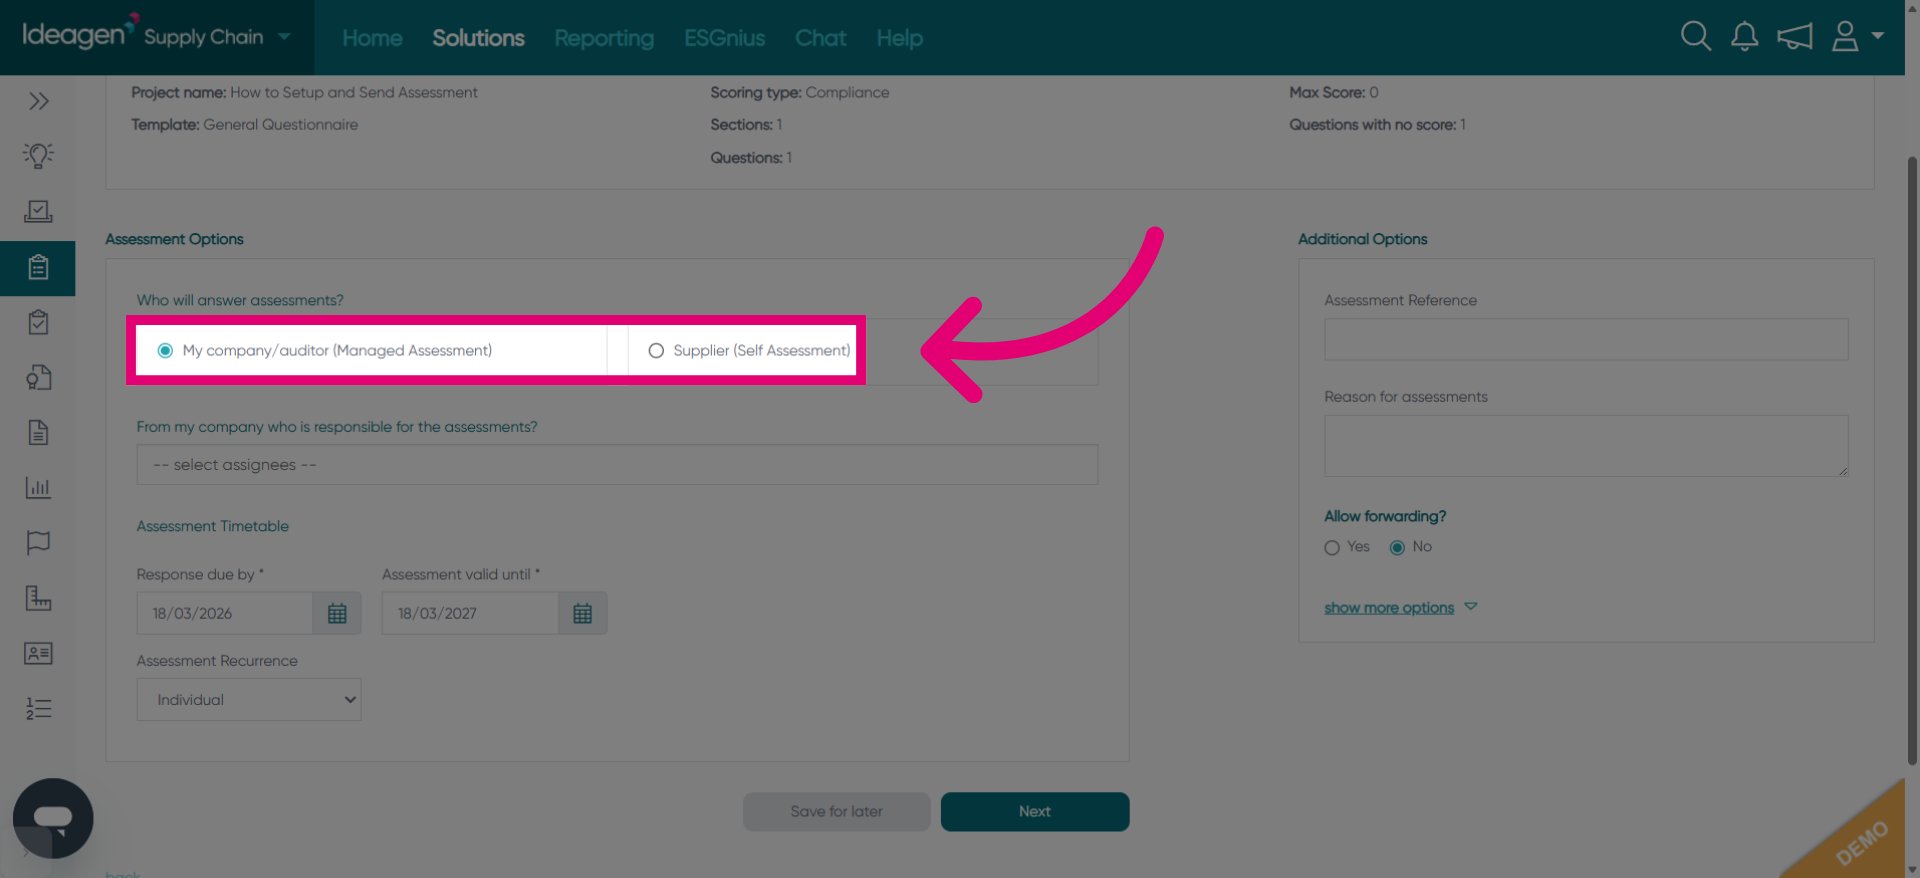
Click Supplier (Self Assessment) to specify the type of assessment to send.
Fill in the assessment name field with a descriptive title like "SelfAssessment".

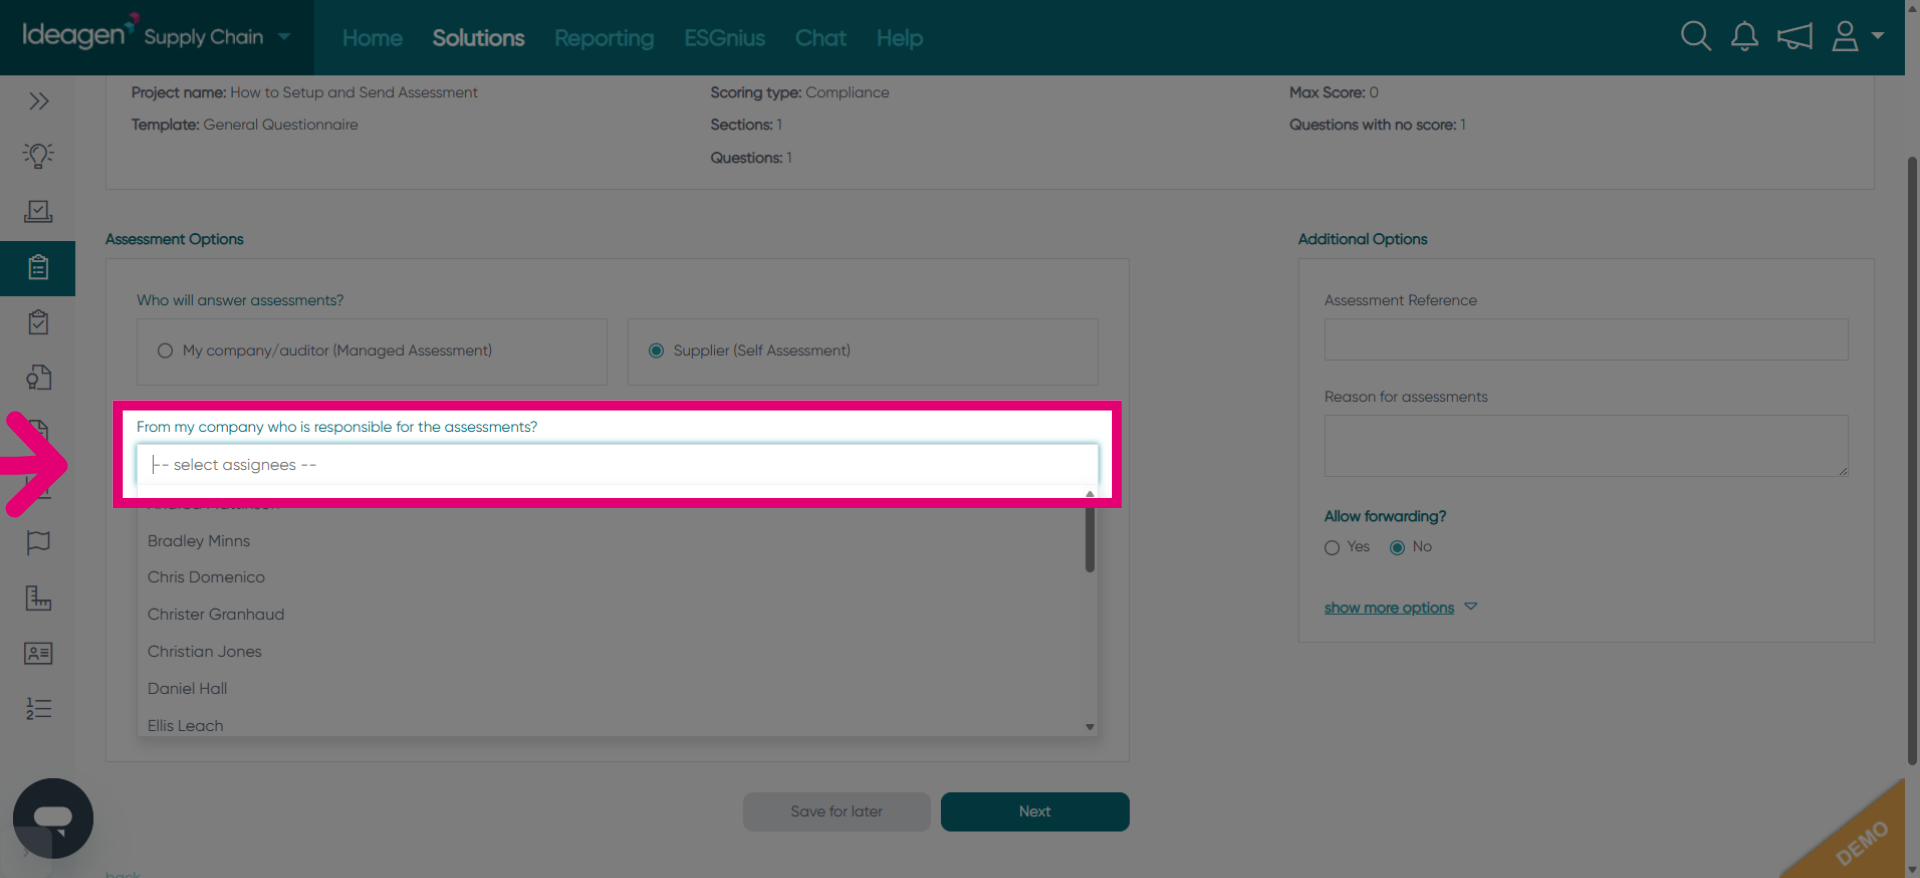
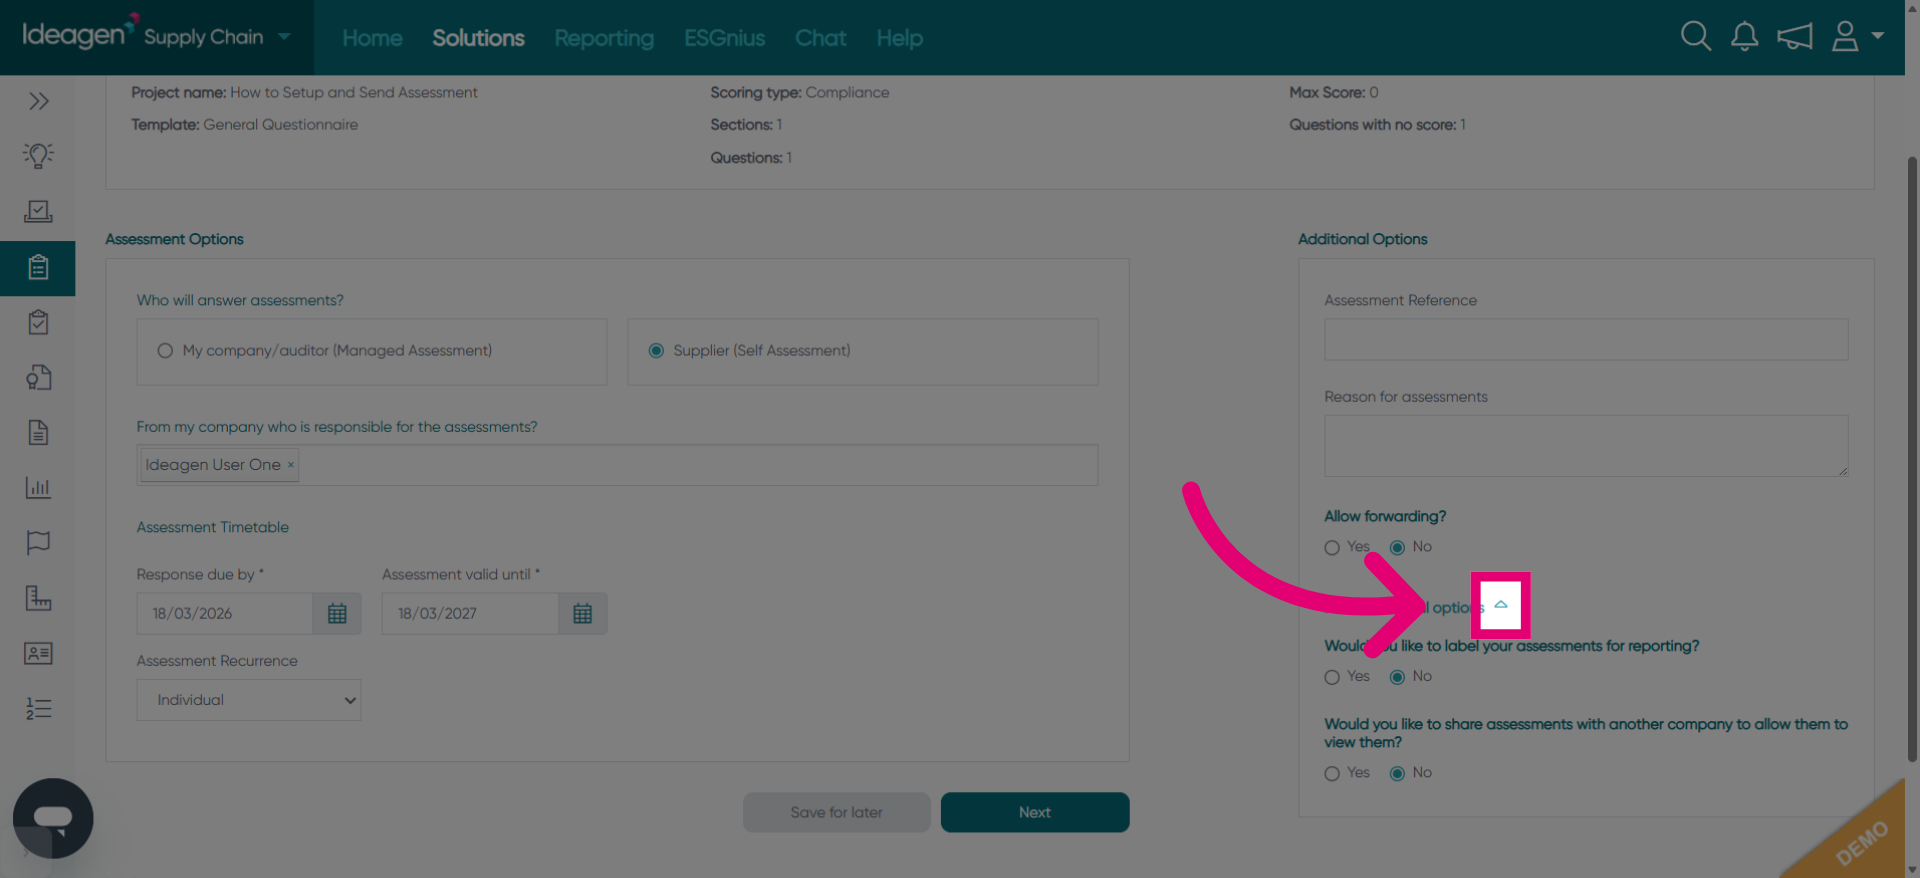
Click the indicated area to access further assessment configuration options.
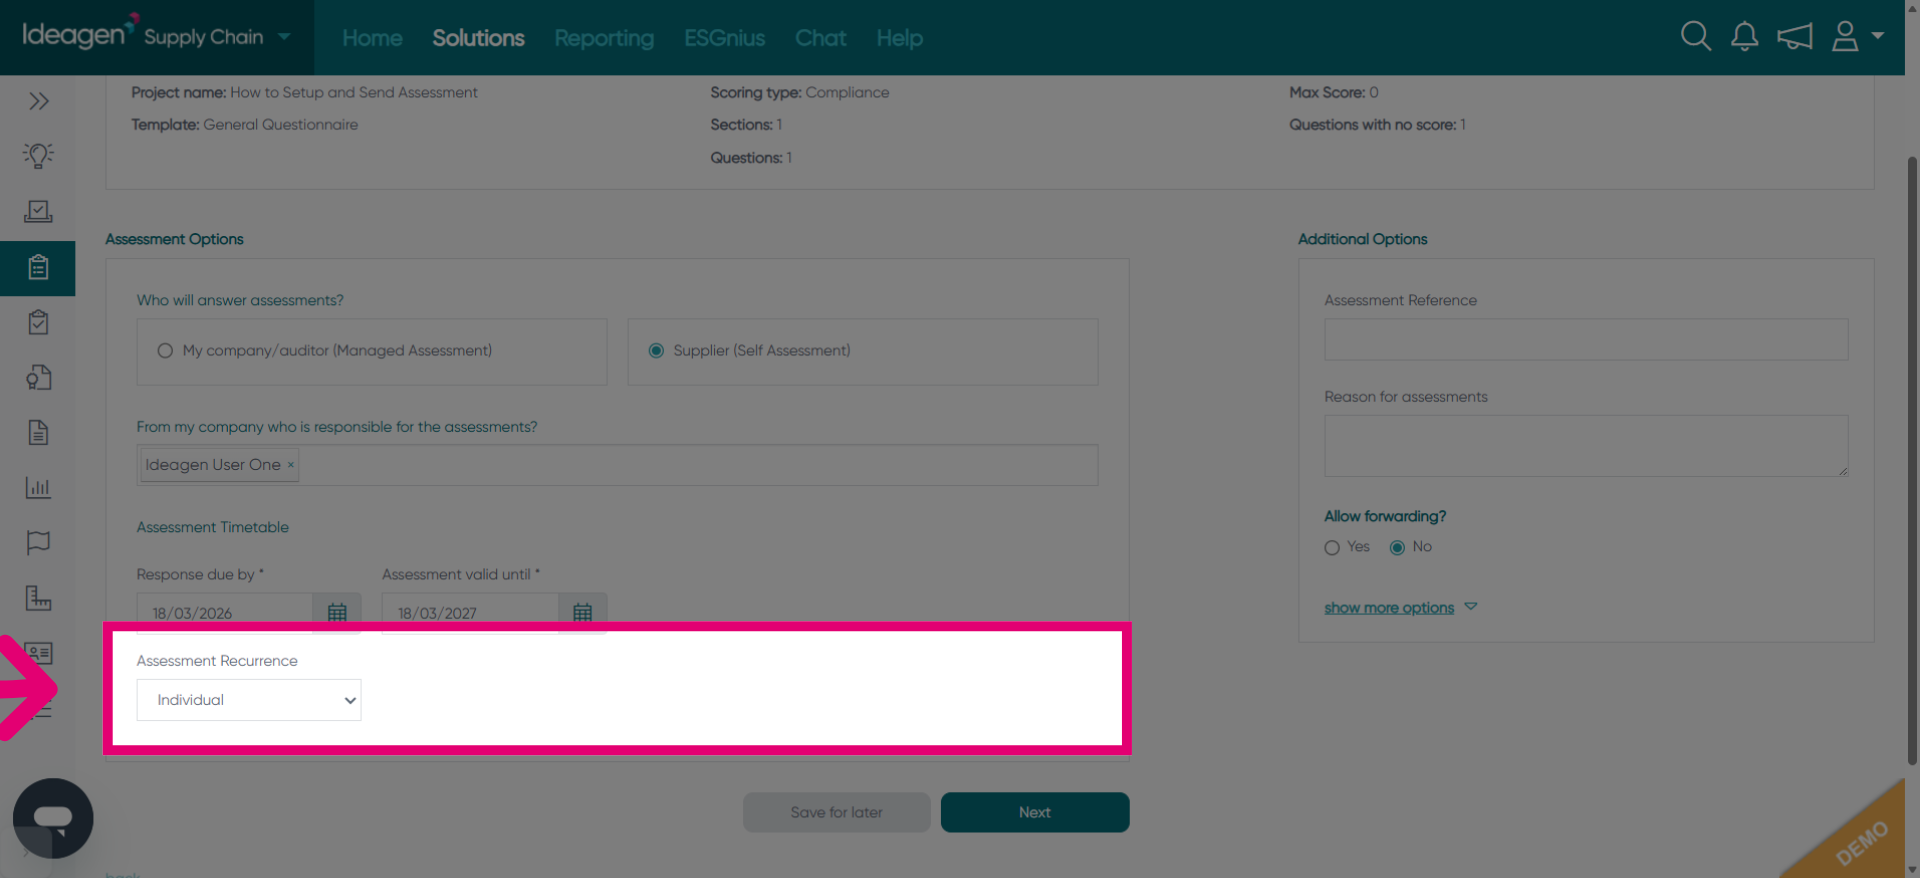
Click Assessment Recurrence to set how often assessments are issued.
Click the next area to reveal additional assessment setup options.
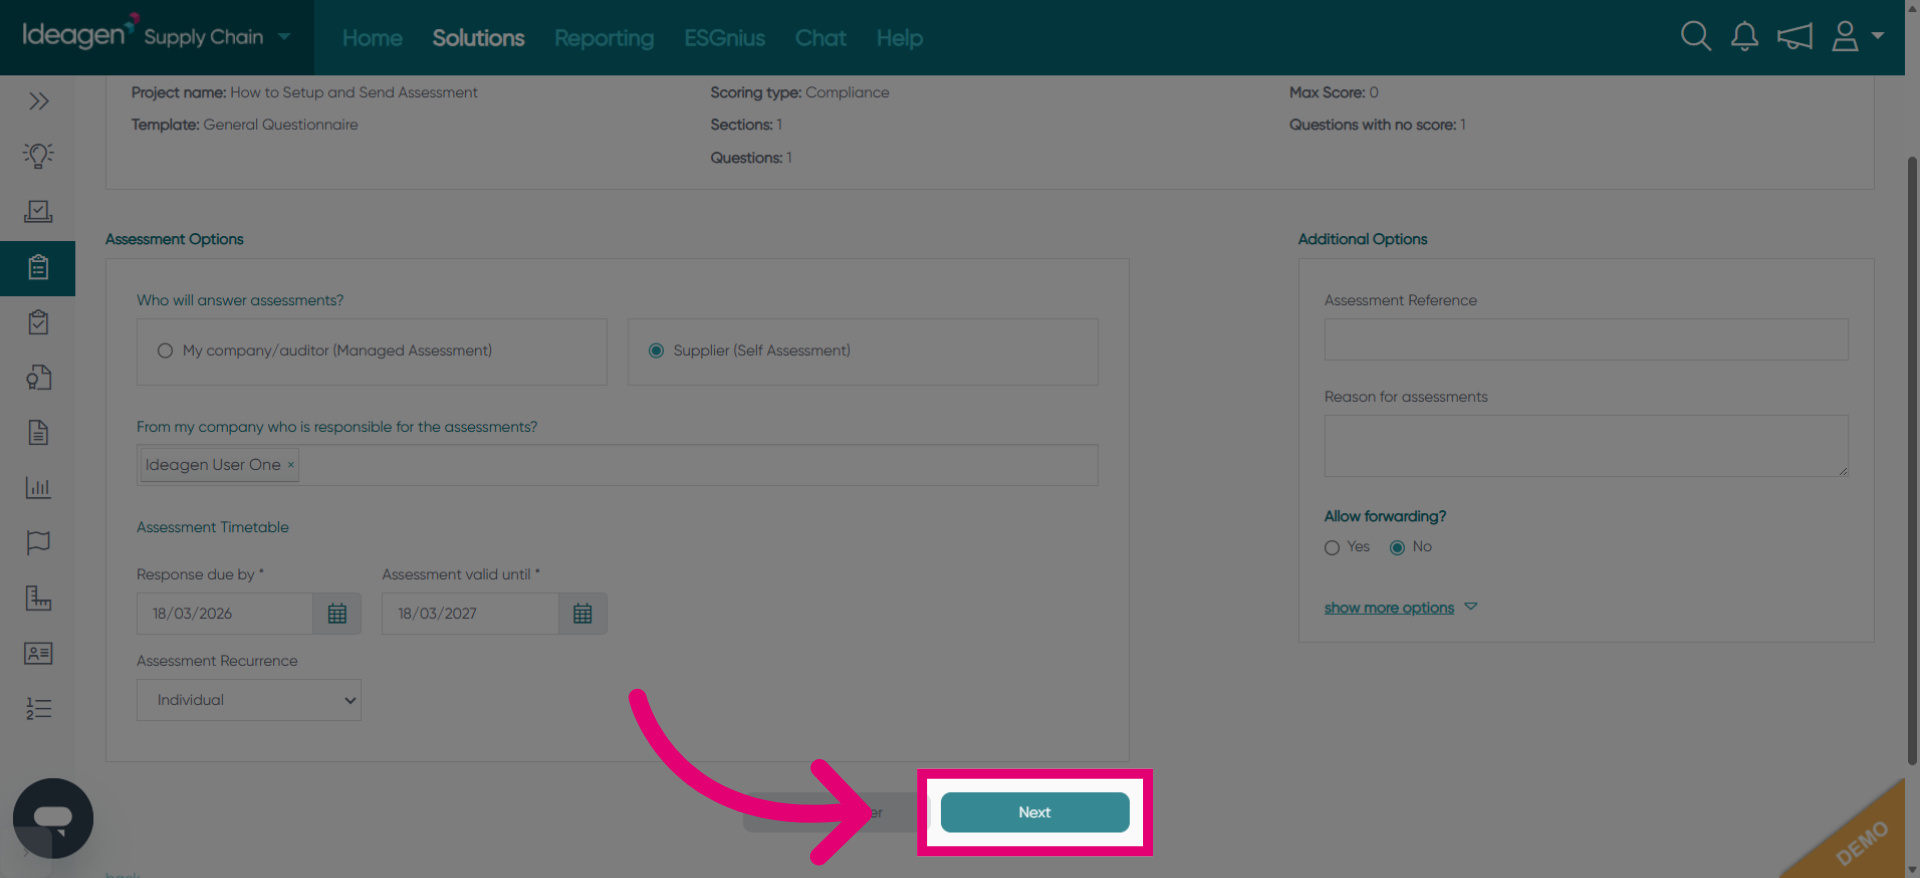
Click Next to continue to the user selection phase.
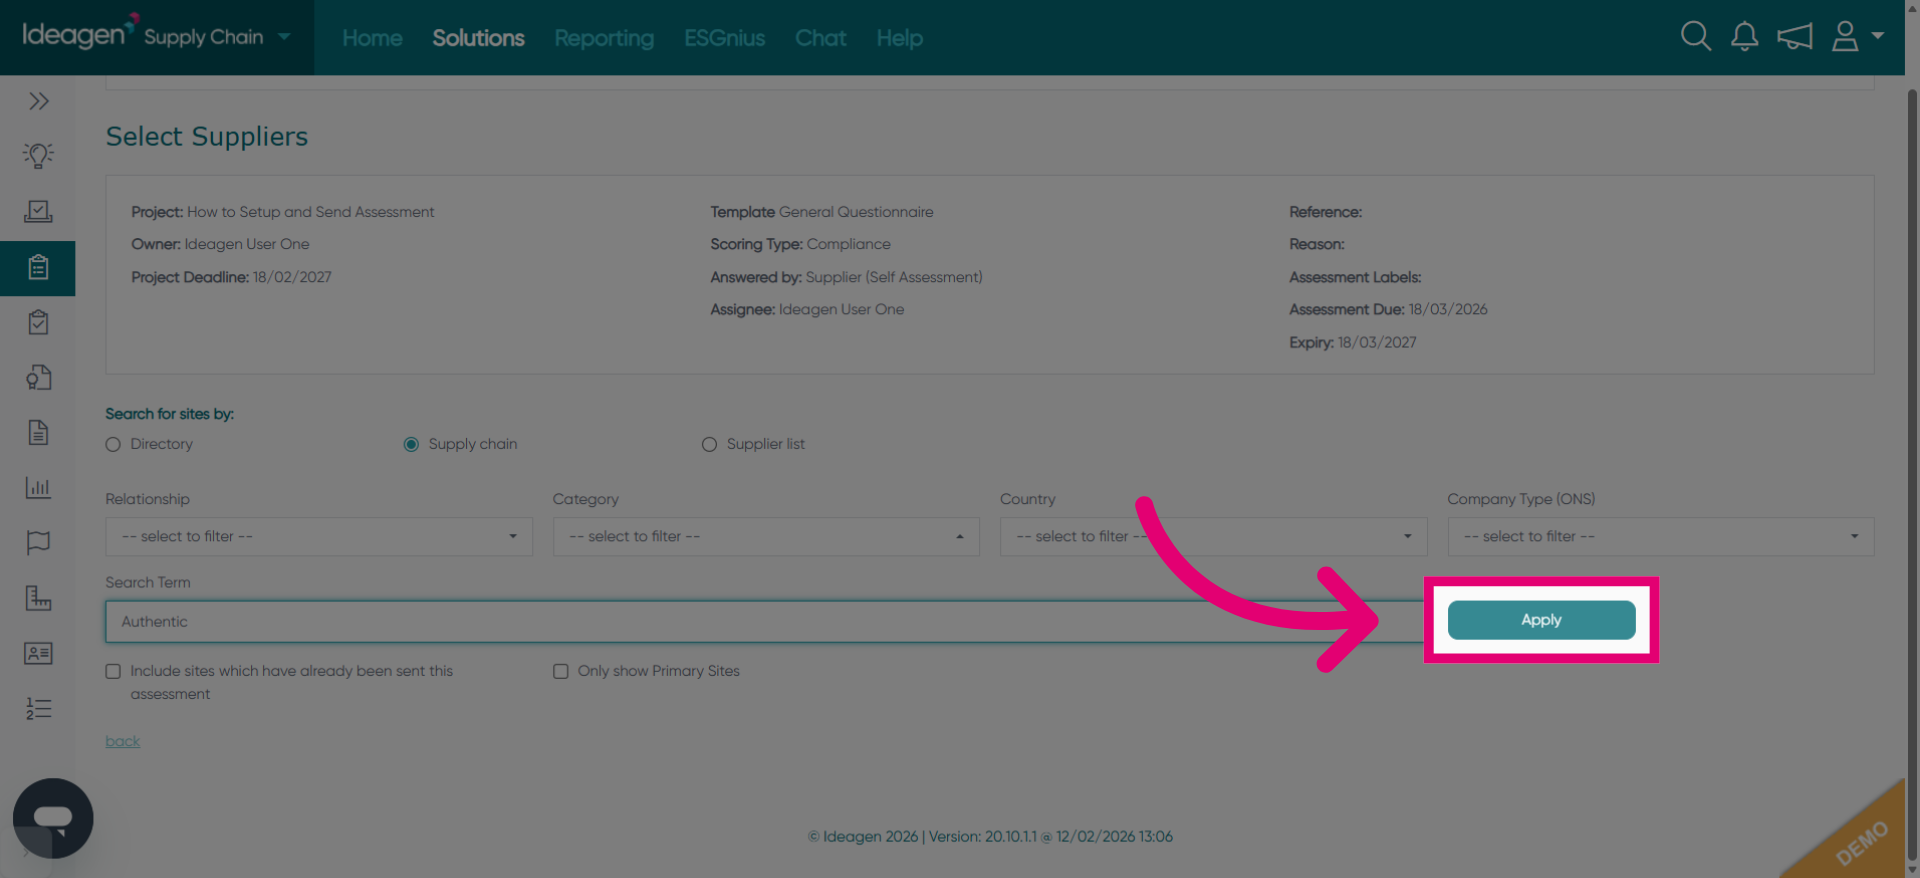
Click the -- enter search term -- field to find users to notify.
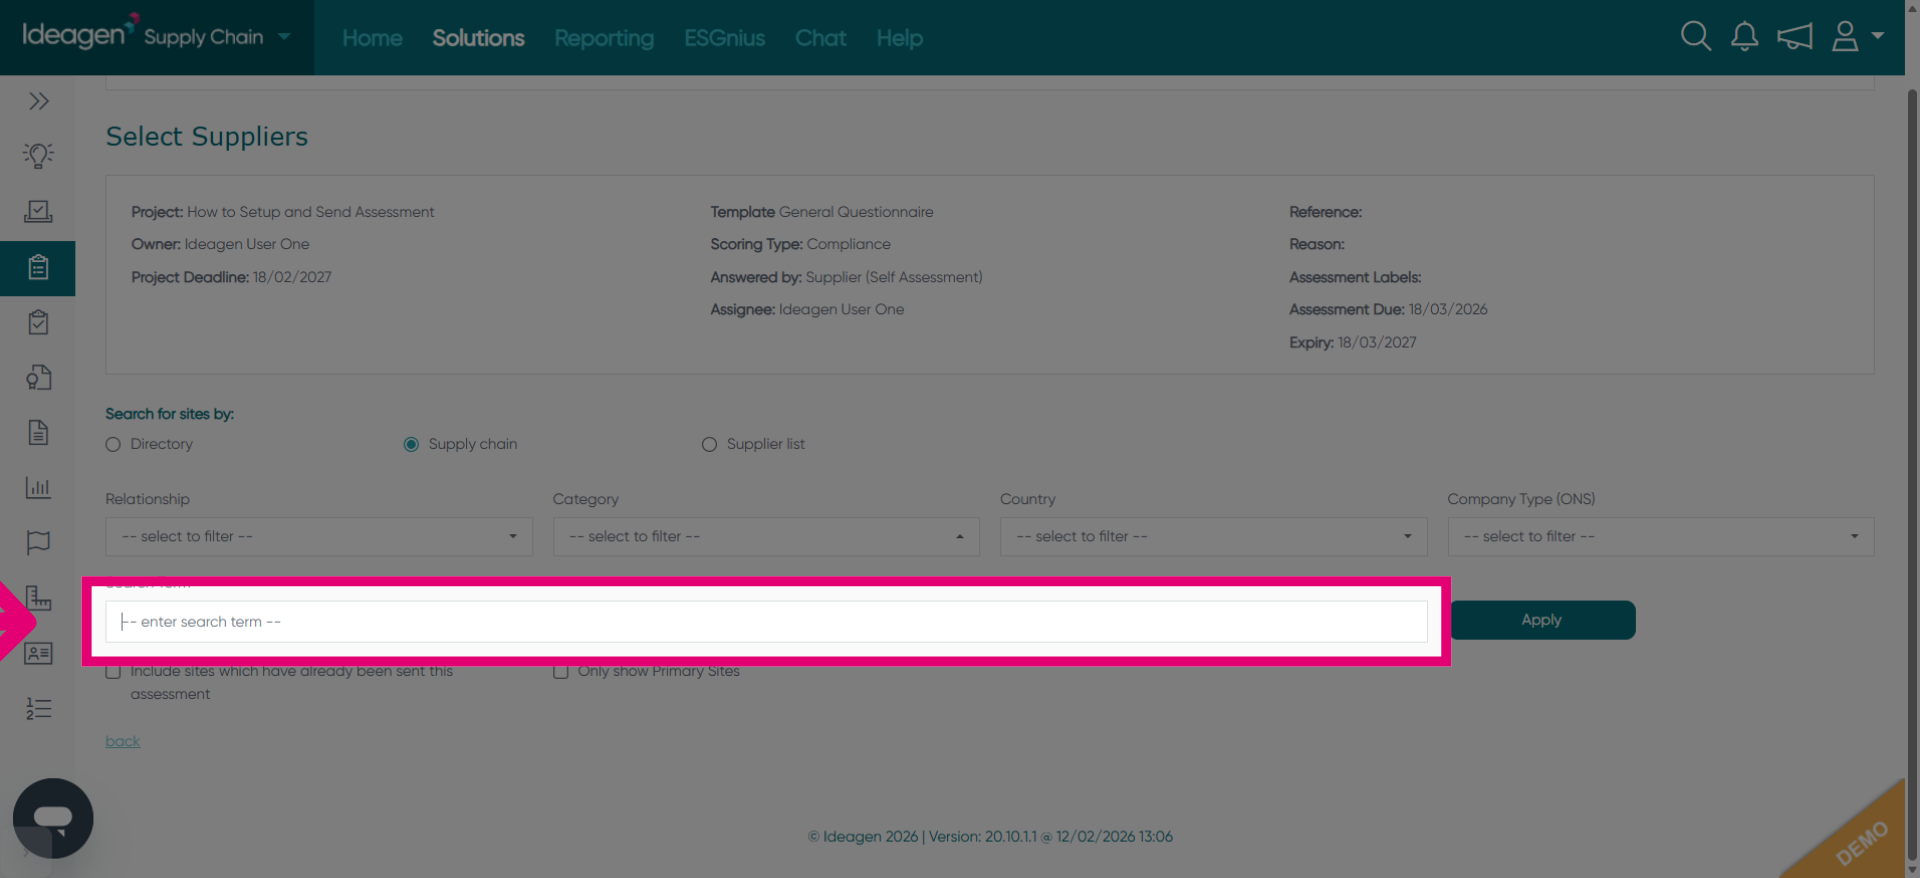
Fill in the search term, such as "Authentic", to locate specific users or contacts.
Click Apply to filter the user list based on the search term.
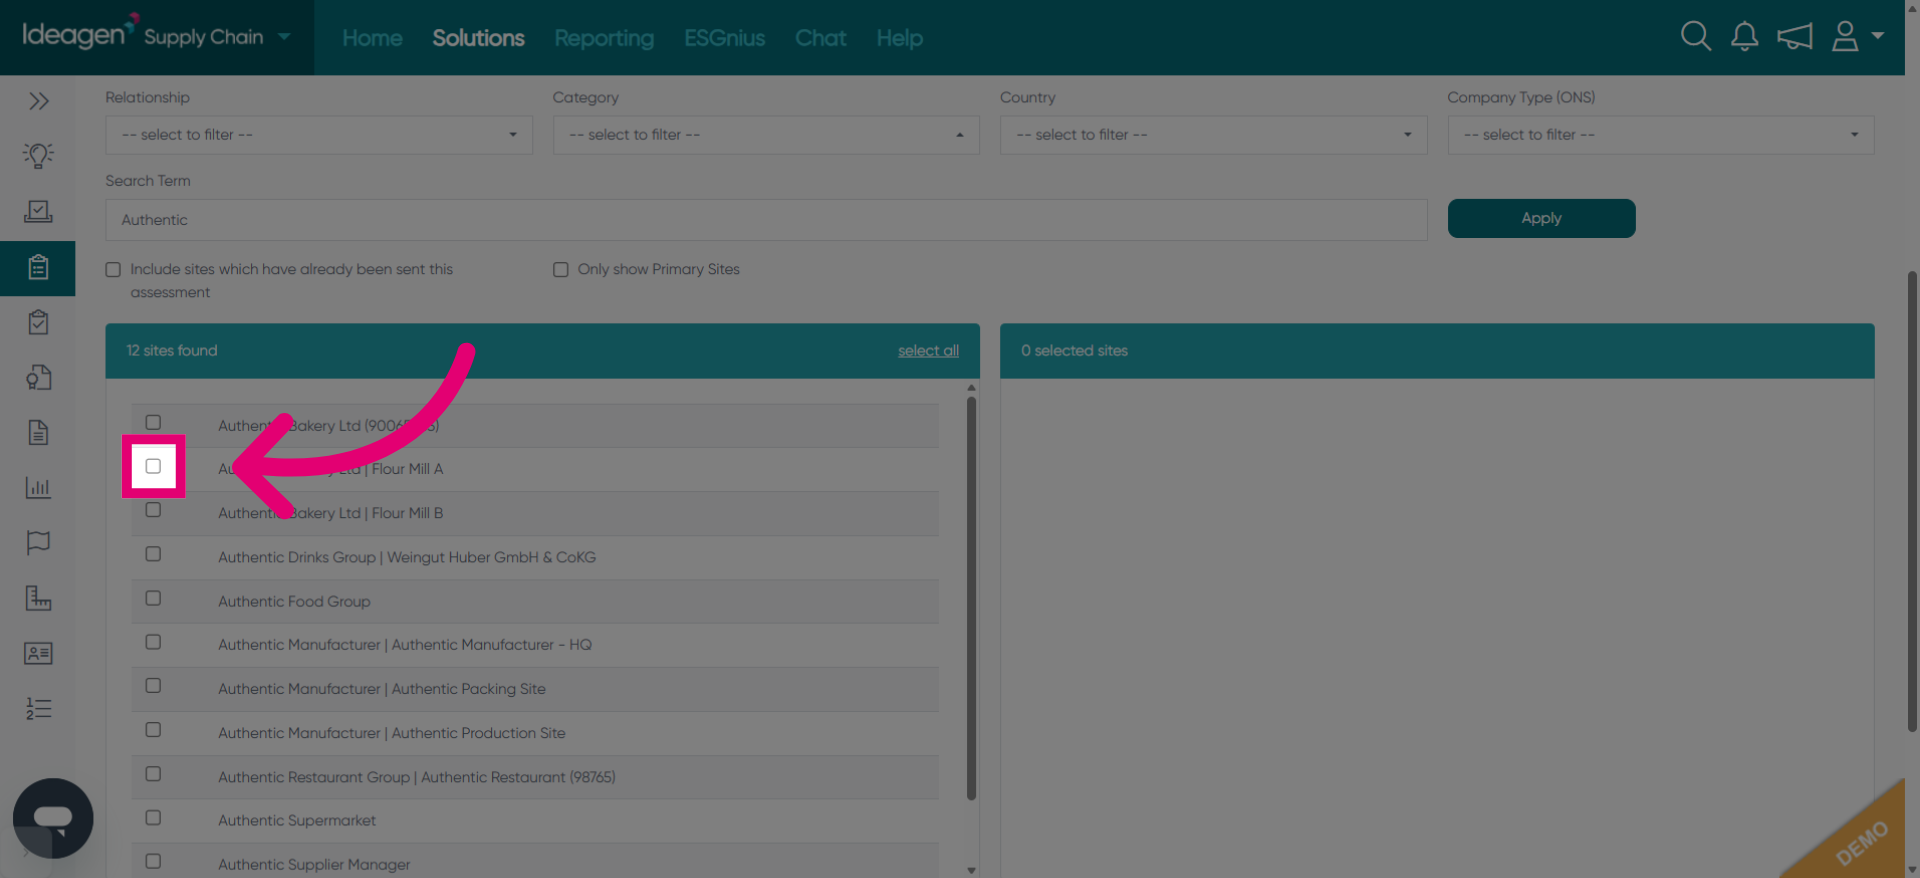
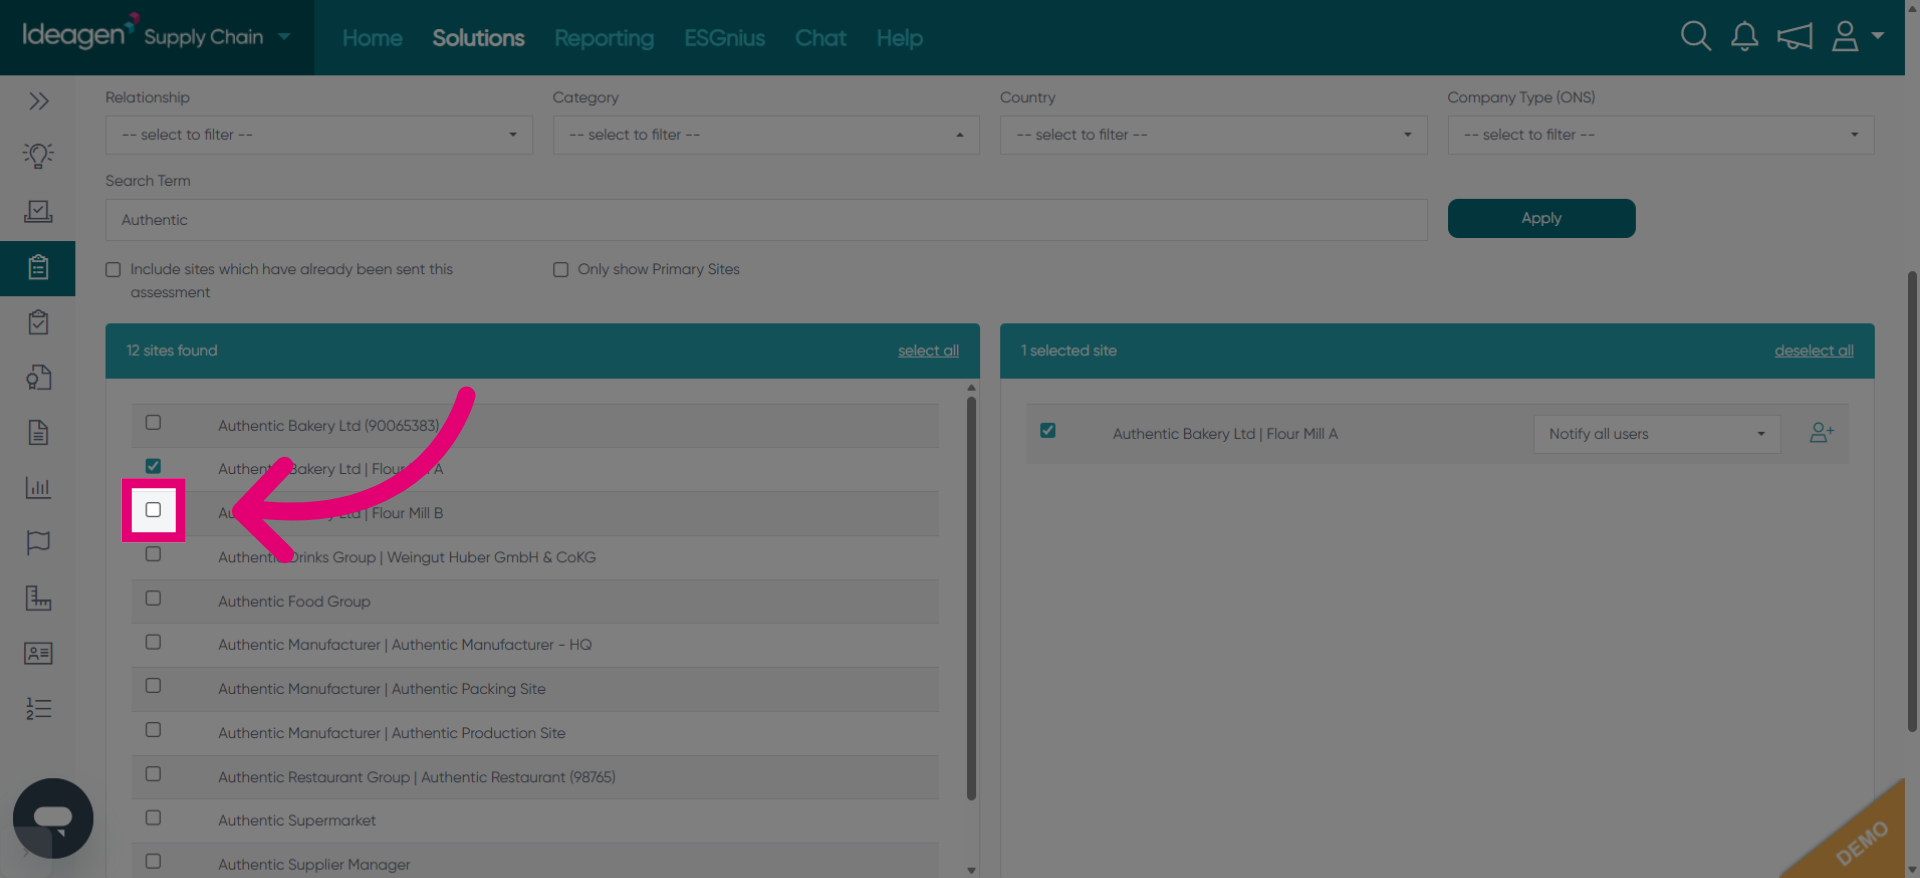
Click Authentic Bakery Ltd Flour Mill A to choose a user or contact for notification.
Fill in the user identifier field with a unique code or reference.
Click Authentic Bakery Ltd Flour Mill B to add another contact for assessment.
Fill in the identifier field for the additional contact with the appropriate code.
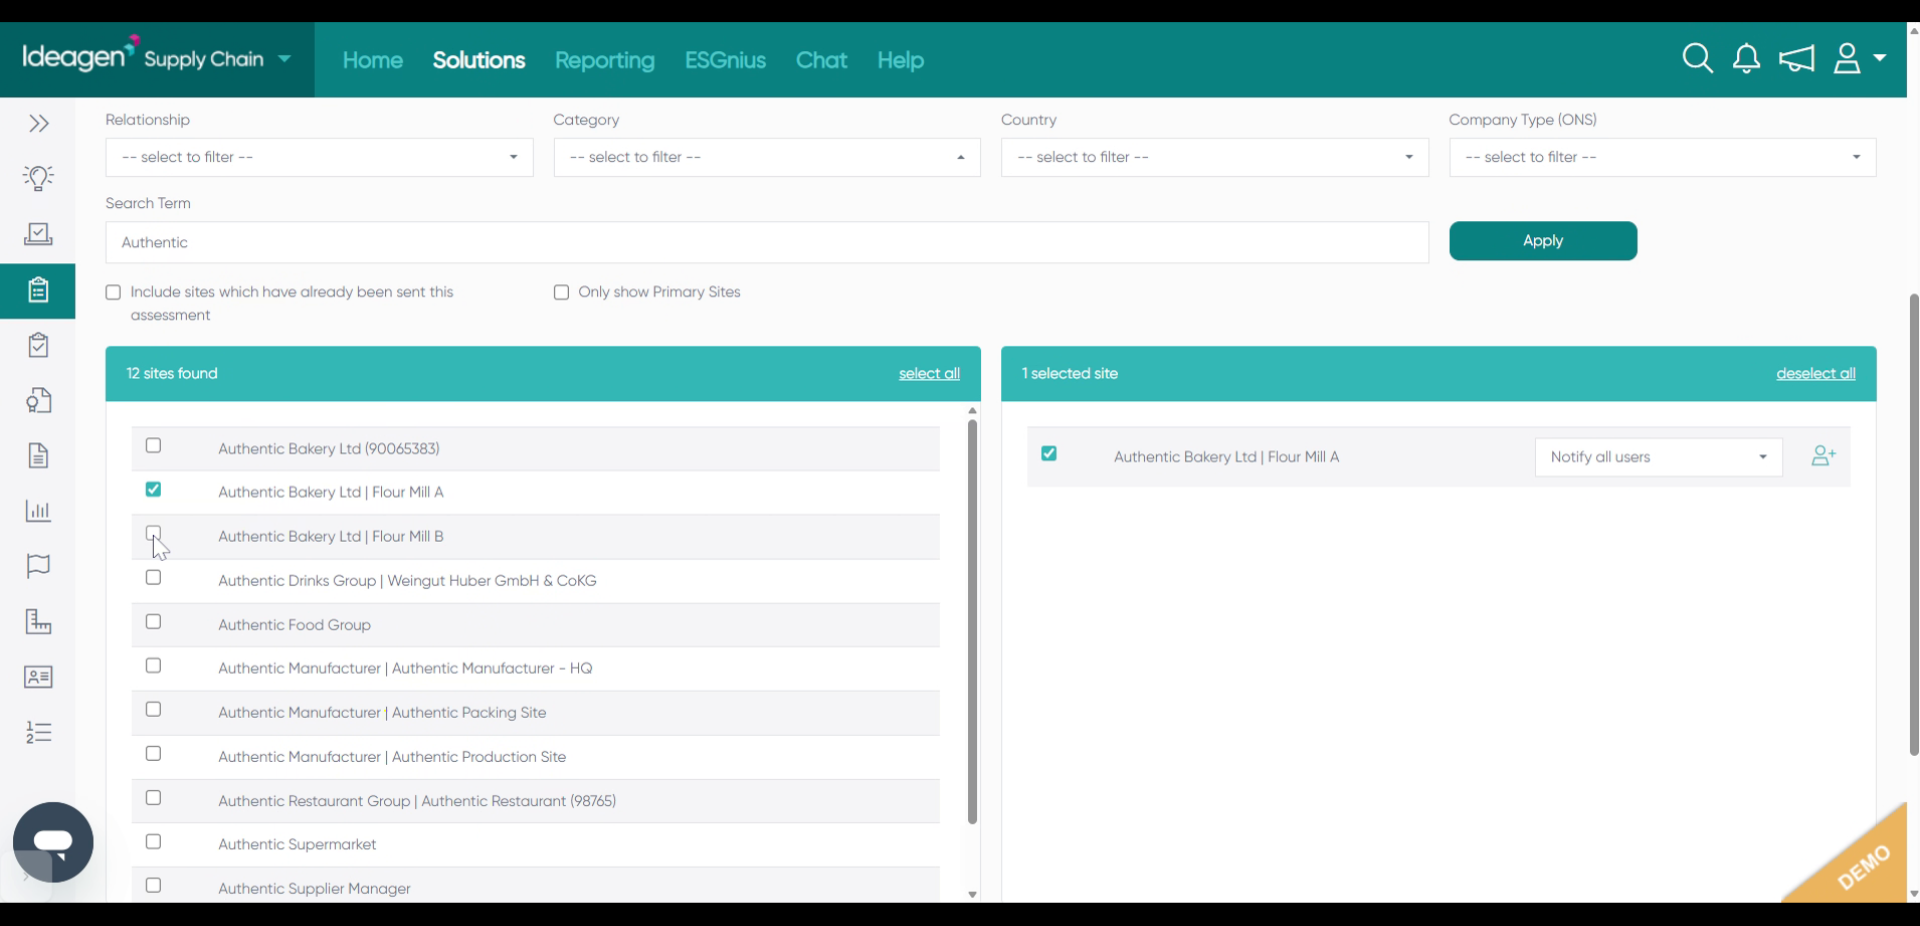
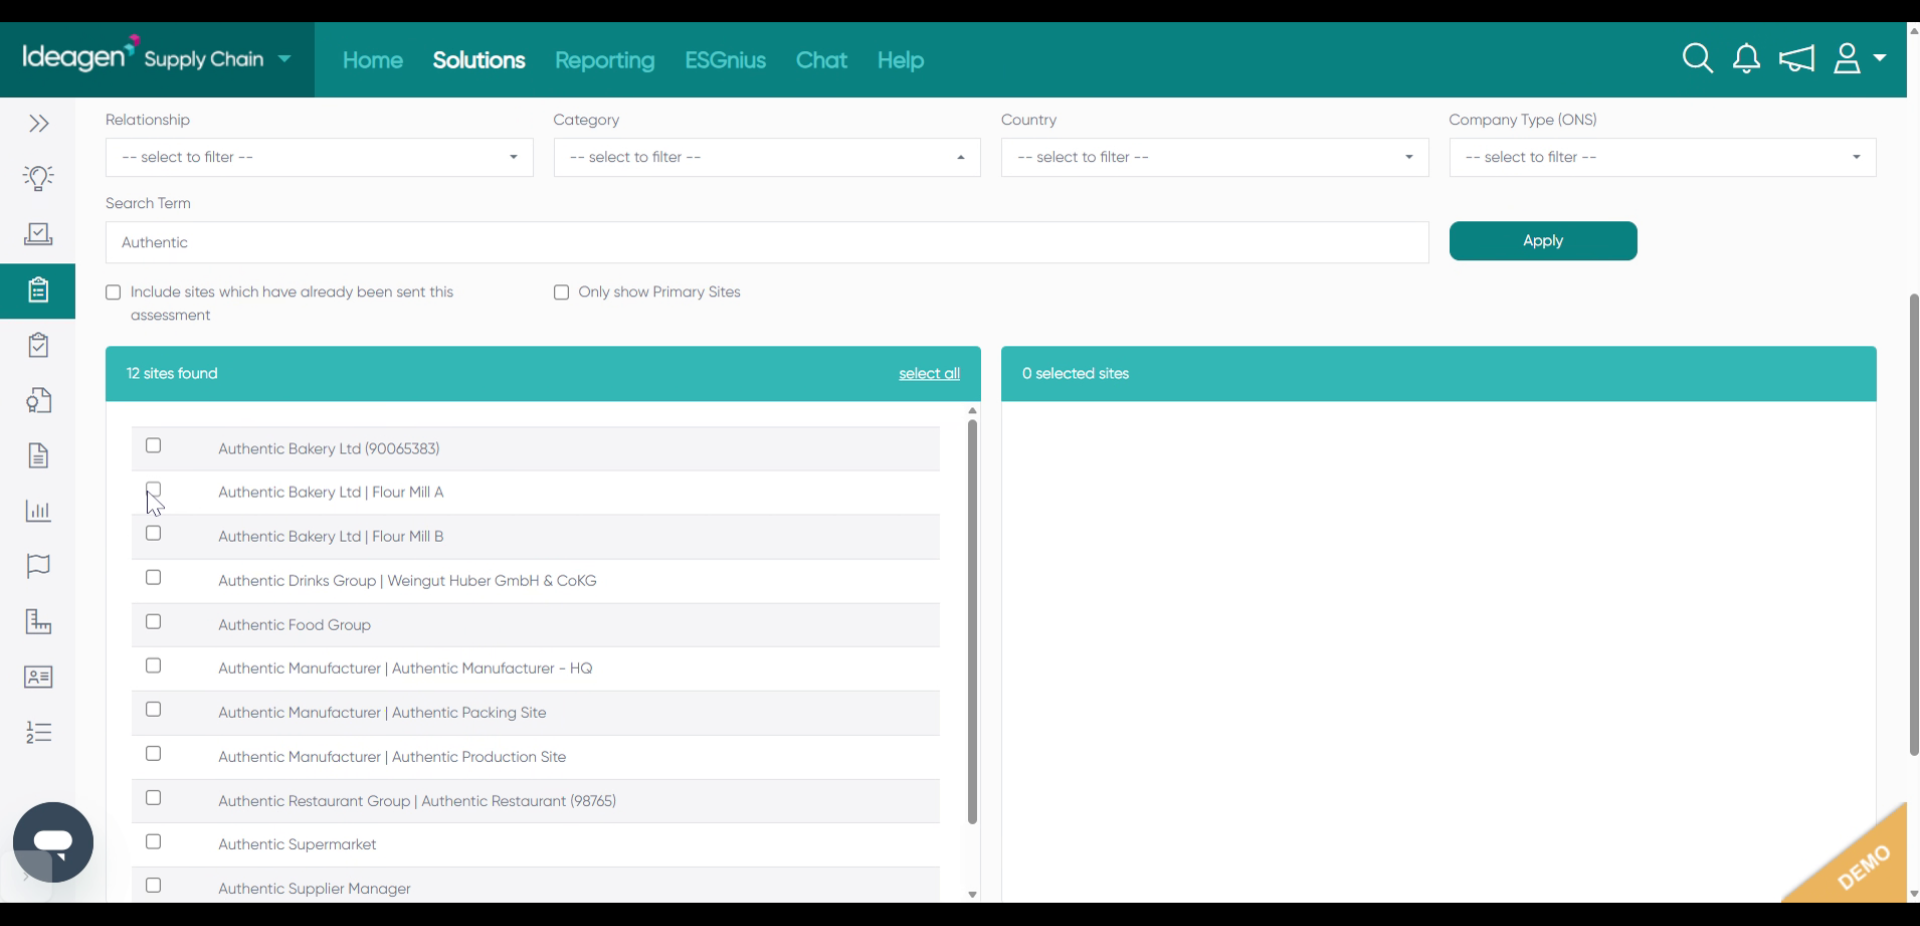
Click Only show Primary Sites to limit the view to main locations.
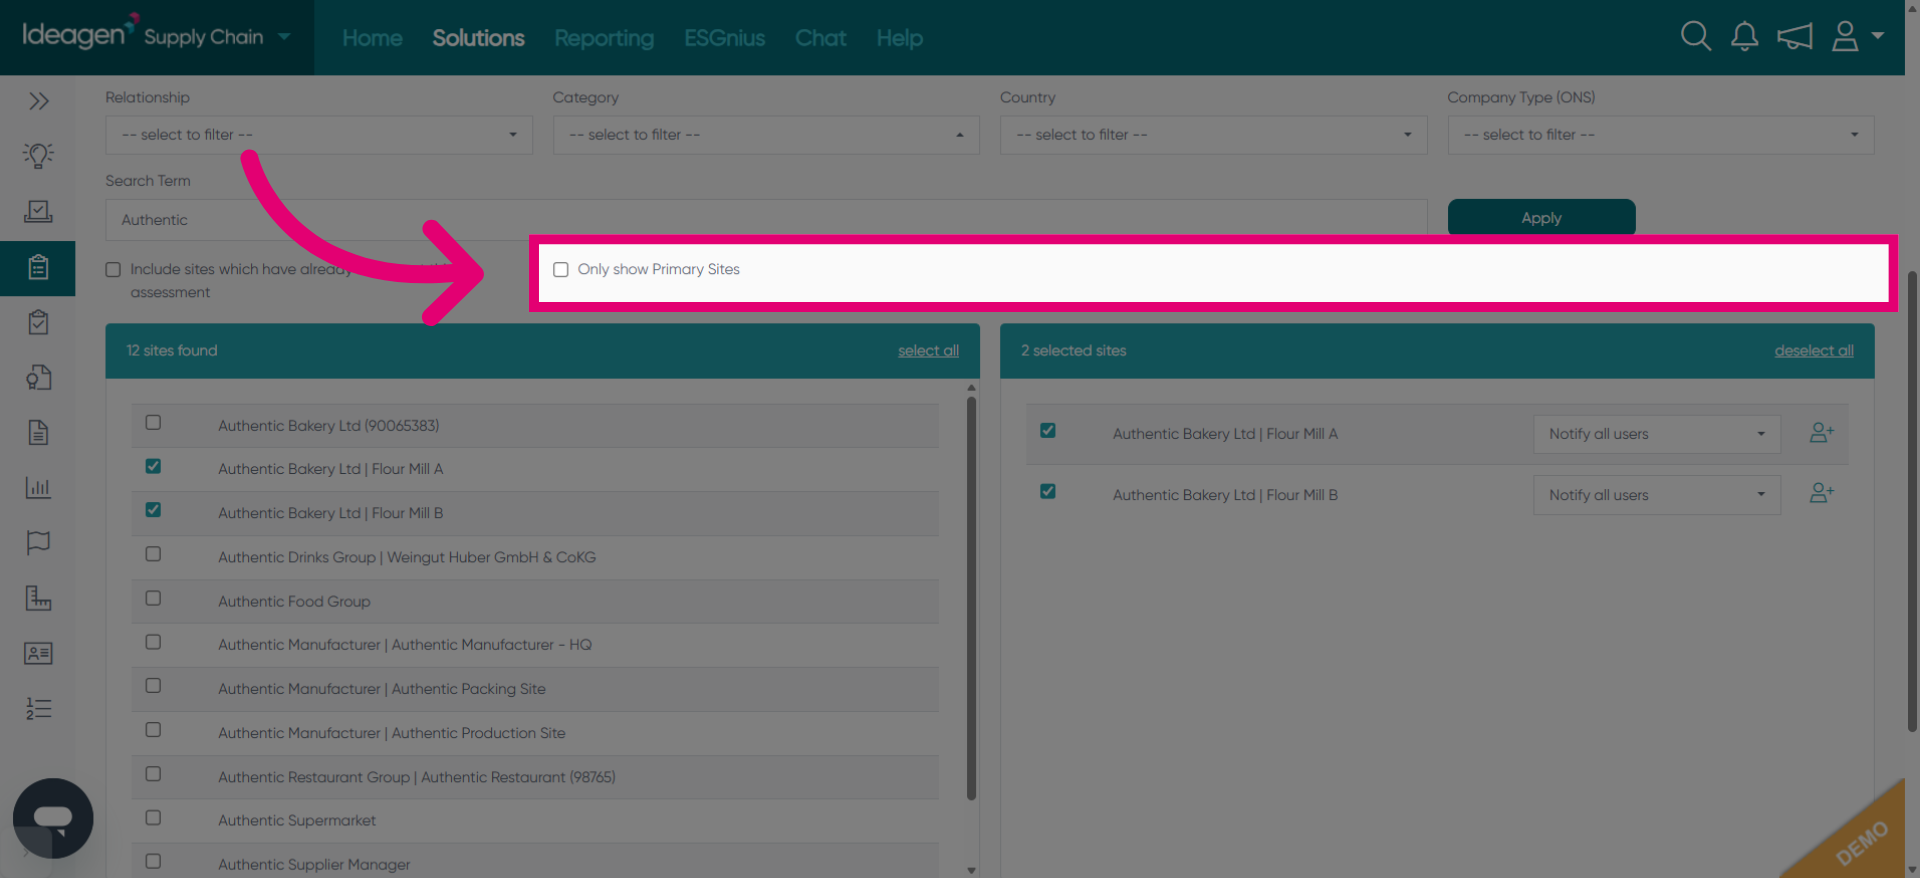
Click Notify all users to send notifications to all selected contacts.

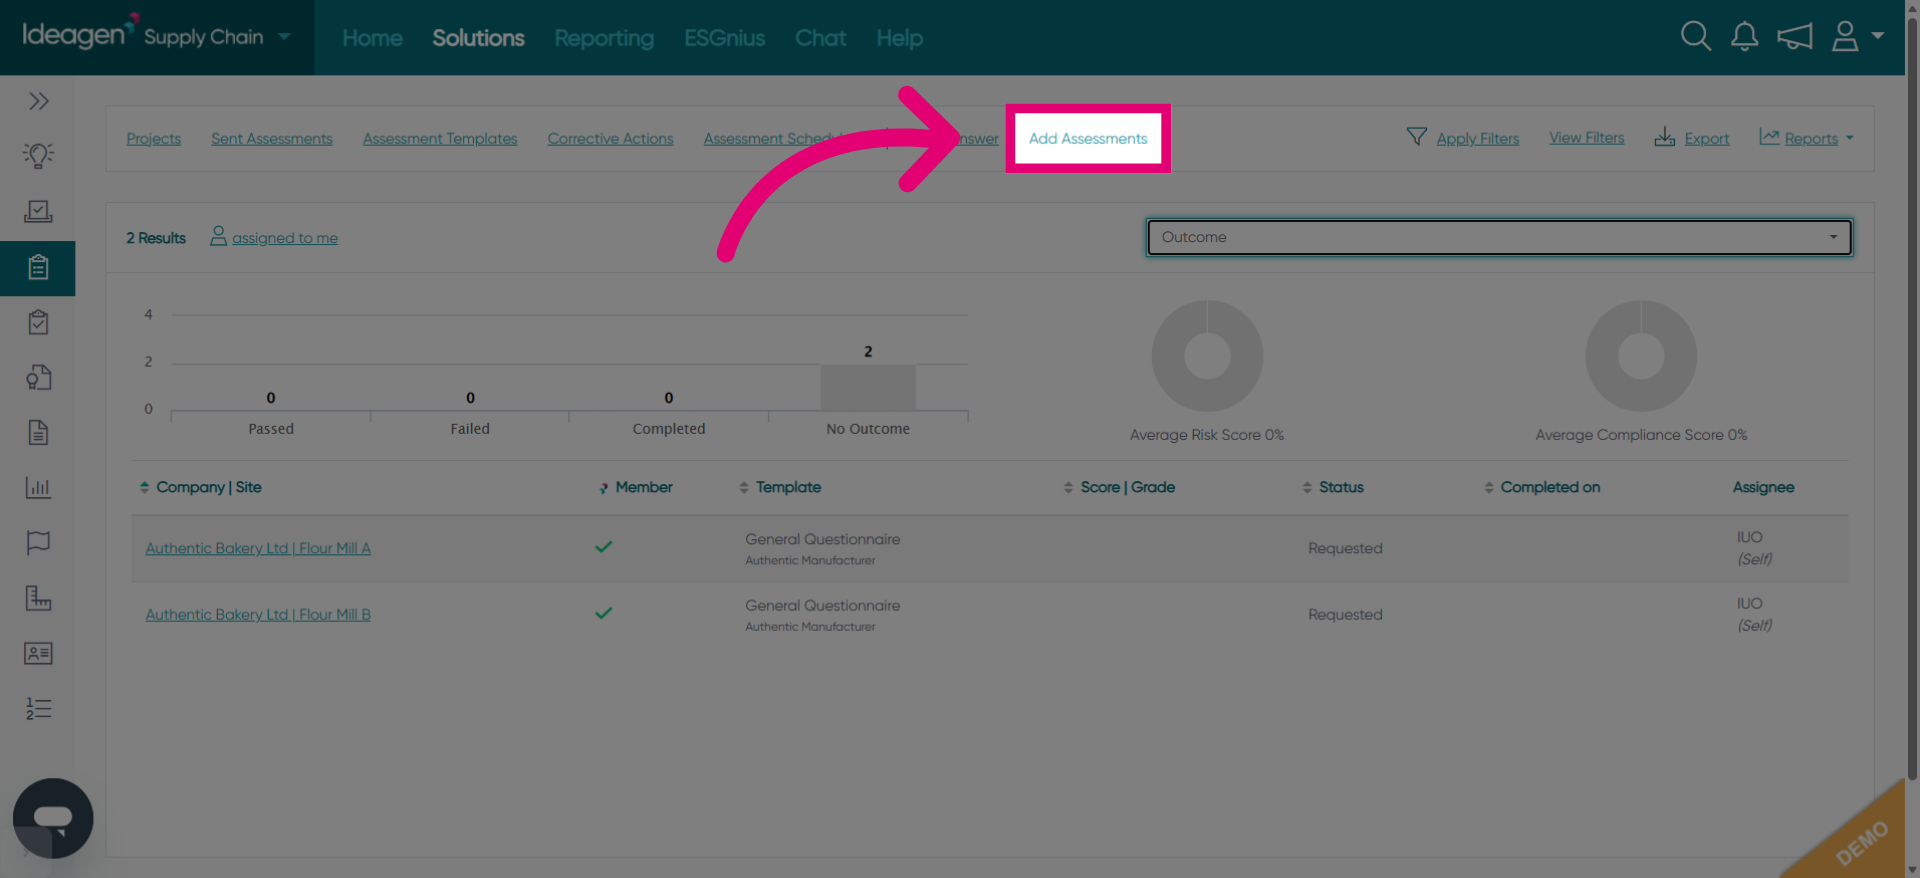
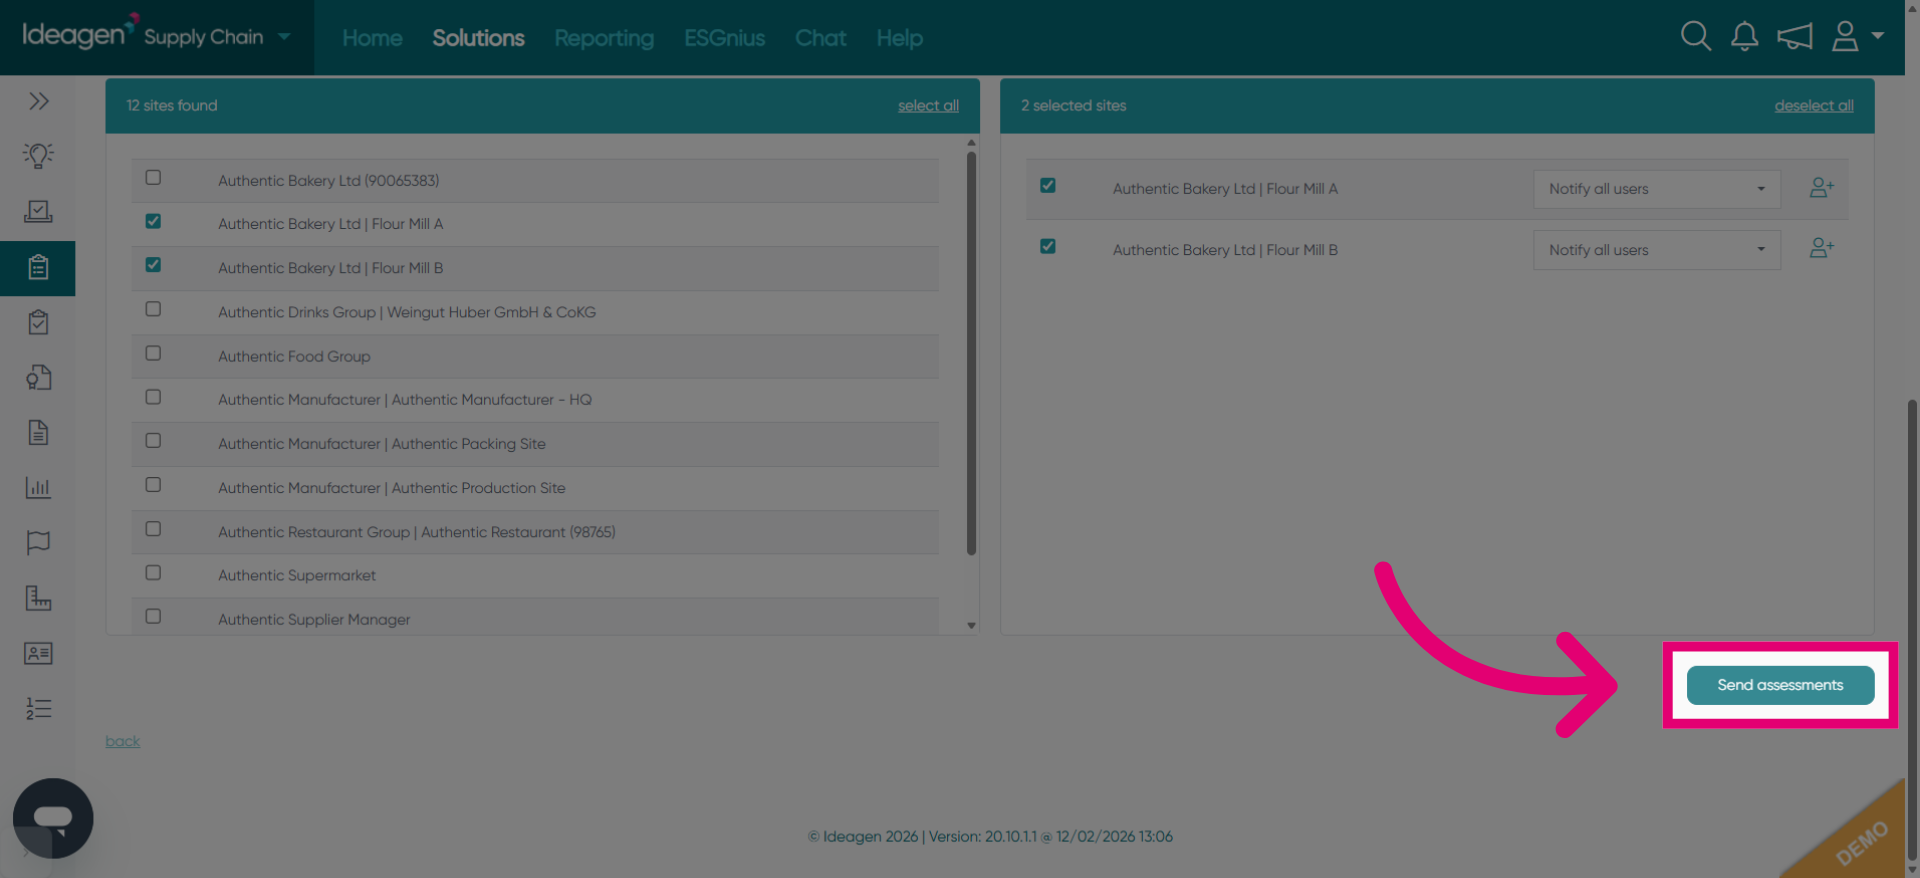
Click Send assessments to distribute the assessments to the selected users.
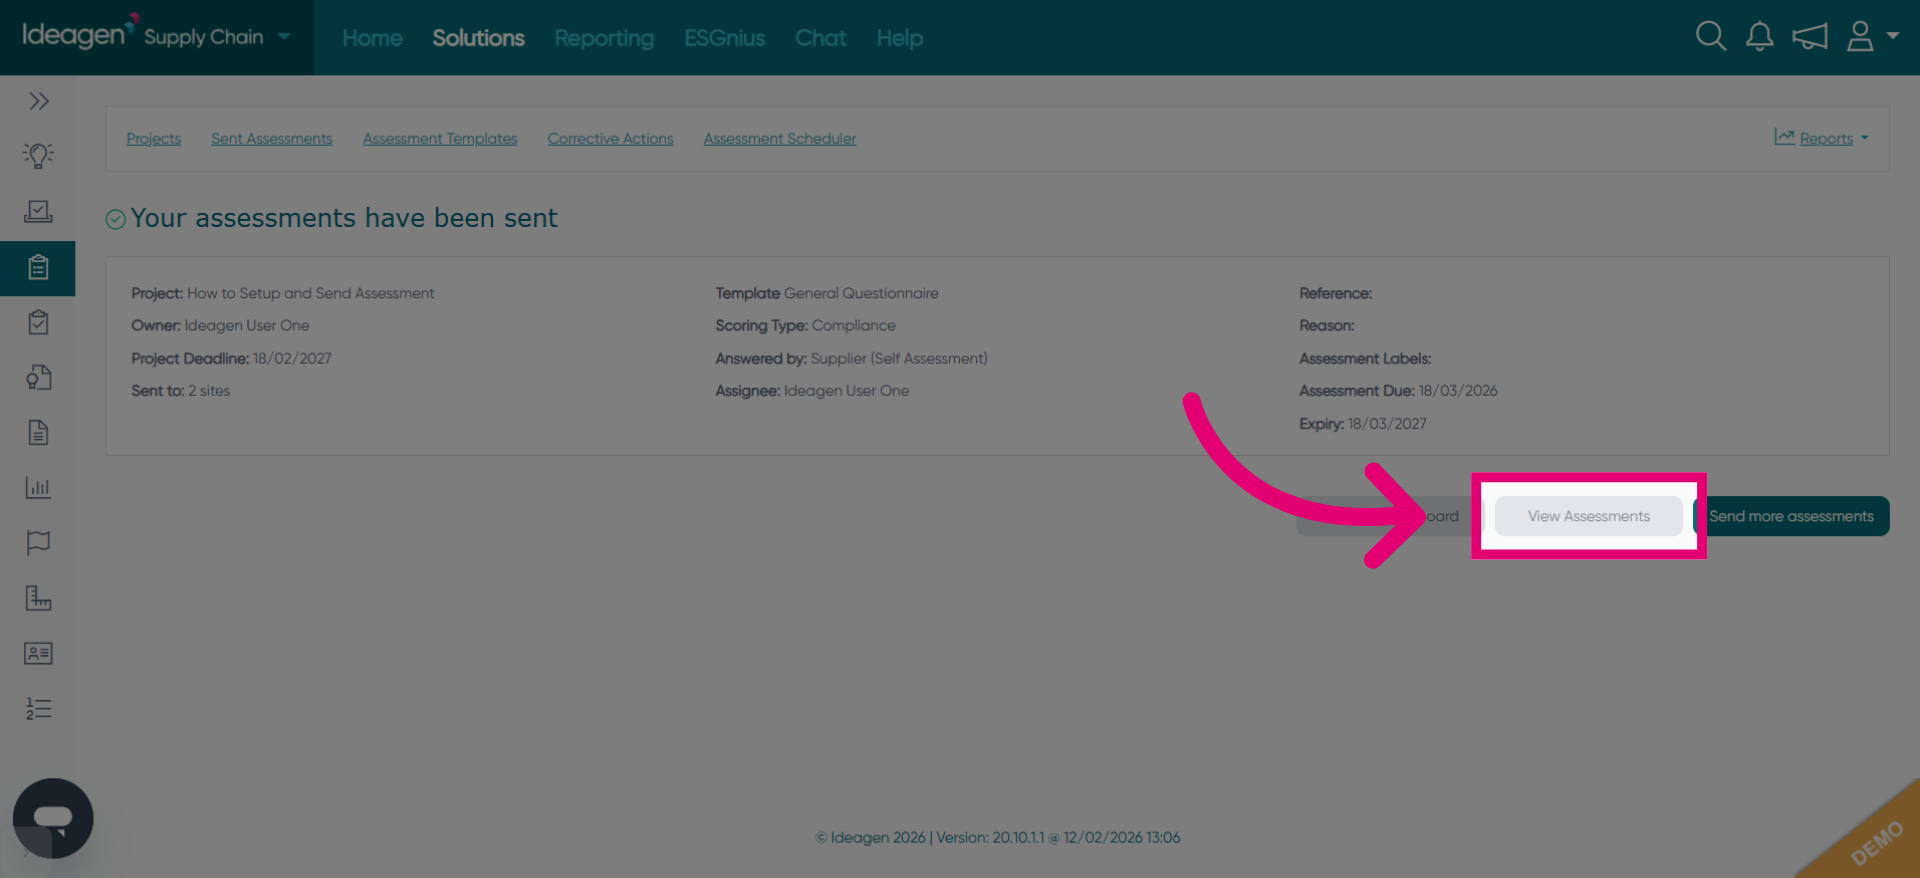
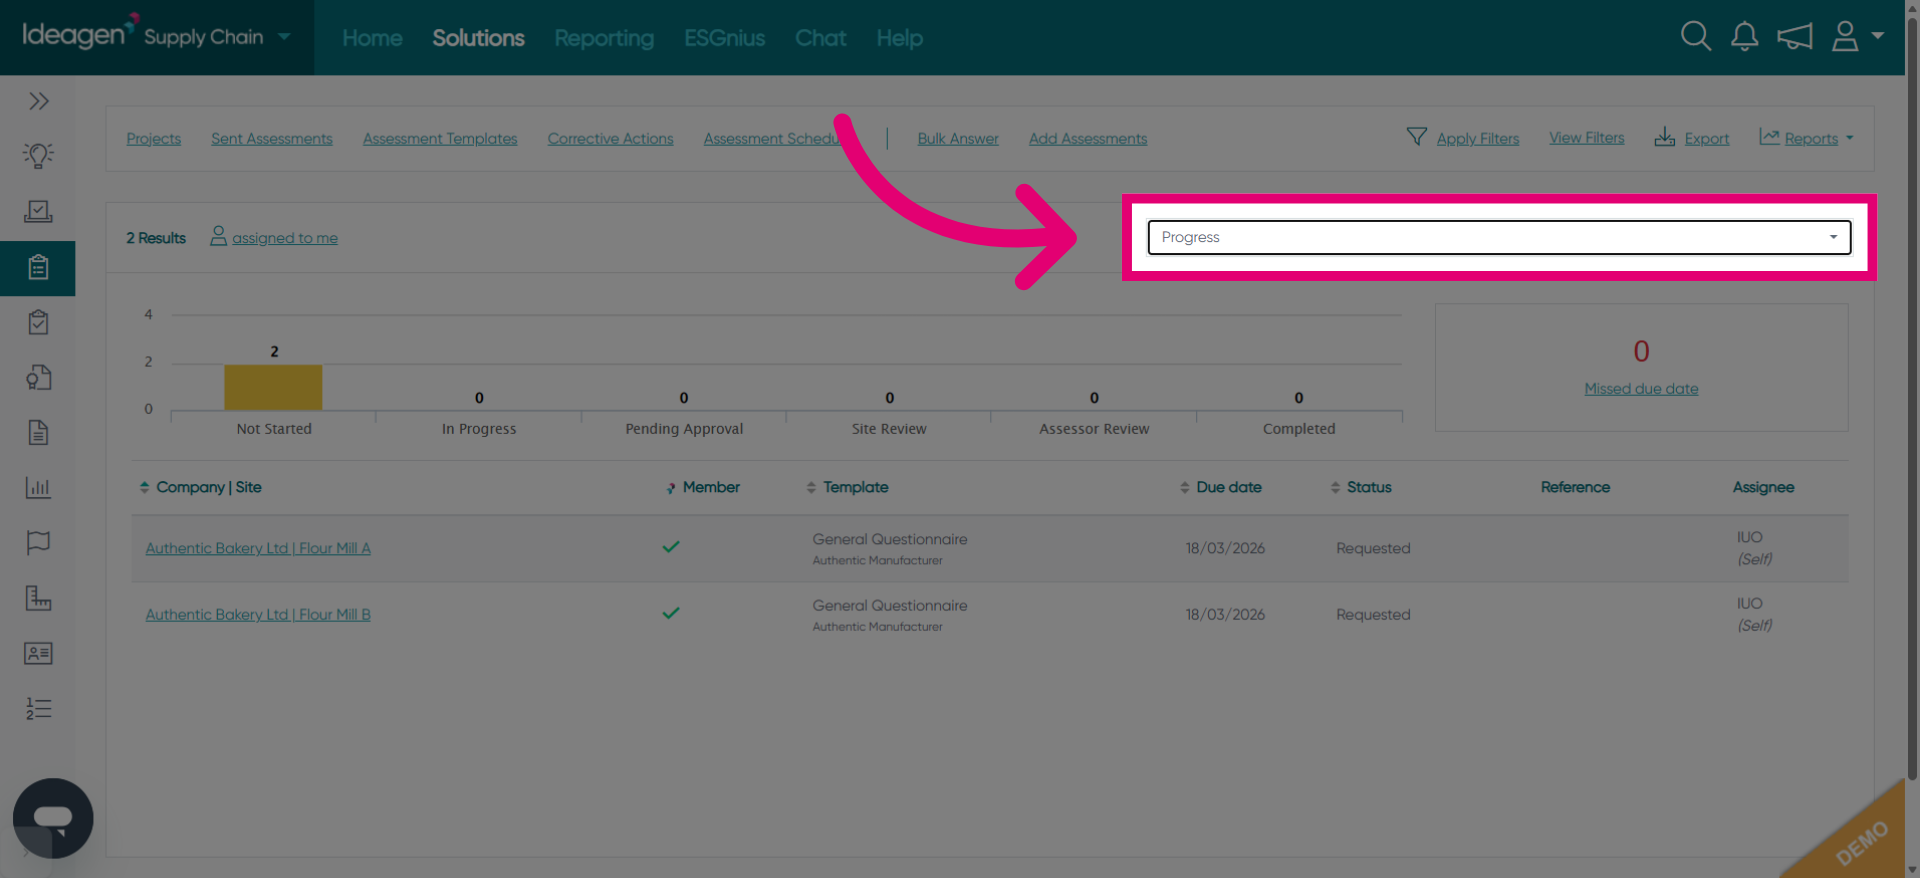
Click View Assessments to monitor the status and progress of sent assessments.
Click Progress to see how far users have completed their assessments.
Click Add Assessments to include additional assessments to the project.