New article
Recently updated
Managing supplier relationships and contacts

Who is this article for?
Users viewing a supplier profile.
Company user permissions are required.
This article walks you through configuring supplier relationships and adding supplier contacts within the Chain application.
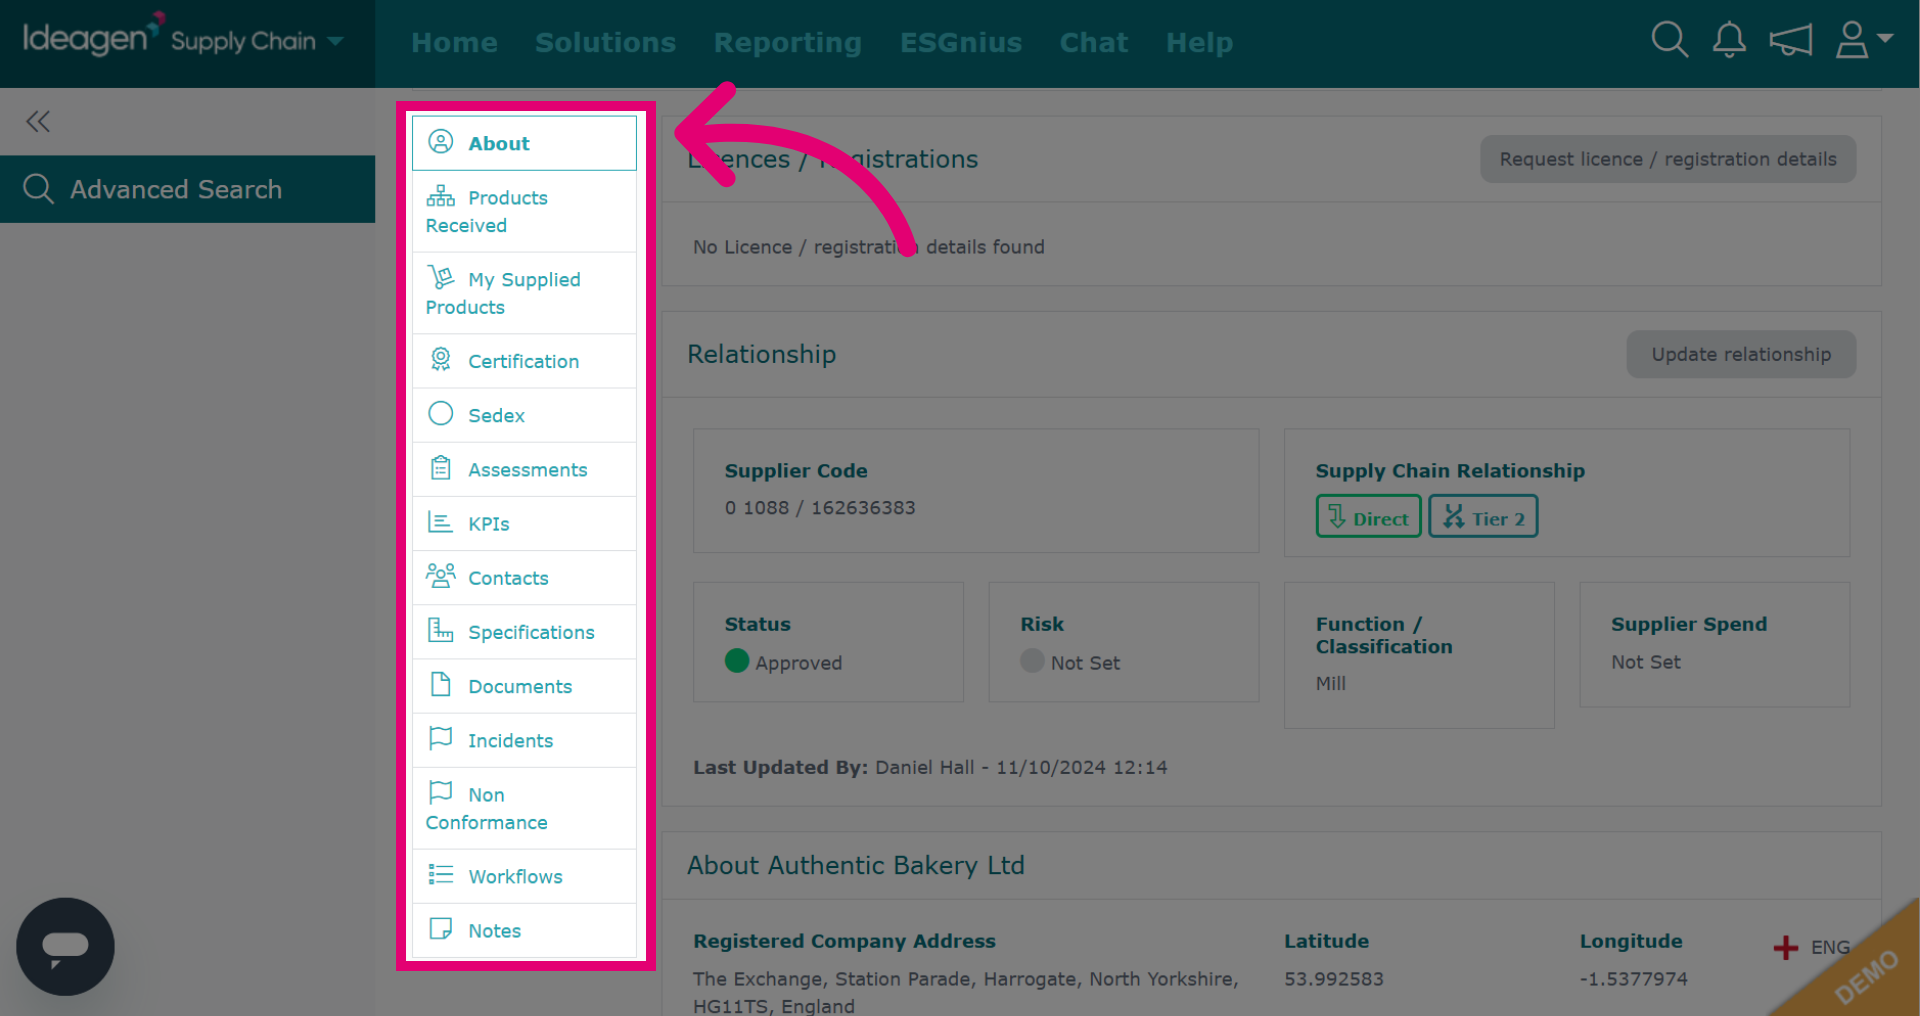
Managing supplier relationships
Supplier
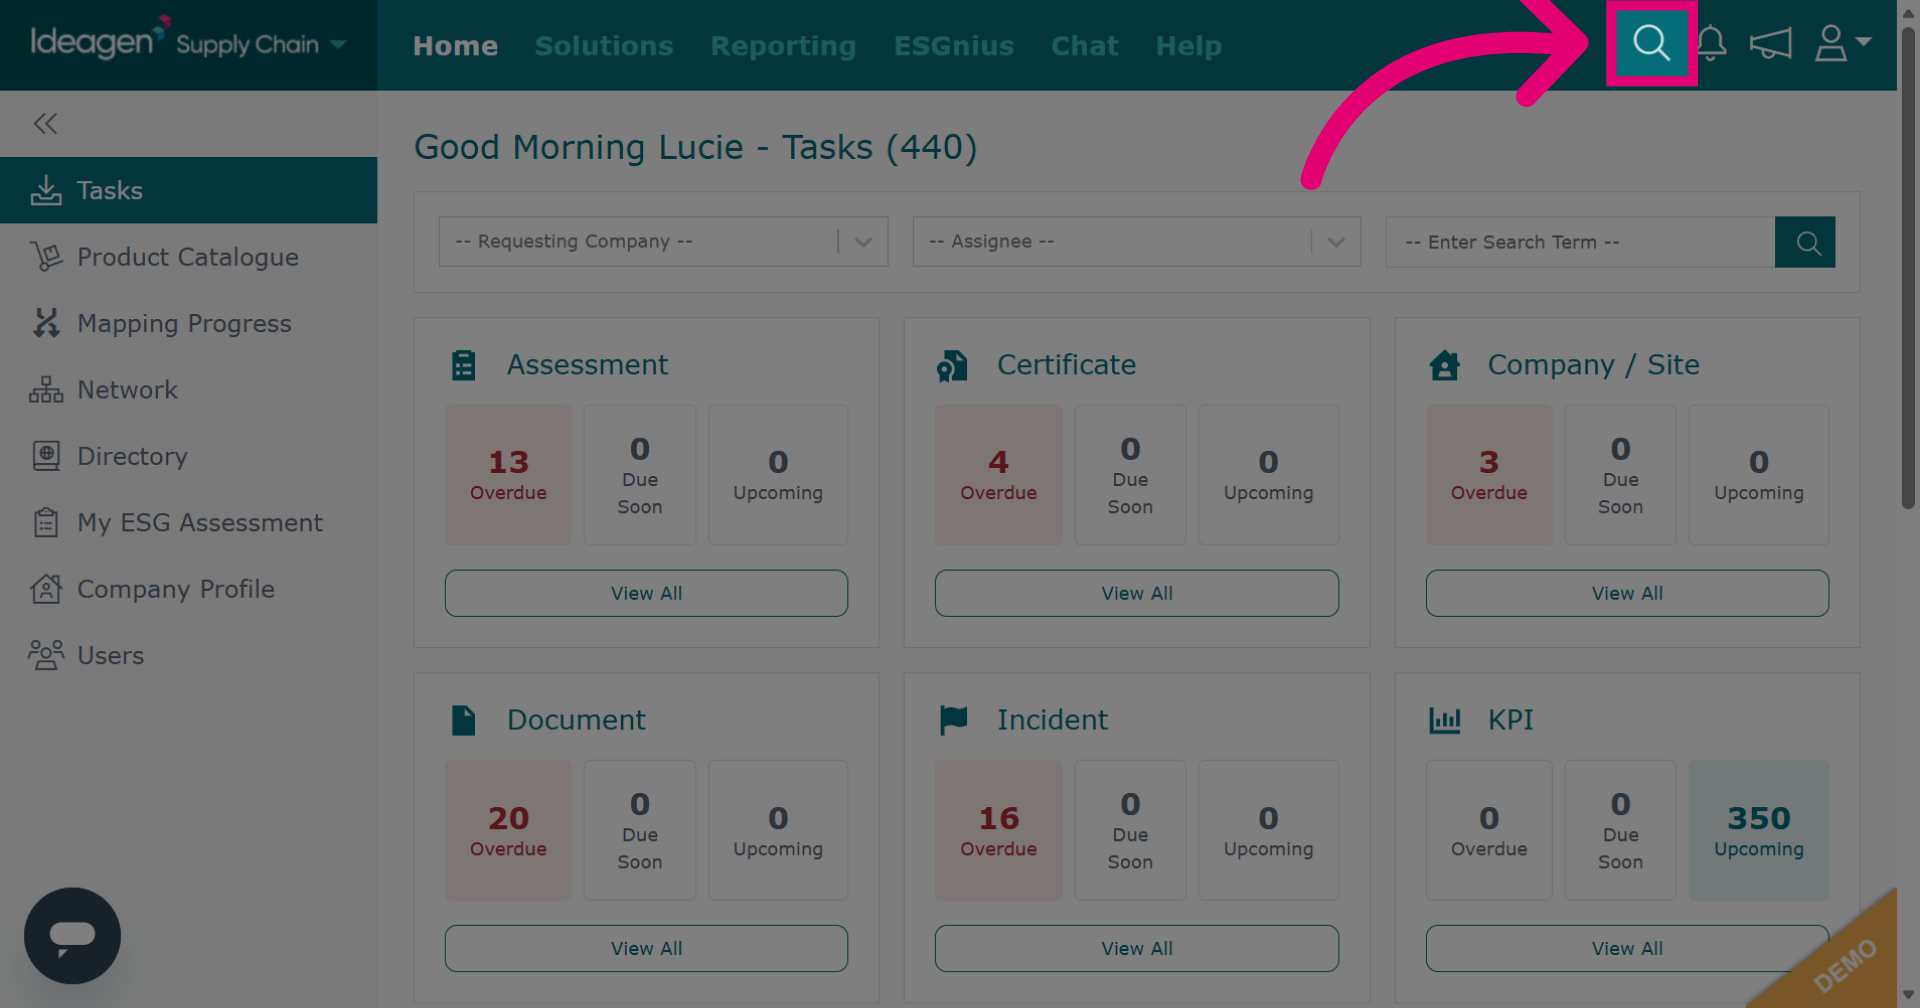
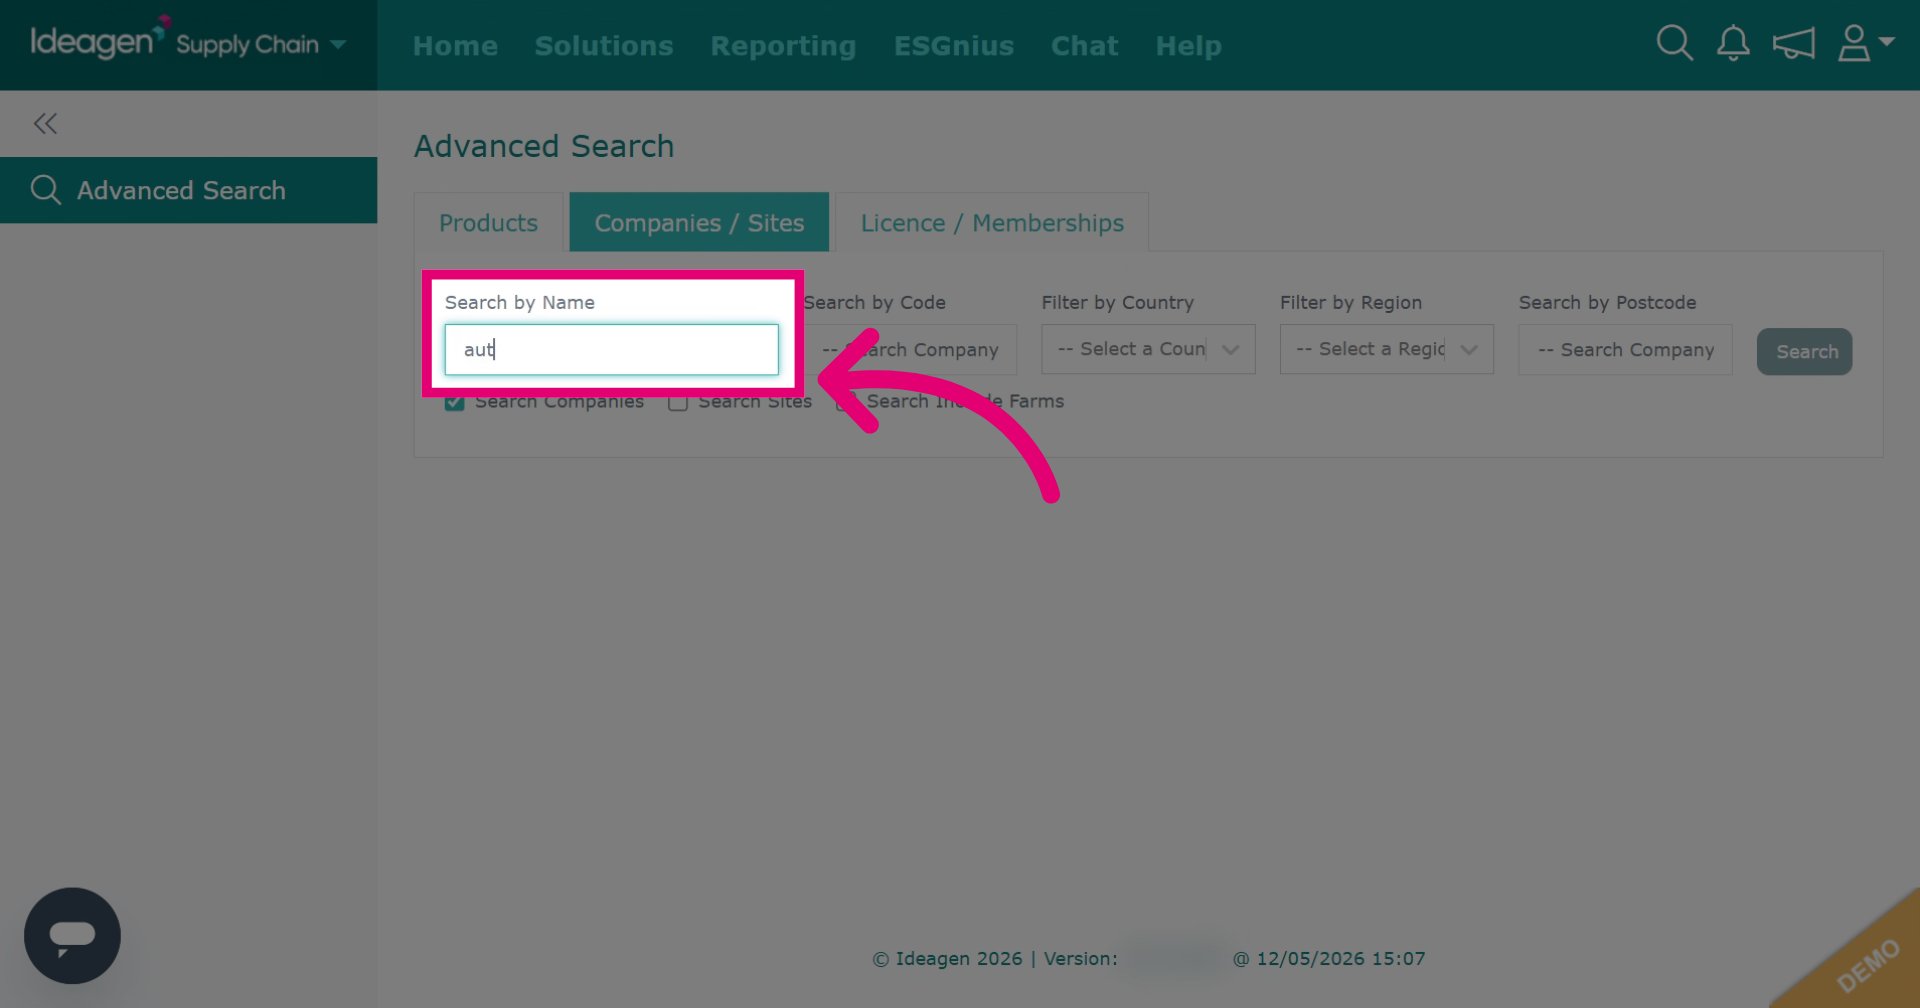
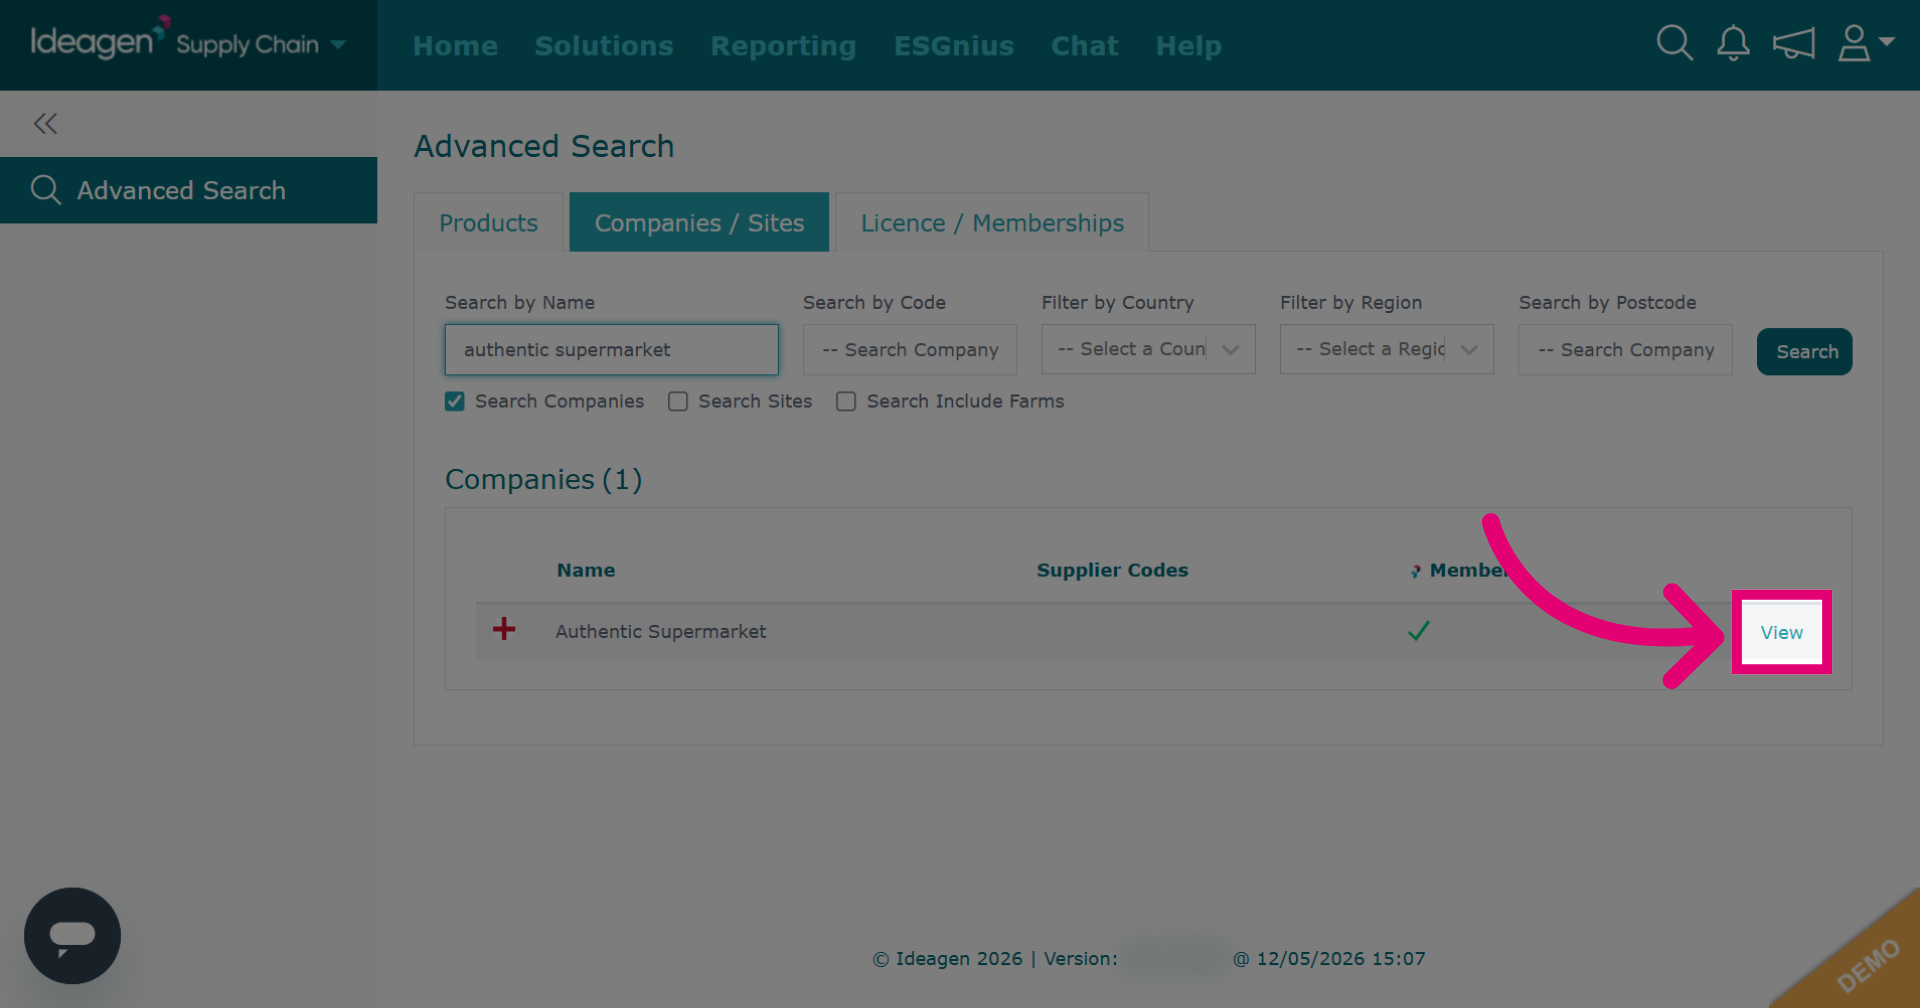
To manage supplier relationships:
- Open the company search.
- Enter the company Name into the search field.
- Click View to open their details page.
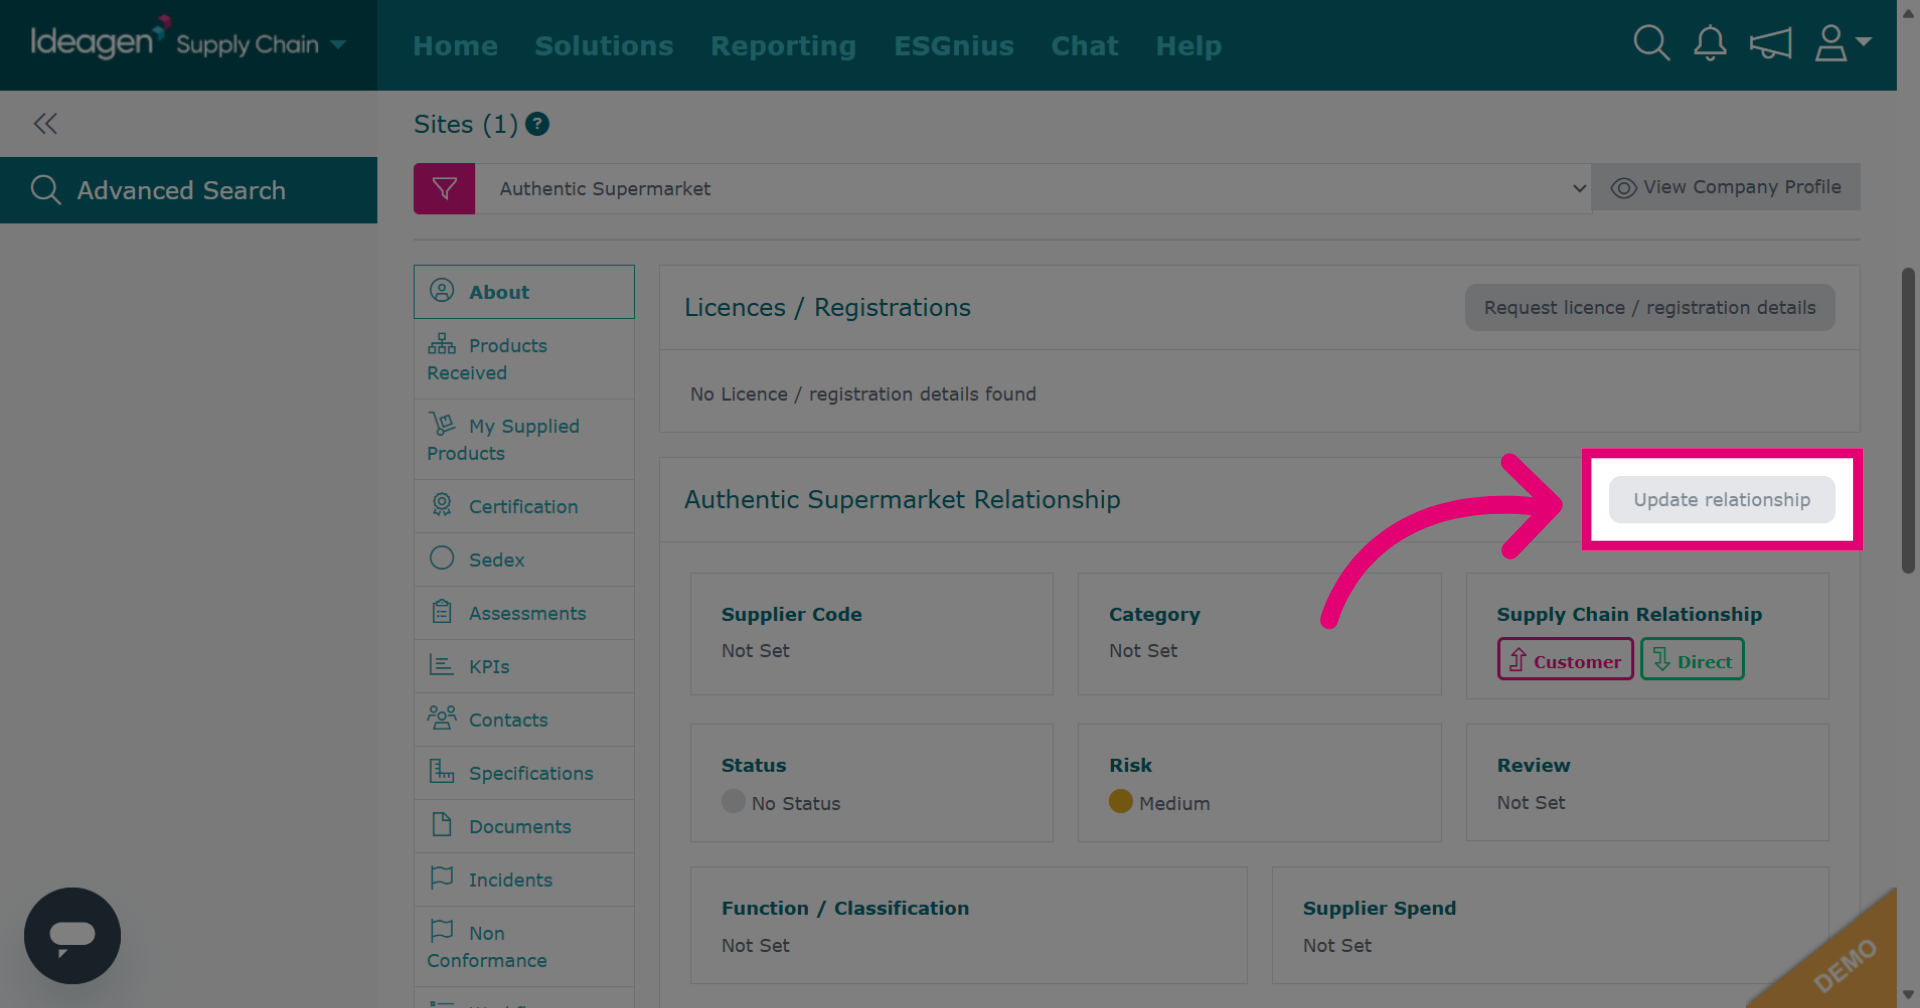
- Click Update relationship.
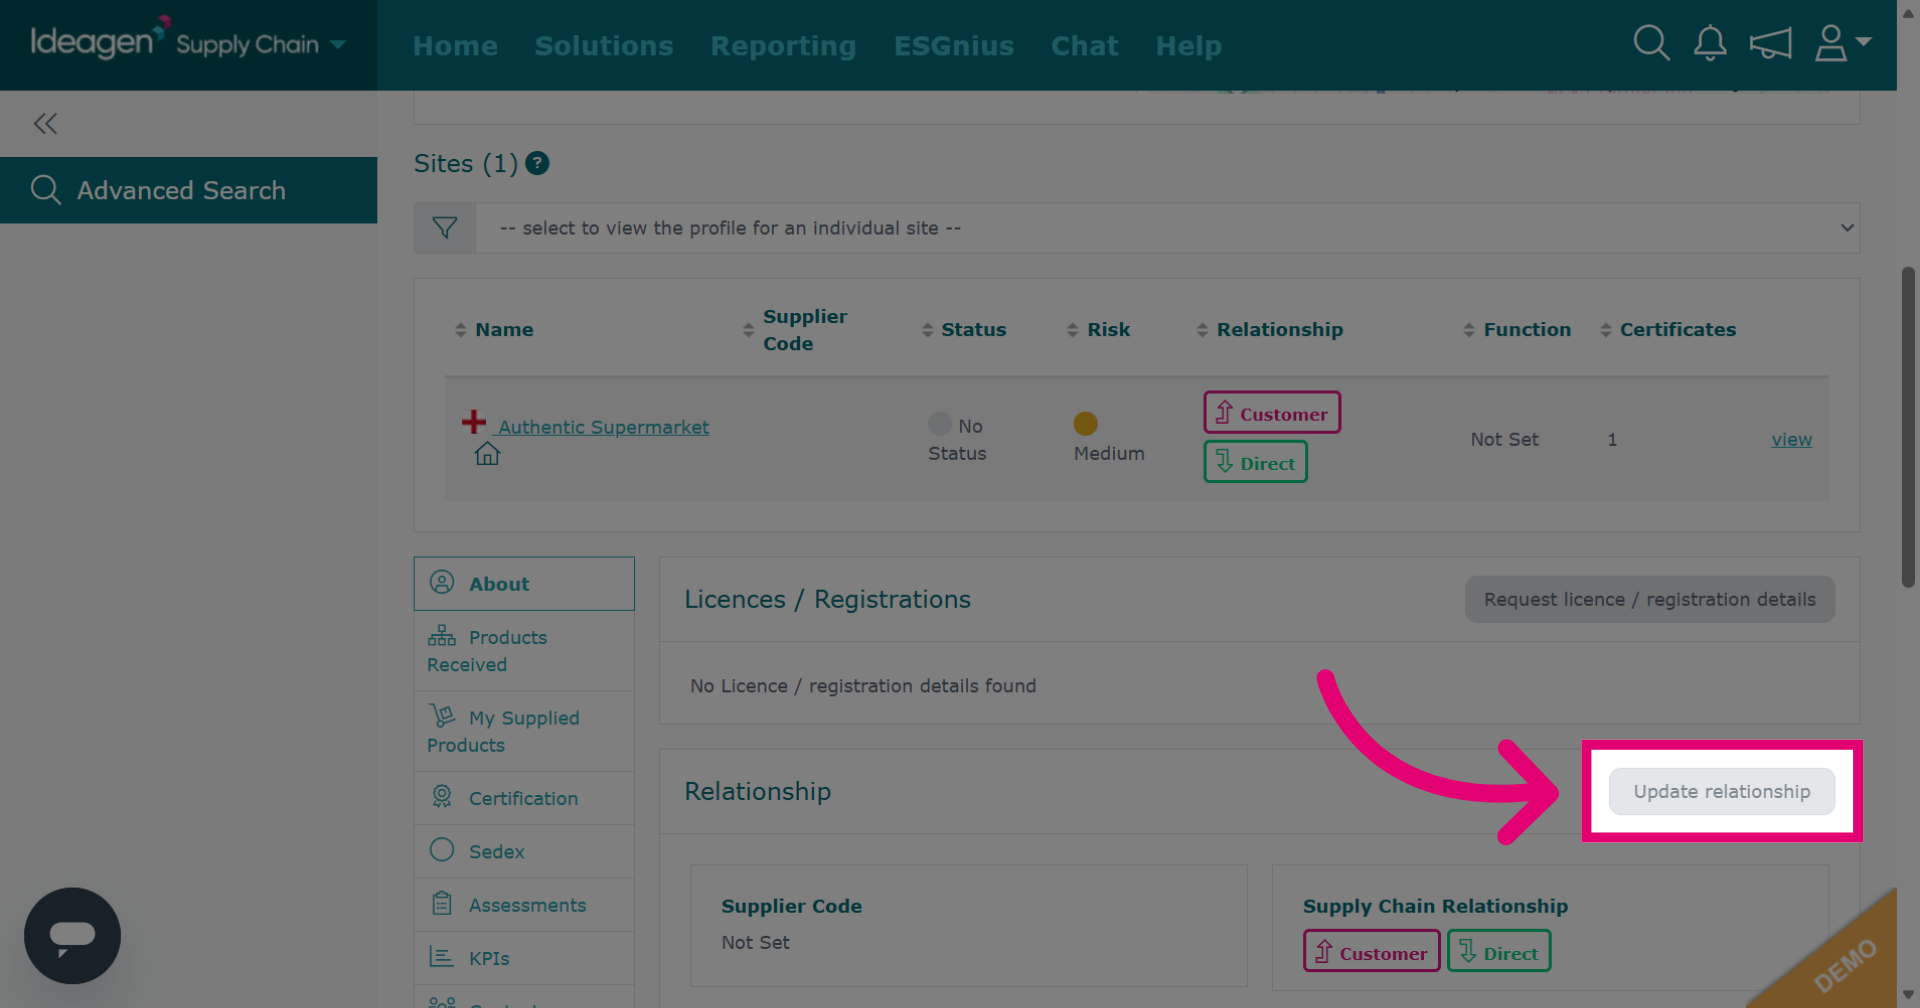
- Enter the Supplier code.
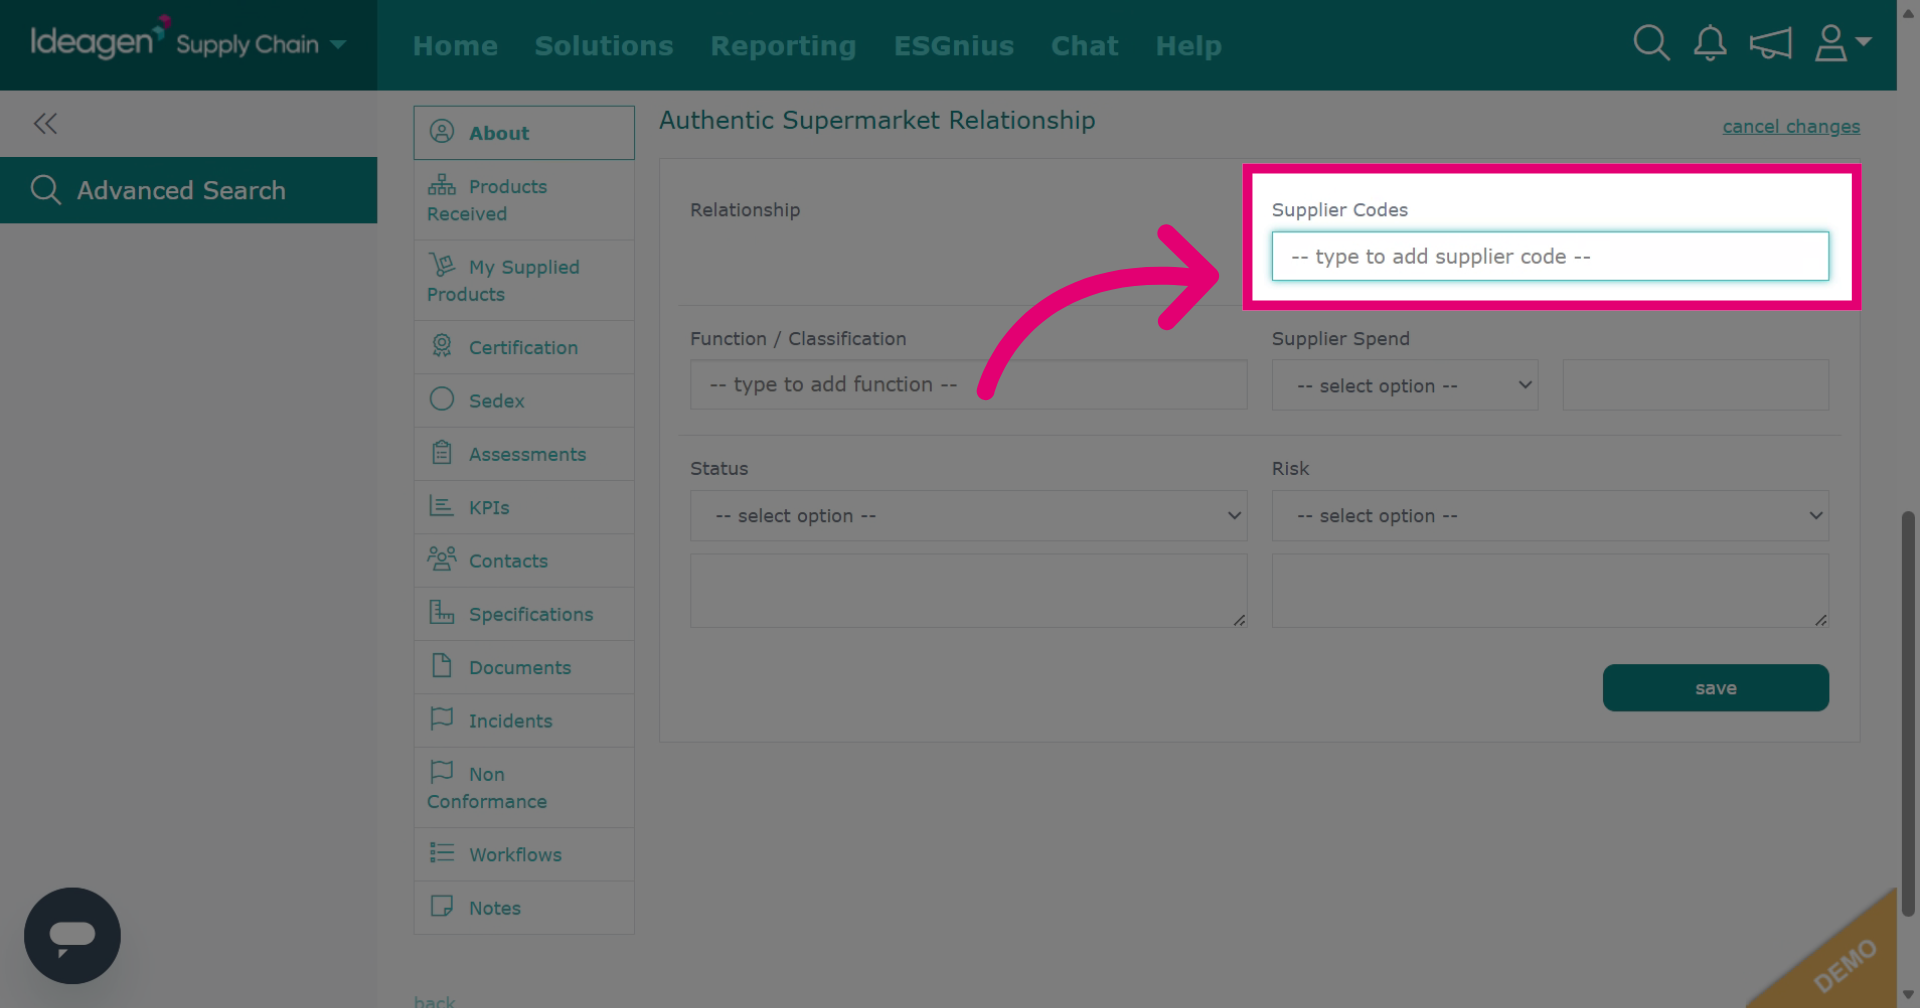
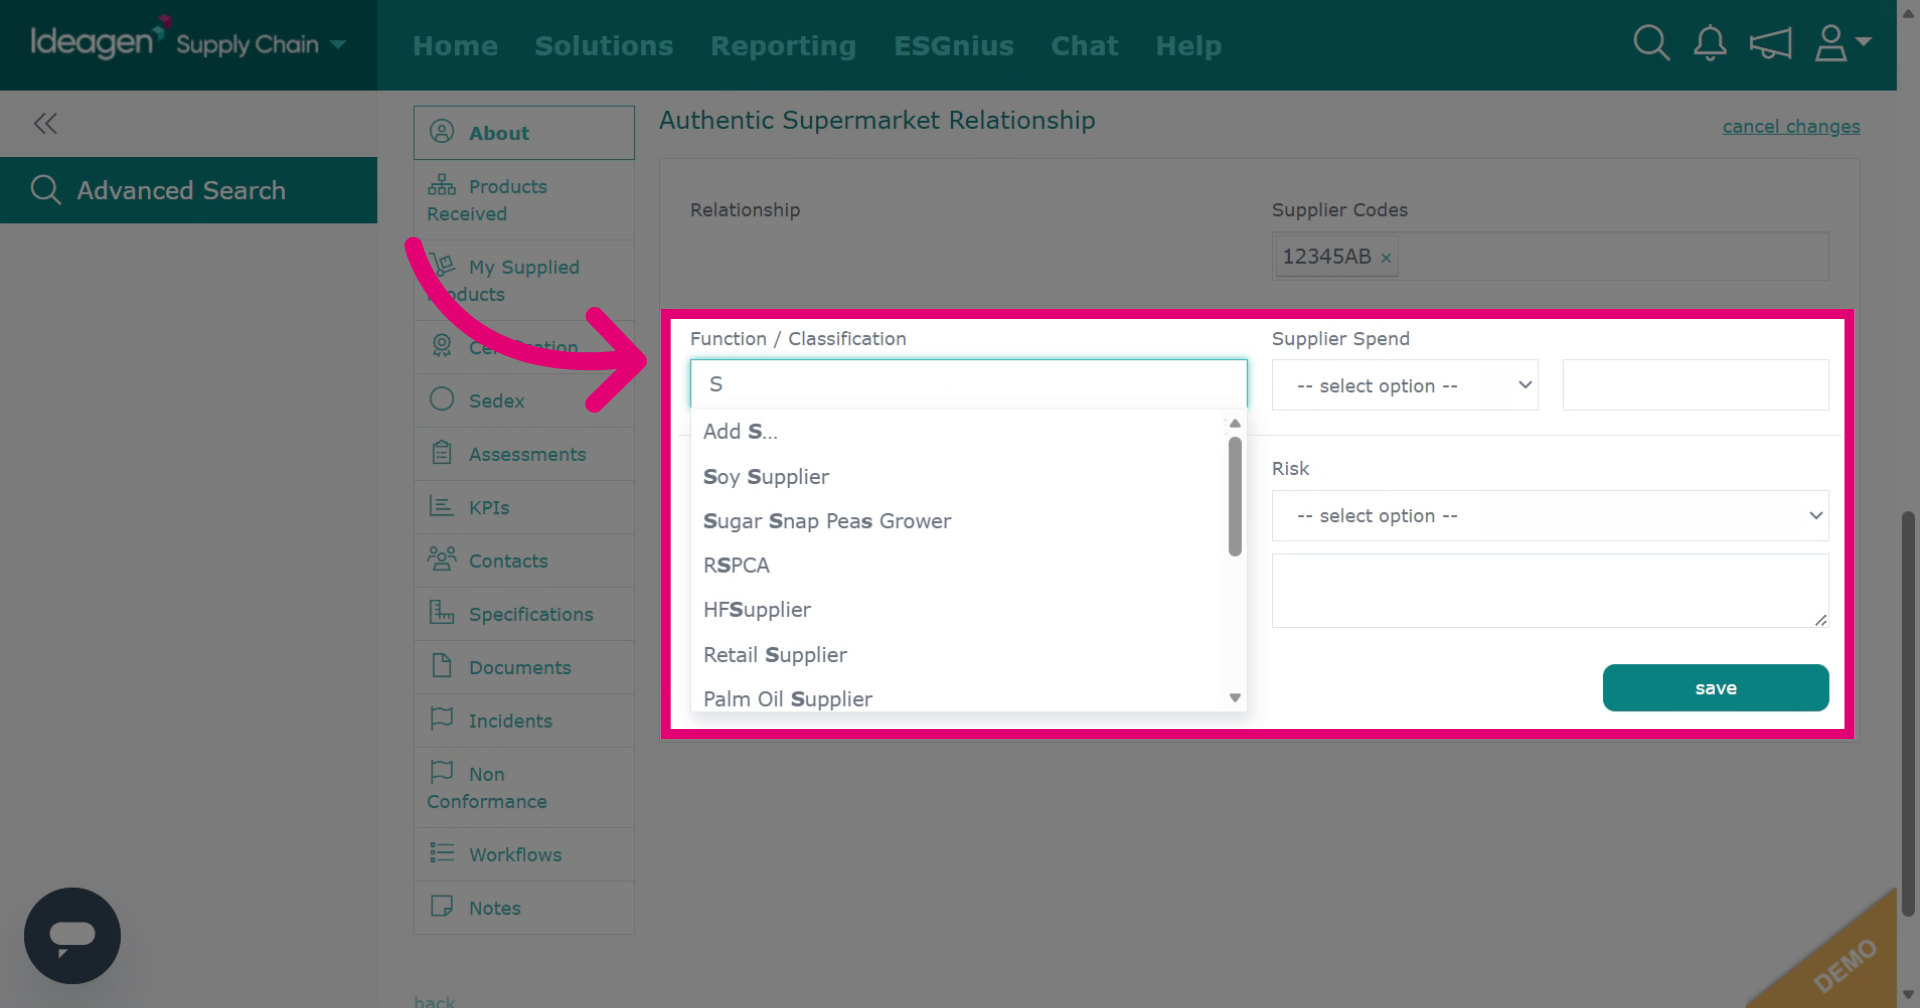
- Enter information into optional fields.
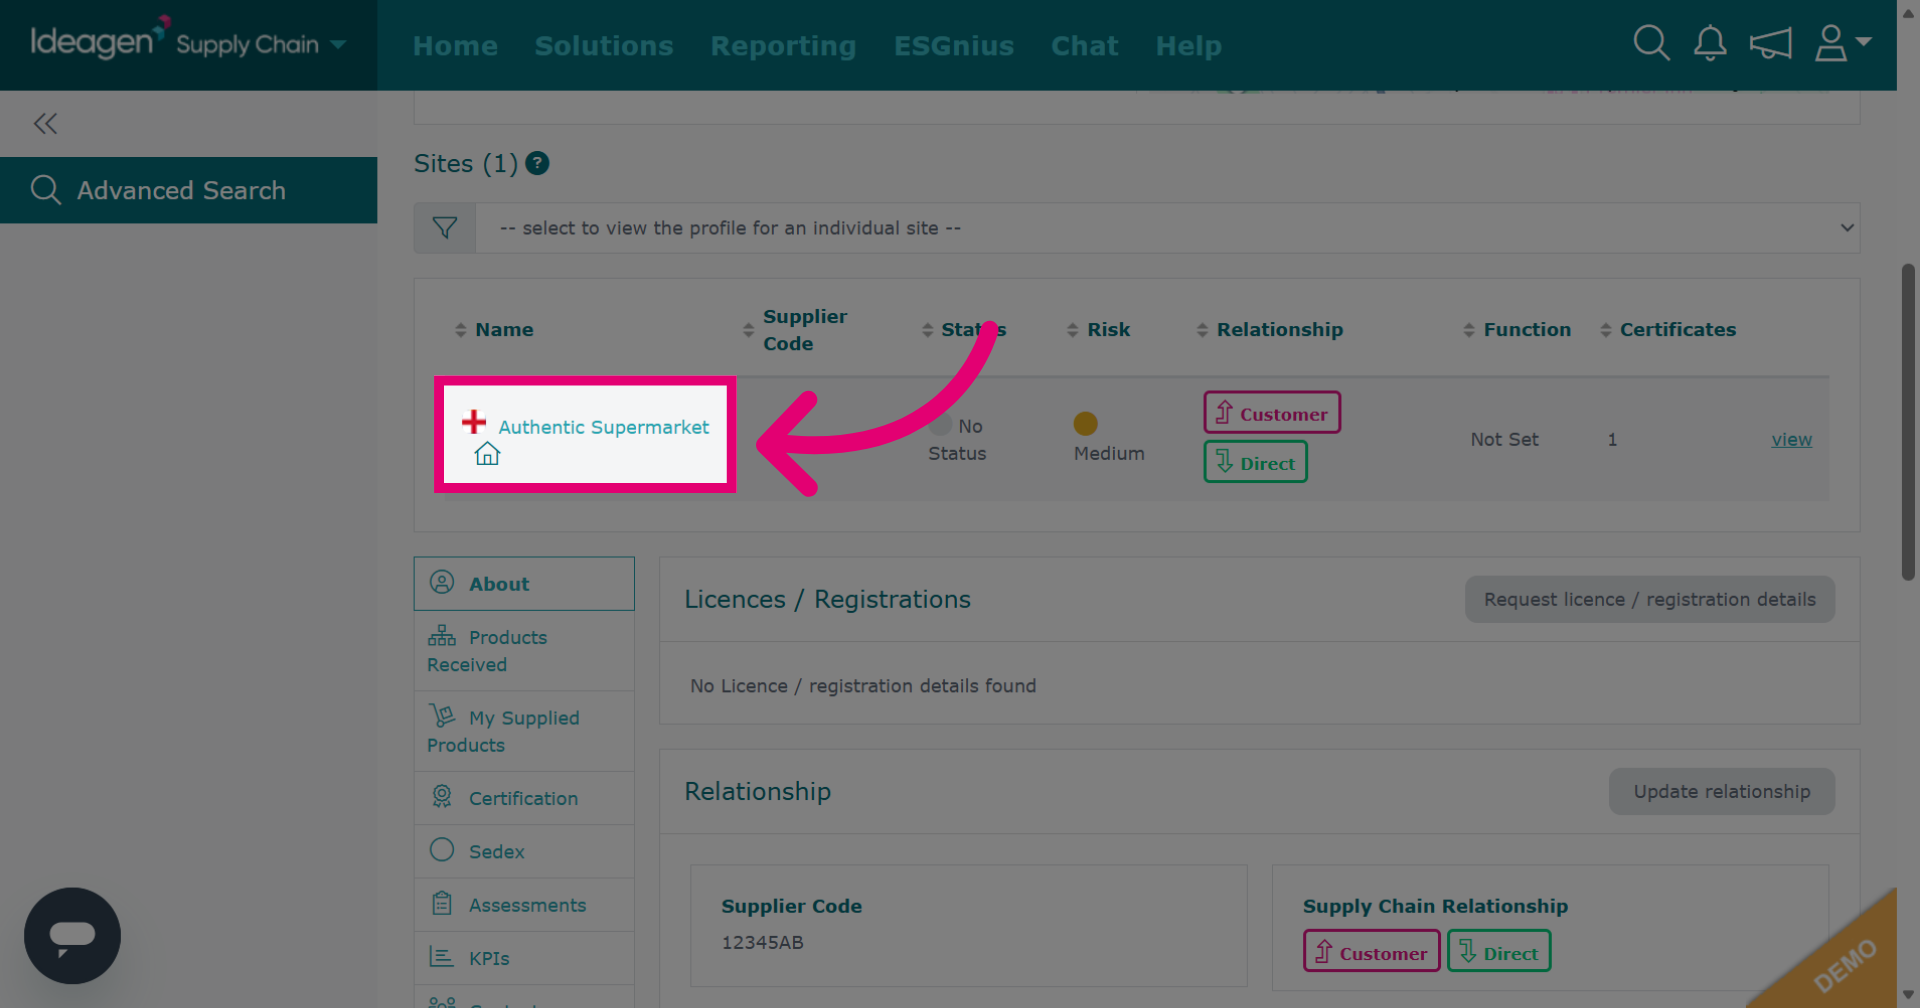
- Click Save.
Site
To manage supplier relationships per site:
- Open the relevant Site.
- Click Update relationship.
- Enter the Supplier code.
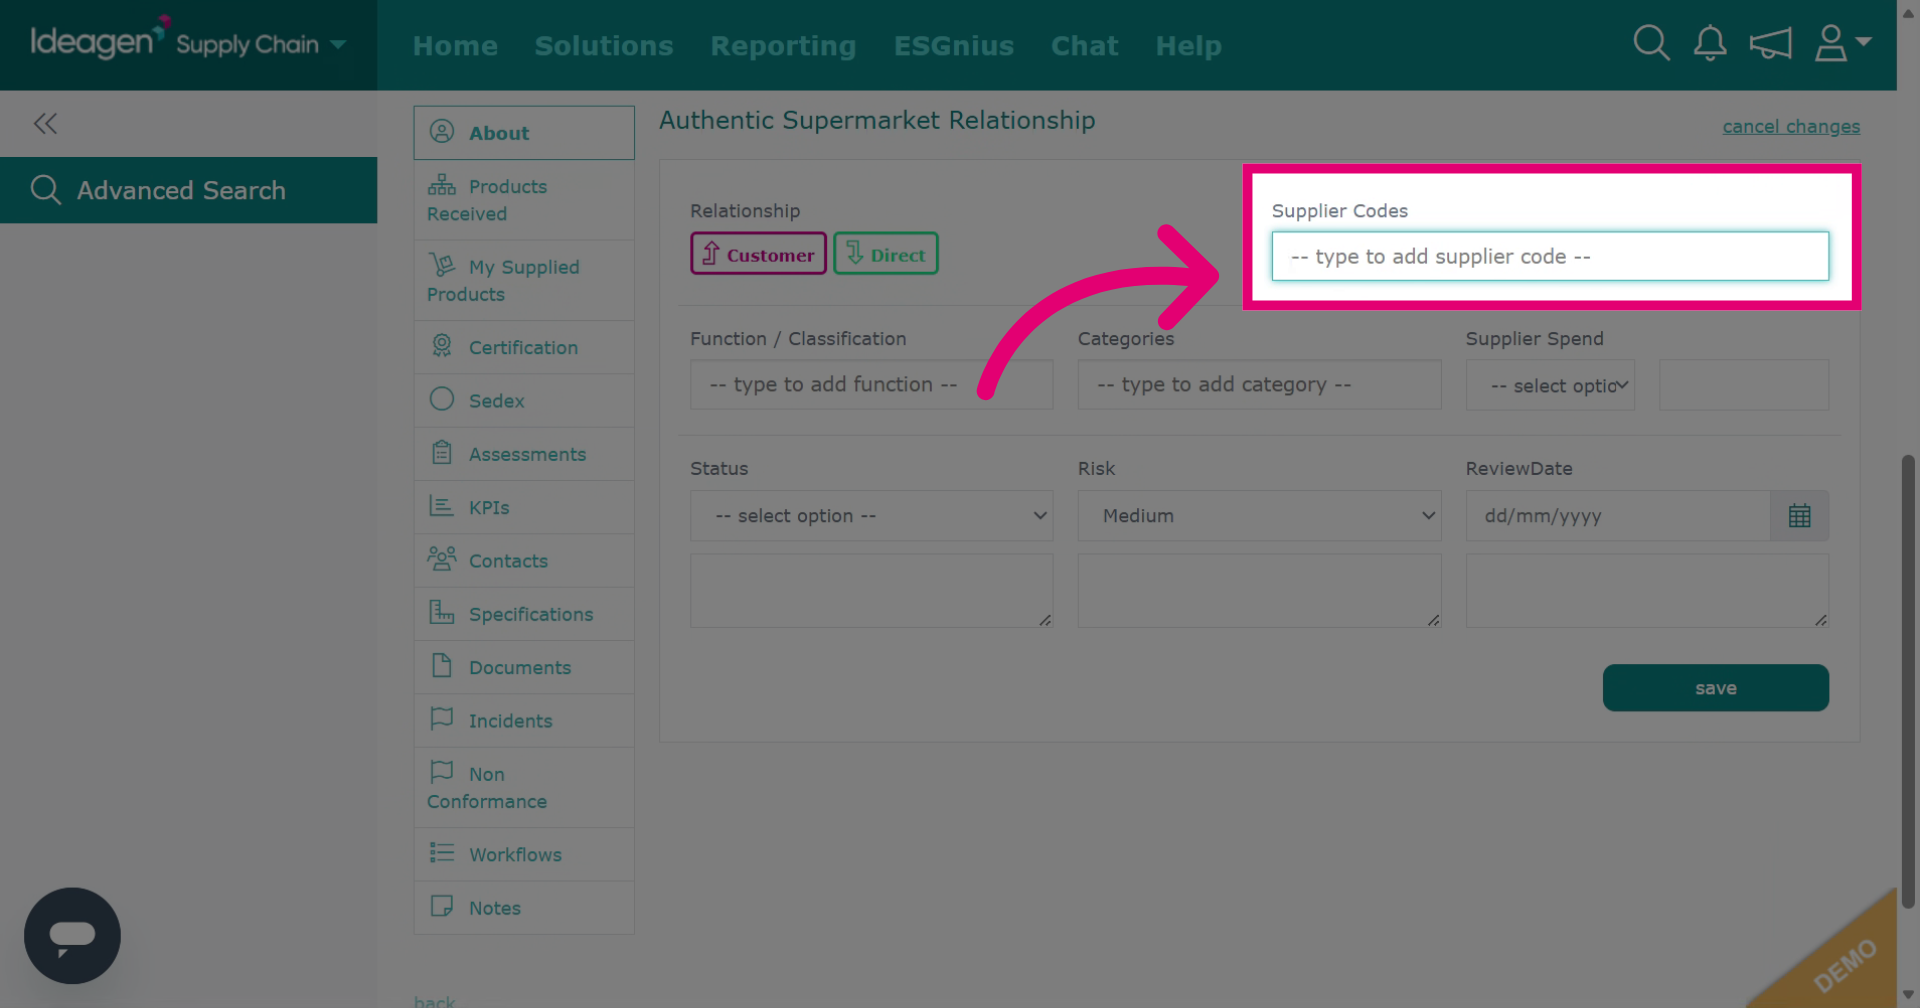
- Enter information into optional fields.
- Click Save.

Managing supplier contacts
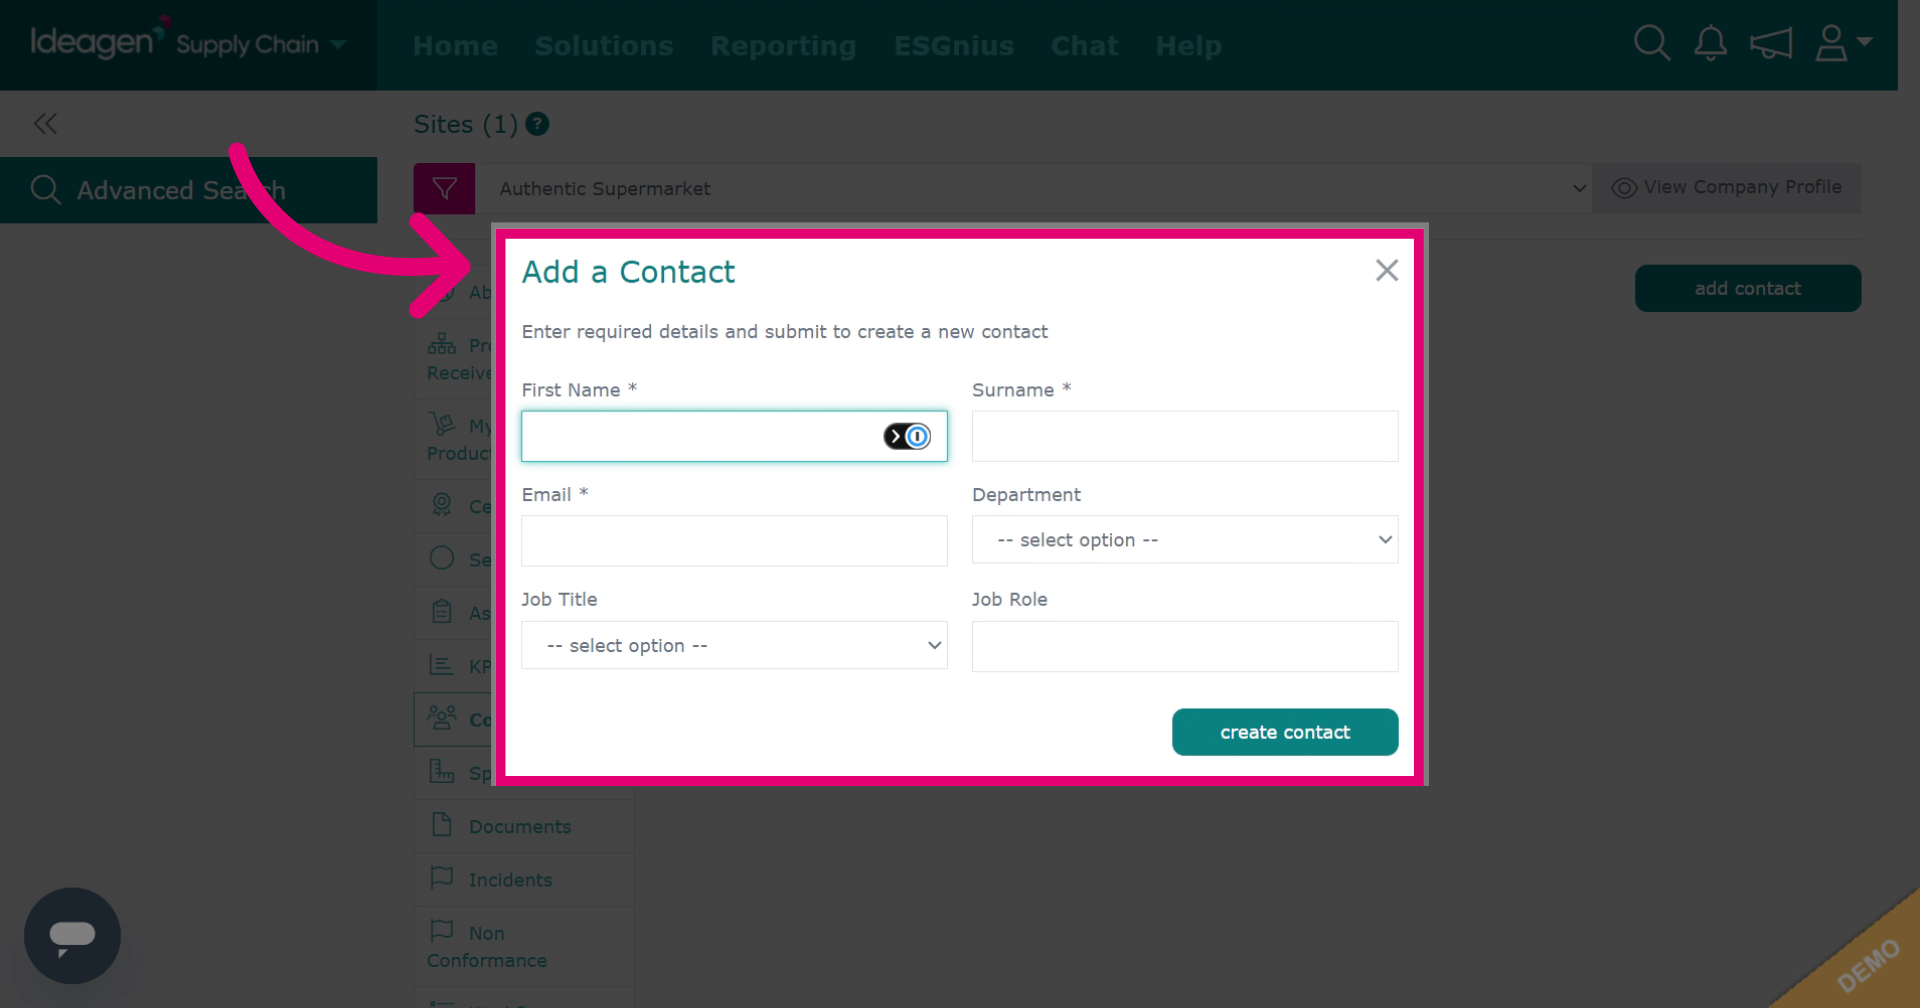
To manage supplier contacts:
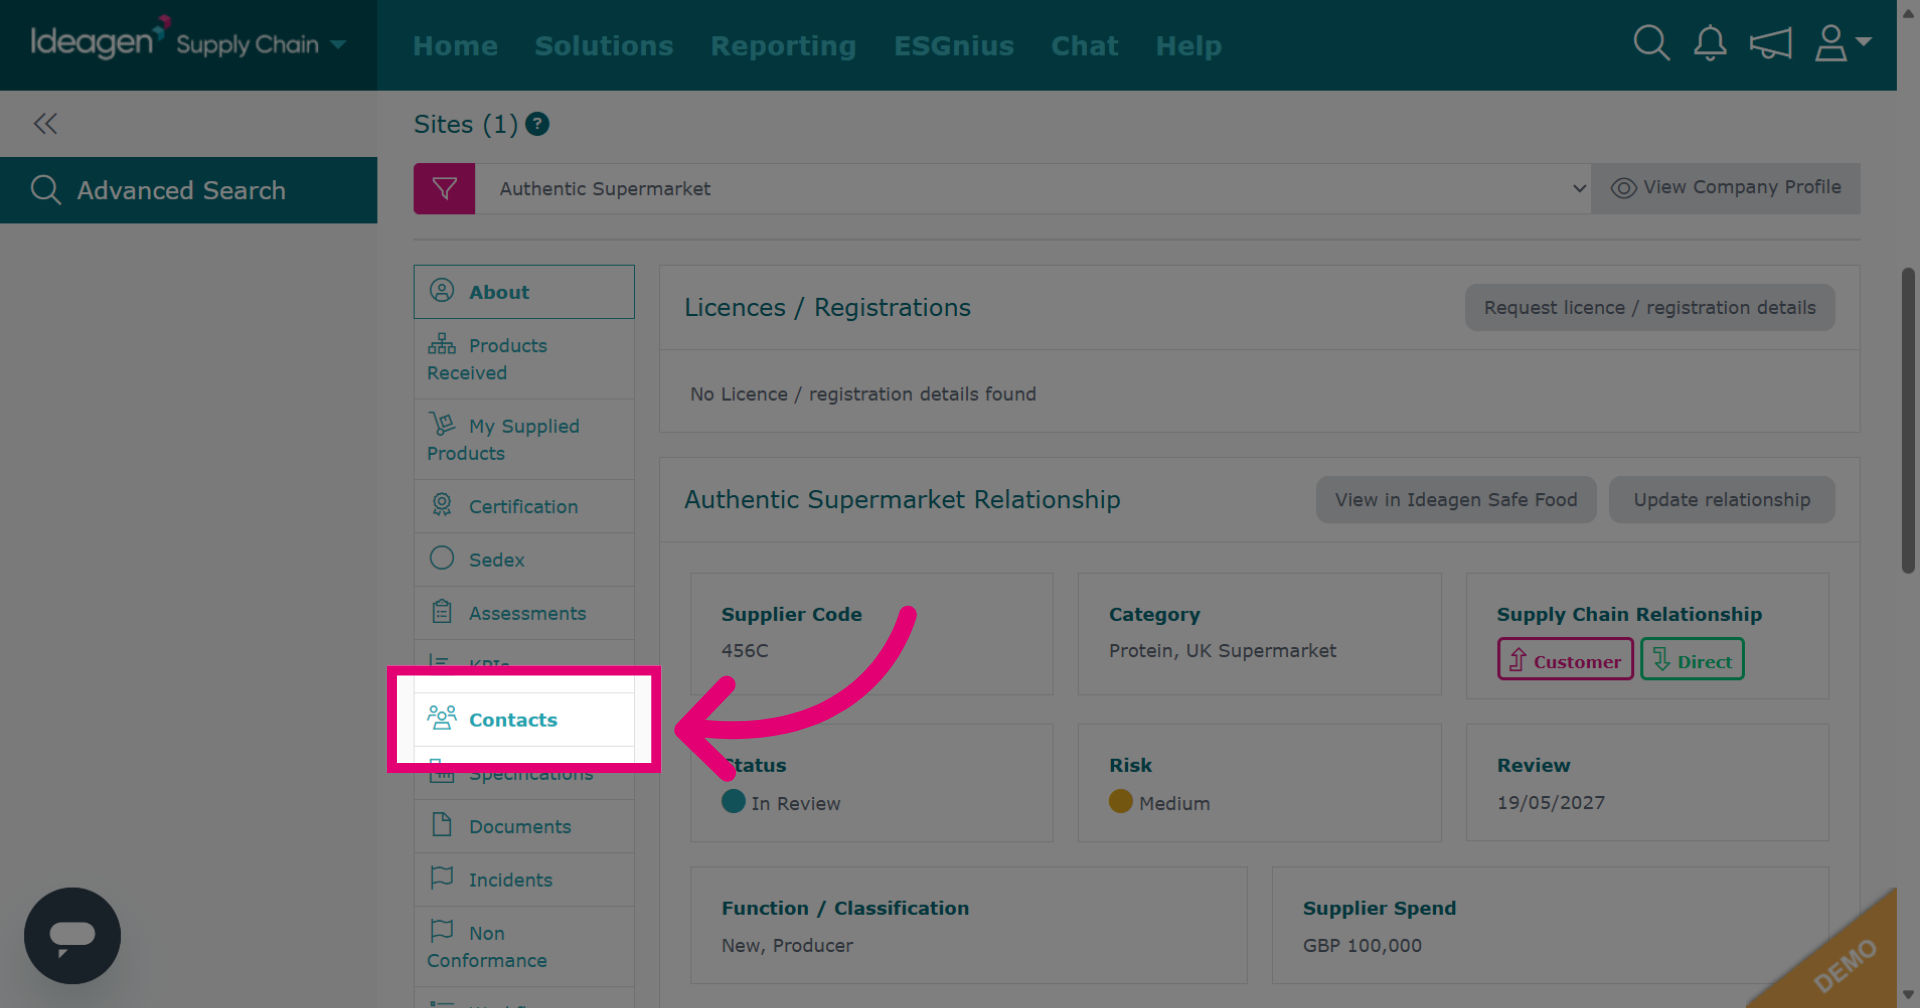
- Go to Contacts.
- Click Add contact.
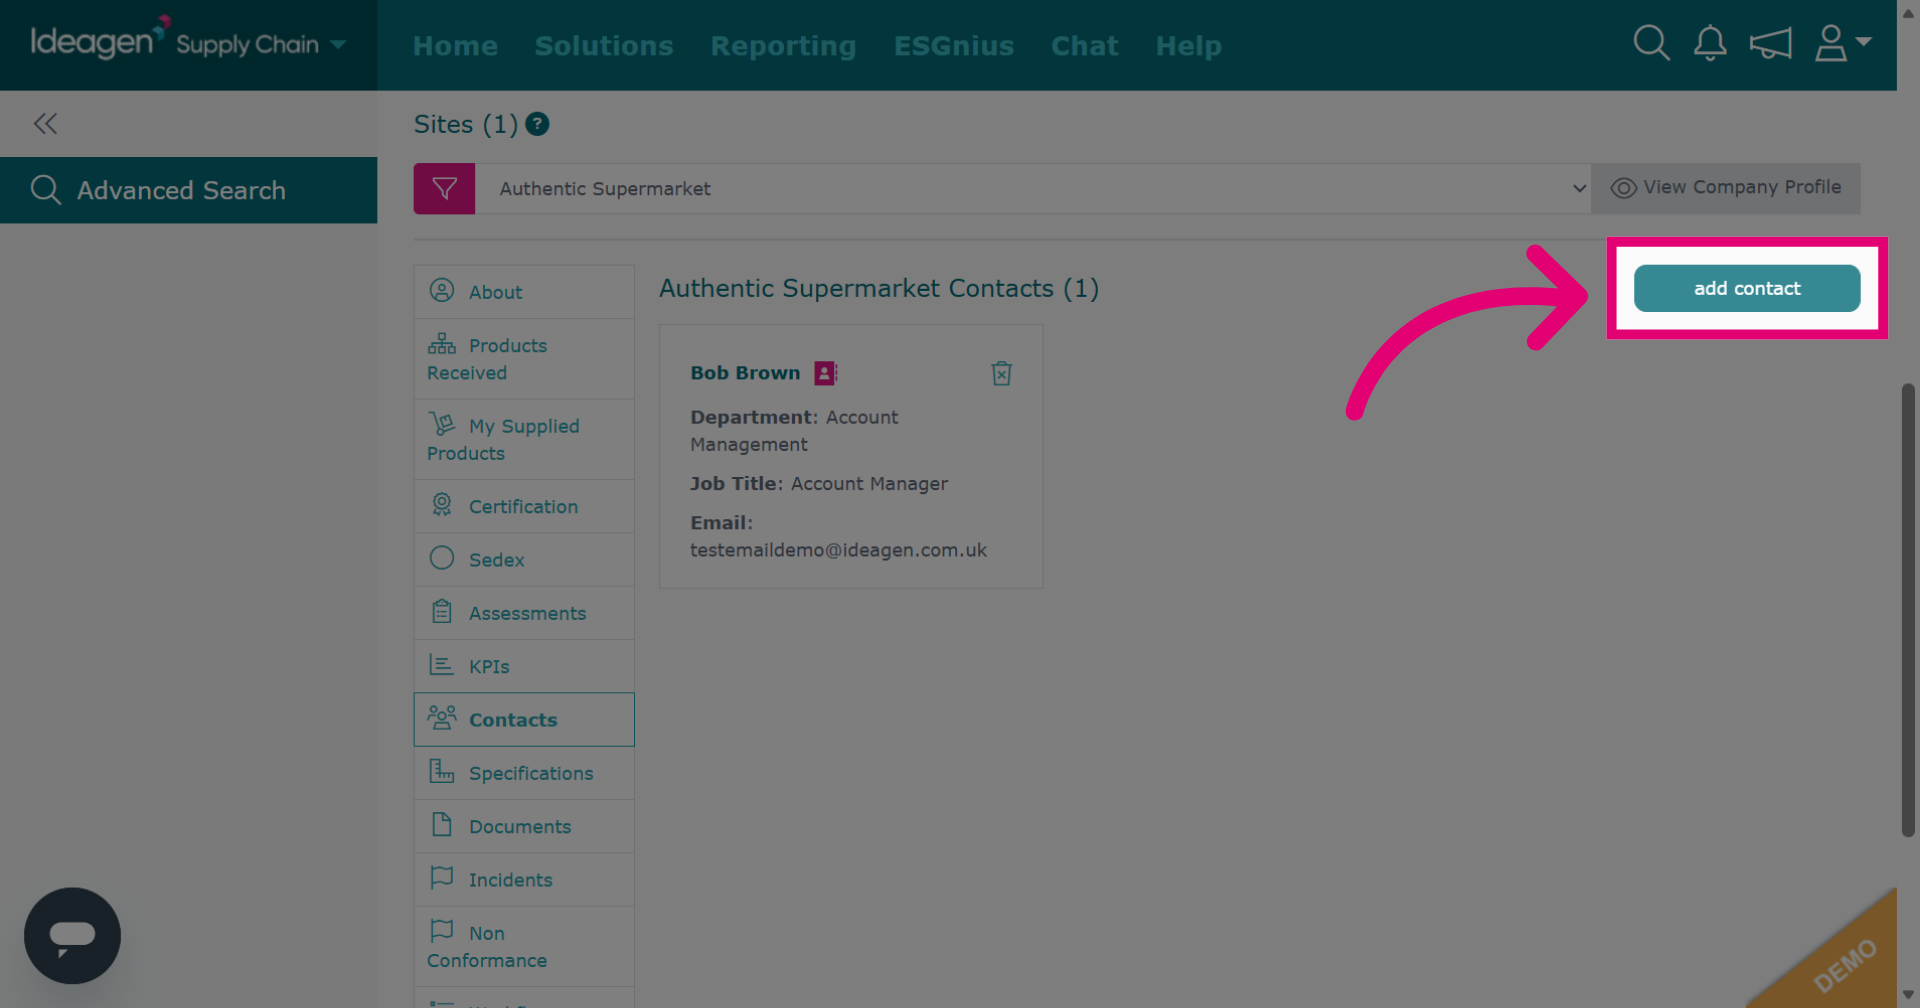
- Enter the Contact details.
Boxes marked with an asterisk are mandatory. - Click Create contact.
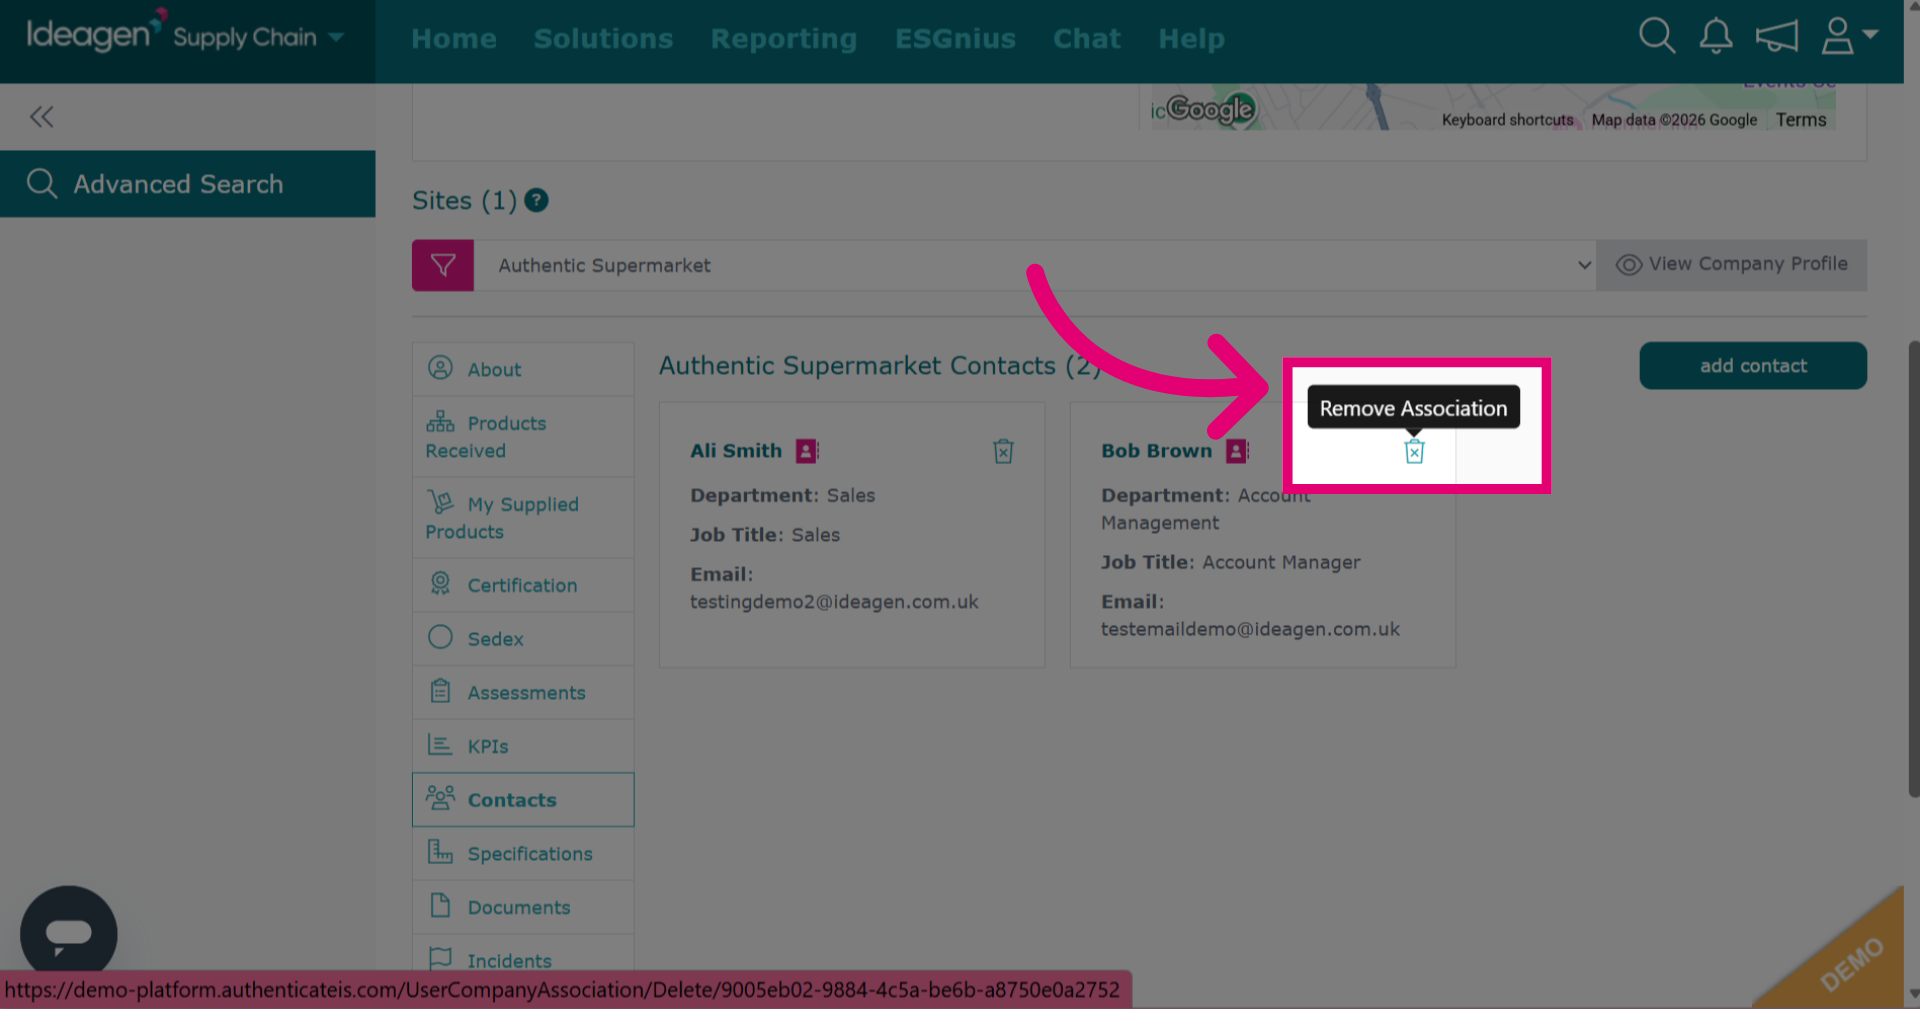
Once a contact is added to a supplier, it cannot be removed from the platform. To remove the association to the supplier, click Remove association.
Managing supplier notes
Adding notes
To add a private note to a supplier's profile:
- Go to Notes.
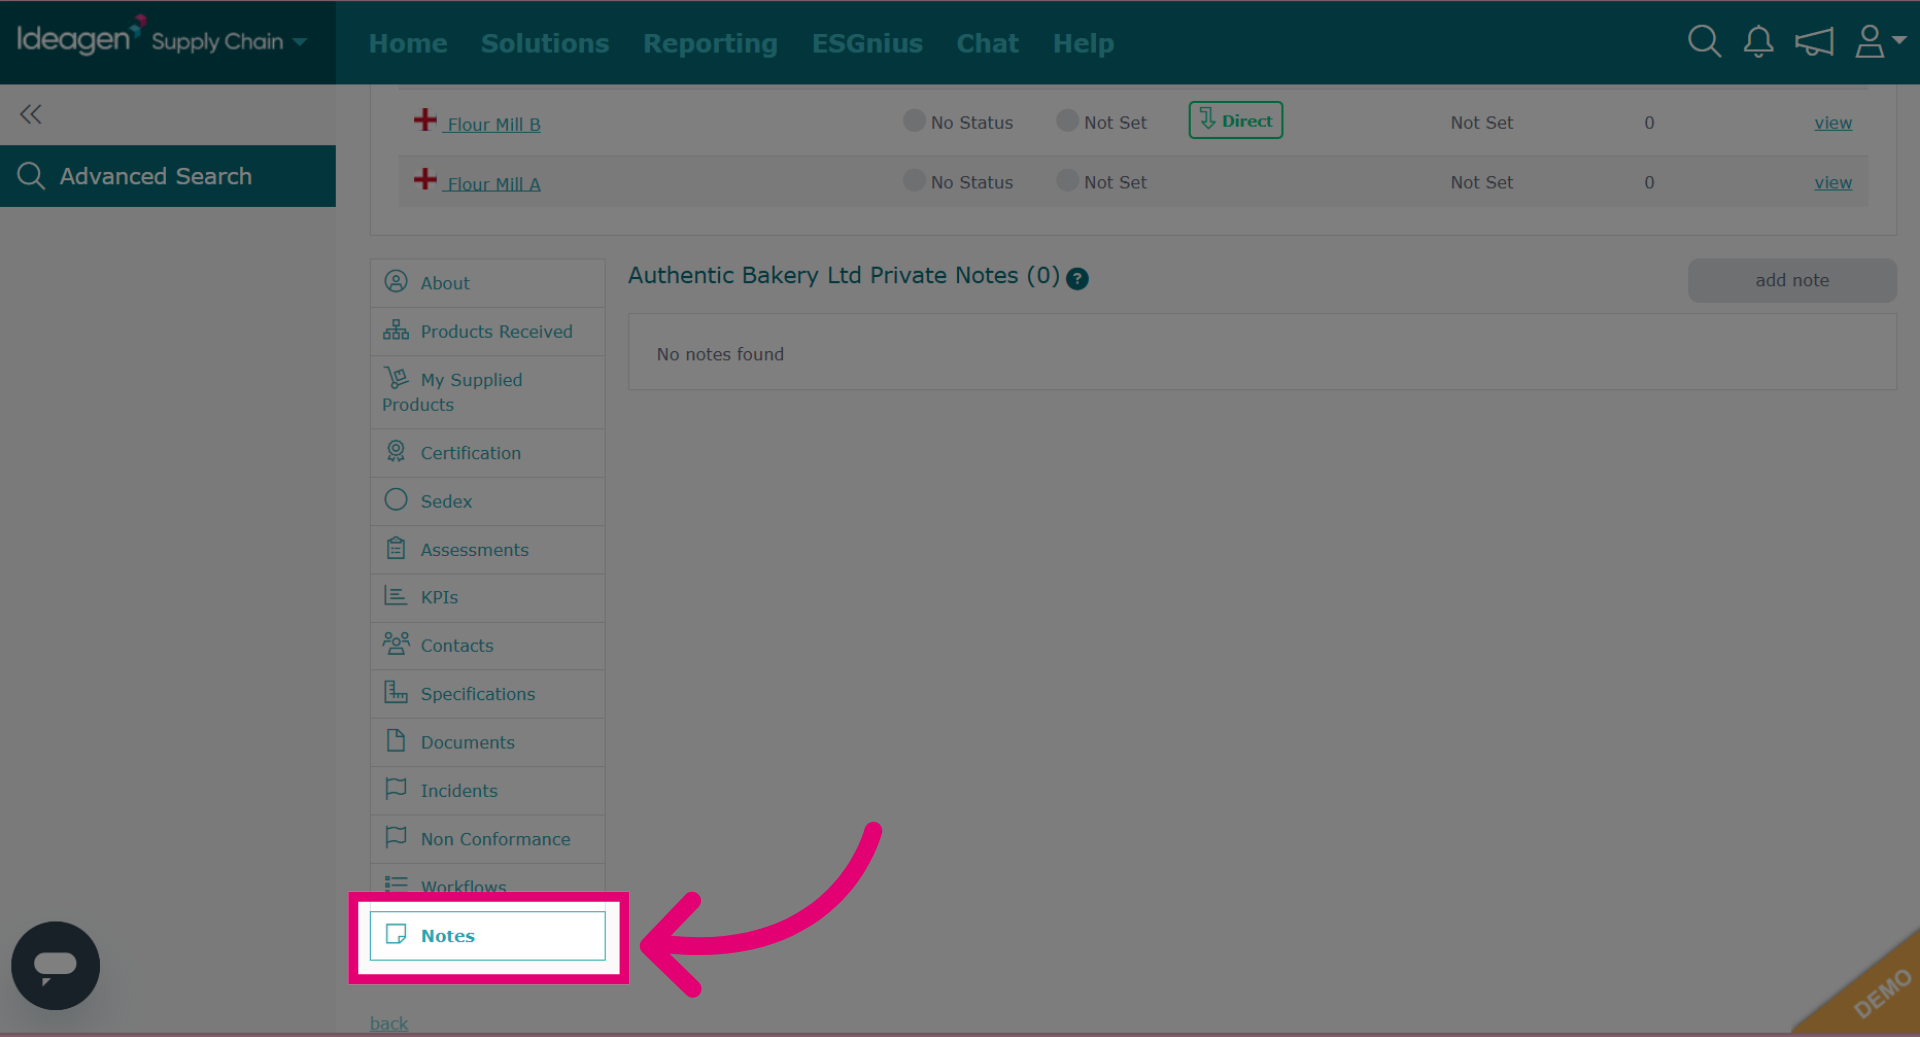
Click Add Note.
Without selecting a site, the note is saved at company level. Selecting a site saves the note at site level.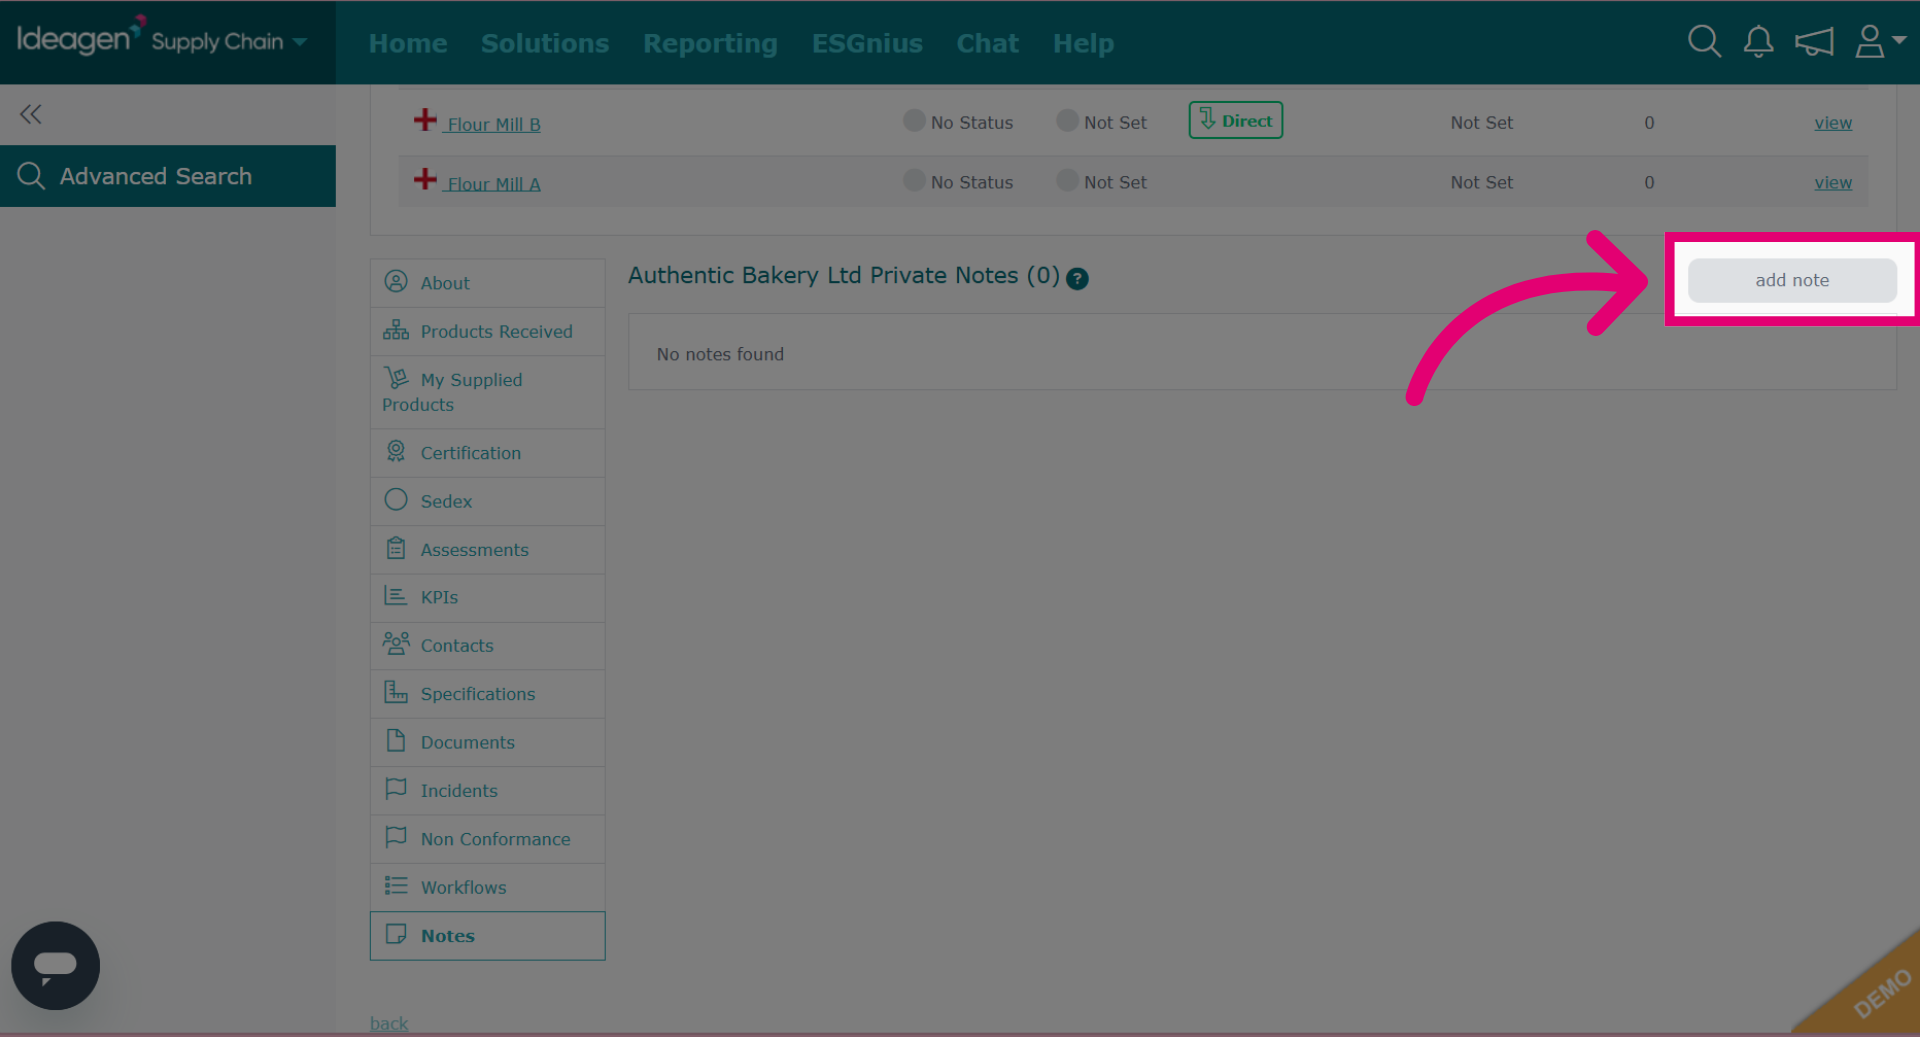
Tip
Notes are private and visible only to users within your company; suppliers and other companies cannot see them.
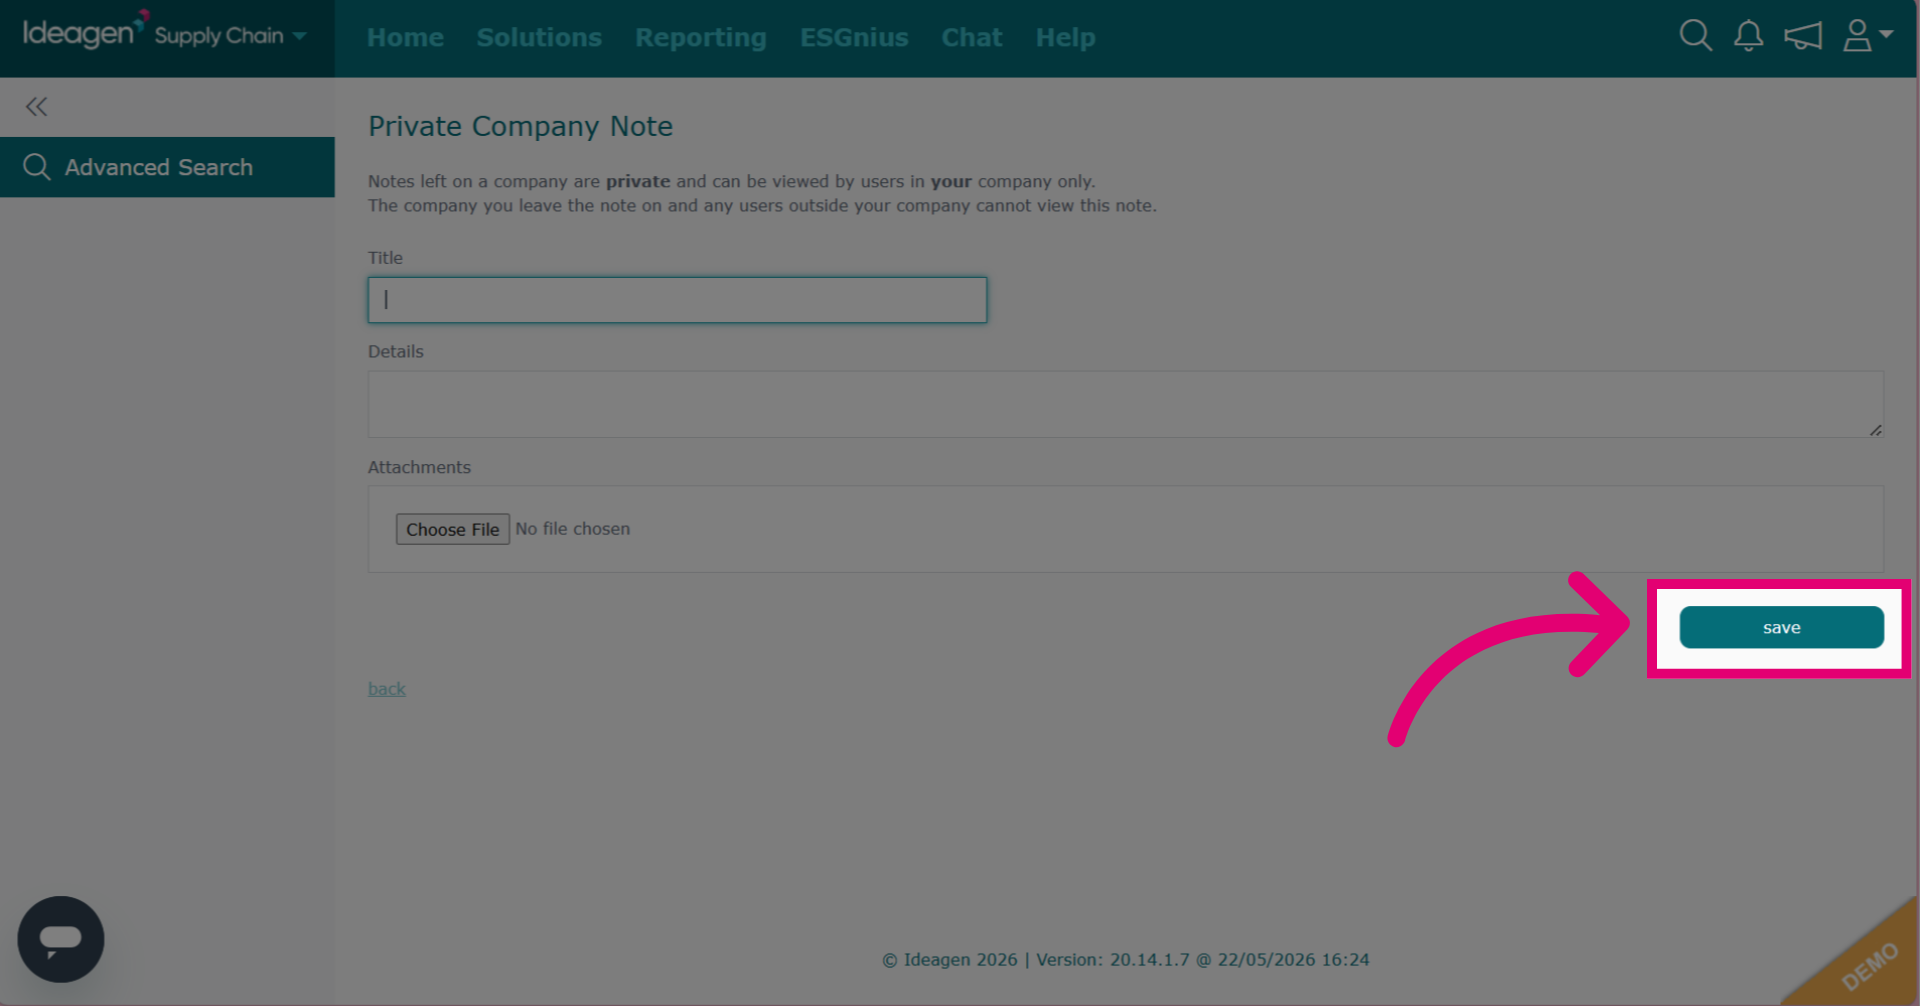
- Enter a Title.
- Enter Details.
- Add an optional Attachment.
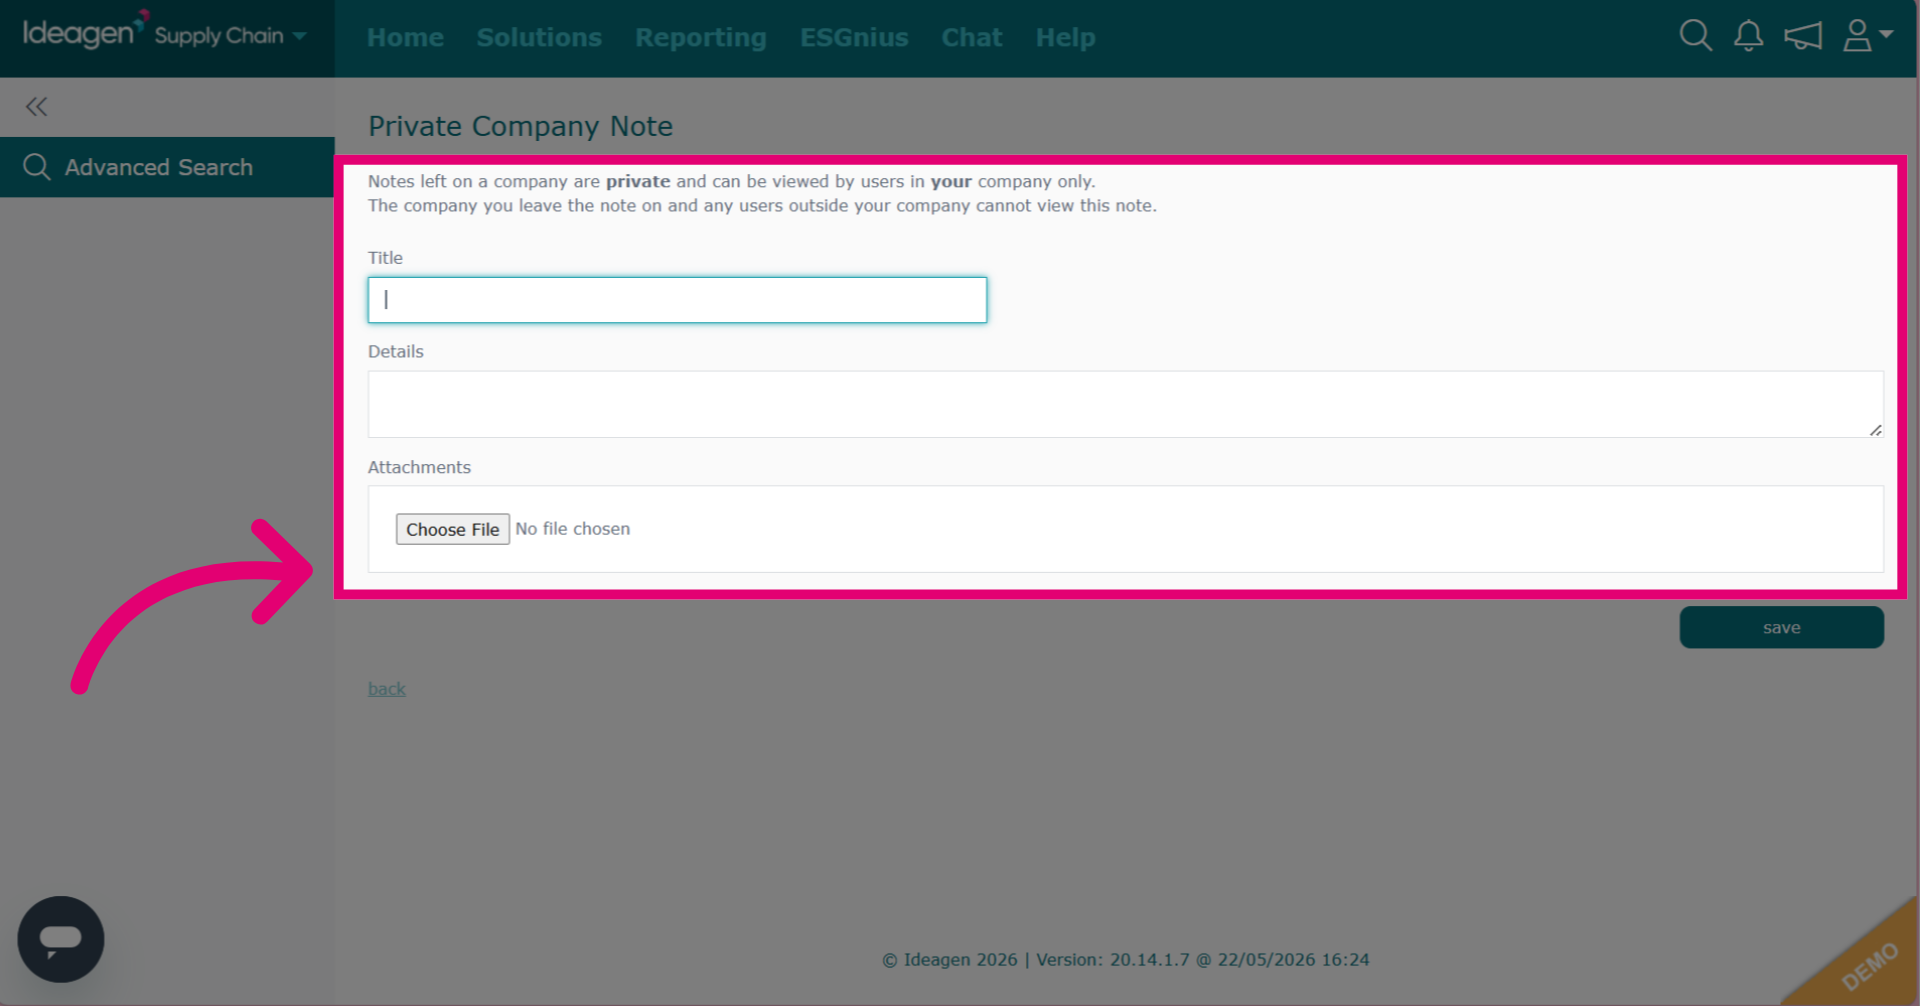
- Click Save.
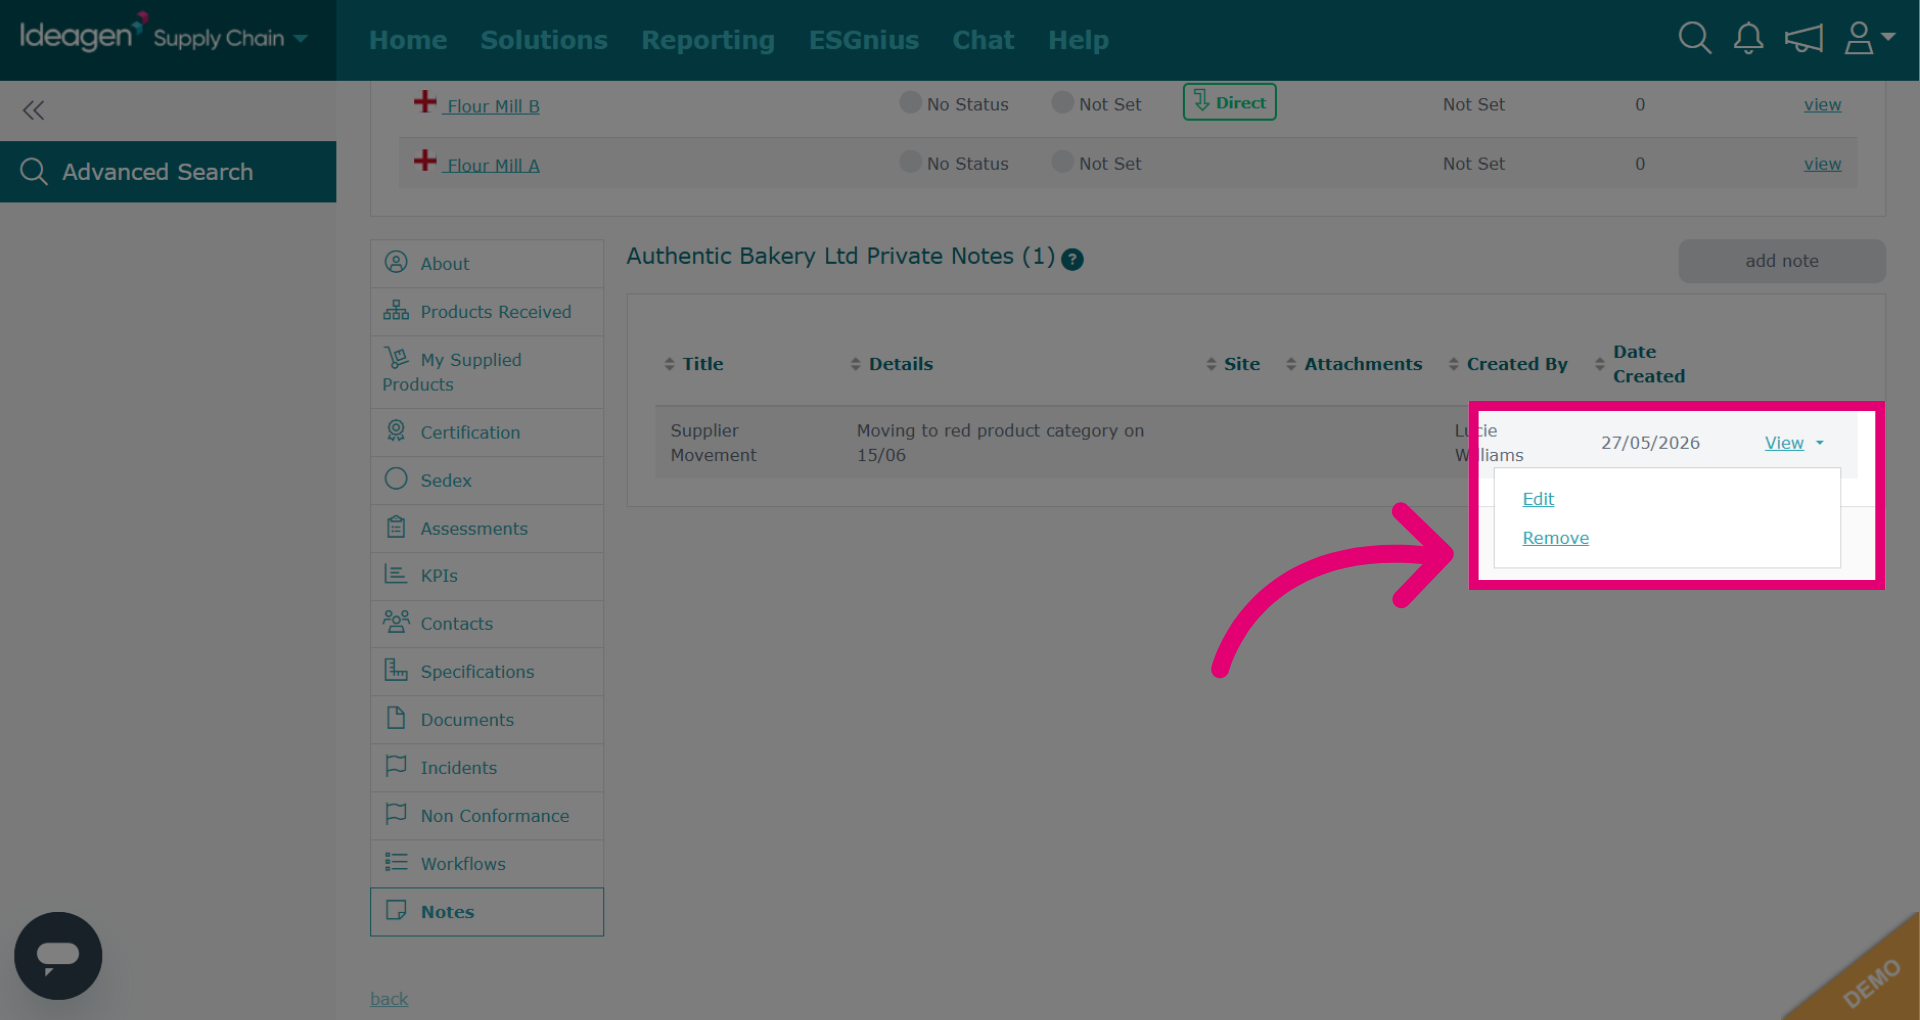
Editing notes
To view a note, click View.
To edit or remove a note, expand the menu and select the relevant option.
Viewing supplier tasks
To view tasks sent to a supplier through their profile:
- Scroll down to modules.
- Select the desired module.
Any tasks sent within that module will be displayed.