New article
Recently updated
Managing supplier relationships and contacts

Who is this article for?
Customer viewing supplier profile.
Company user.
This tutorial guides you through configuring supplier relationships within the Ideagen Supply Chain.
You will learn how to update supplier details, manage relationships, and add contacts effectively. All fields are optional and you can add data as necessary.
Configuring supplier relationships and contacts
Log into the system.
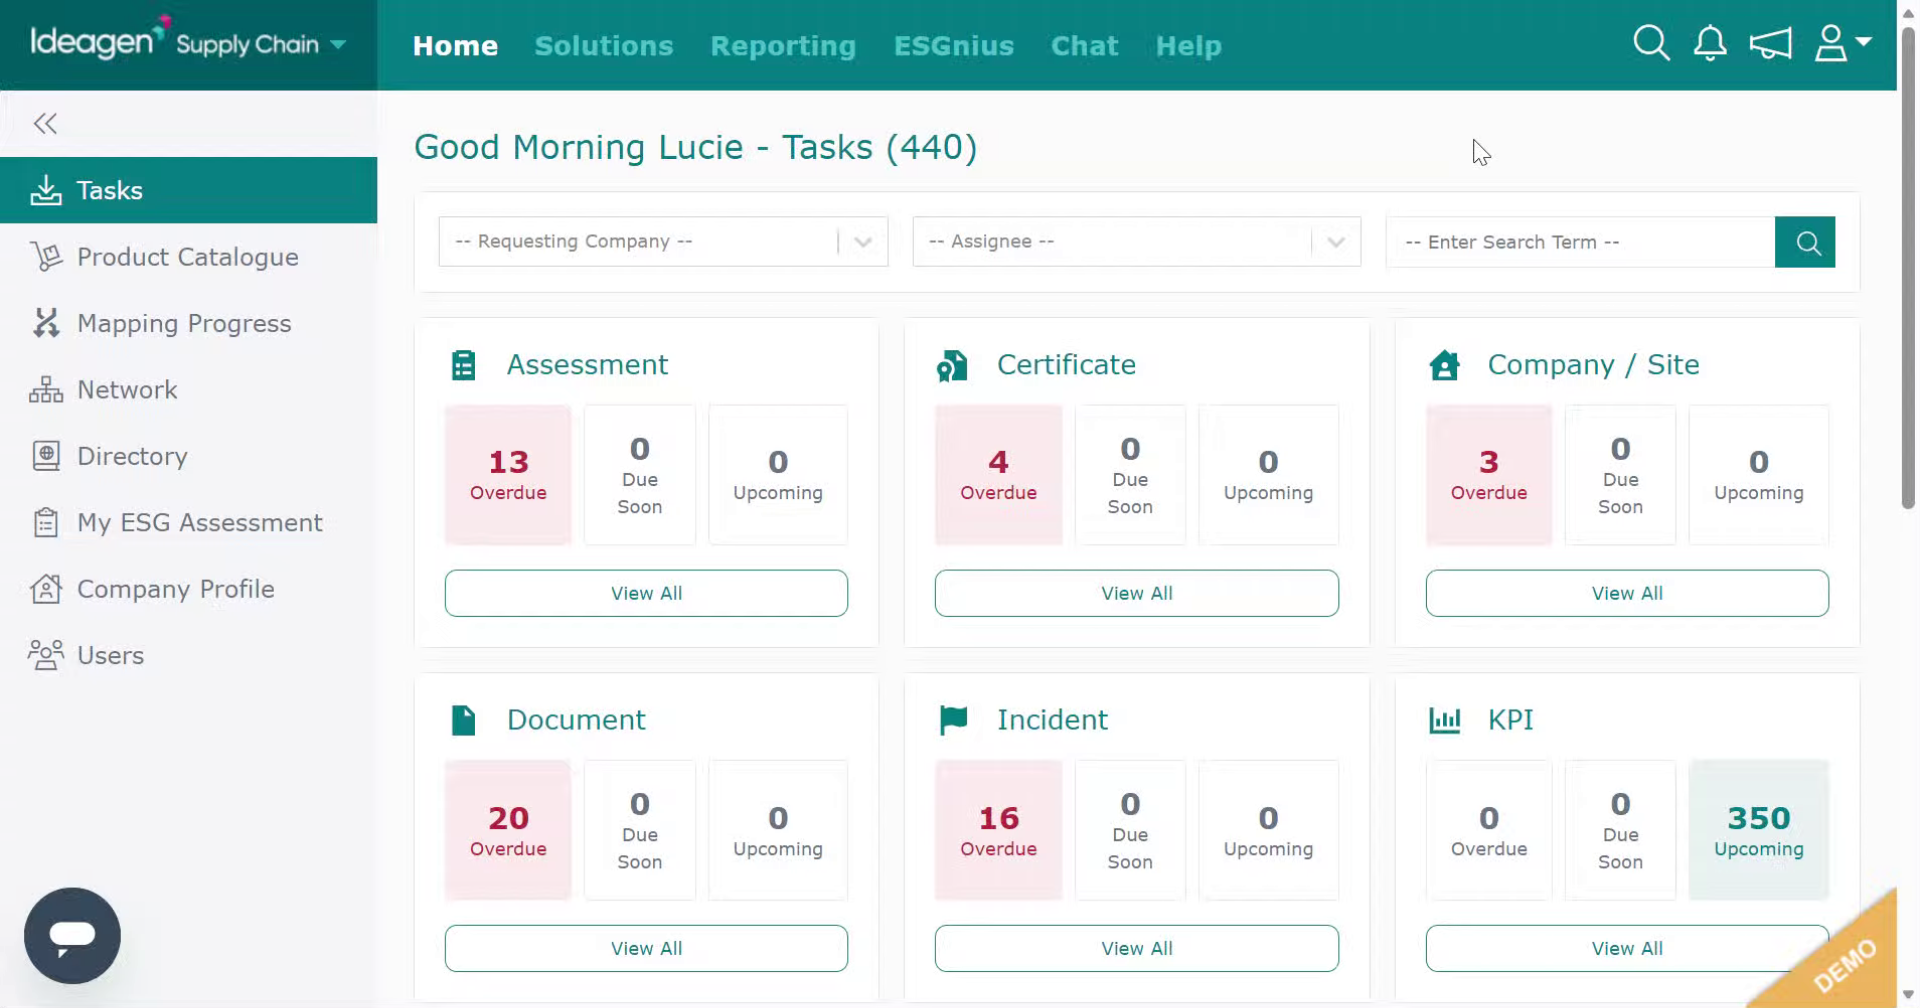
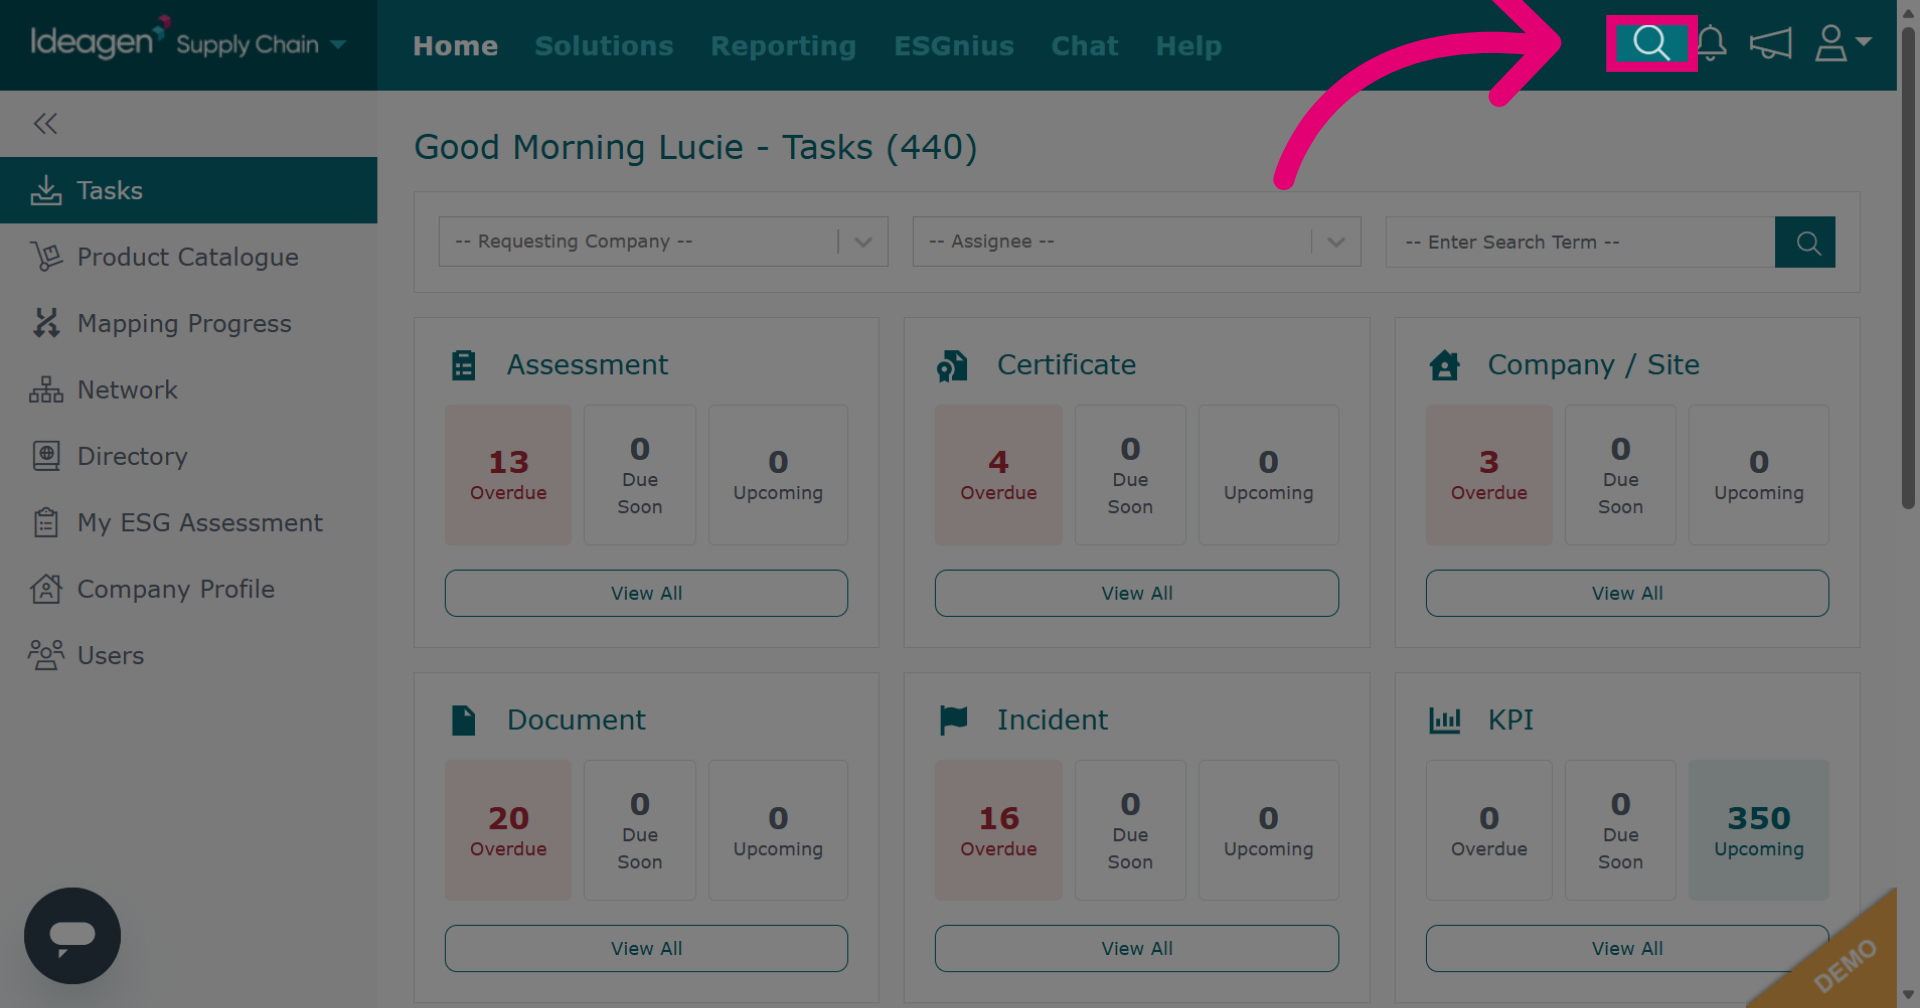
Click the company search to access the company search functionality within Ideagen Supply Chain.
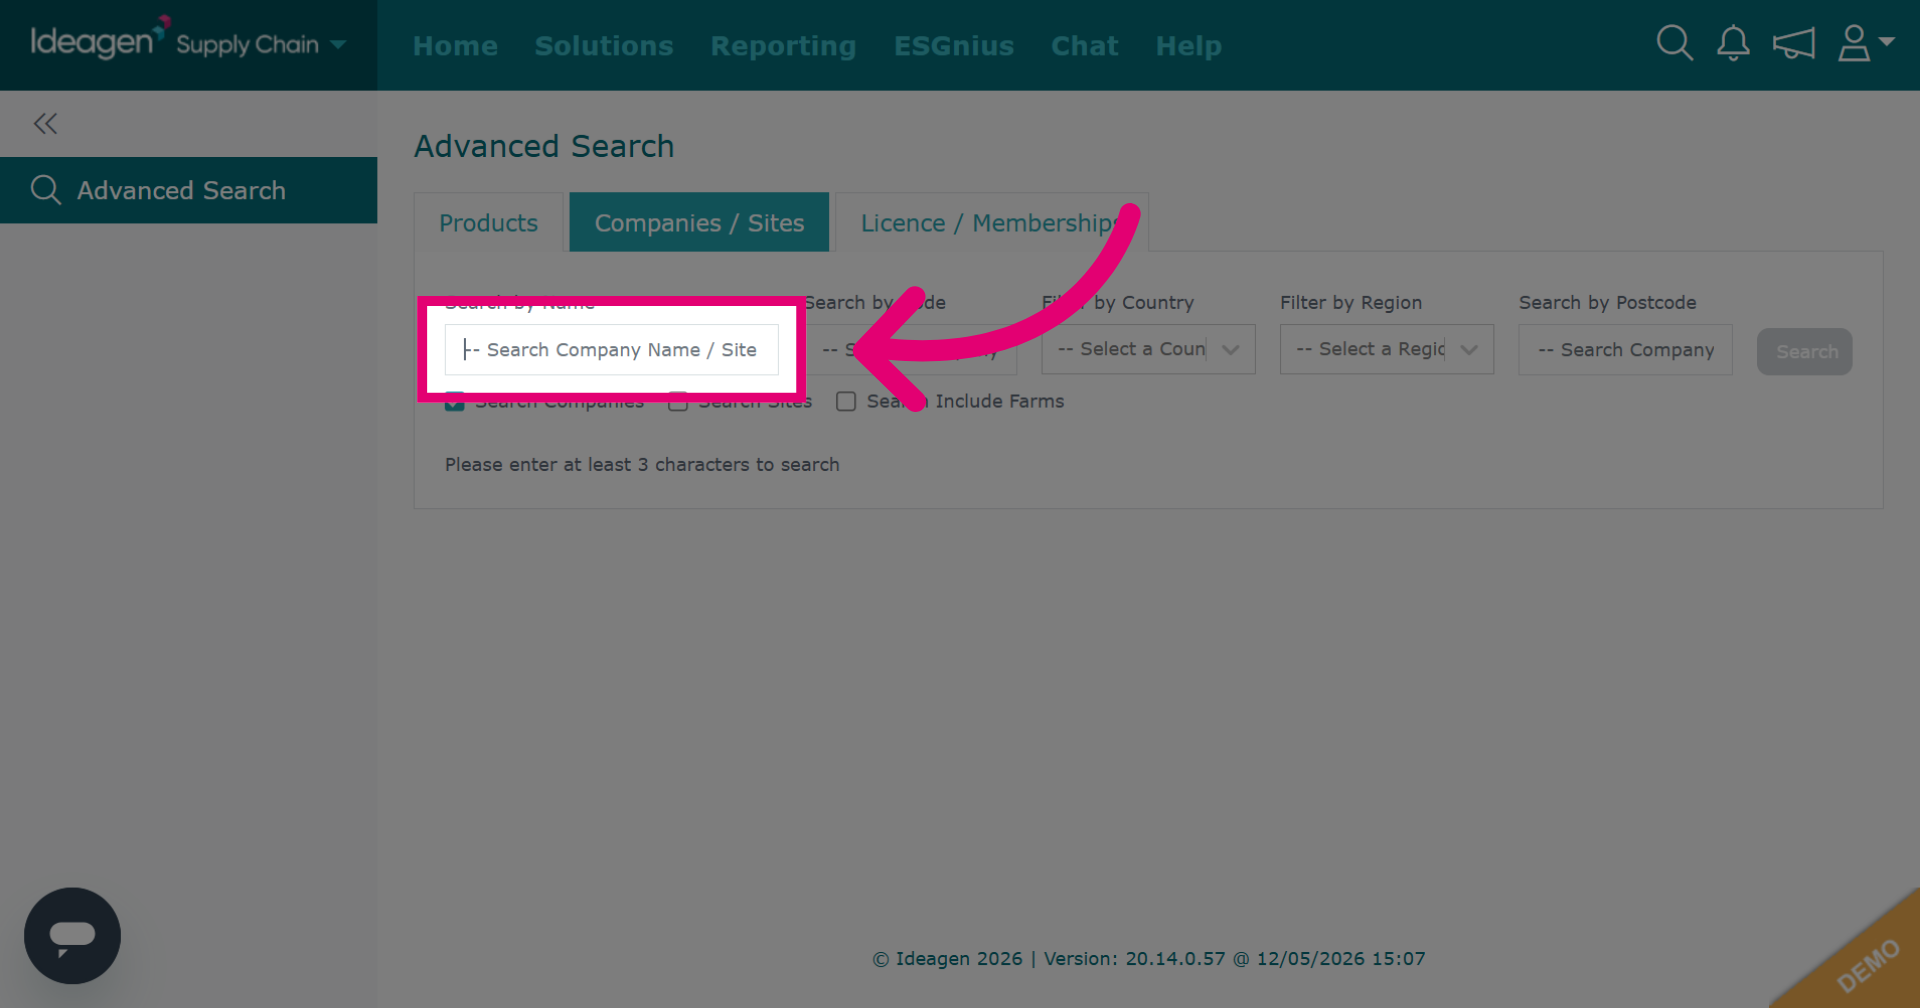
Click "-- Search Company Name / Site Name --" to begin searching for a company. If searching for a site or a farm, ensure the boxes below the search option are ticked.
Enter the company name into the search field to locate the specific company.
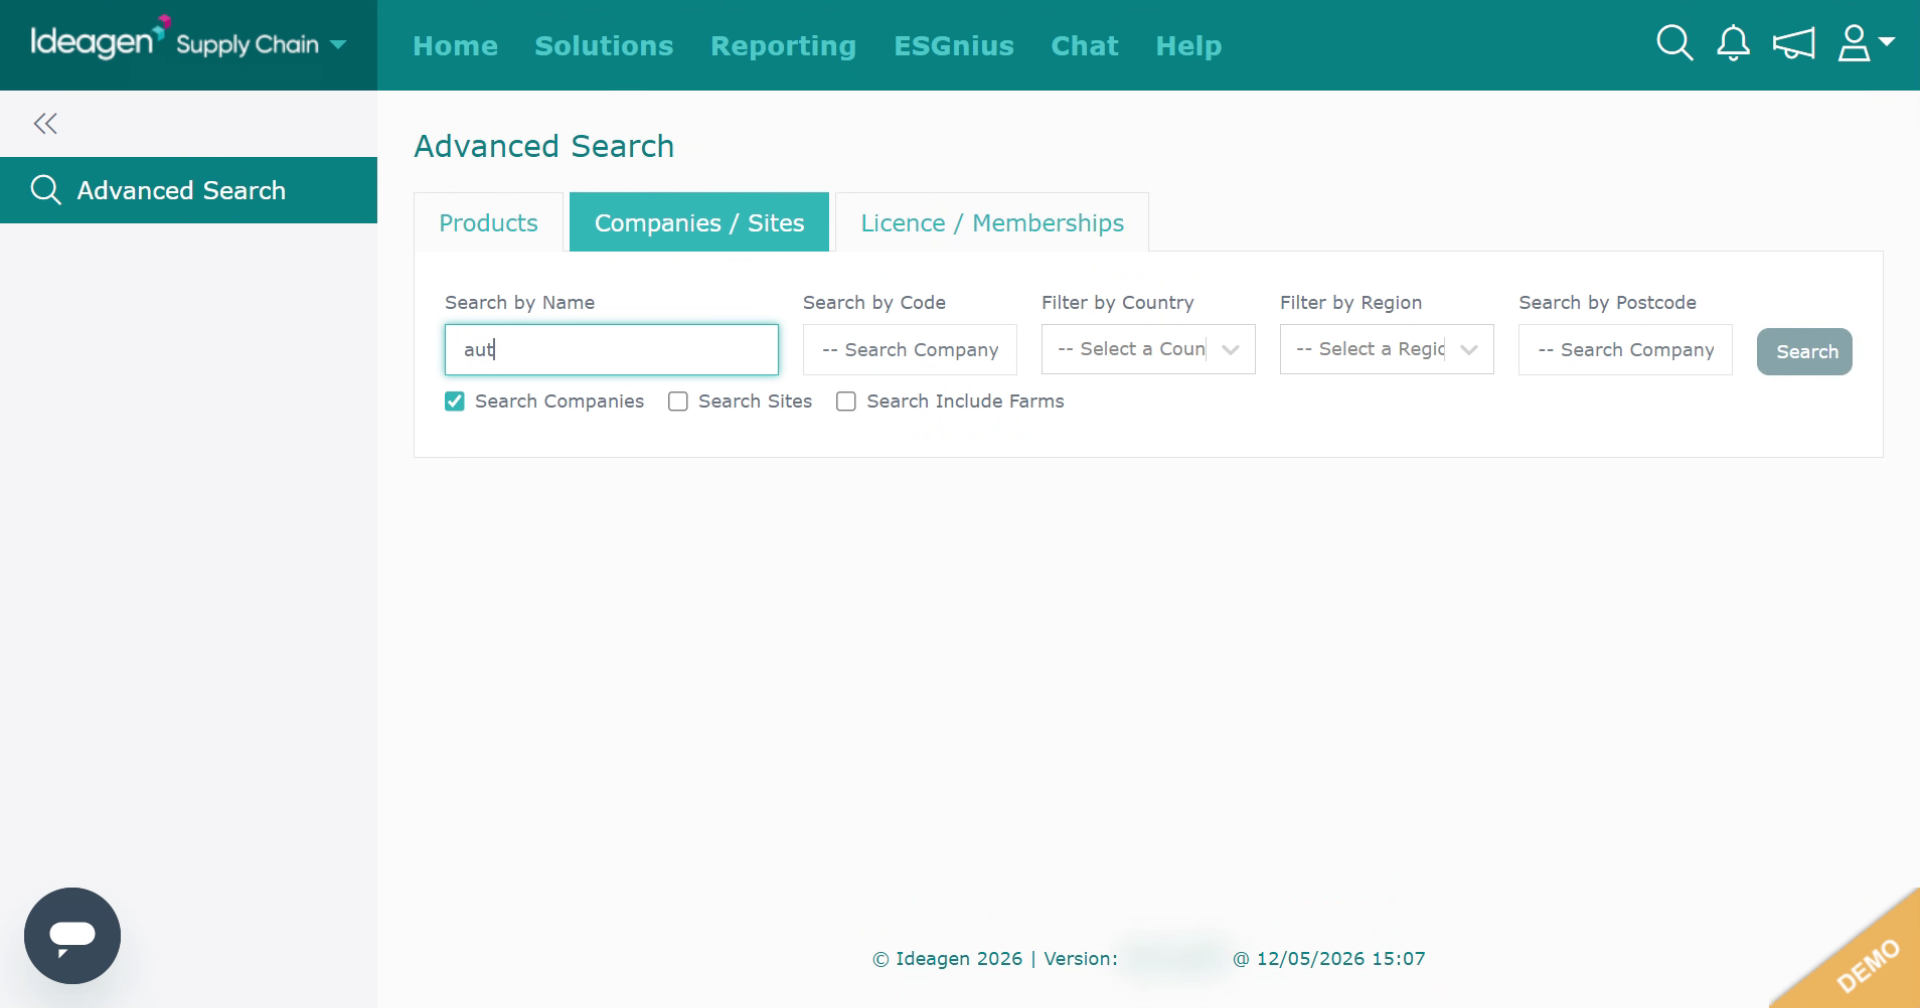
Click "View" to open the details page for the selected company.
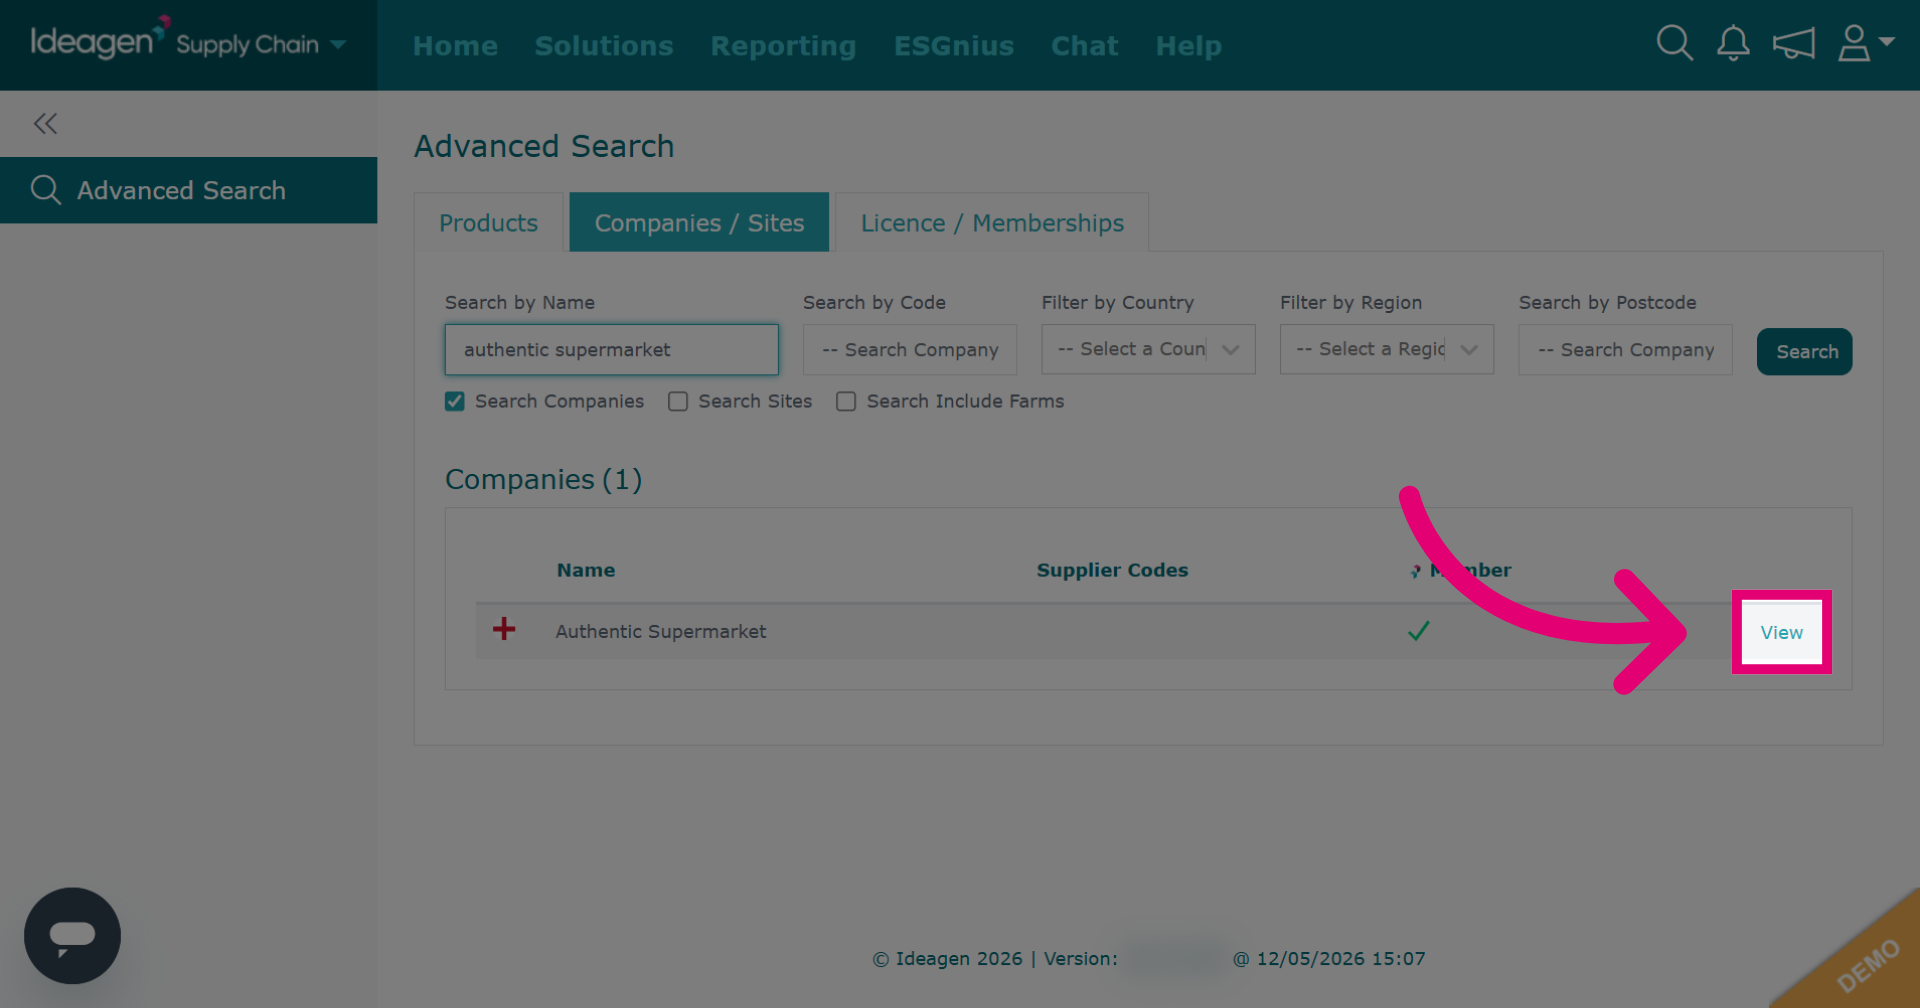
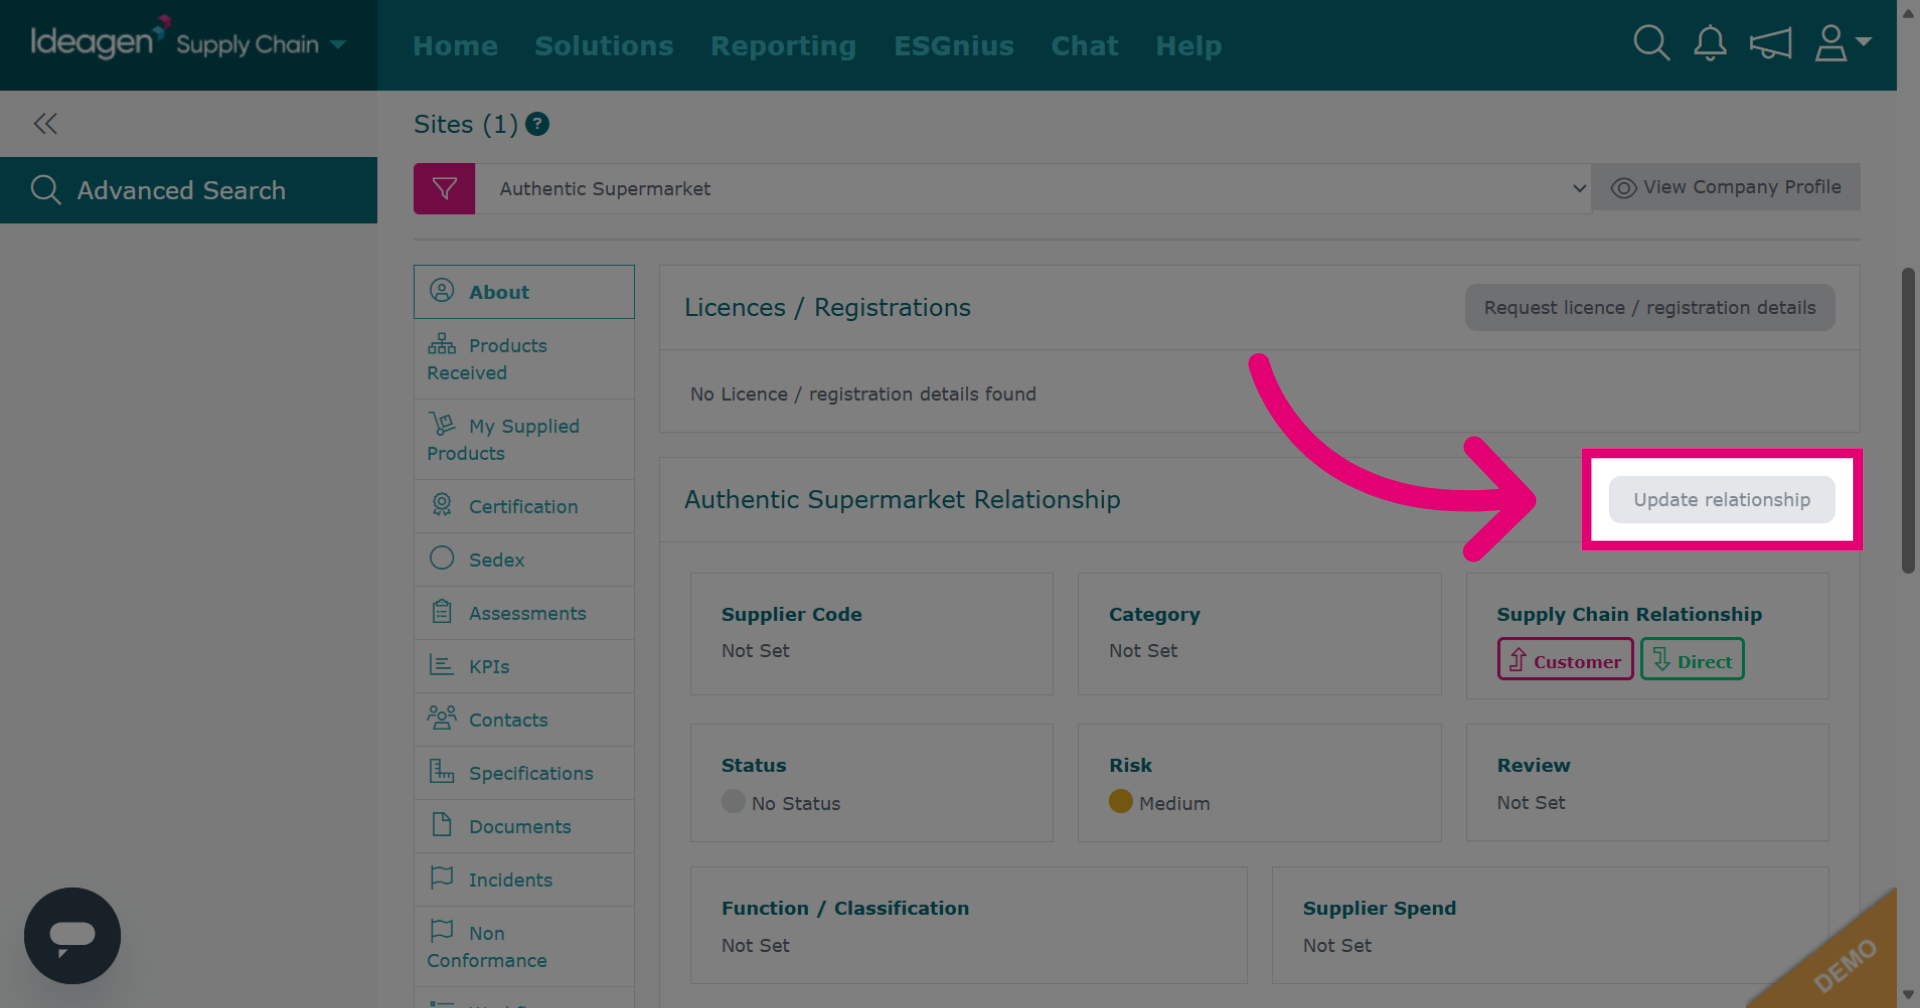
Click "Update relationship" to begin editing the company relationship information.
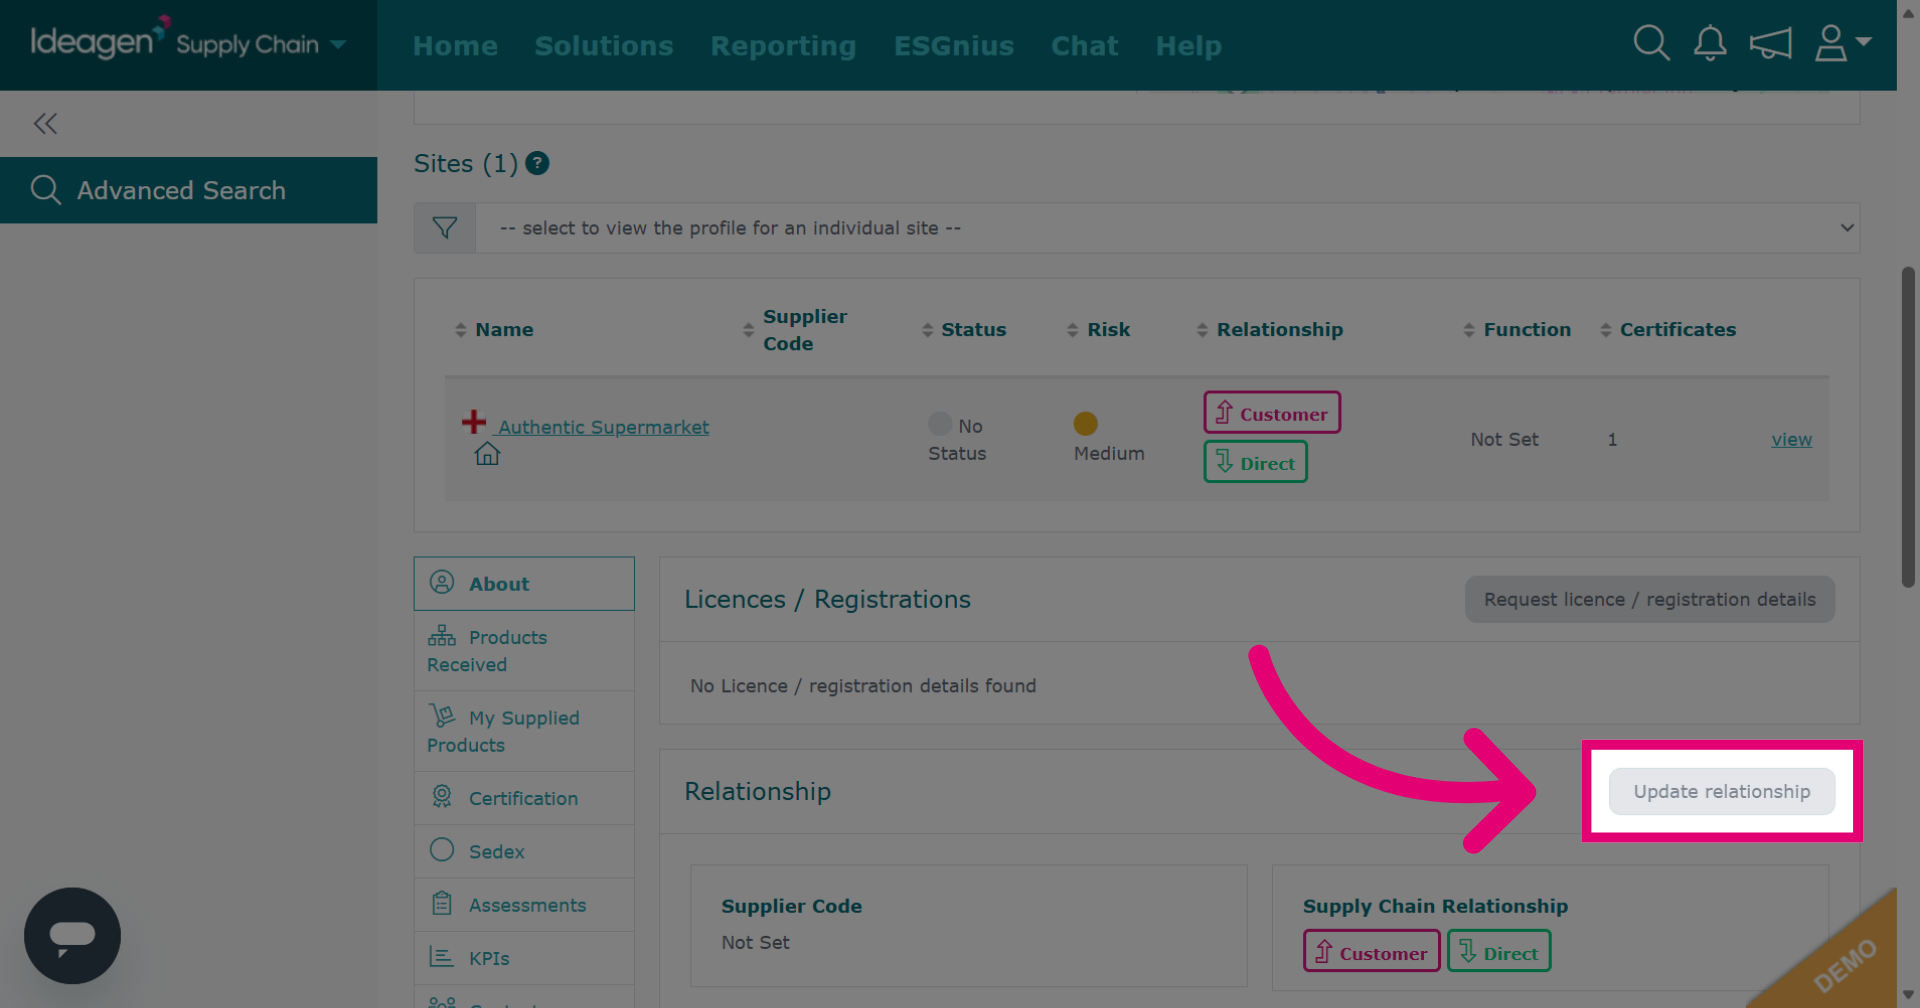
Click "-- type to add supplier code --" to enter a new supplier code against the company. You can type what is needed. Once you have typed something in once, the platform remembers it and you will be able to select from the drop-down options going forward.
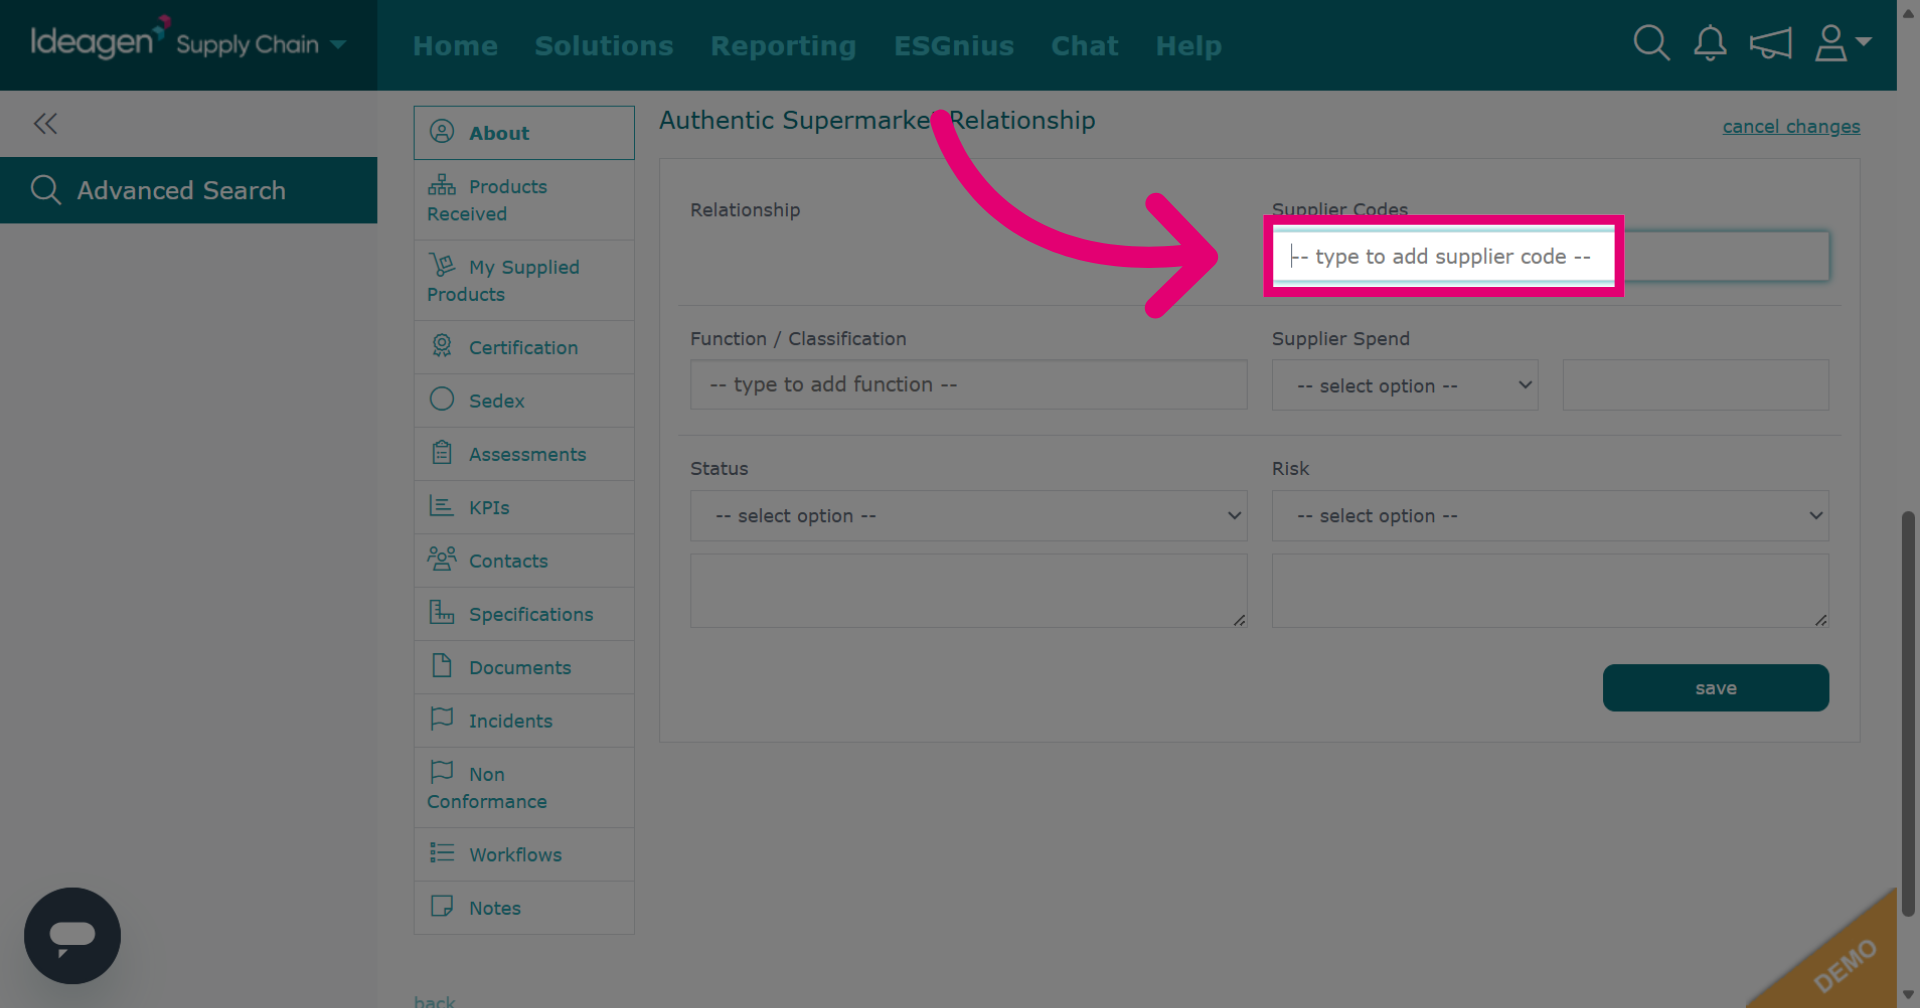
- You can also add a Function/Classification, Supplier Spend, Status and Risk against the company.
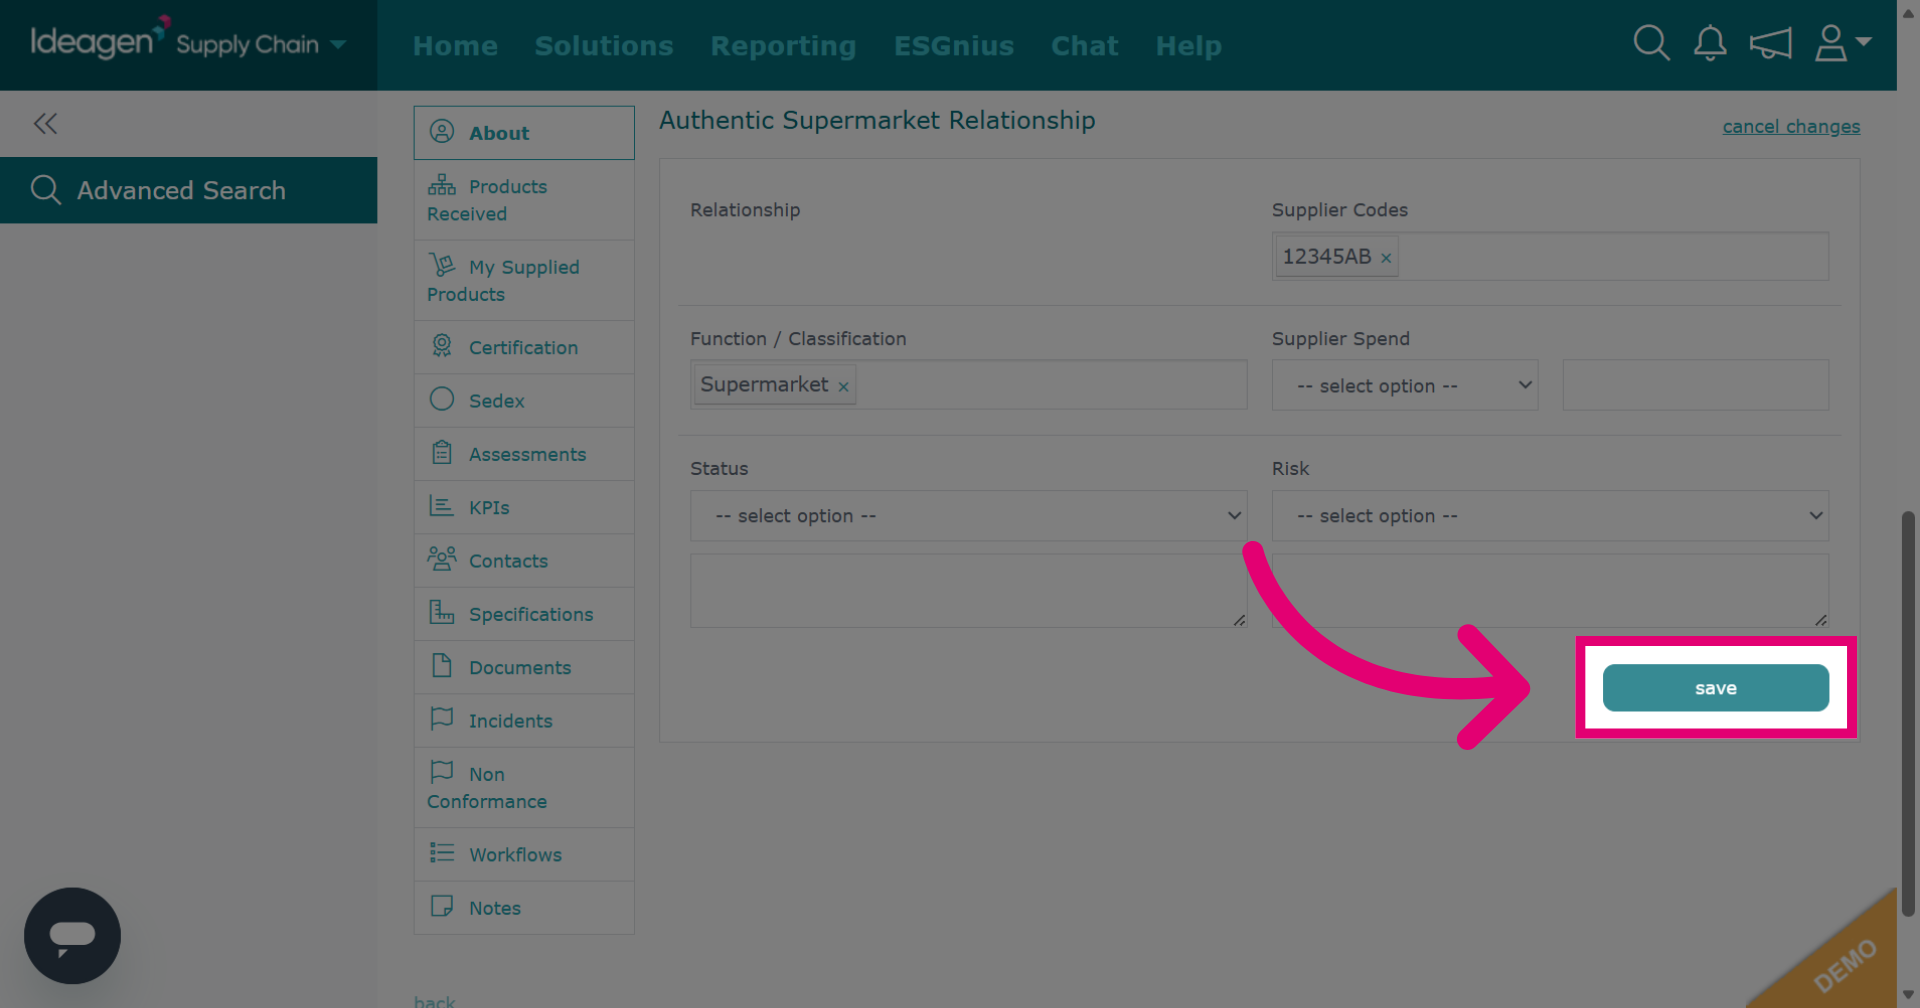
Click "save" to apply and save the updated relationship information.
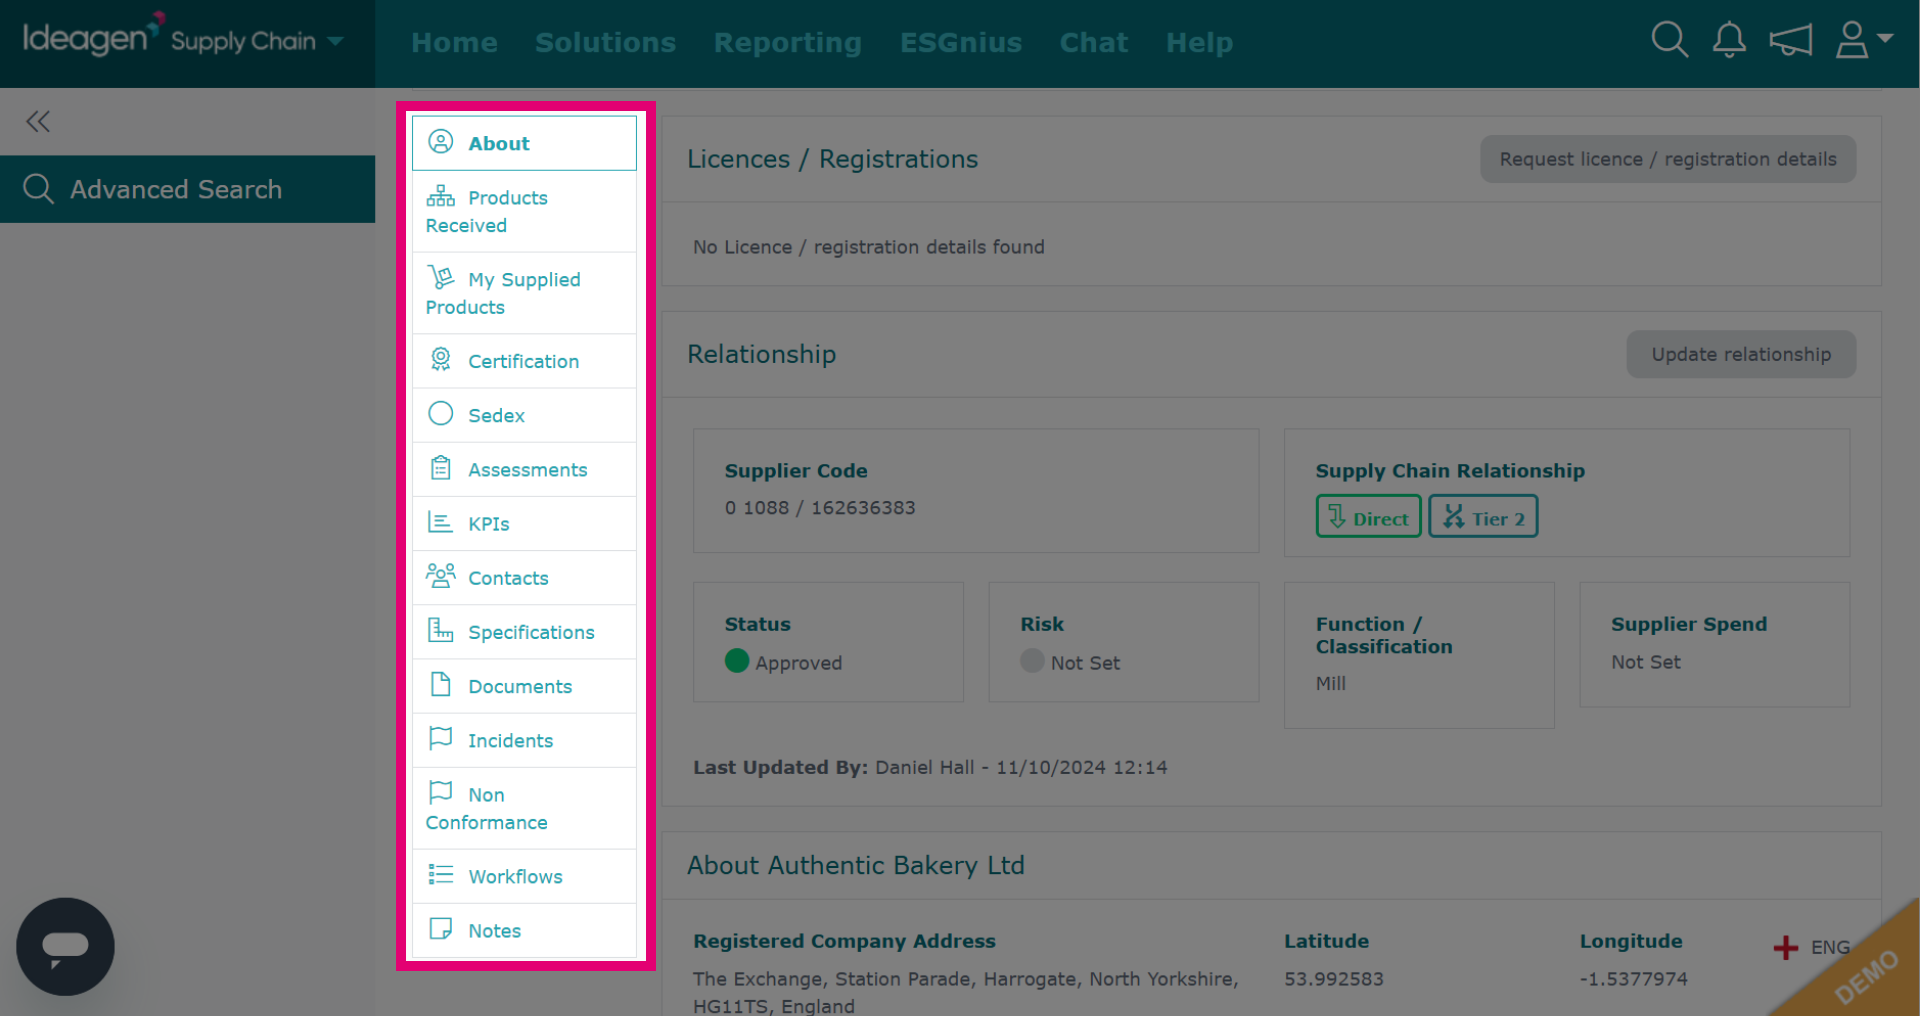
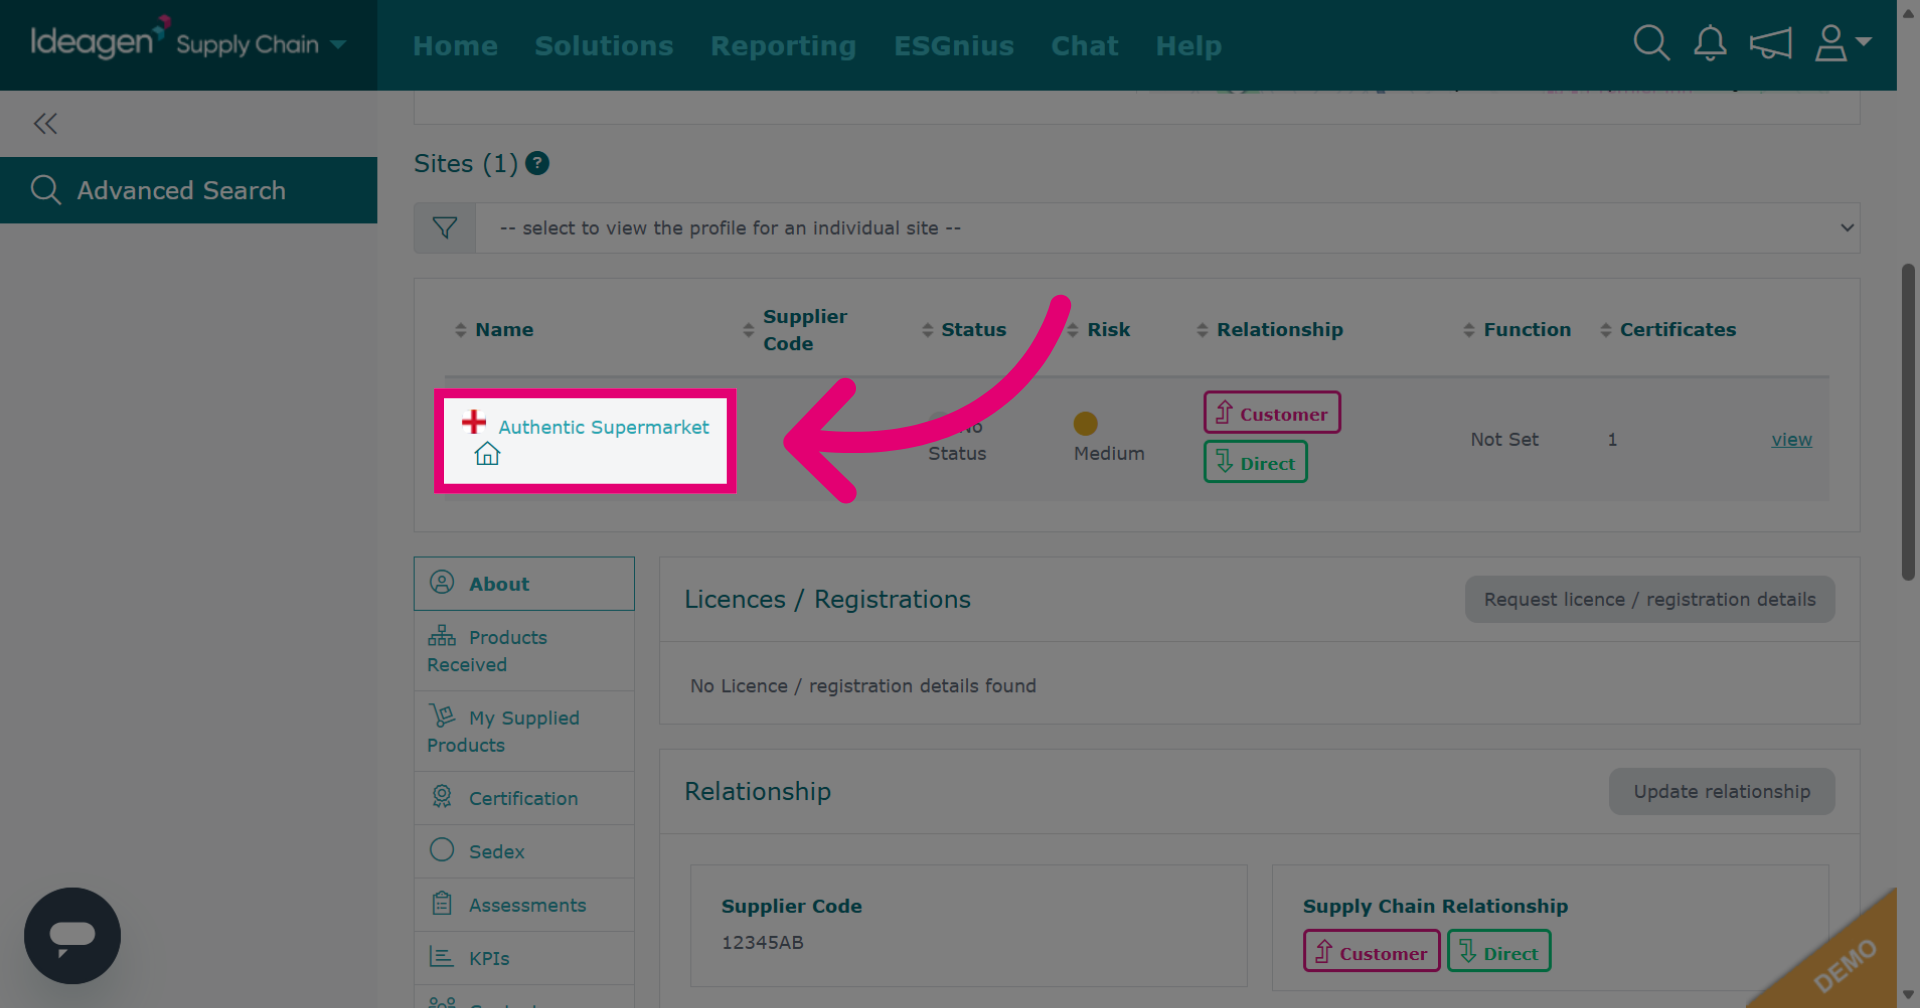
Click the relevant site to add details to a site.
Click "Update relationship" to modify the relationship details for the site.
Click "-- type to add supplier code --" to input a supplier code for the primary site.
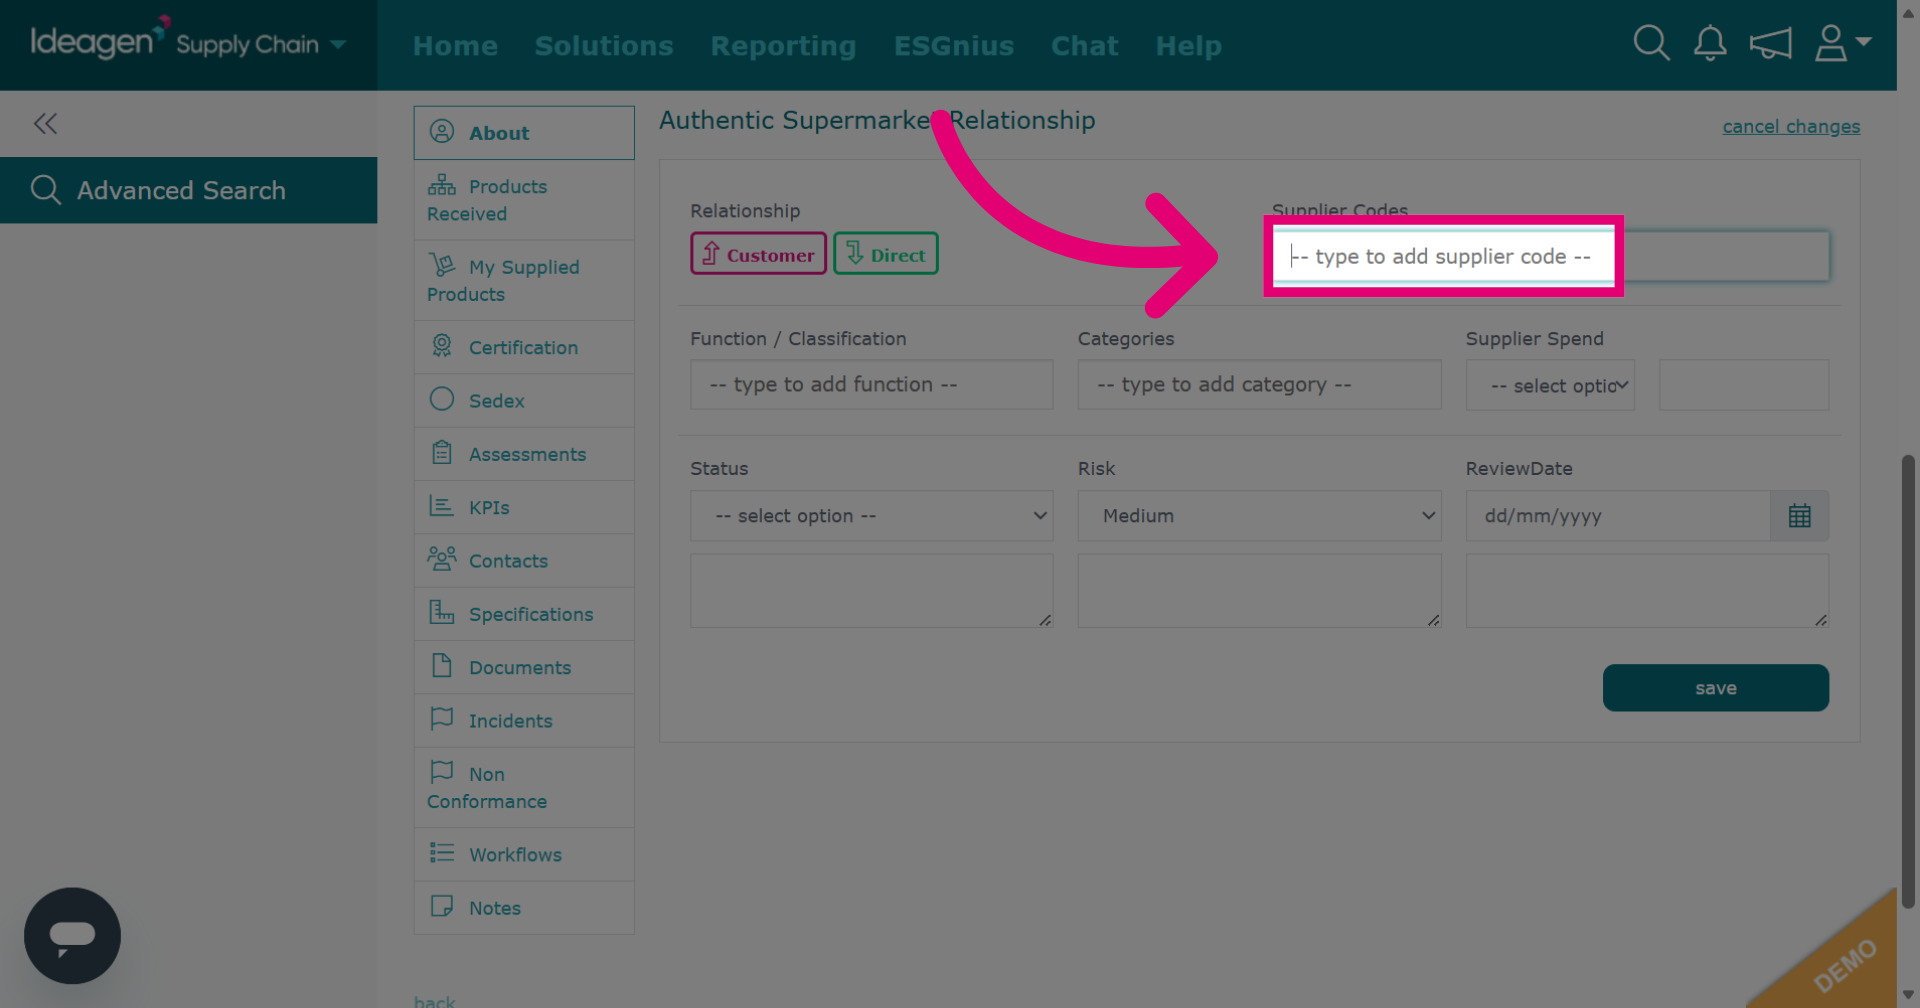
Enter the supplier code for the site. You can type what is needed. Once you have typed something in once, the platform remembers it and you will be able to select from the drop-down options going forward.
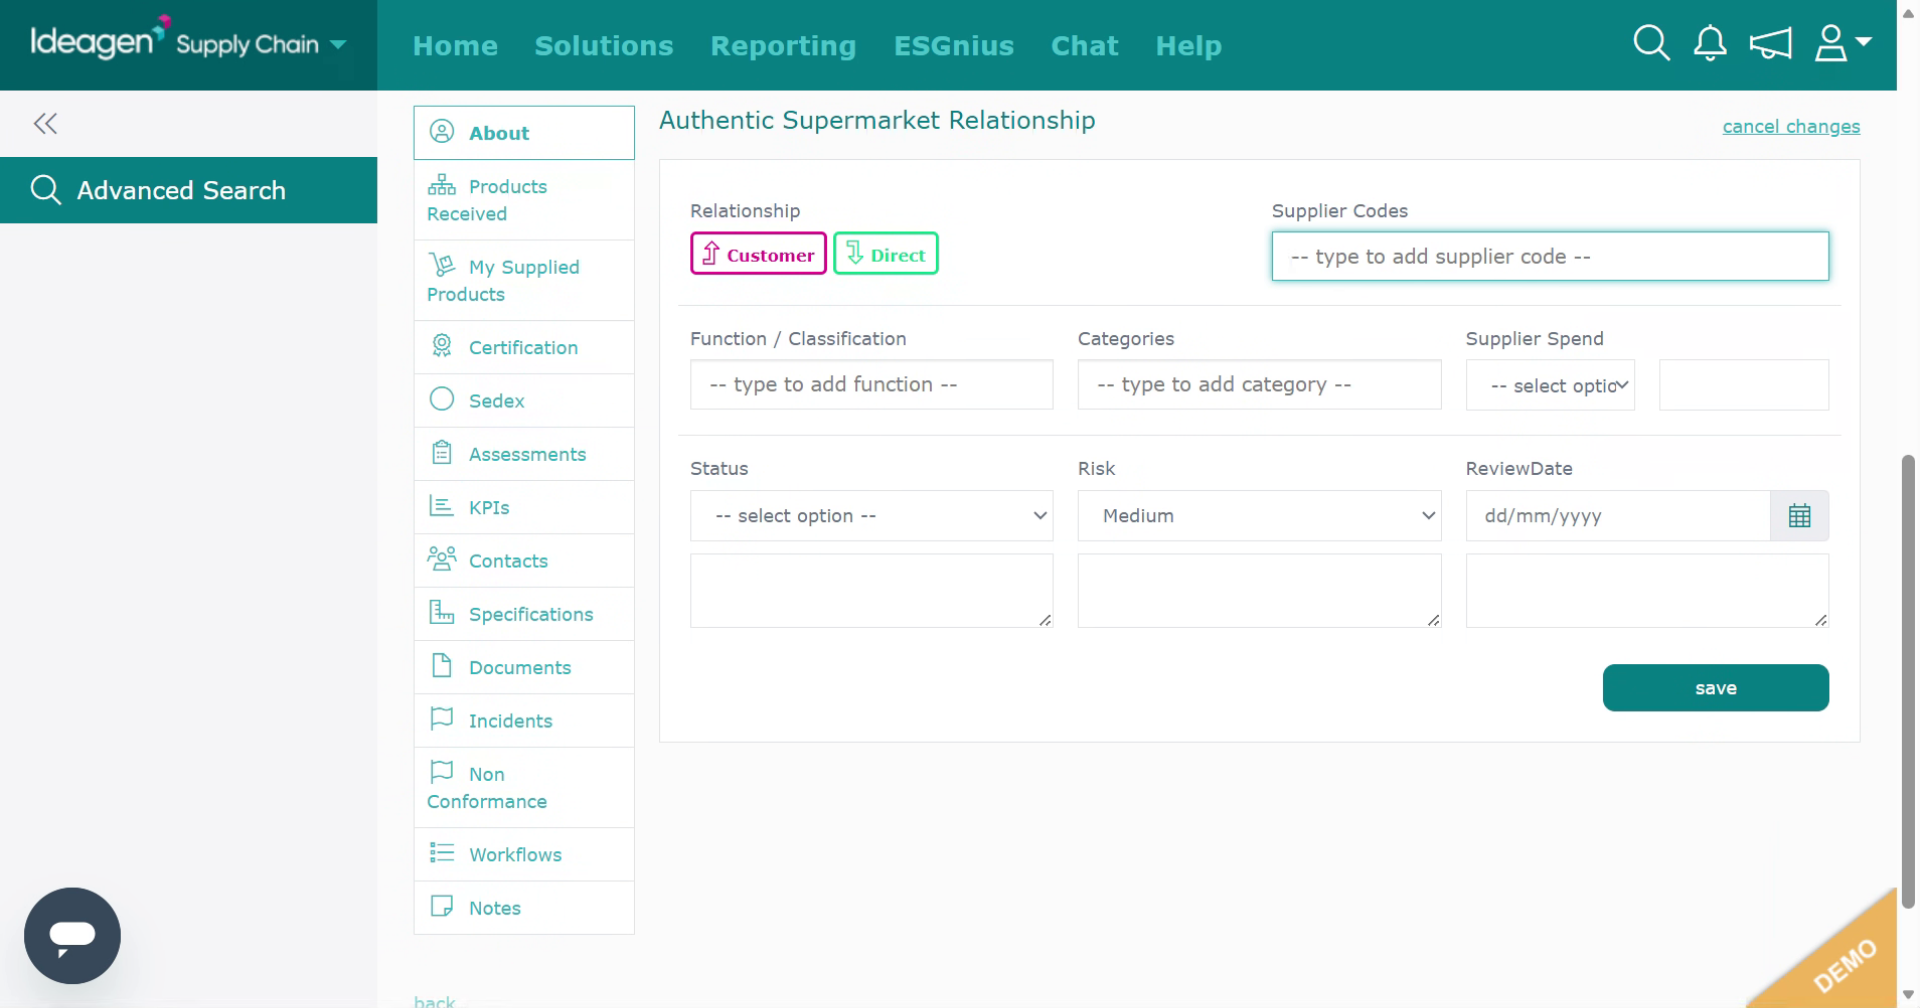
You can also add details for Function/Classification, Categories, Supplier Spend, Status, Risk, and Review Date. Boxes with a downwards arrow besides them are drop down options only. Boxes without the arrow are free text.
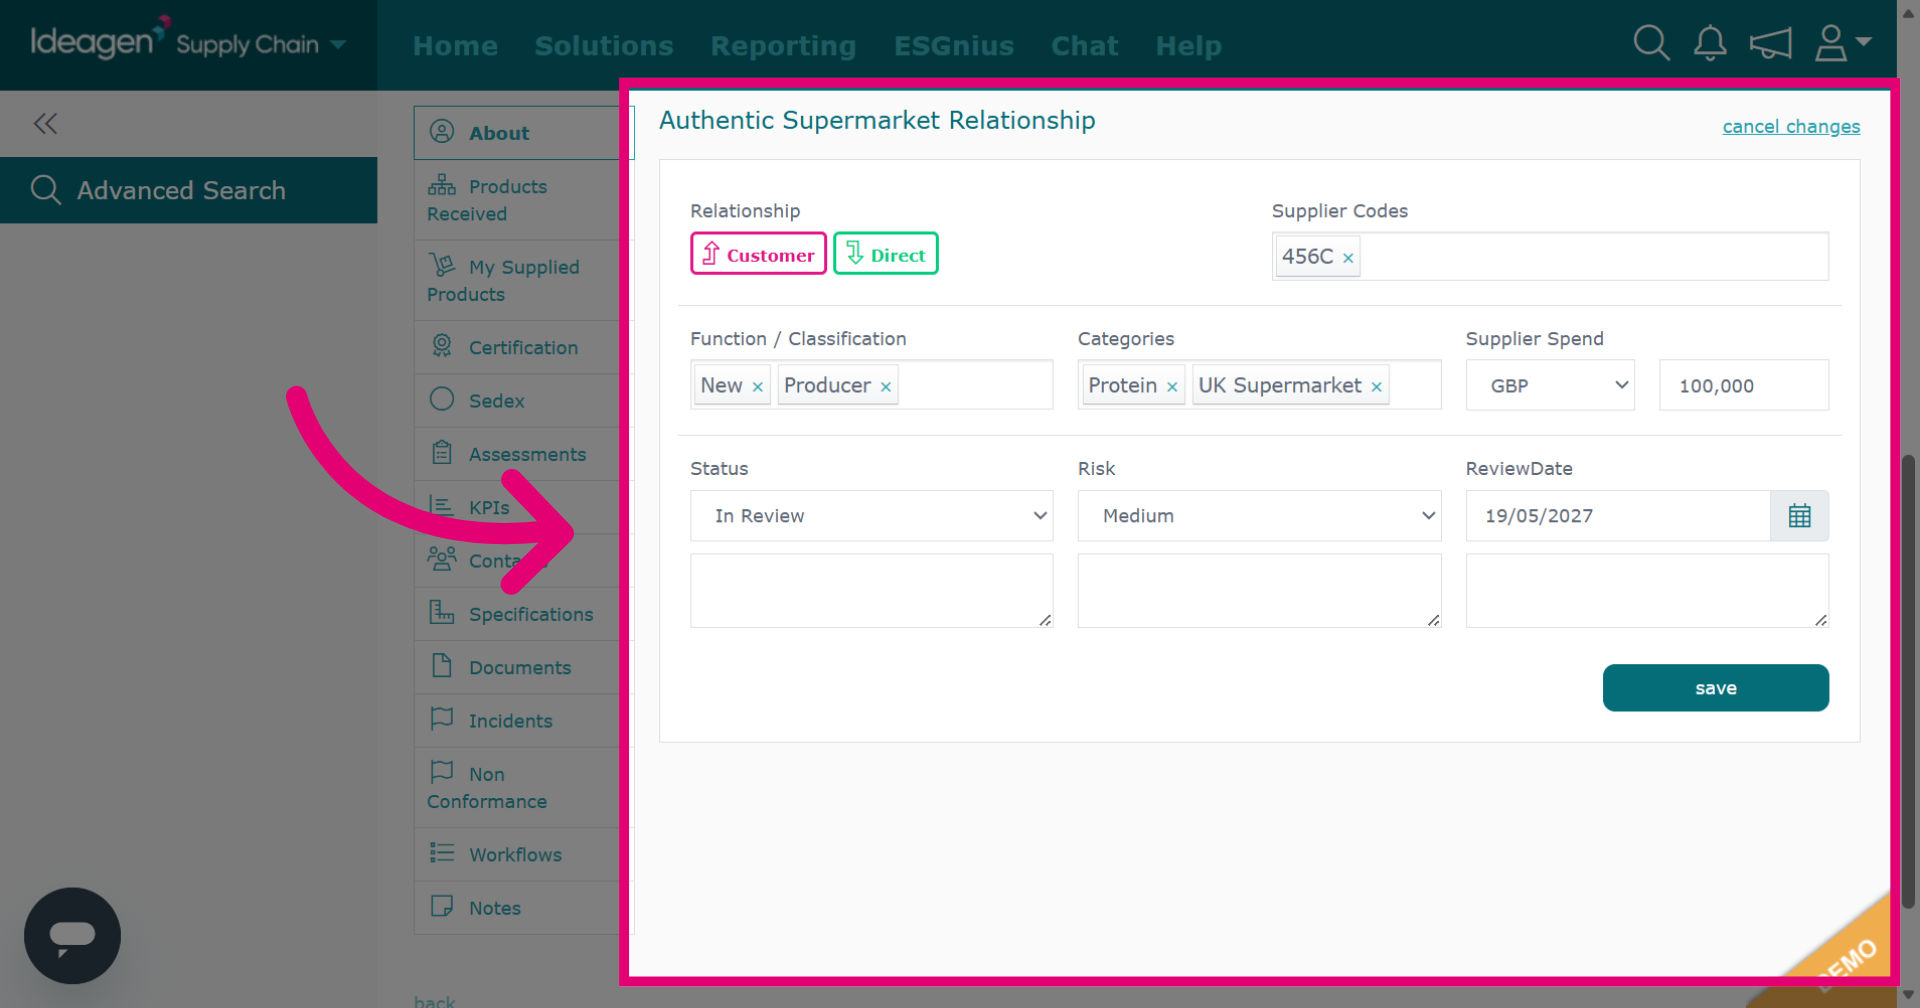
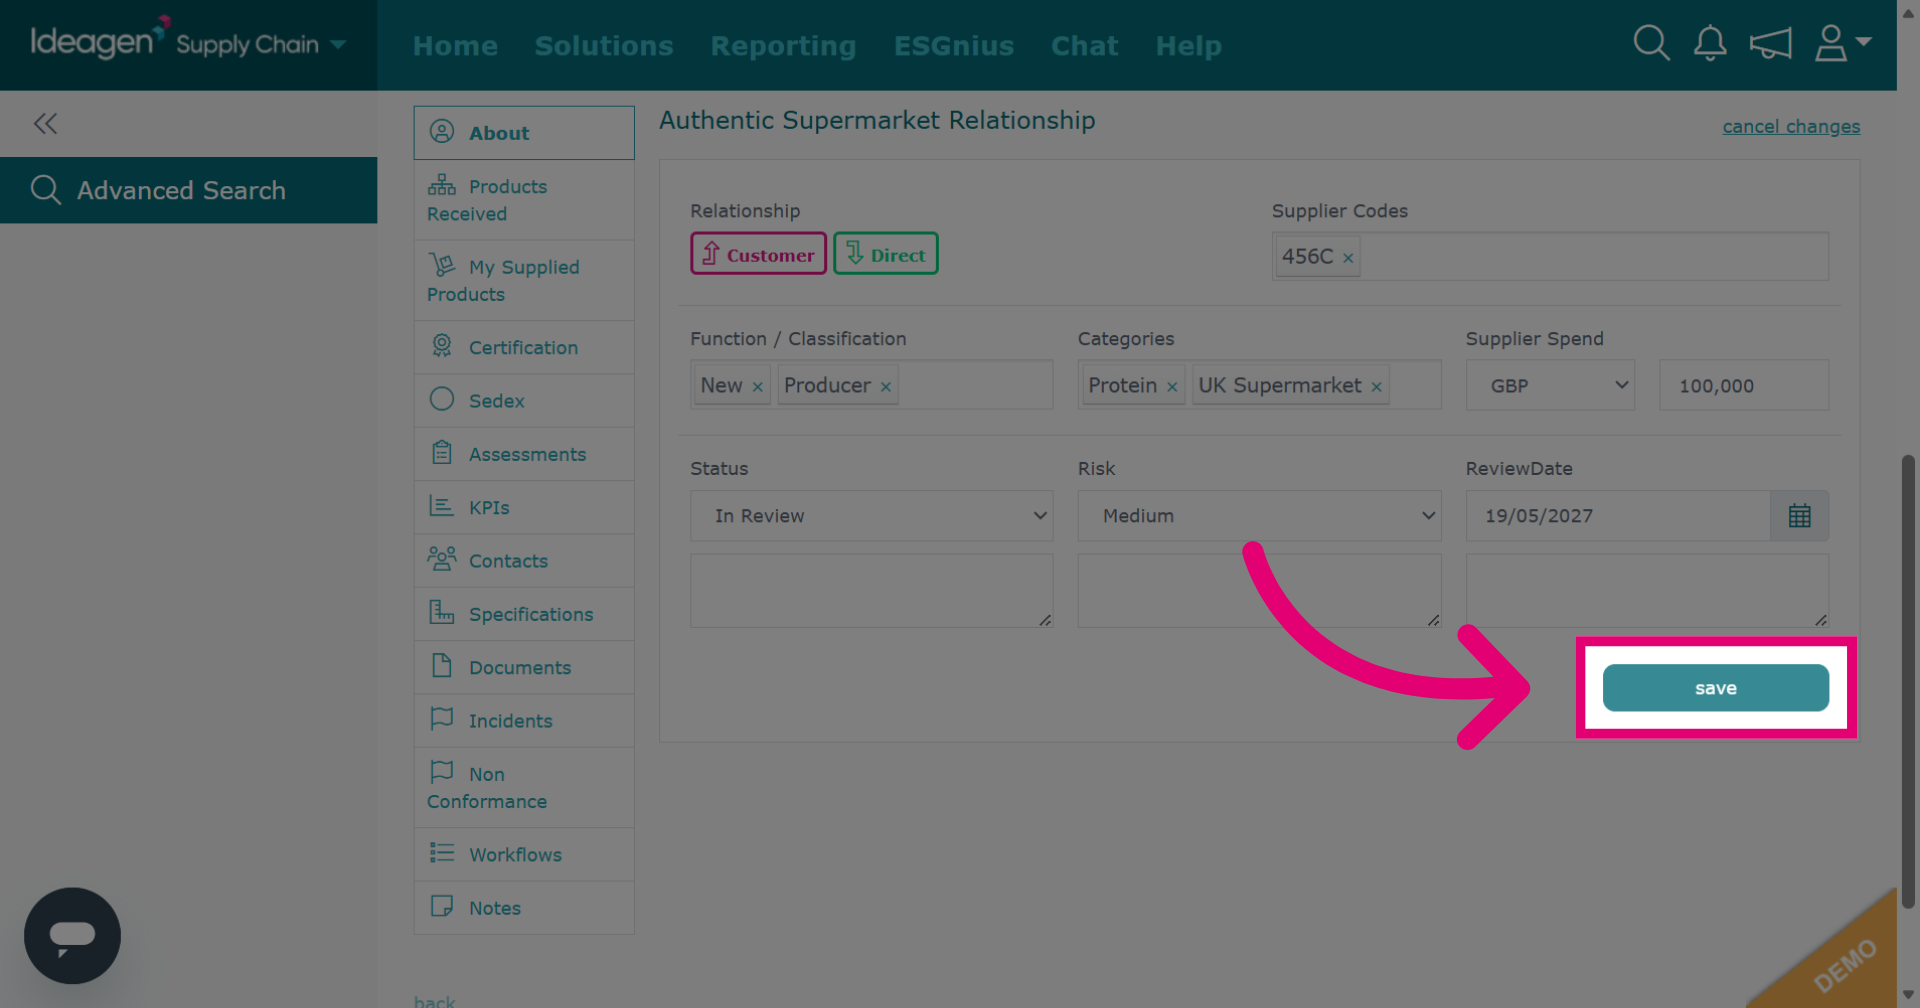
Click "save" to finalize and save all modifications made to the supplier relationship.
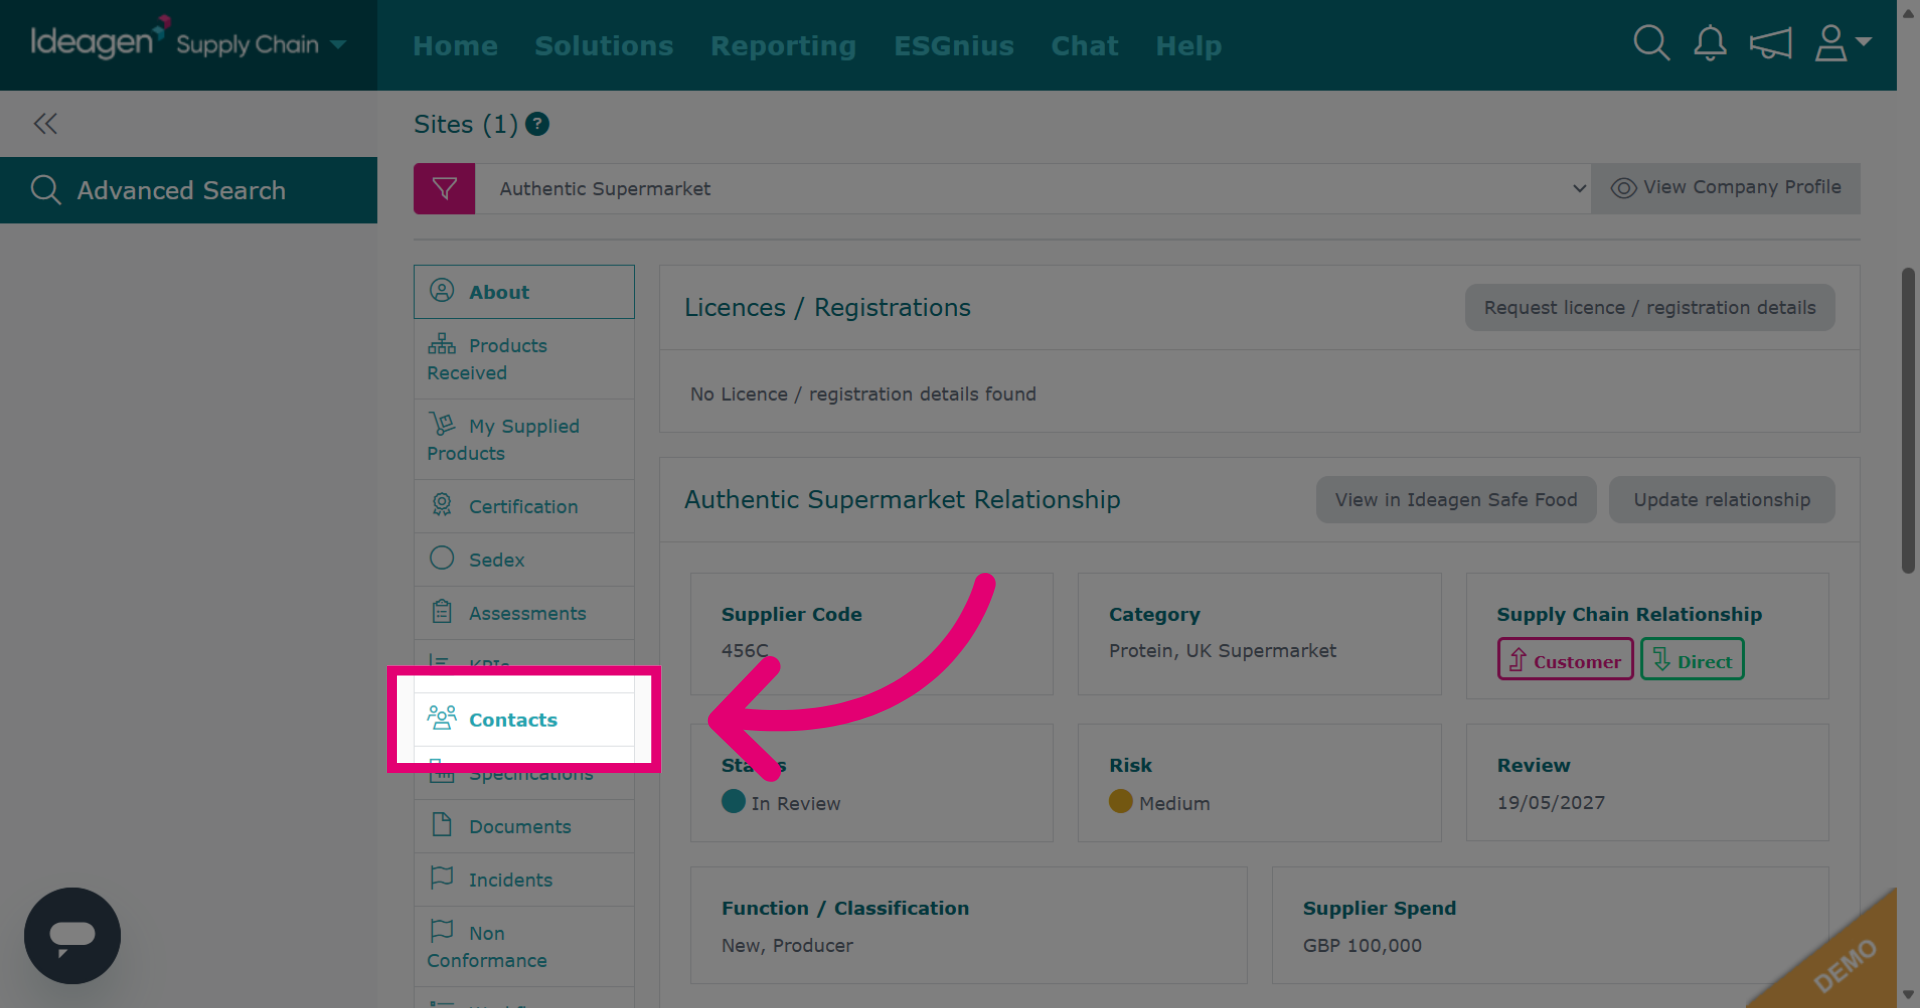
Click "Contacts" to view and manage contacts associated with the supplier.
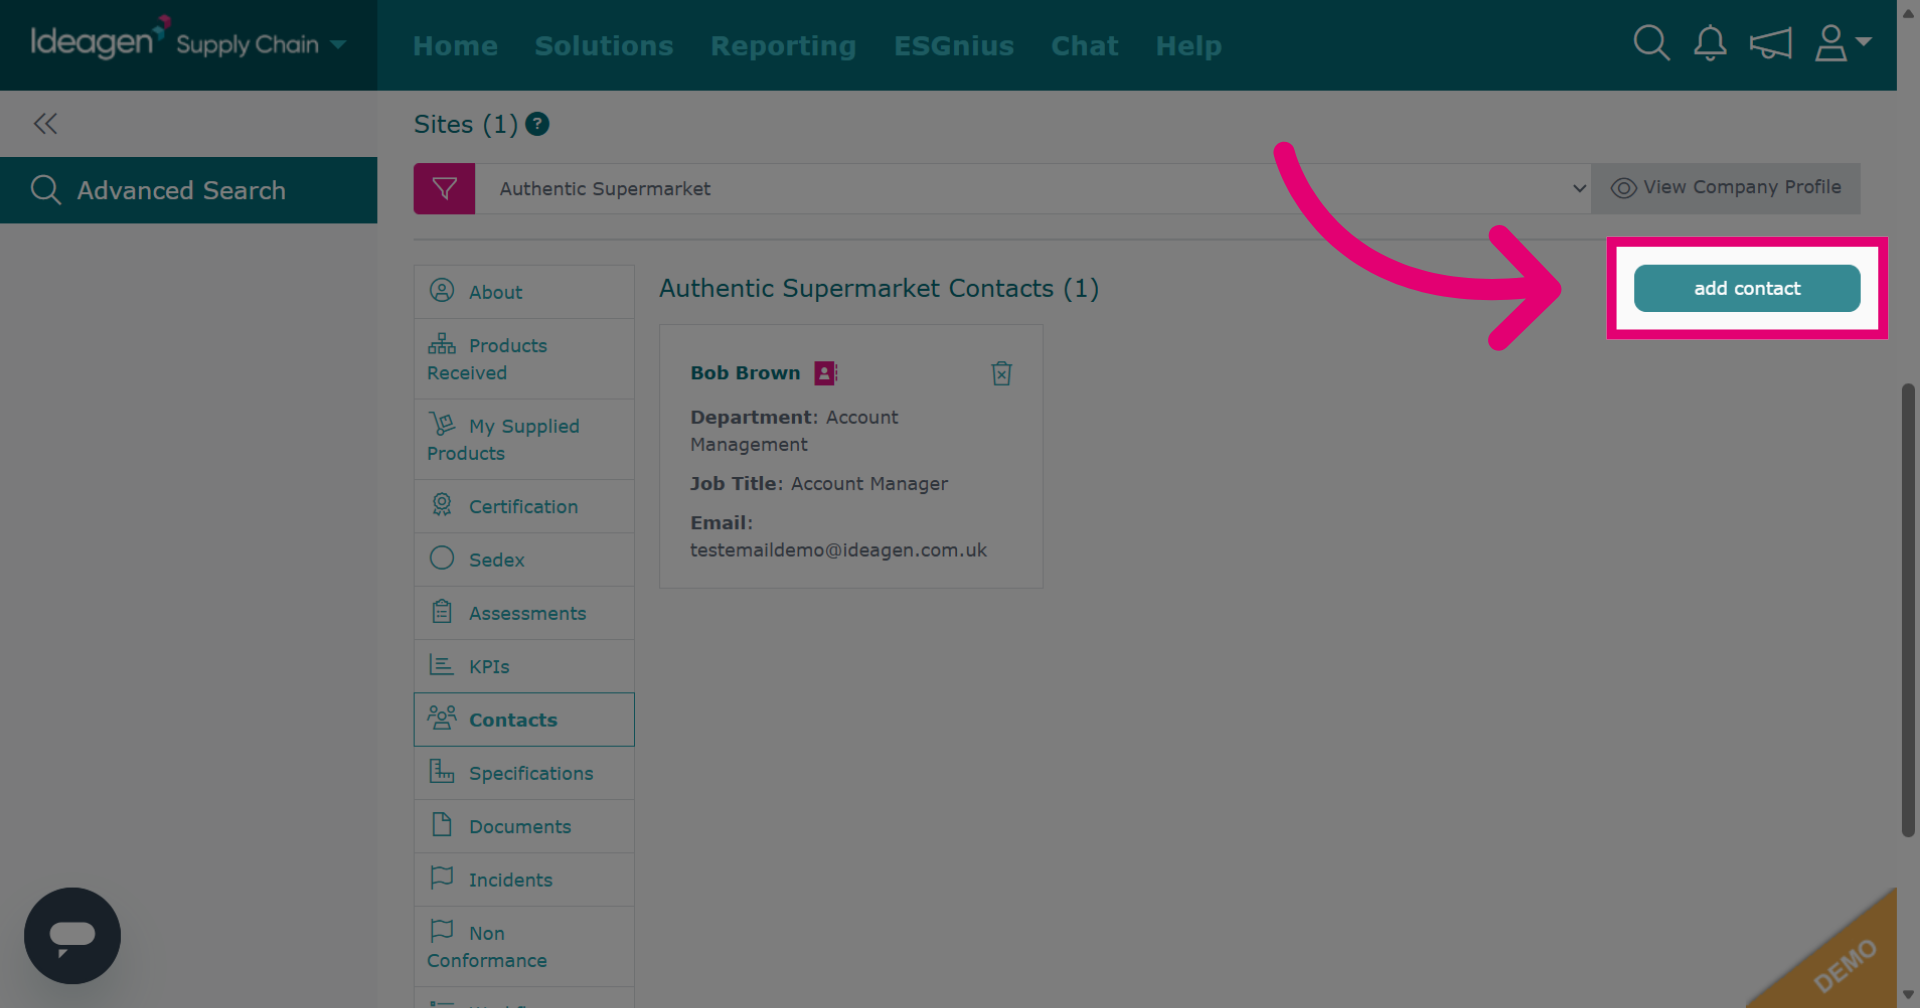
Click "add contact" to begin entering a new contact for the supplier.
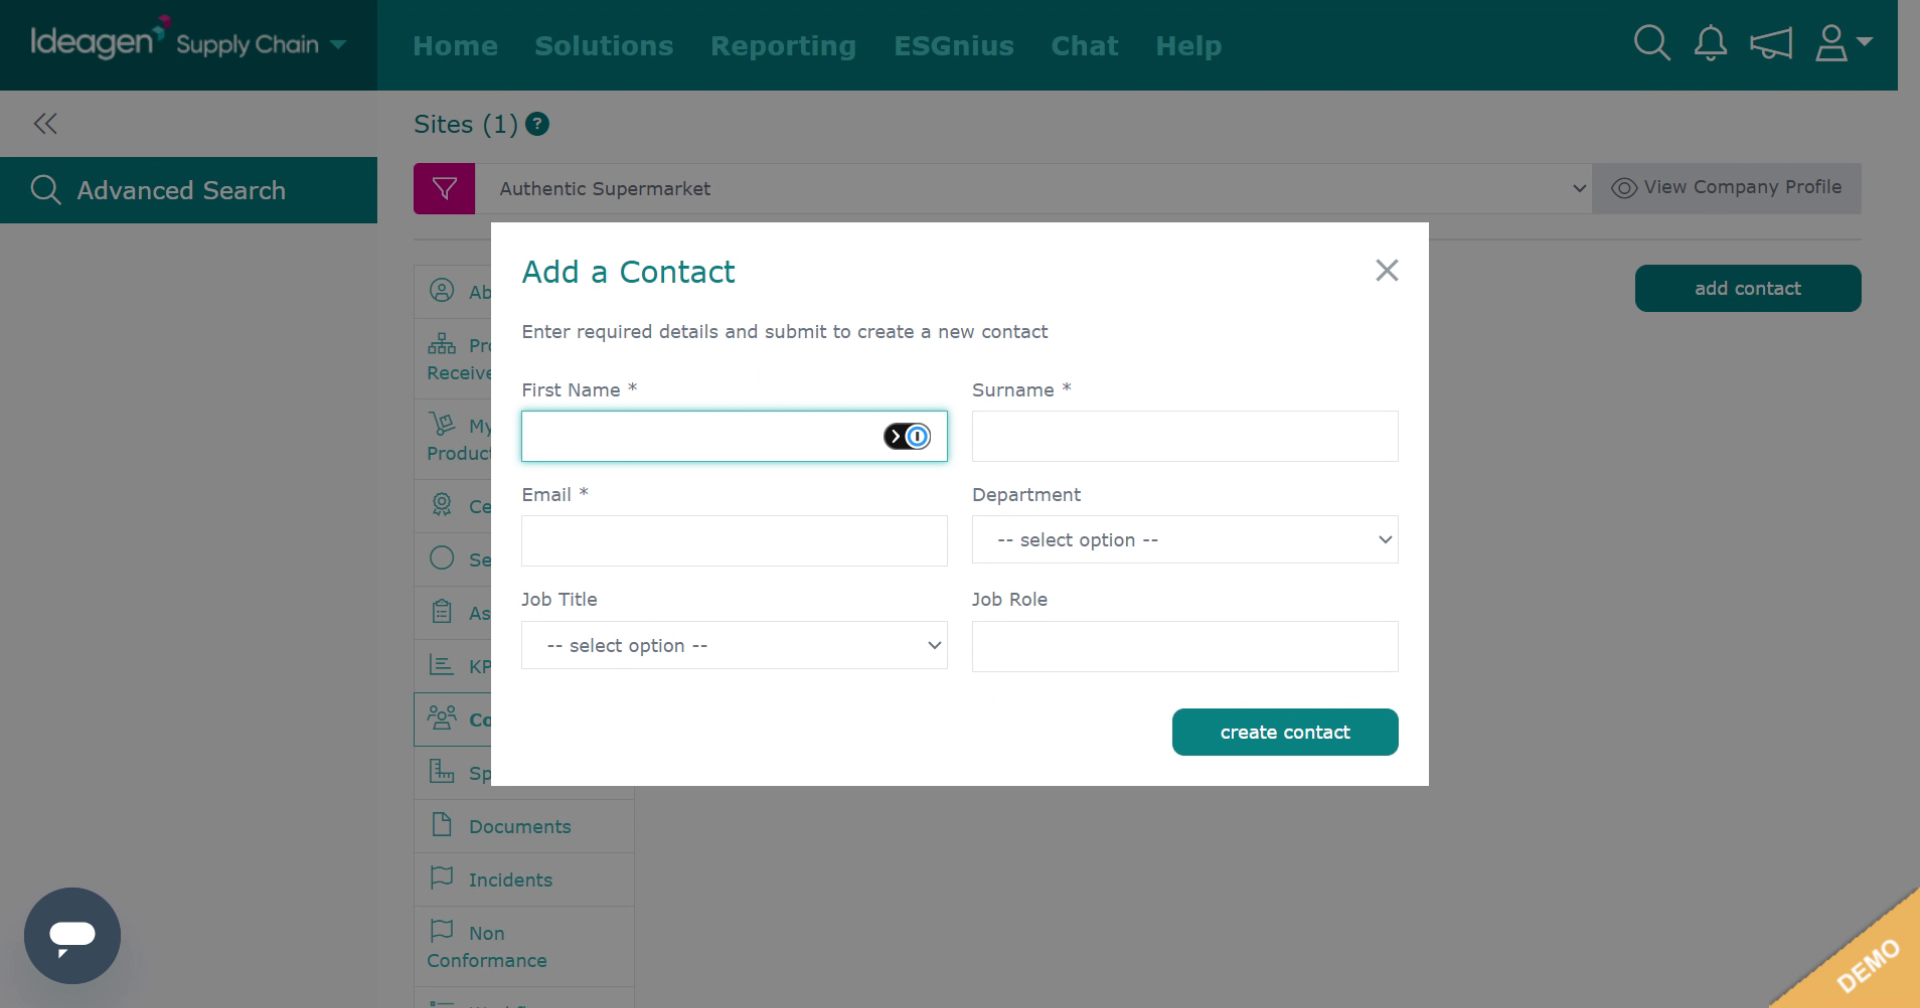
Fill in all applicable contact details. Boxes marked with an asterisk are mandatory. Boxes with an arrow besides them are drop down options only. Boxes without are free text.
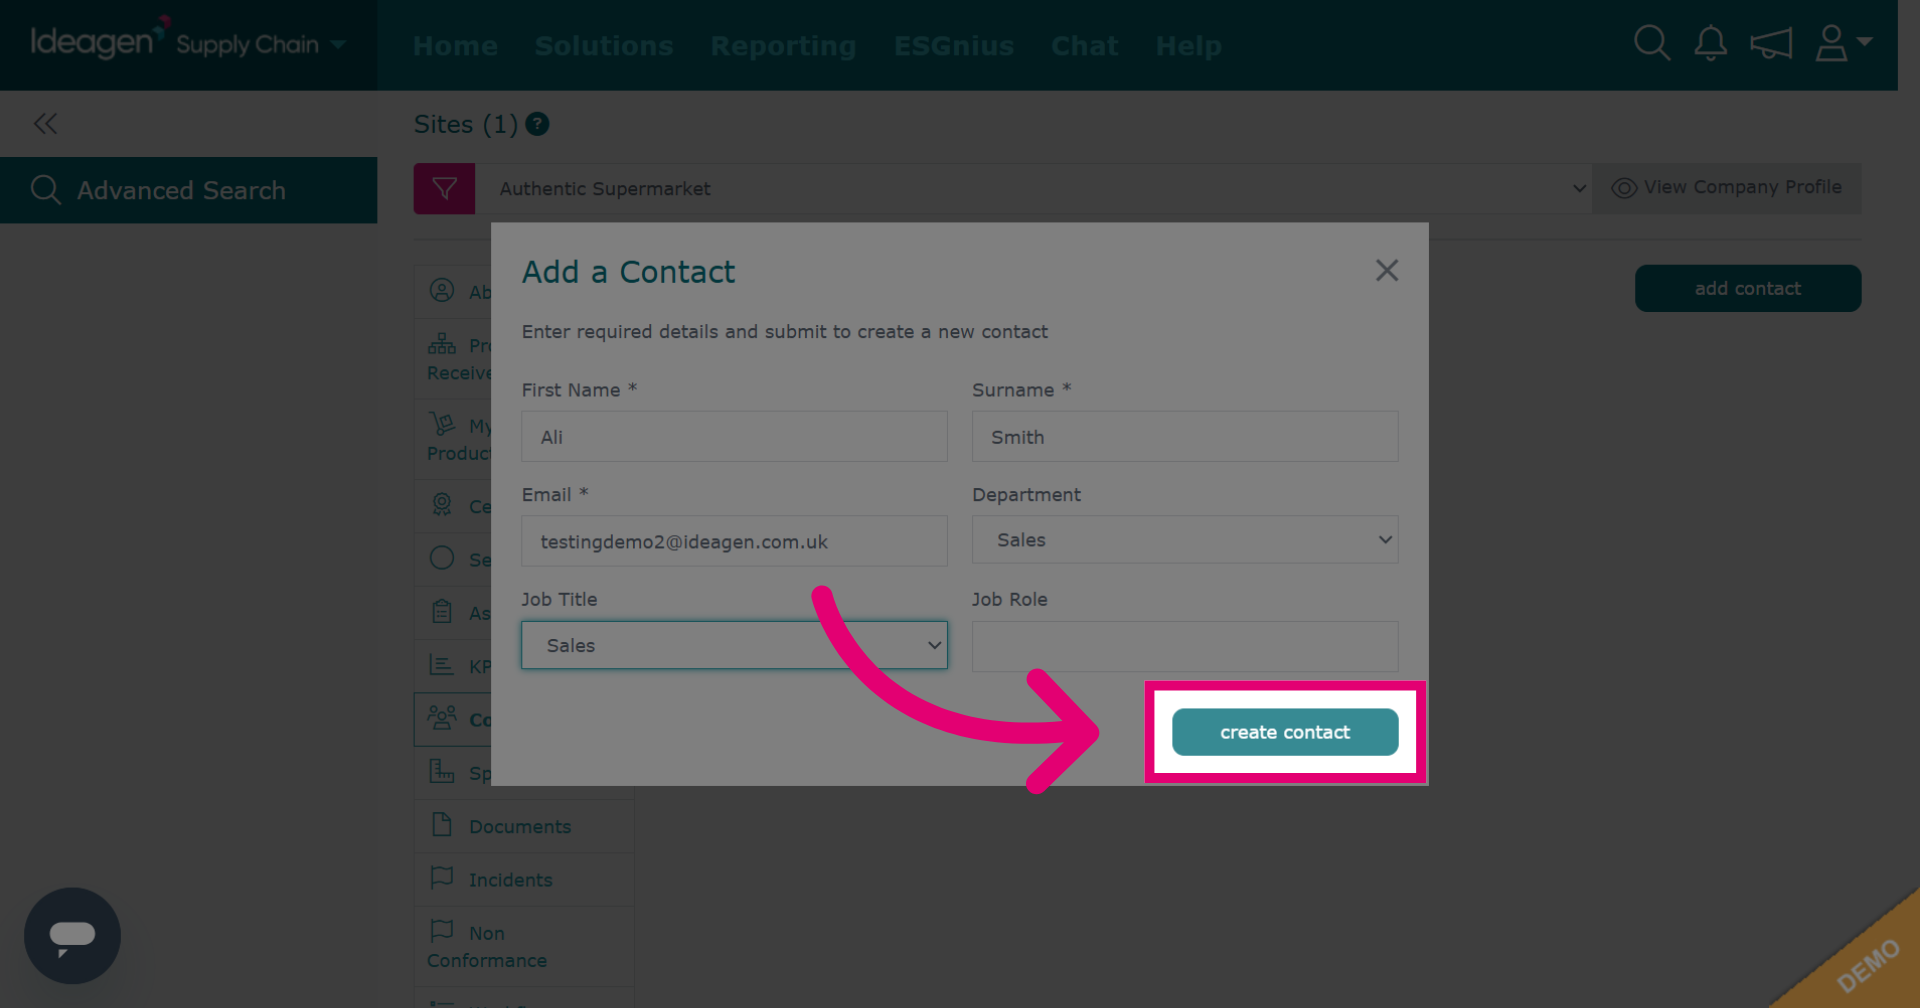
Click "create contact" to save the new contact information within the supplier profile.
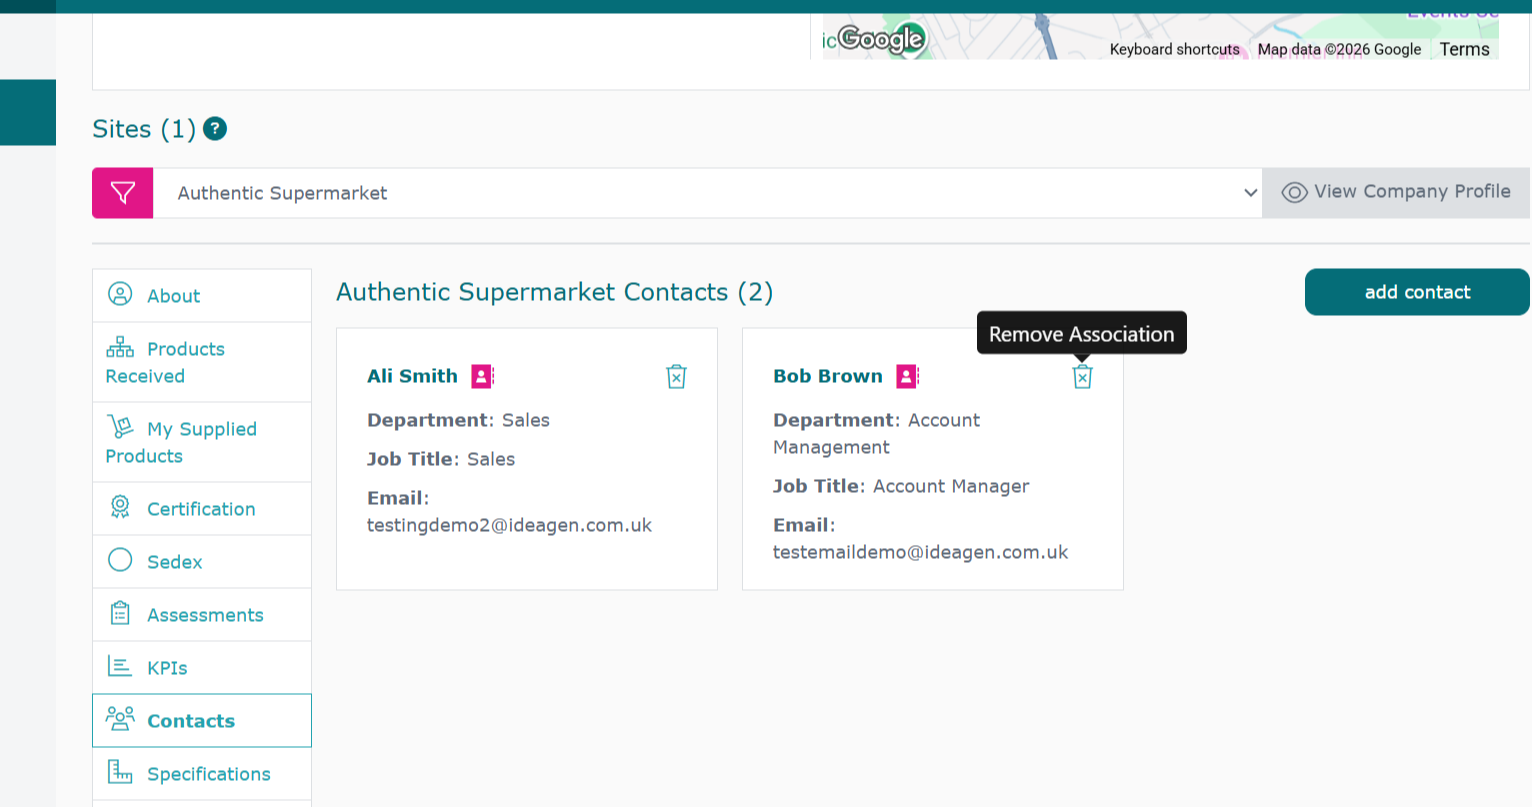
Once you have added a contact to a supplier, you cannot remove it from the platform. However, you can remove your company's association with the contact. To do so click the bin icon besides the contact.
Click "Private Notes" to add private notes to the supplier profile.
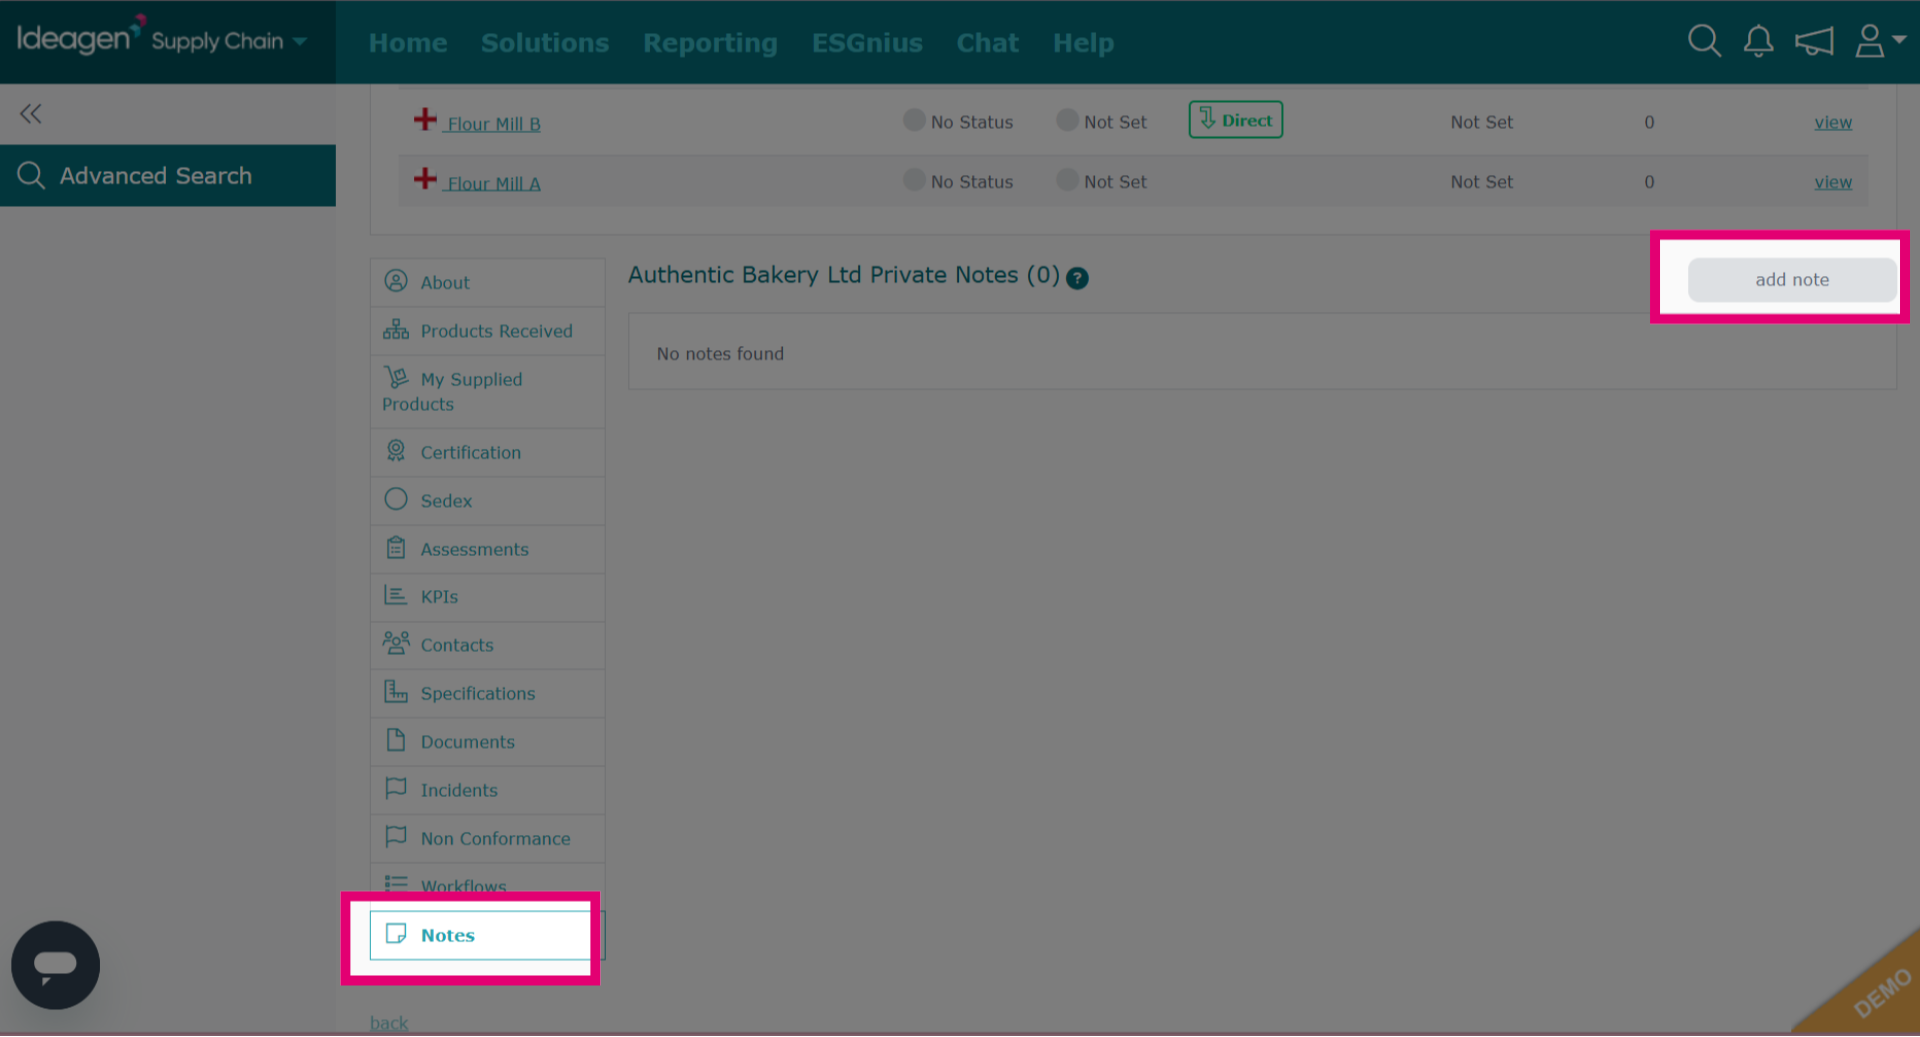
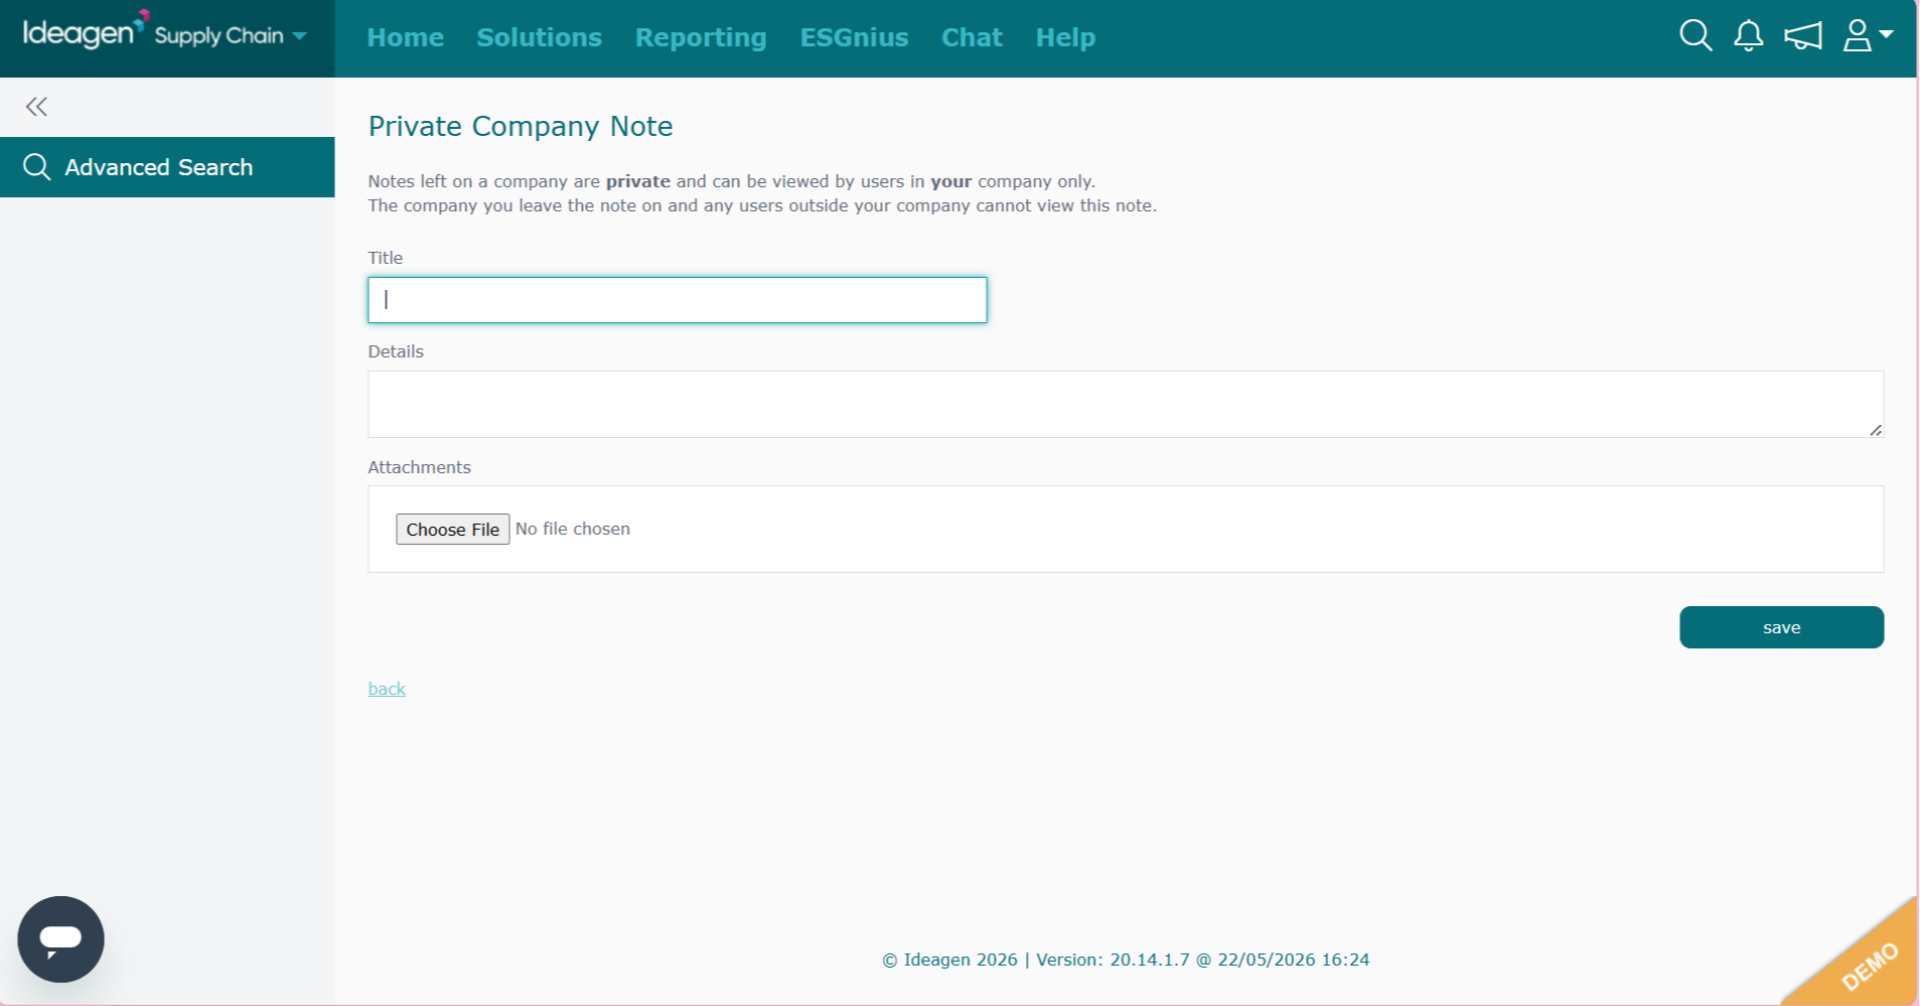
Add a title, details and optionally an attachment. Then click save.
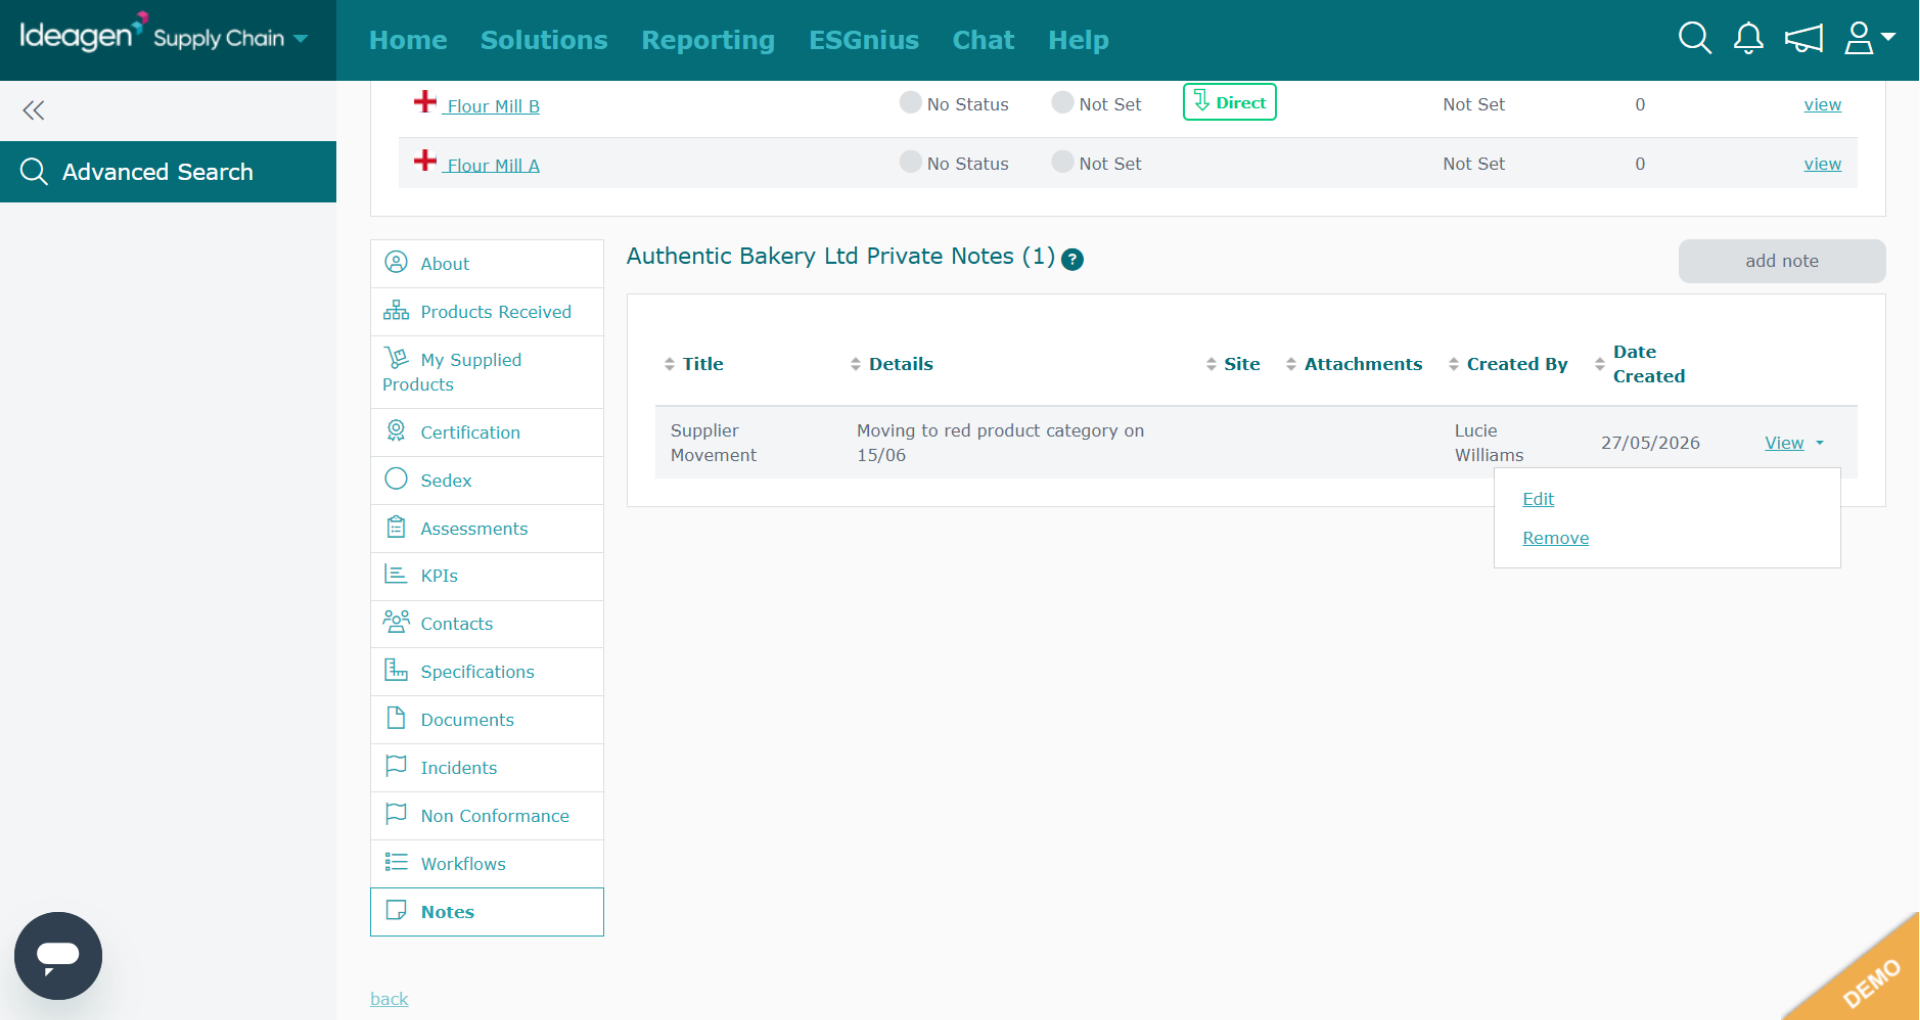
To view a note click "View." To edit or remove a note, click the arrow next to the relevant entry and then select "Edit" or "Remove" respectively.
Click "Supplier Tasks" to view and manage tasks associated with the supplier.