


New article
Recently updated
Managing a company certification

Who is this article for?
Users who want to view and manage their company's certification.
Certificate user permissions are required.
This tutorial guides you through configuring certificates within the Ideagen Supply Chain platform.
You will learn how to add, edit, delete, and manage both manual and automated API certificates for your company sites.
Managing company certifications
Log into the system.
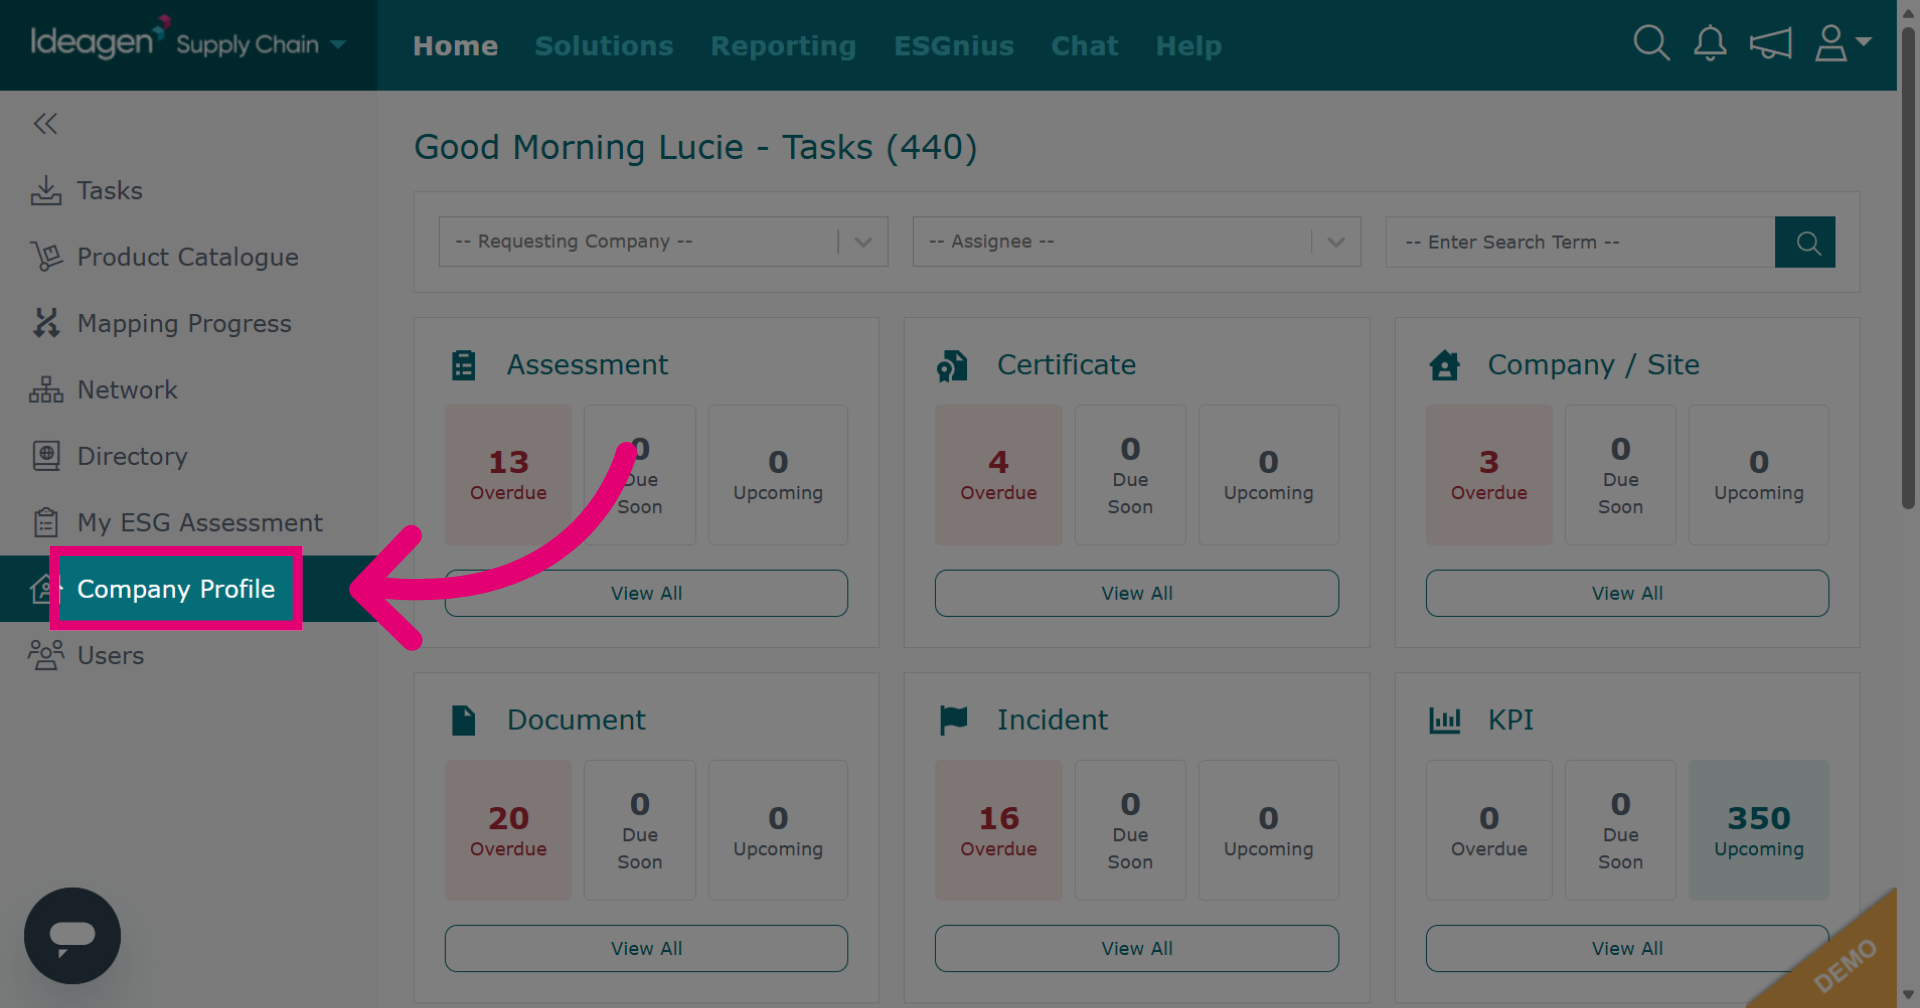
Click Company Profile to open your organization's main settings page.
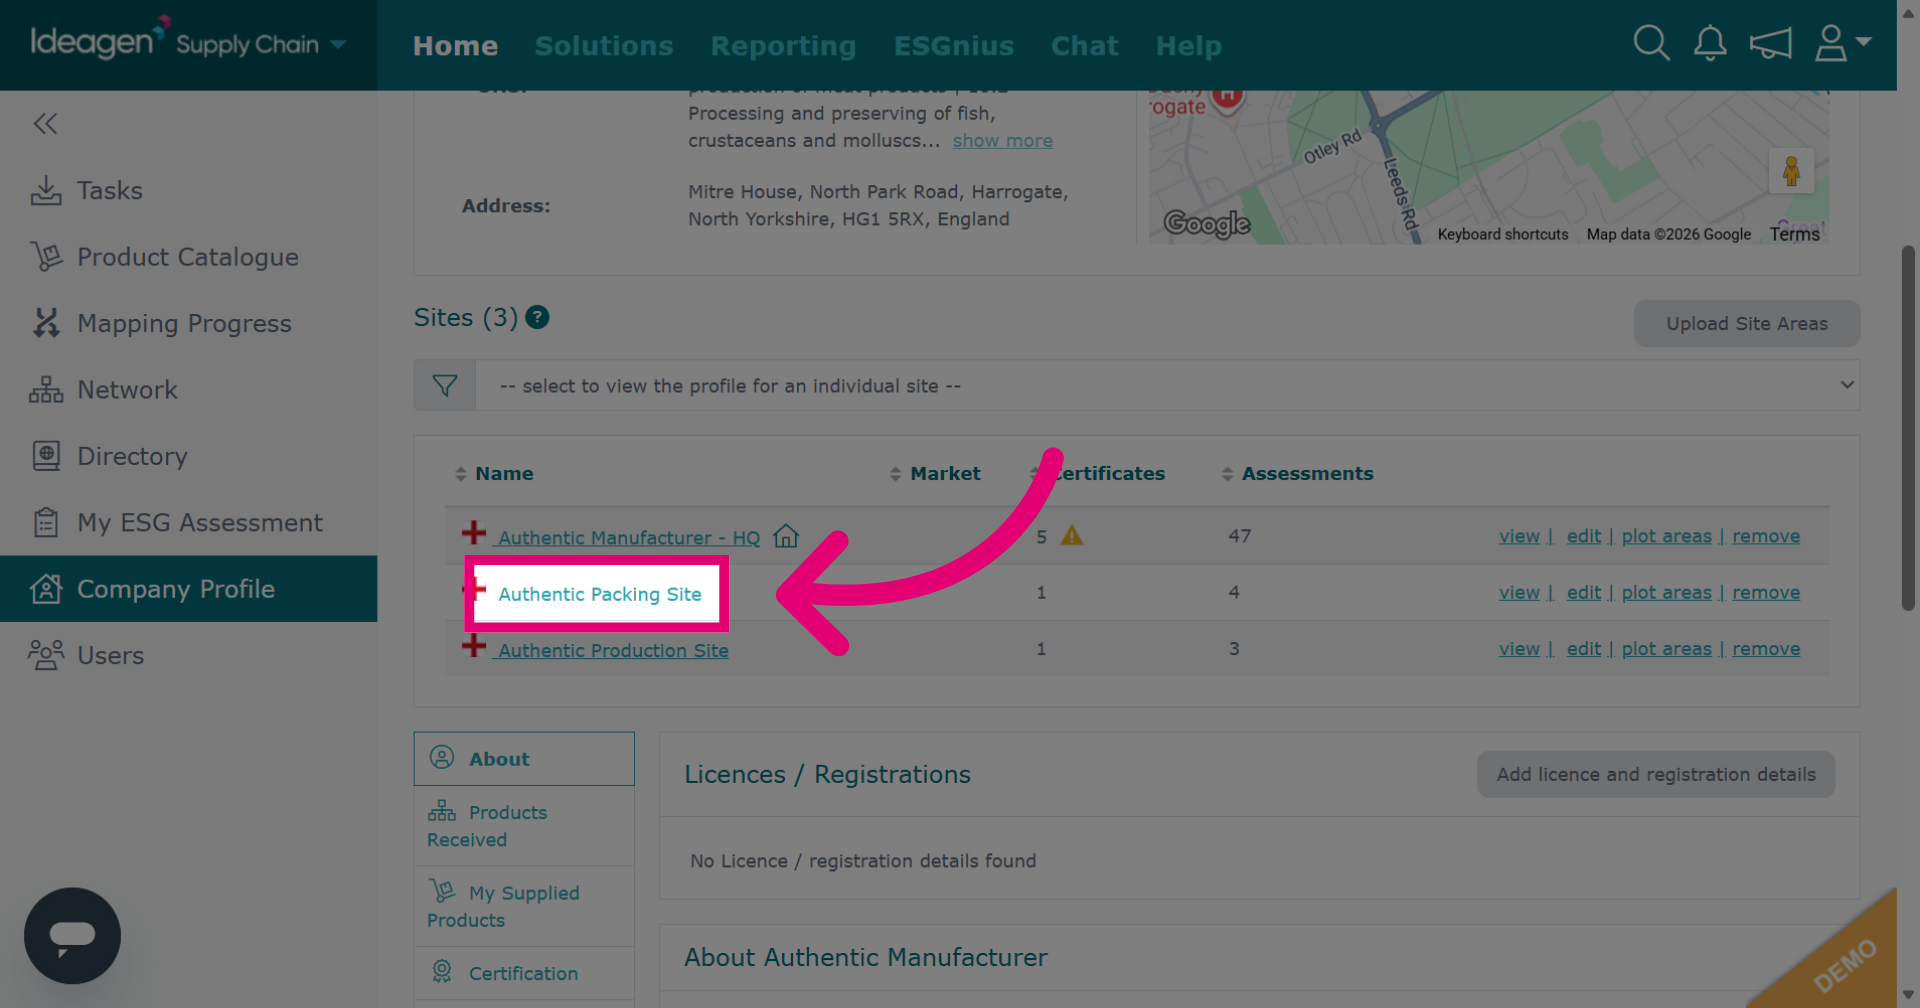
Select the site you wish to add certification to.
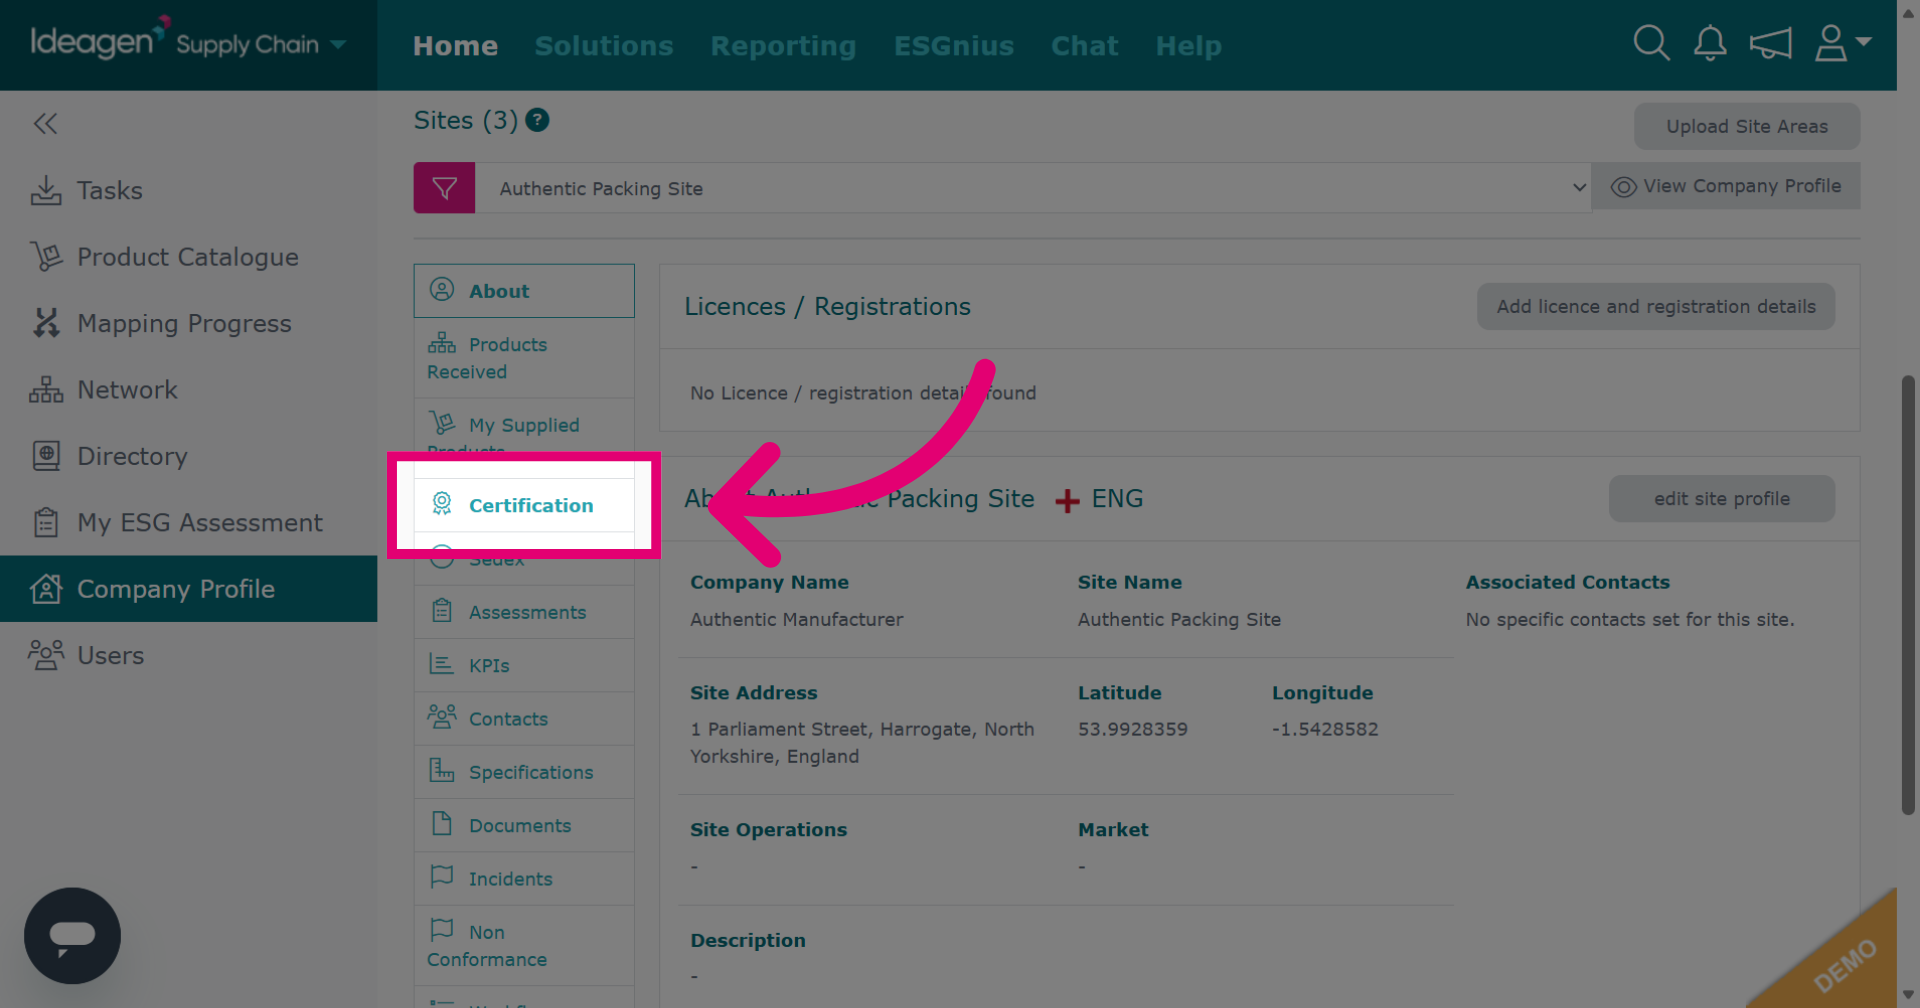
Click Certification to access the certification management area for the selected site.
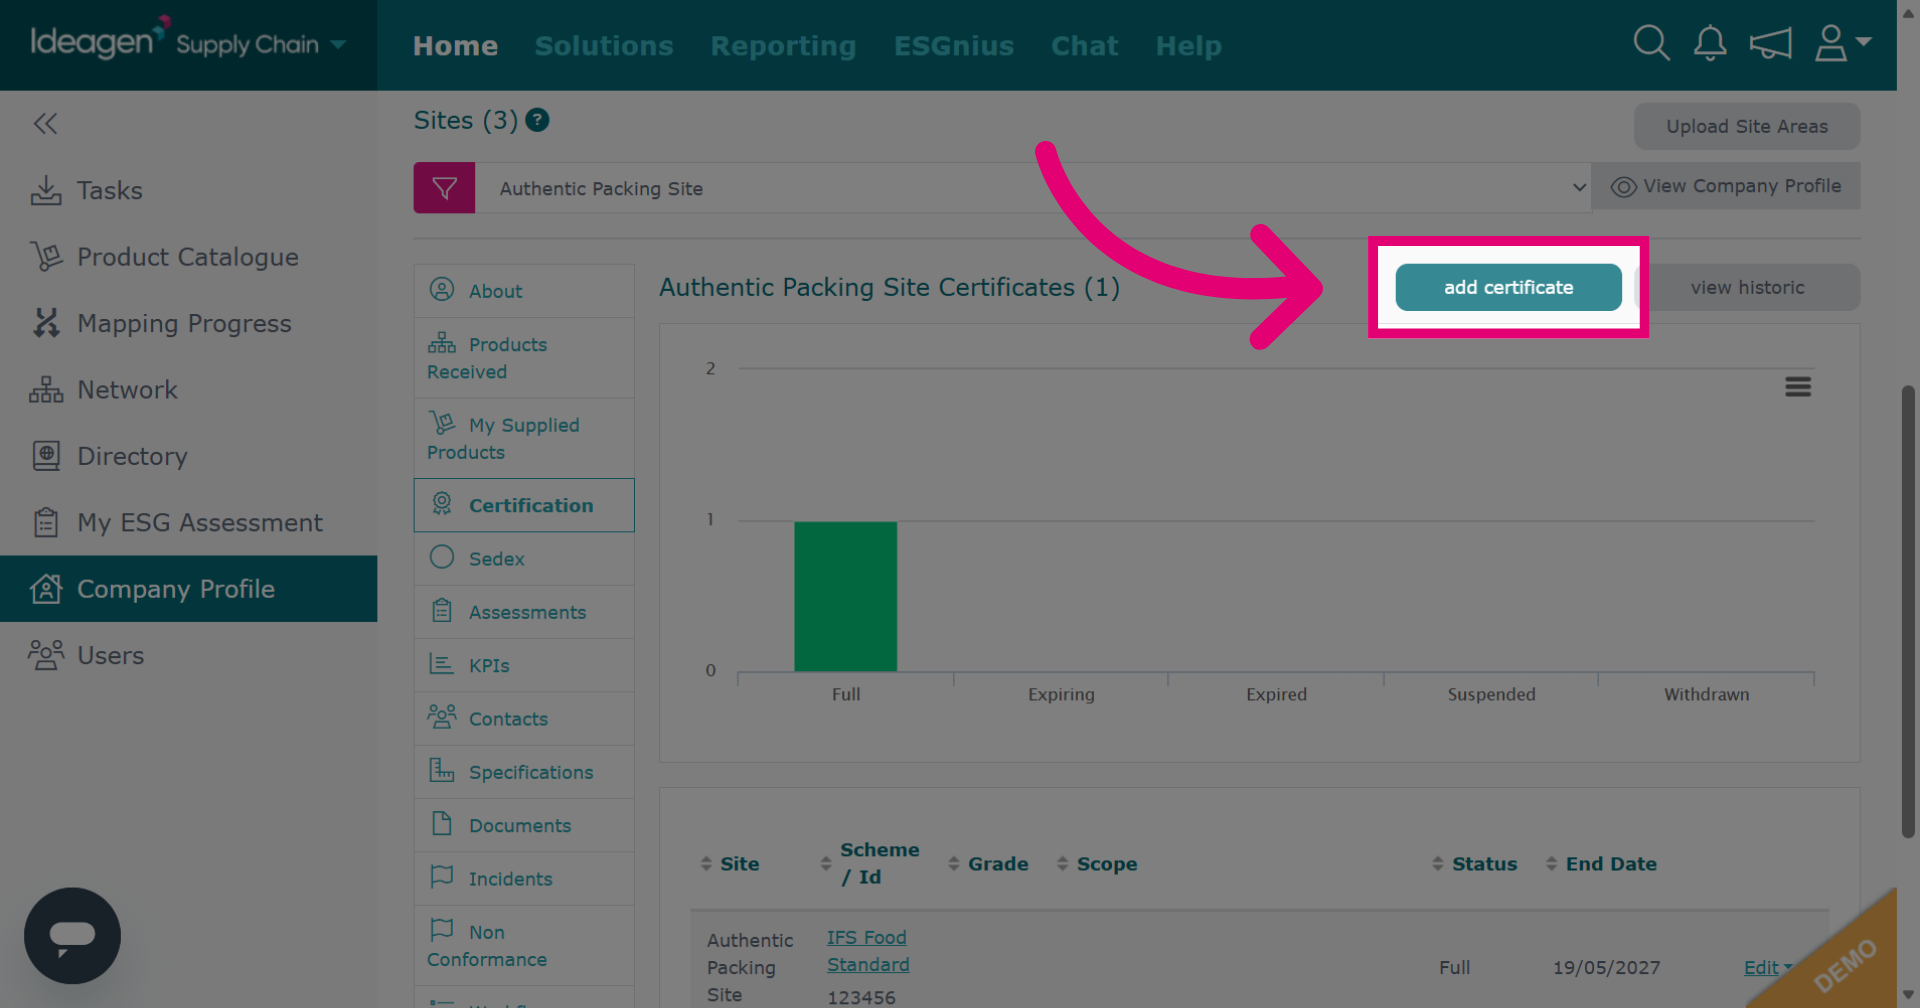
Click Add certificate to start the process of adding a new certification to the site.
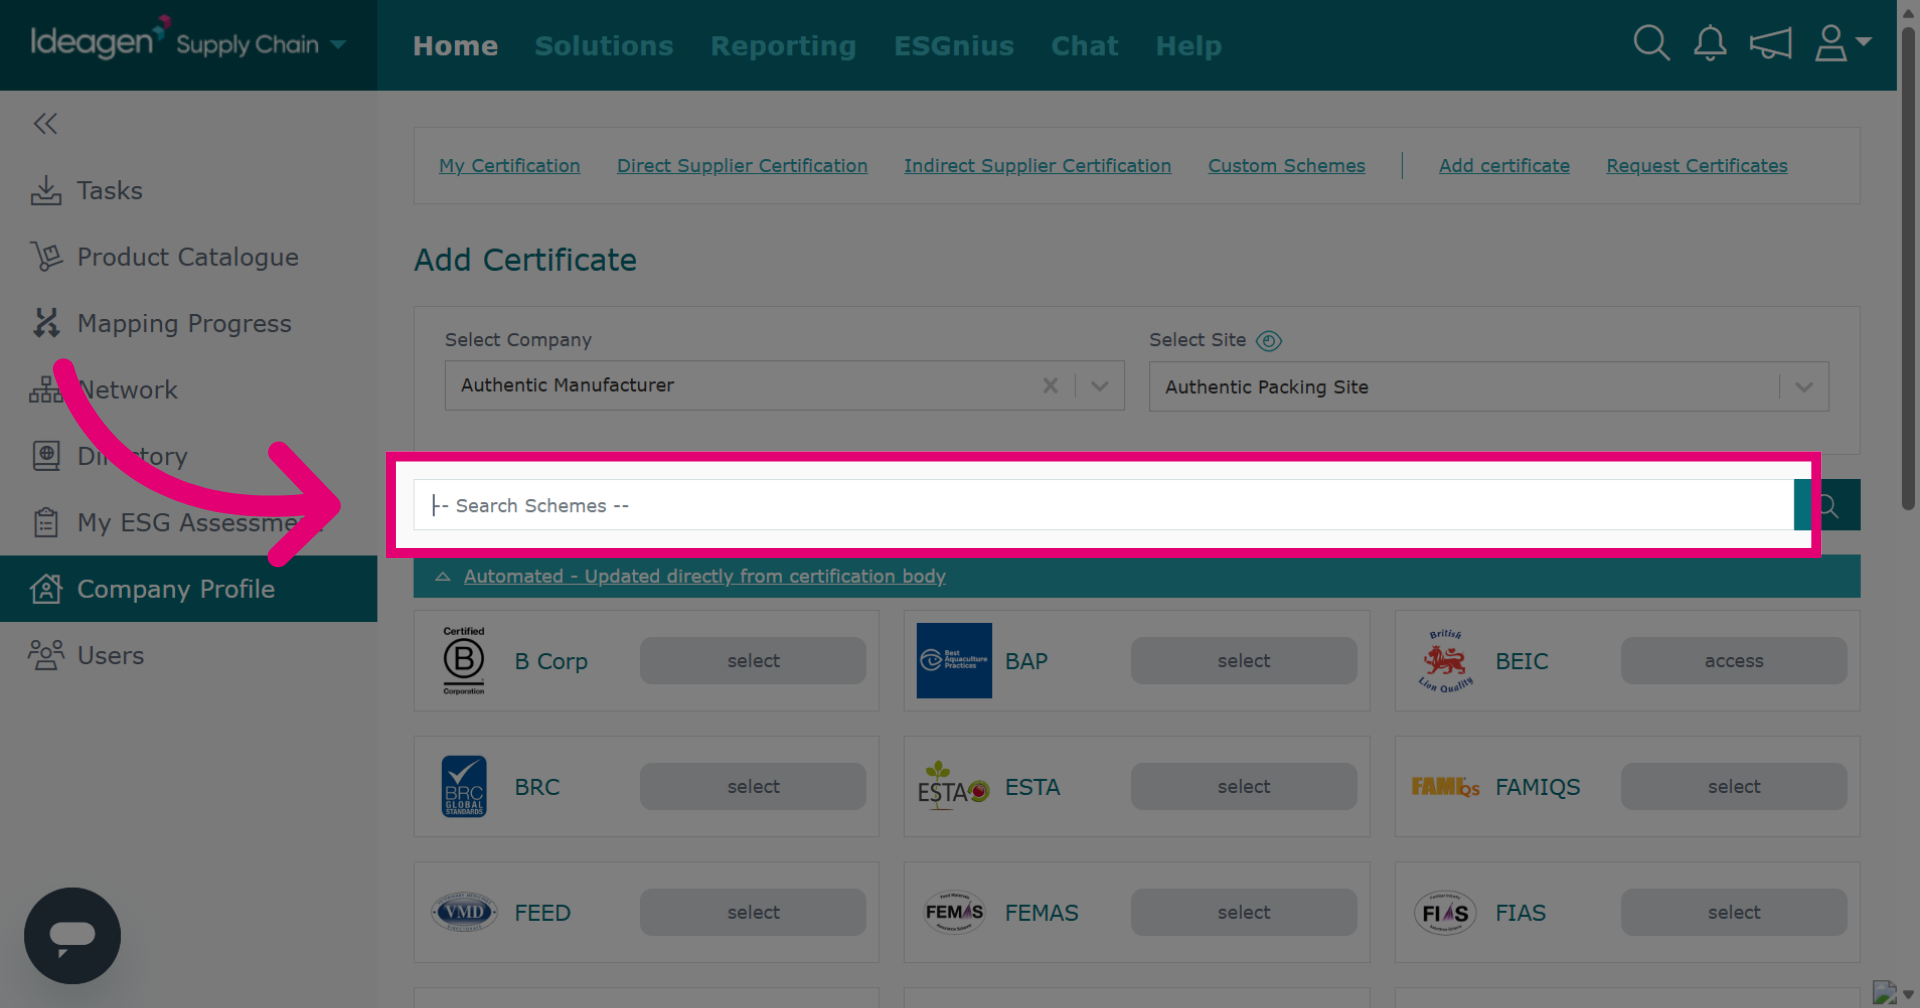
Click Search Schemes to input your search term. Automated schemes are certification bodies that have a direct link with via API. Some APIs may not be immediately available to you and may require set up.
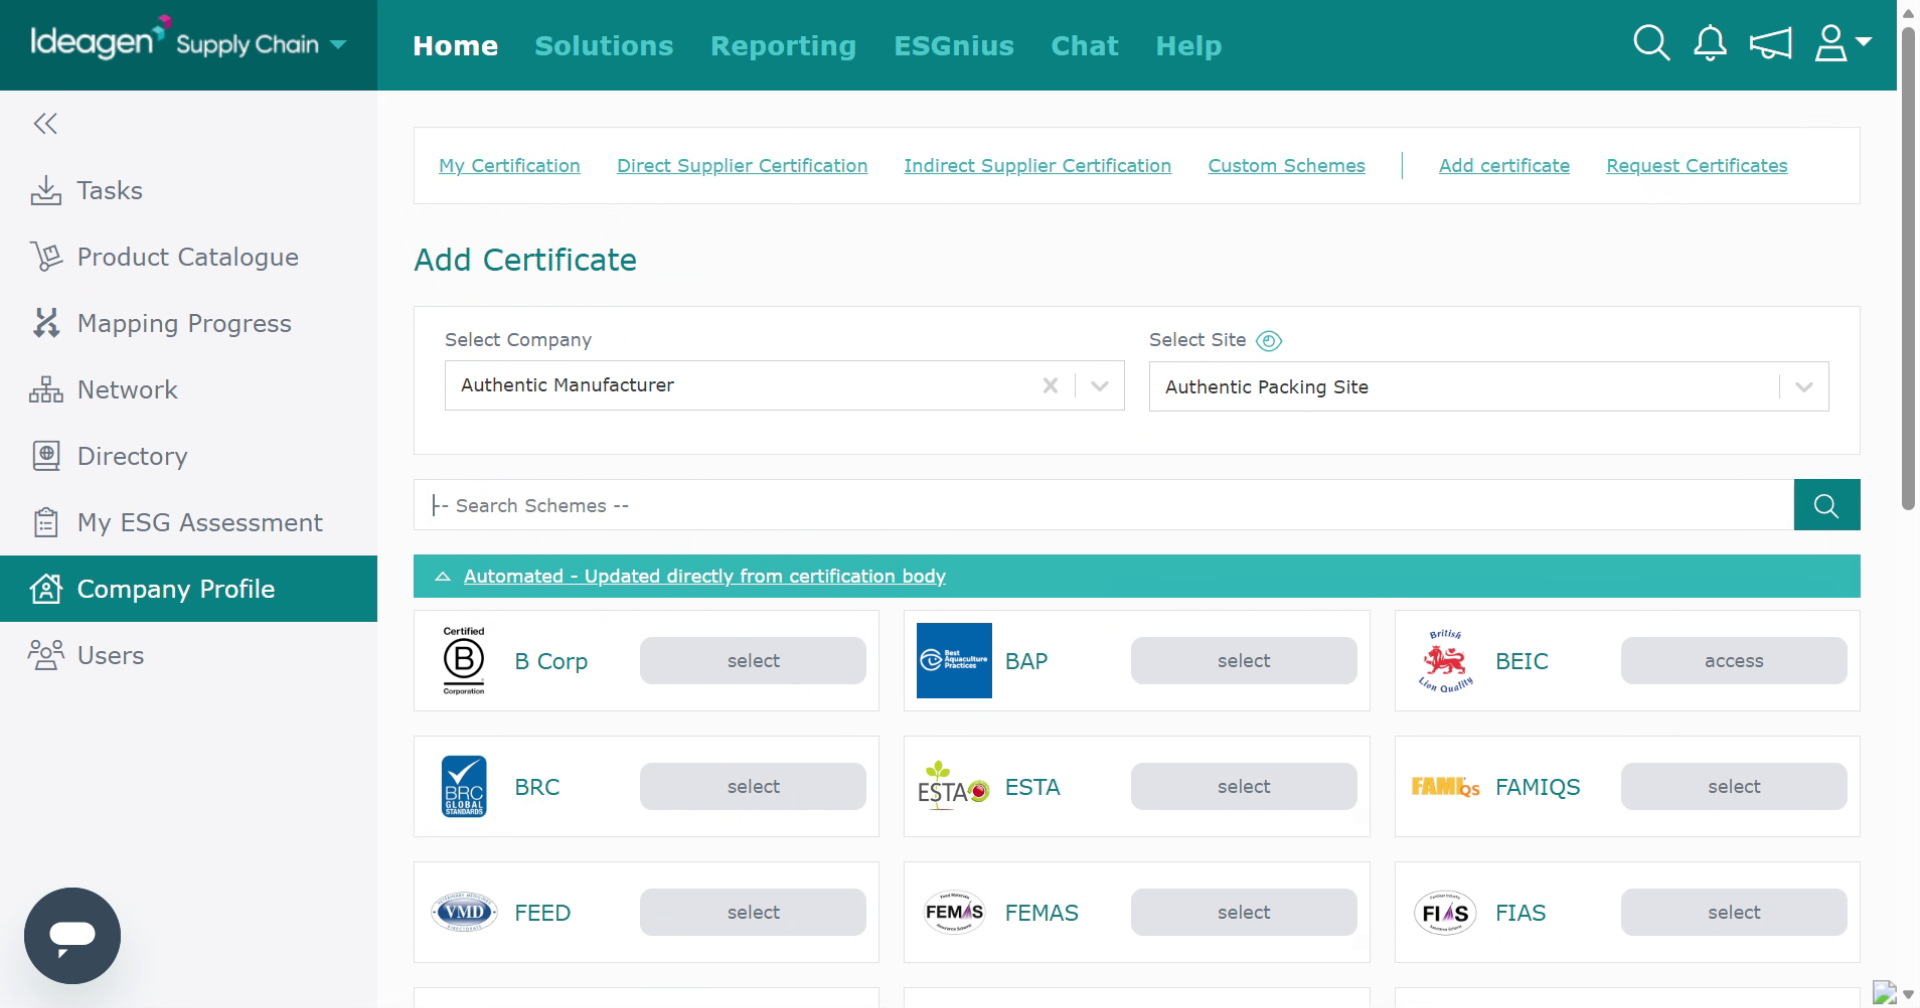
Type in the name of the scheme you are looking to add.
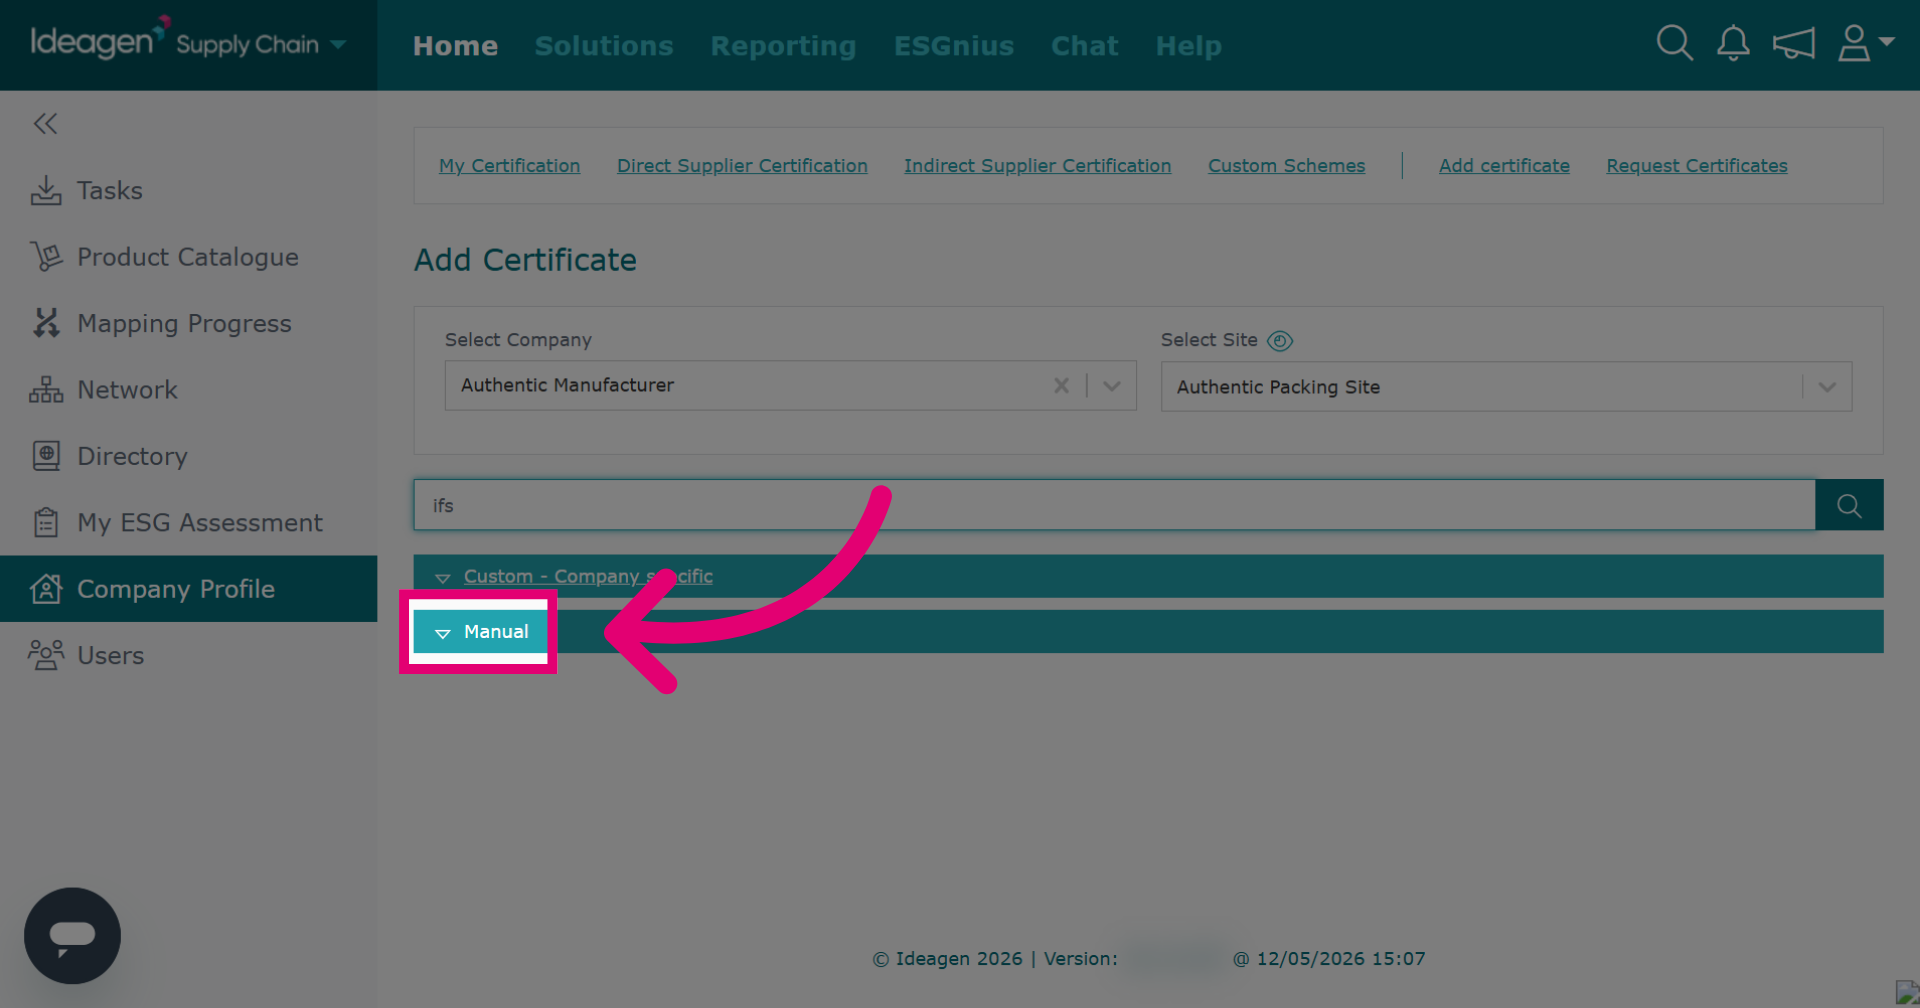
For all other available schemes, these will be under the Manual heading as we do not have an automated API link with these. Click Manual to open up the schemes available from your search term.
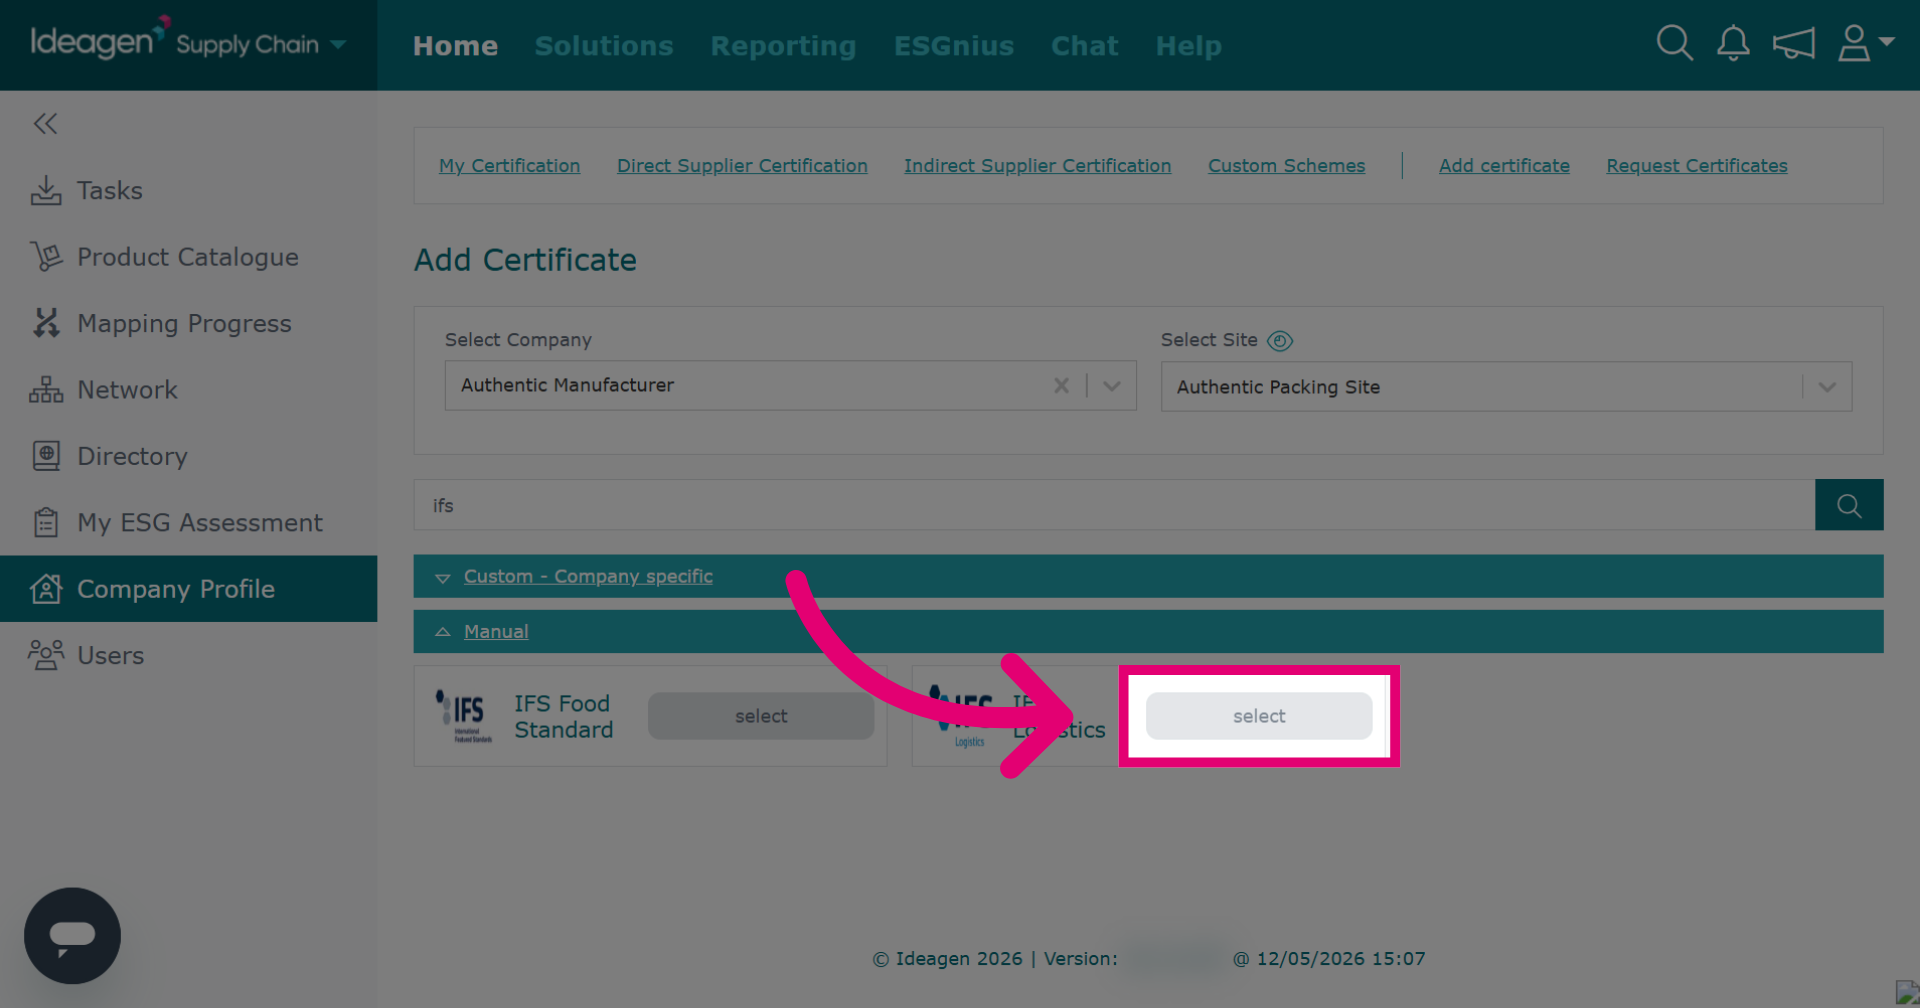
Click Select to confirm your choice of the manual certification scheme.
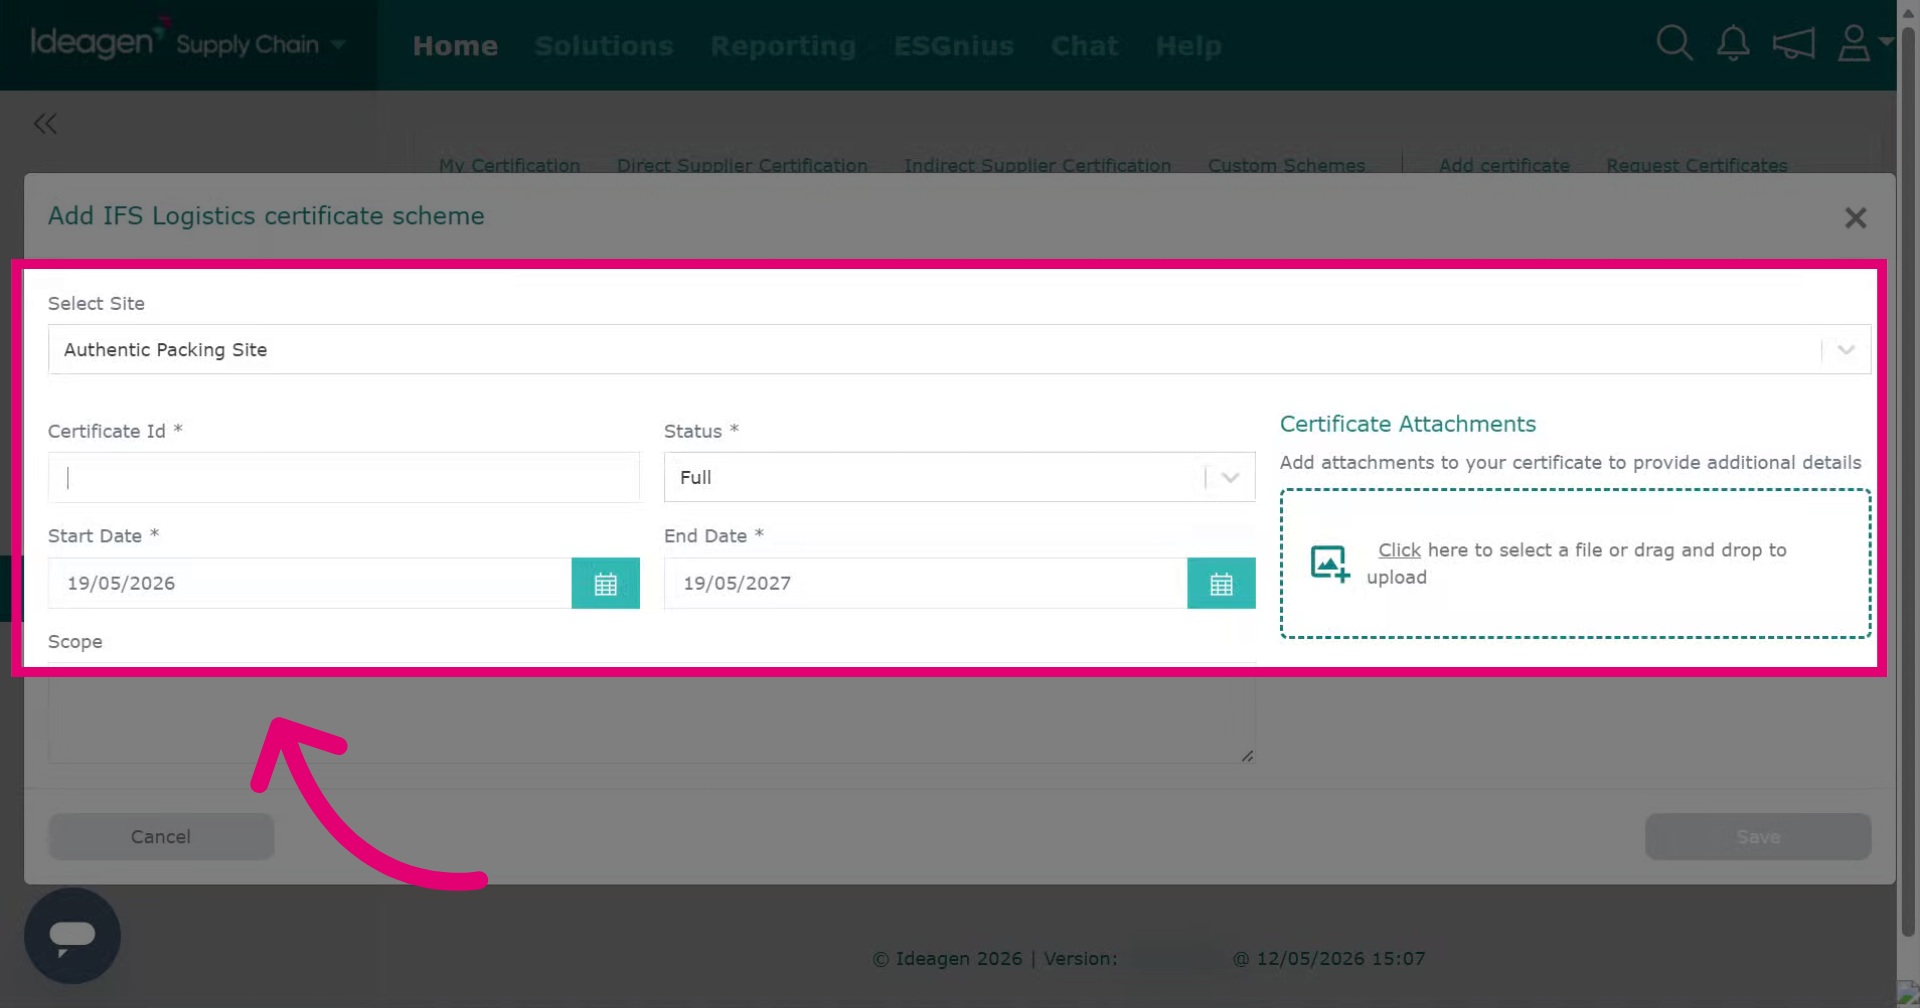
Enter certification details, all boxes marked with an asterisk are mandatory. It is strongly recommended you also add an attachment of the certificate. Click the box below the Certificate Attachments heading to upload directly from your device.
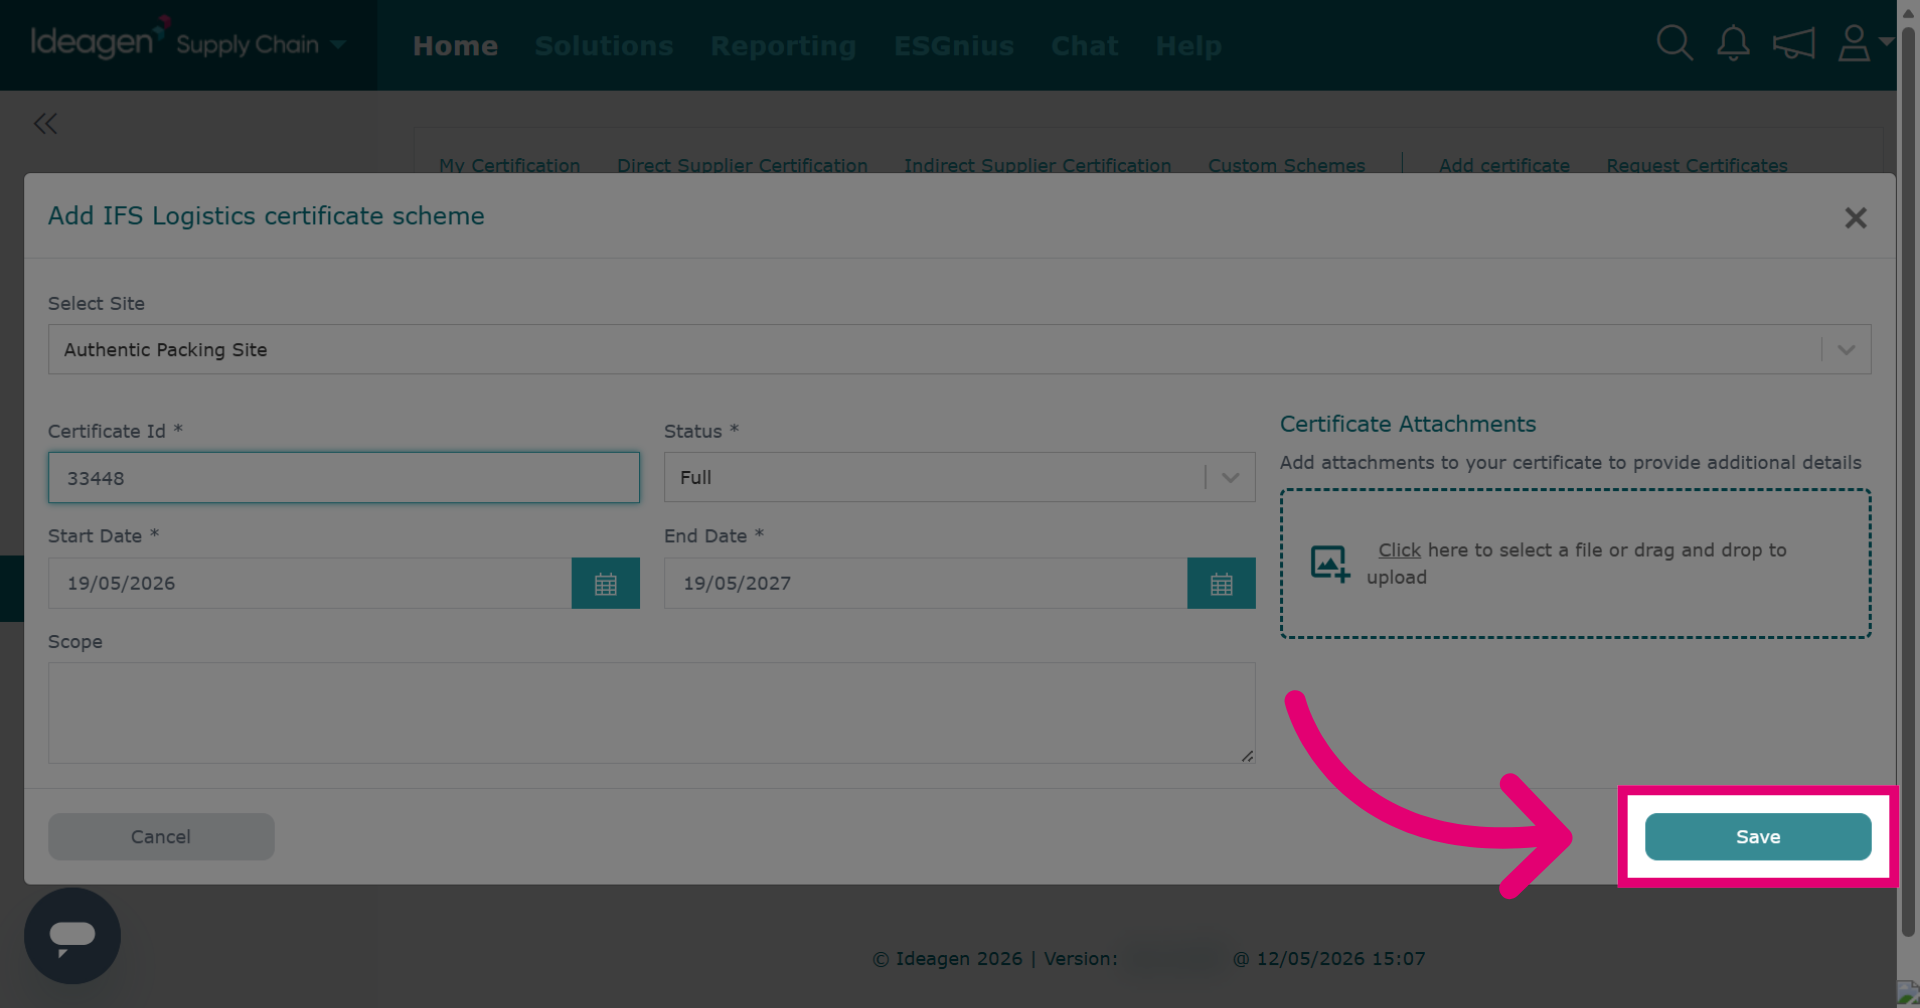
Click Save to store the newly added certificate information.
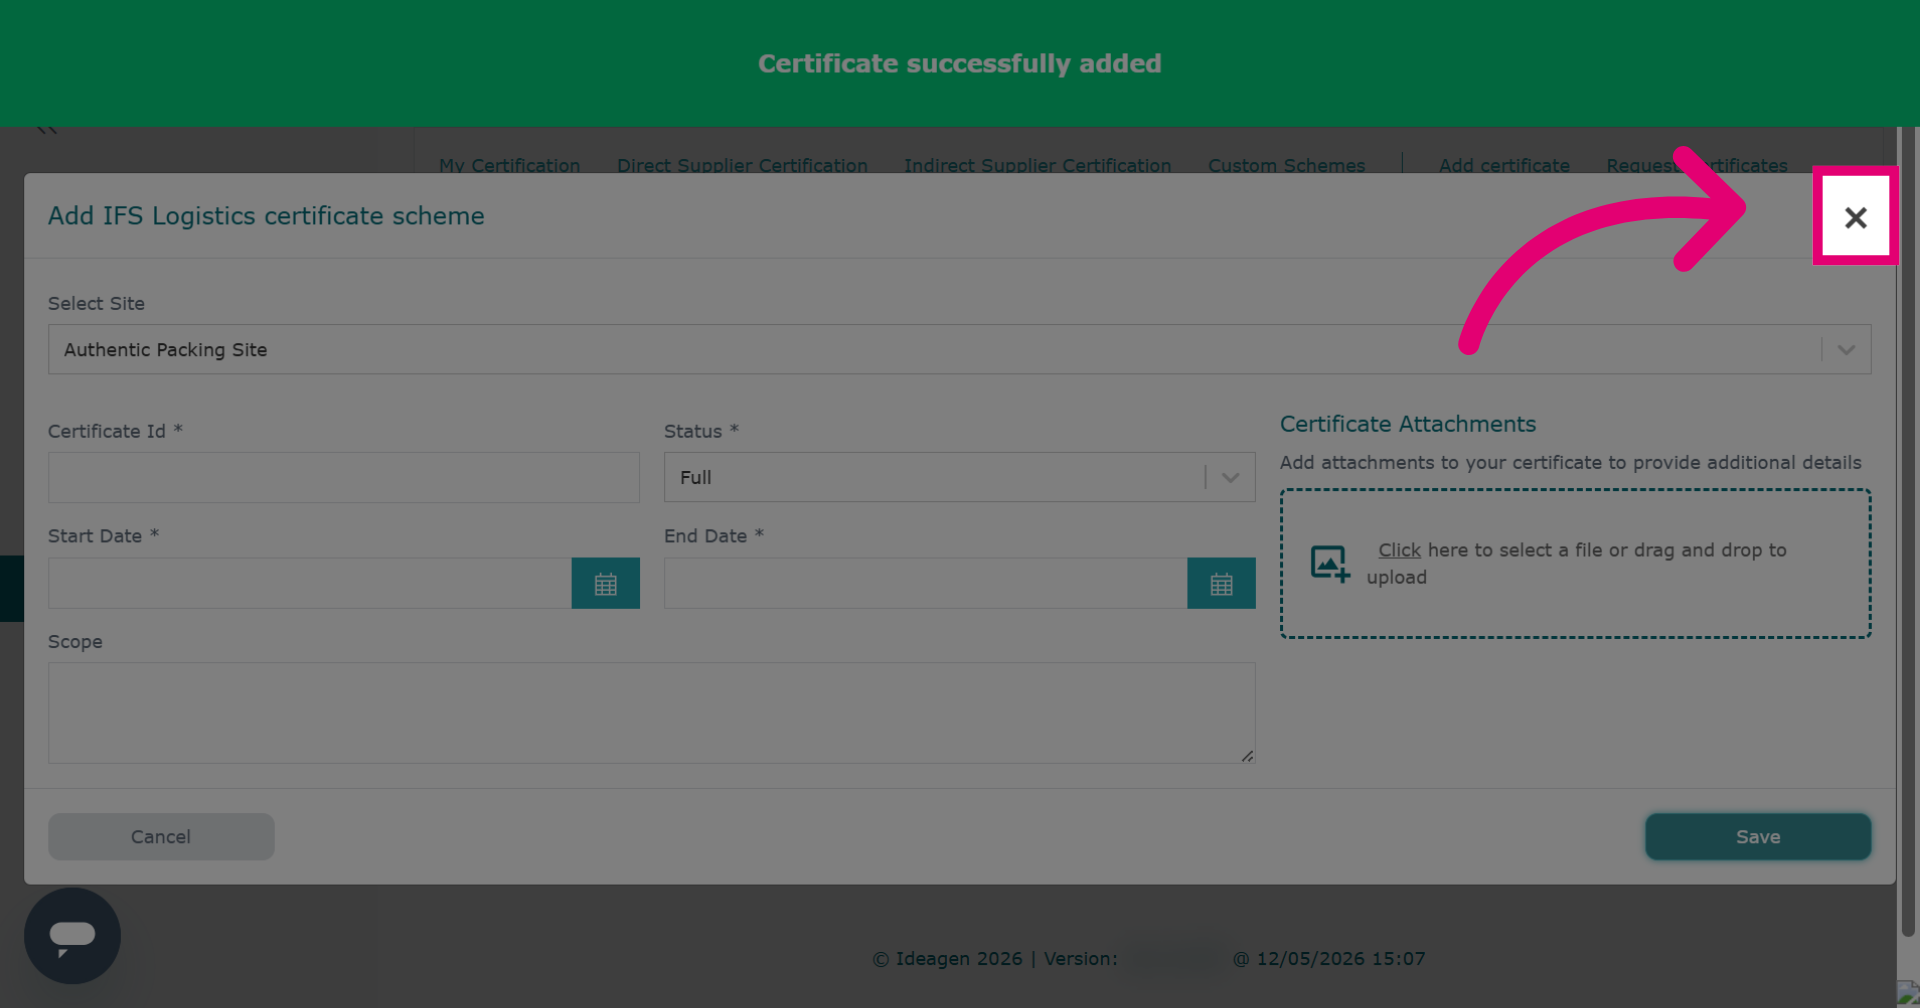
Click × to close the dialog after saving, unless you want to add more certificates, then repeat the process.
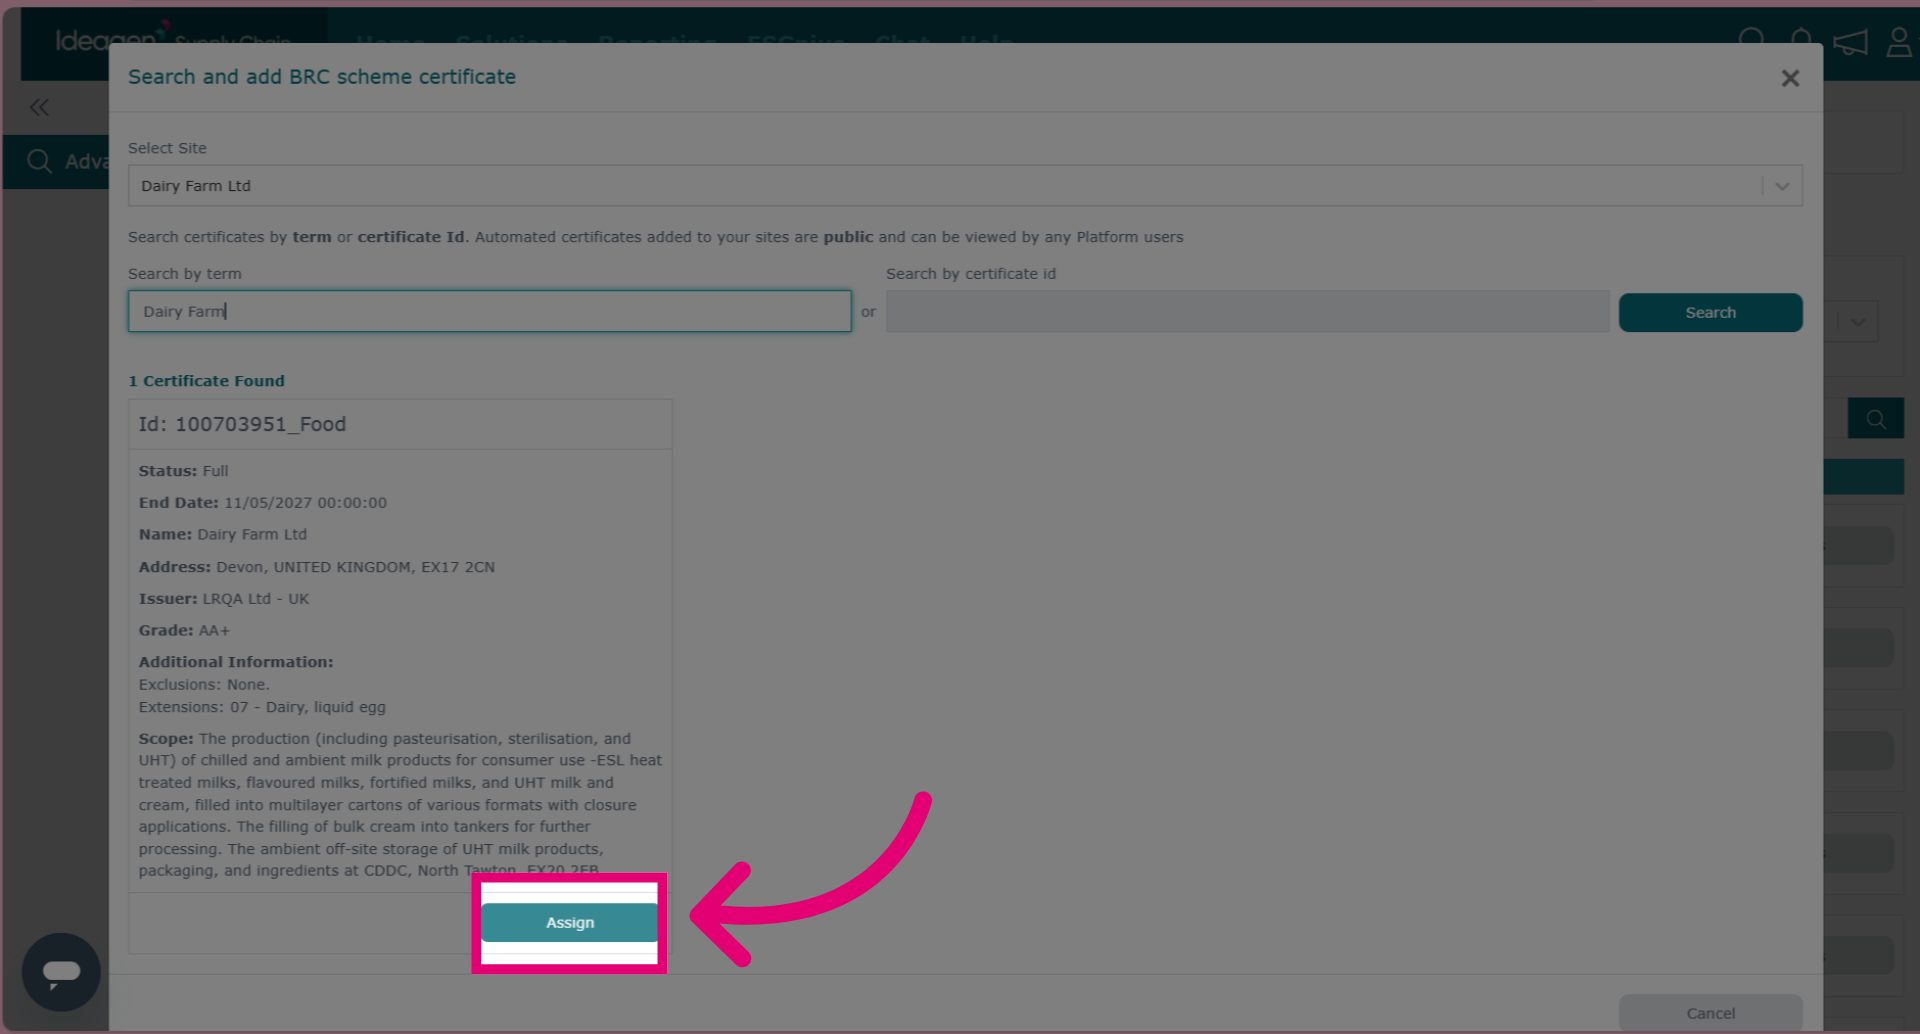
To add an automated API certificate, follow the same process but use the search fields to find it by supplier name or certificate ID. Enter your search, click Search, then select the result and click Assign.
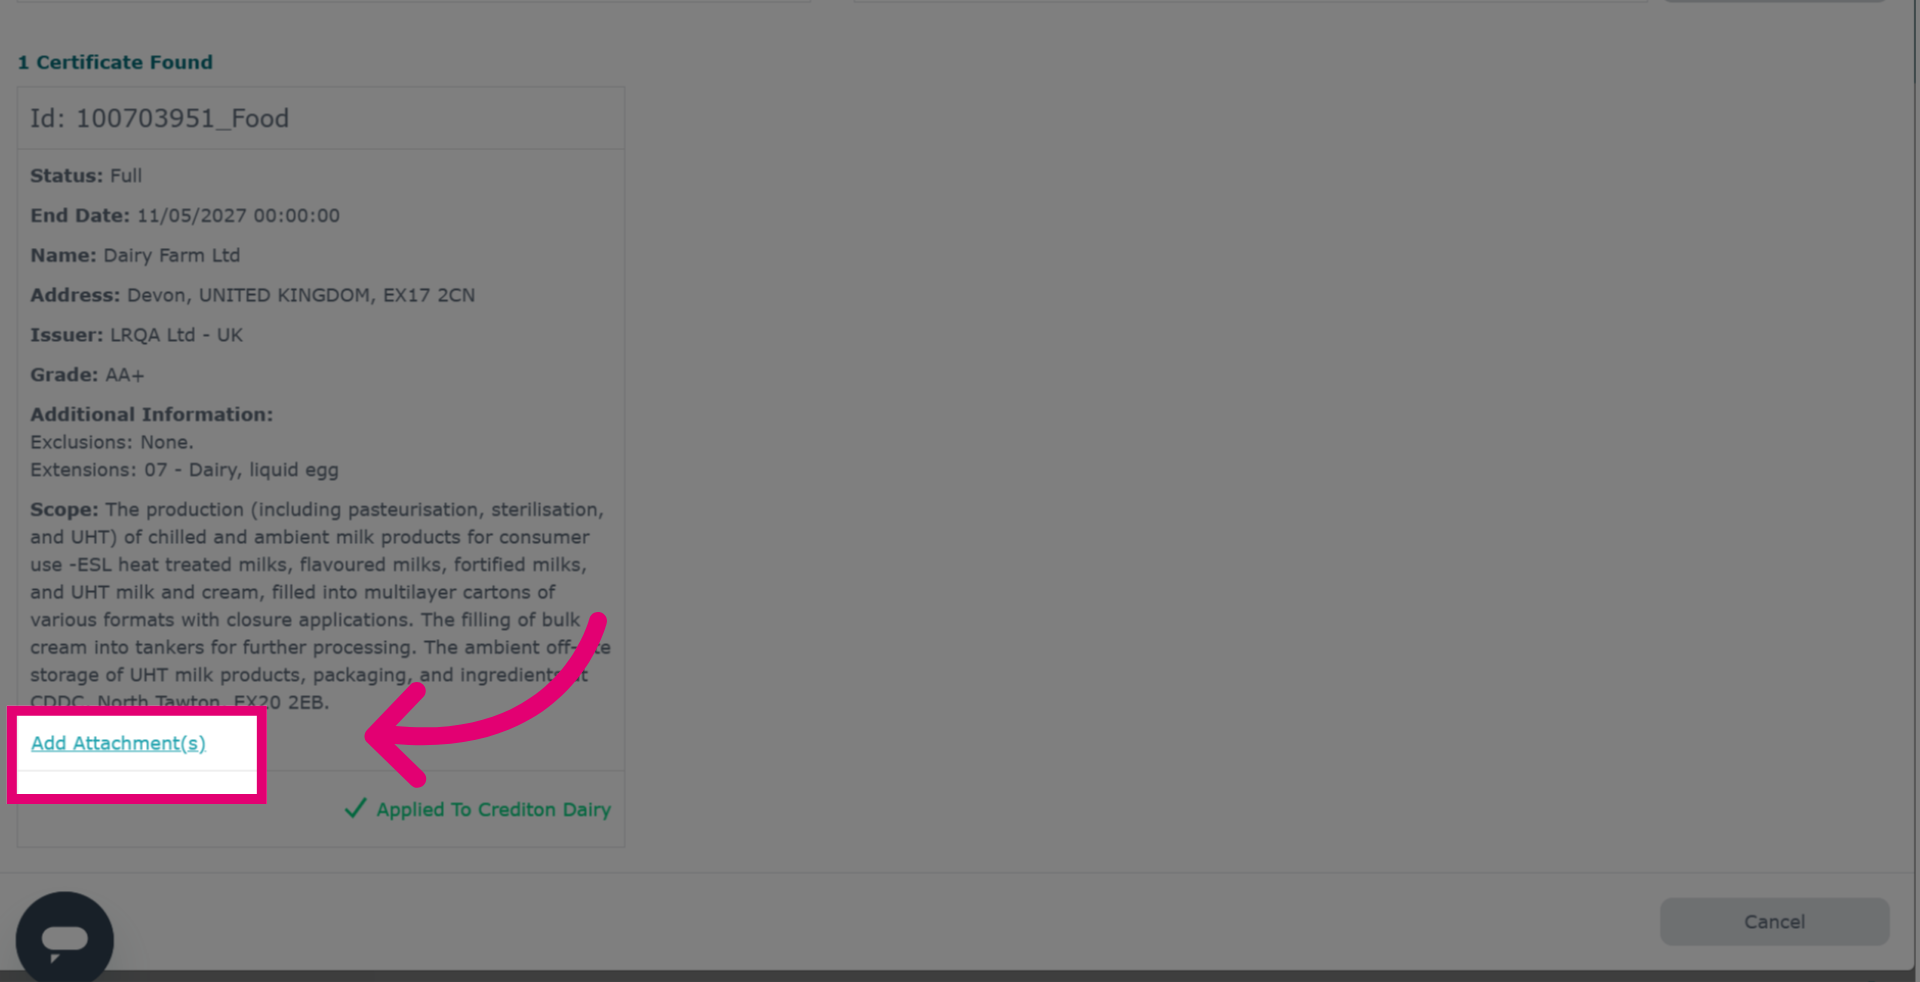
After you have clicked assign, you will be able to add an attachment to an API certificate if needed. To do so click Add Attachment.
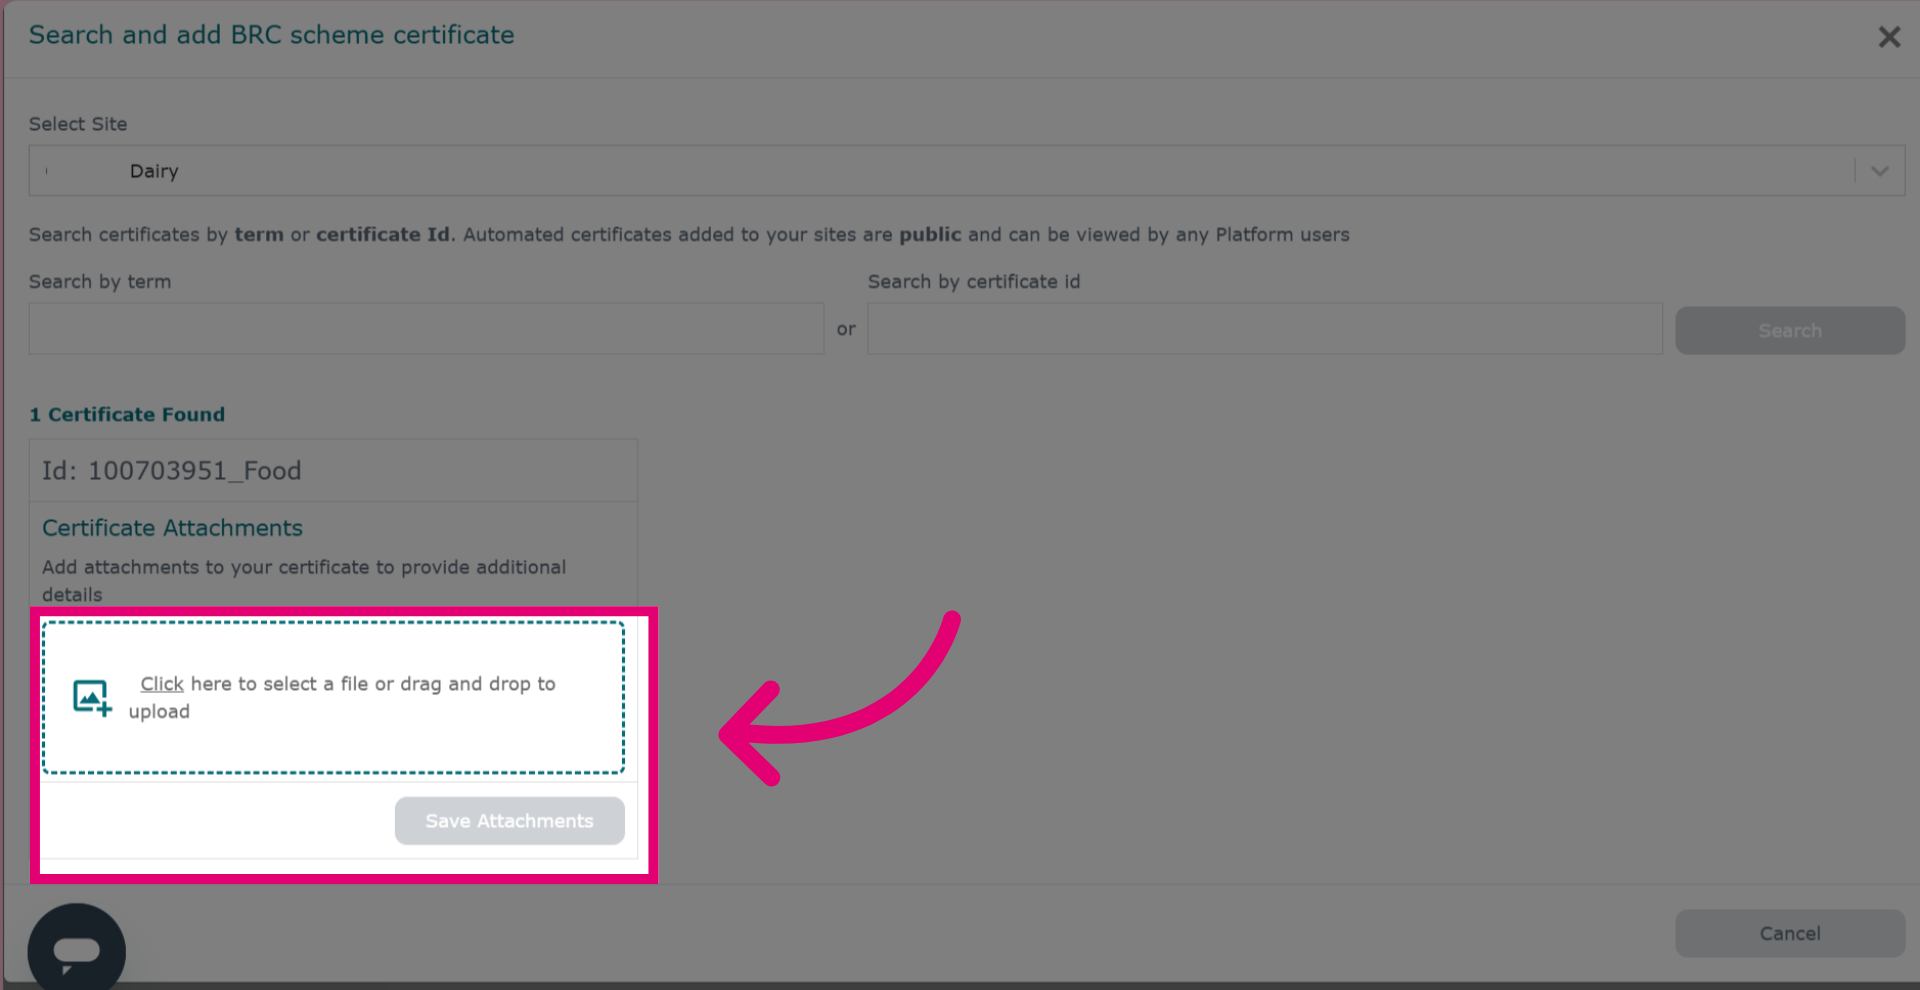
Click the box to upload a file directly from your device. Once you have finished click Save Attachments.
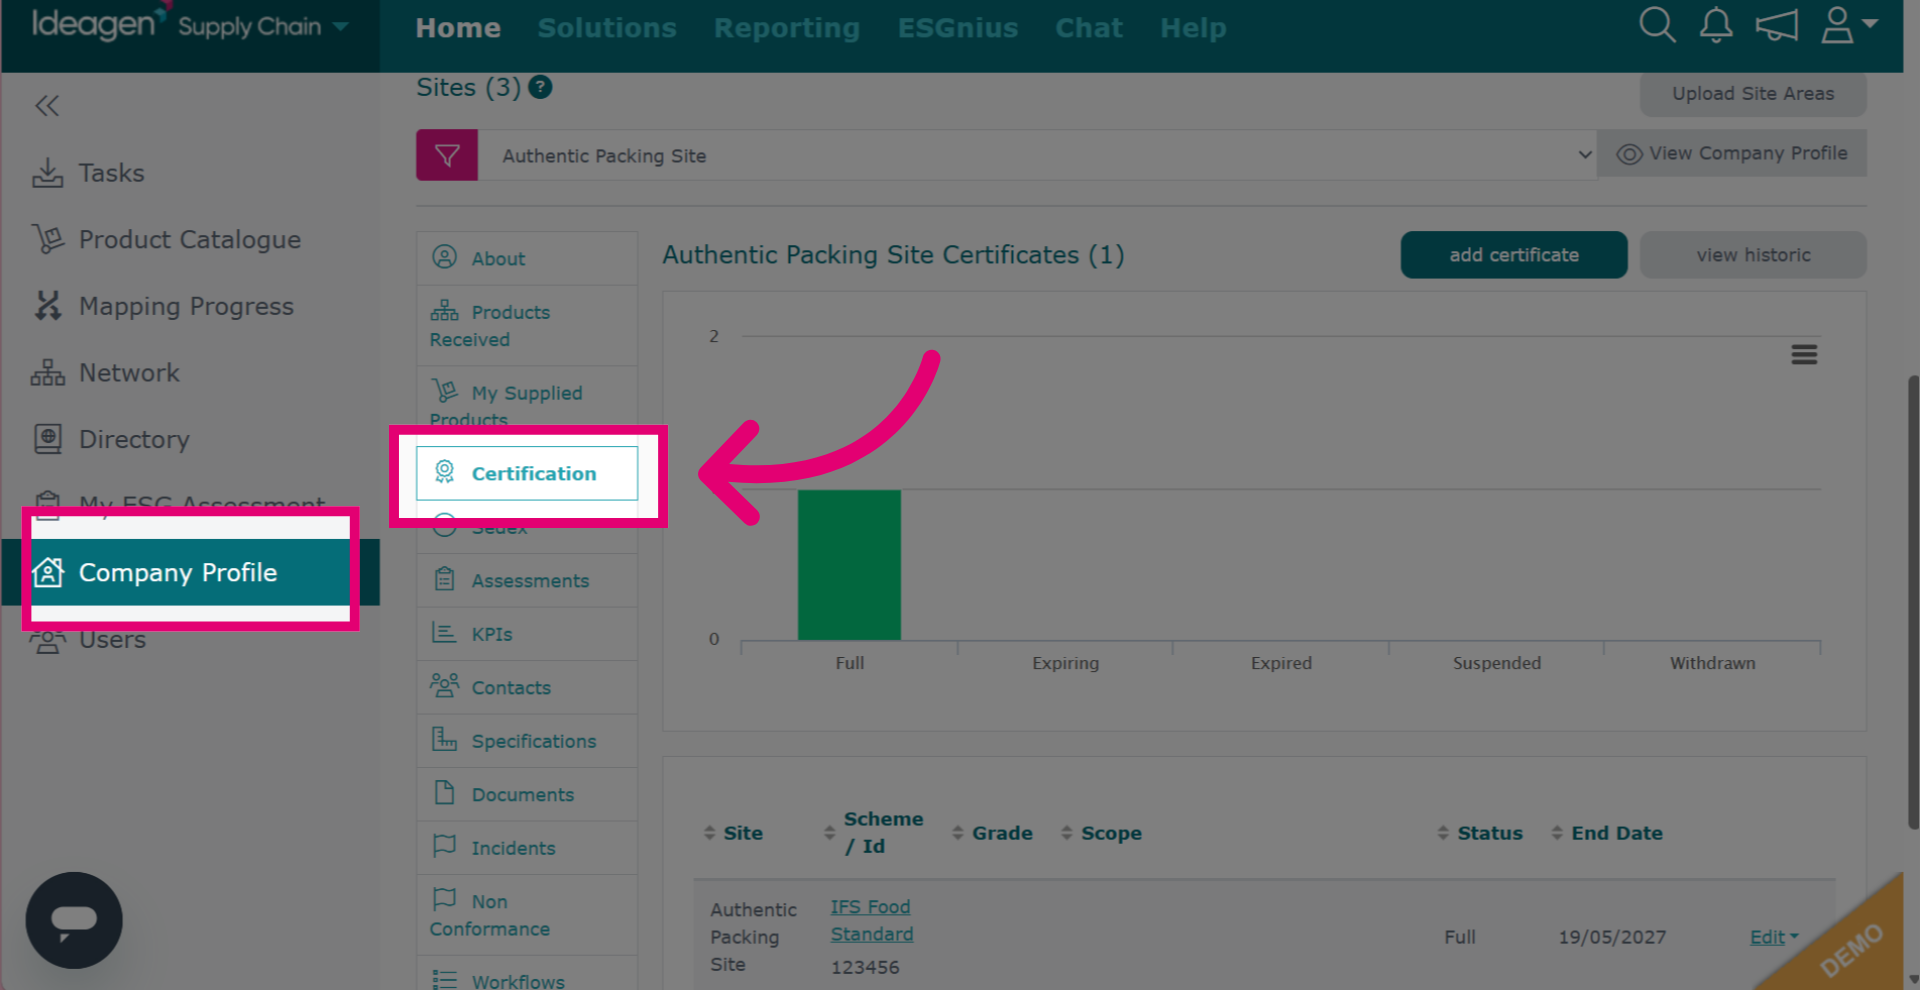
To view your certification, go back to Company Profile and select Certification, choosing the relevant site. If no site is selected, all company certificates will be shown.
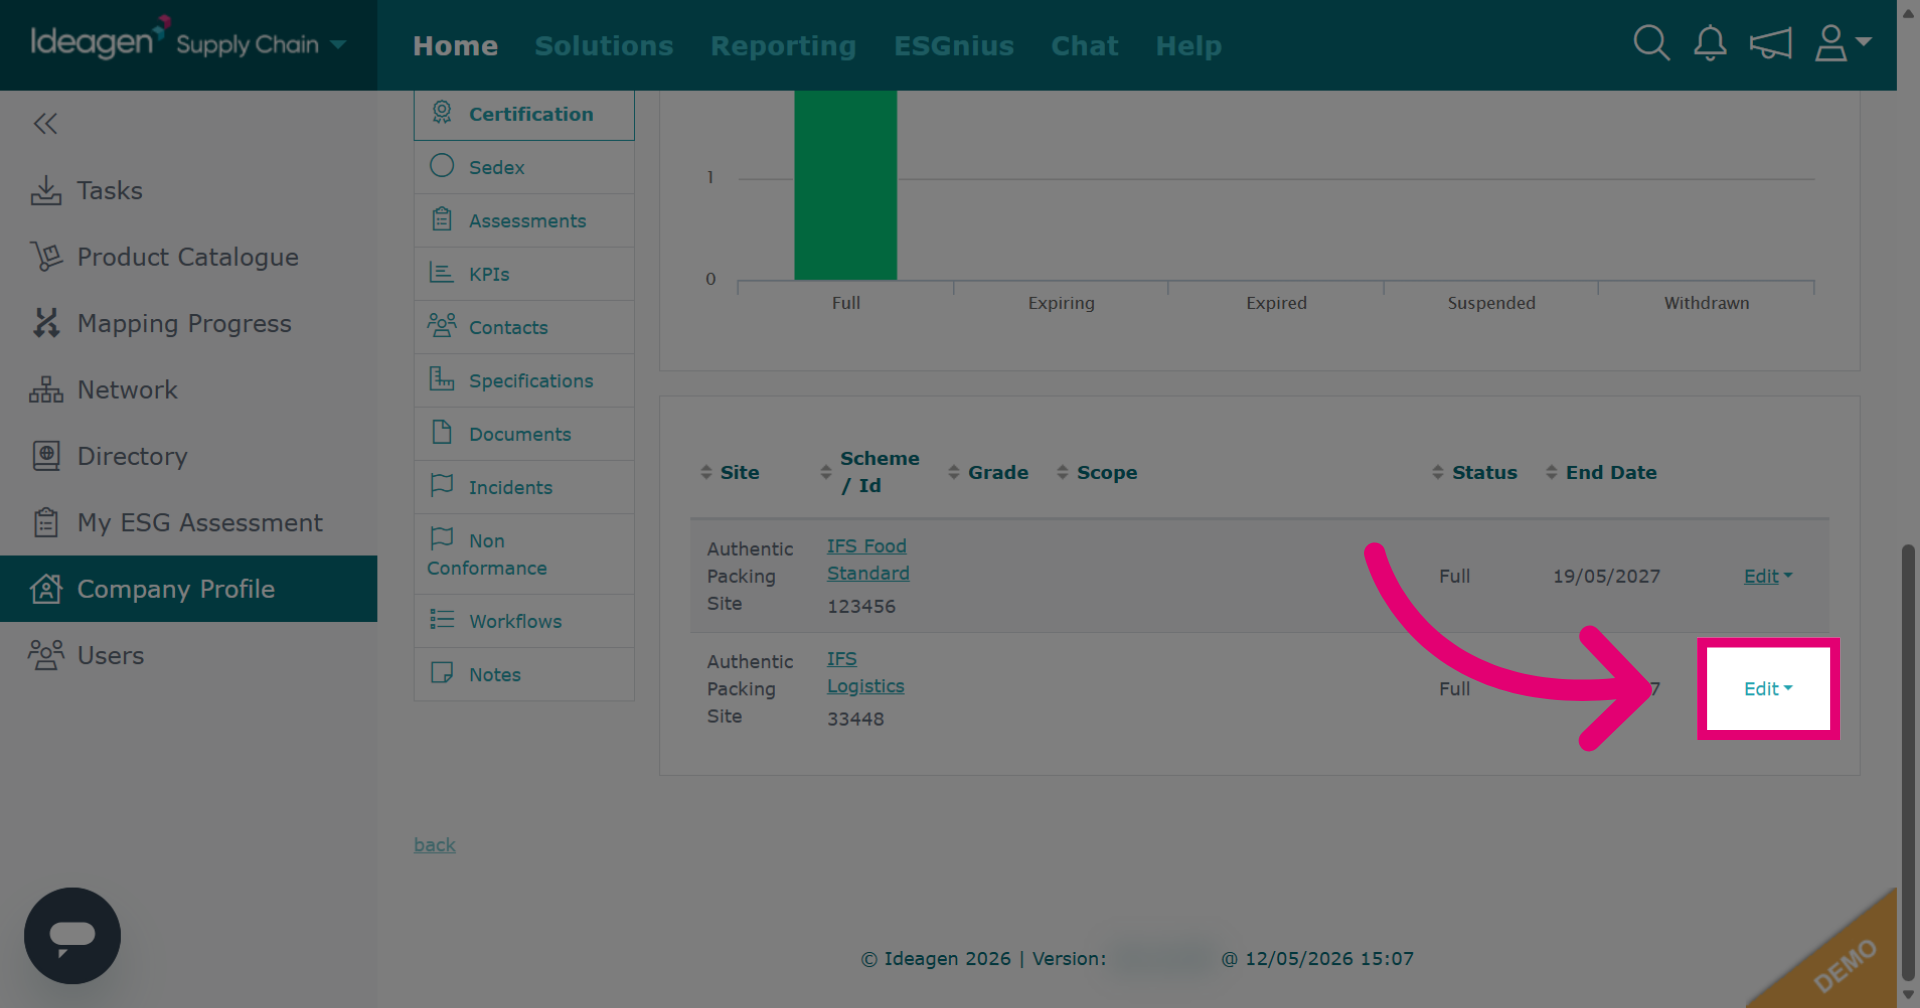
Click Edit to make changes to the selected certificate information.
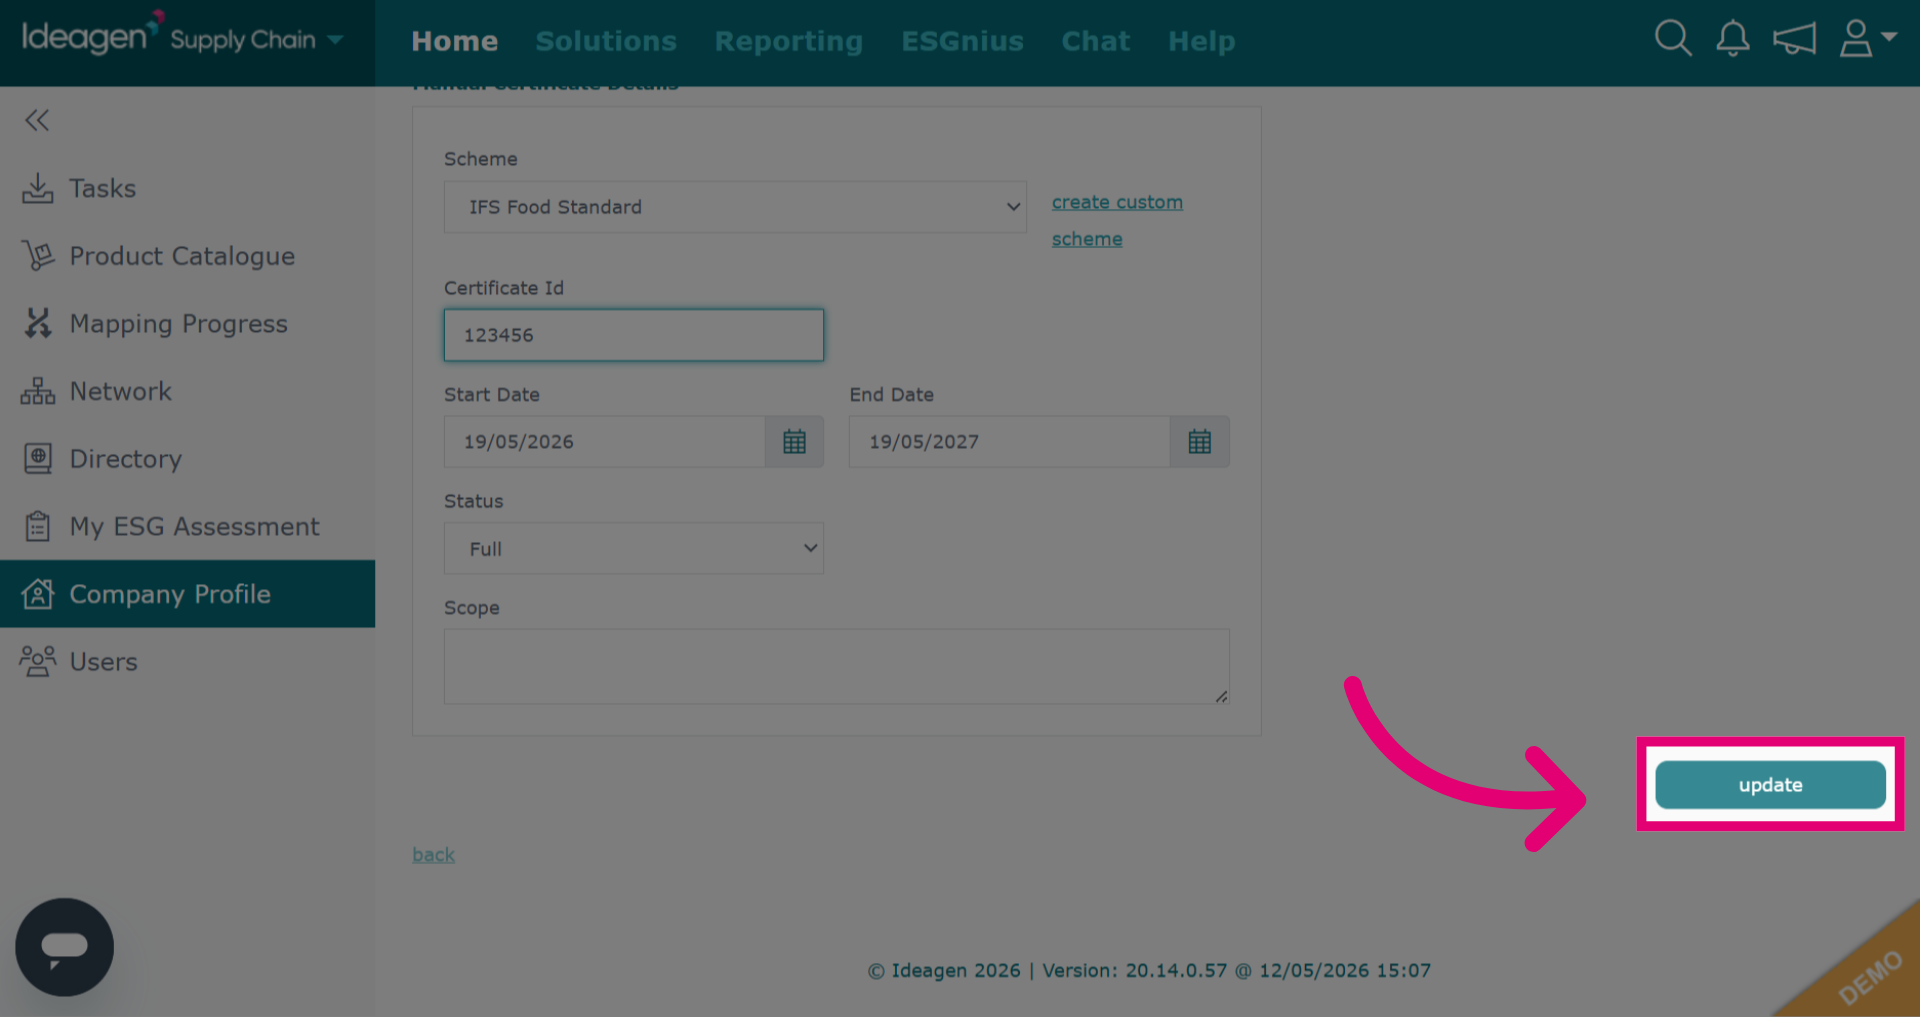
Once you have amended the details, click Update.
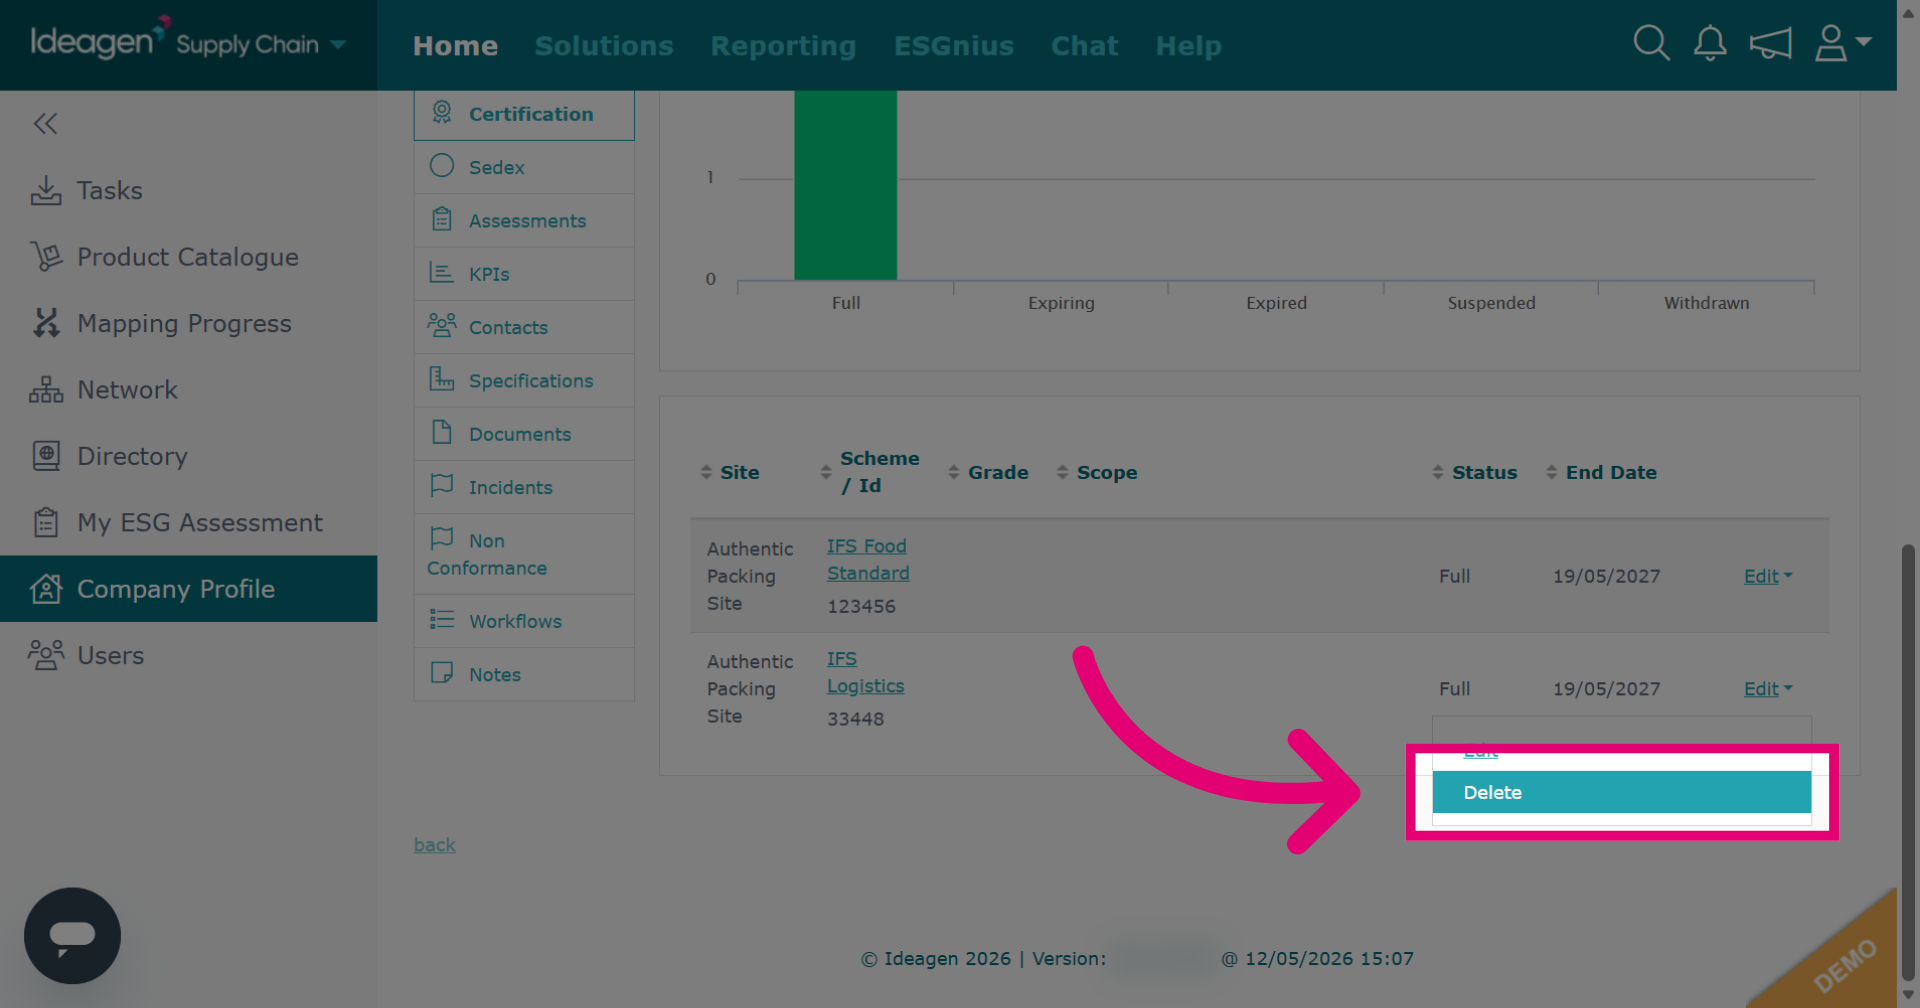
Click Delete to start the process of removing a certificate.
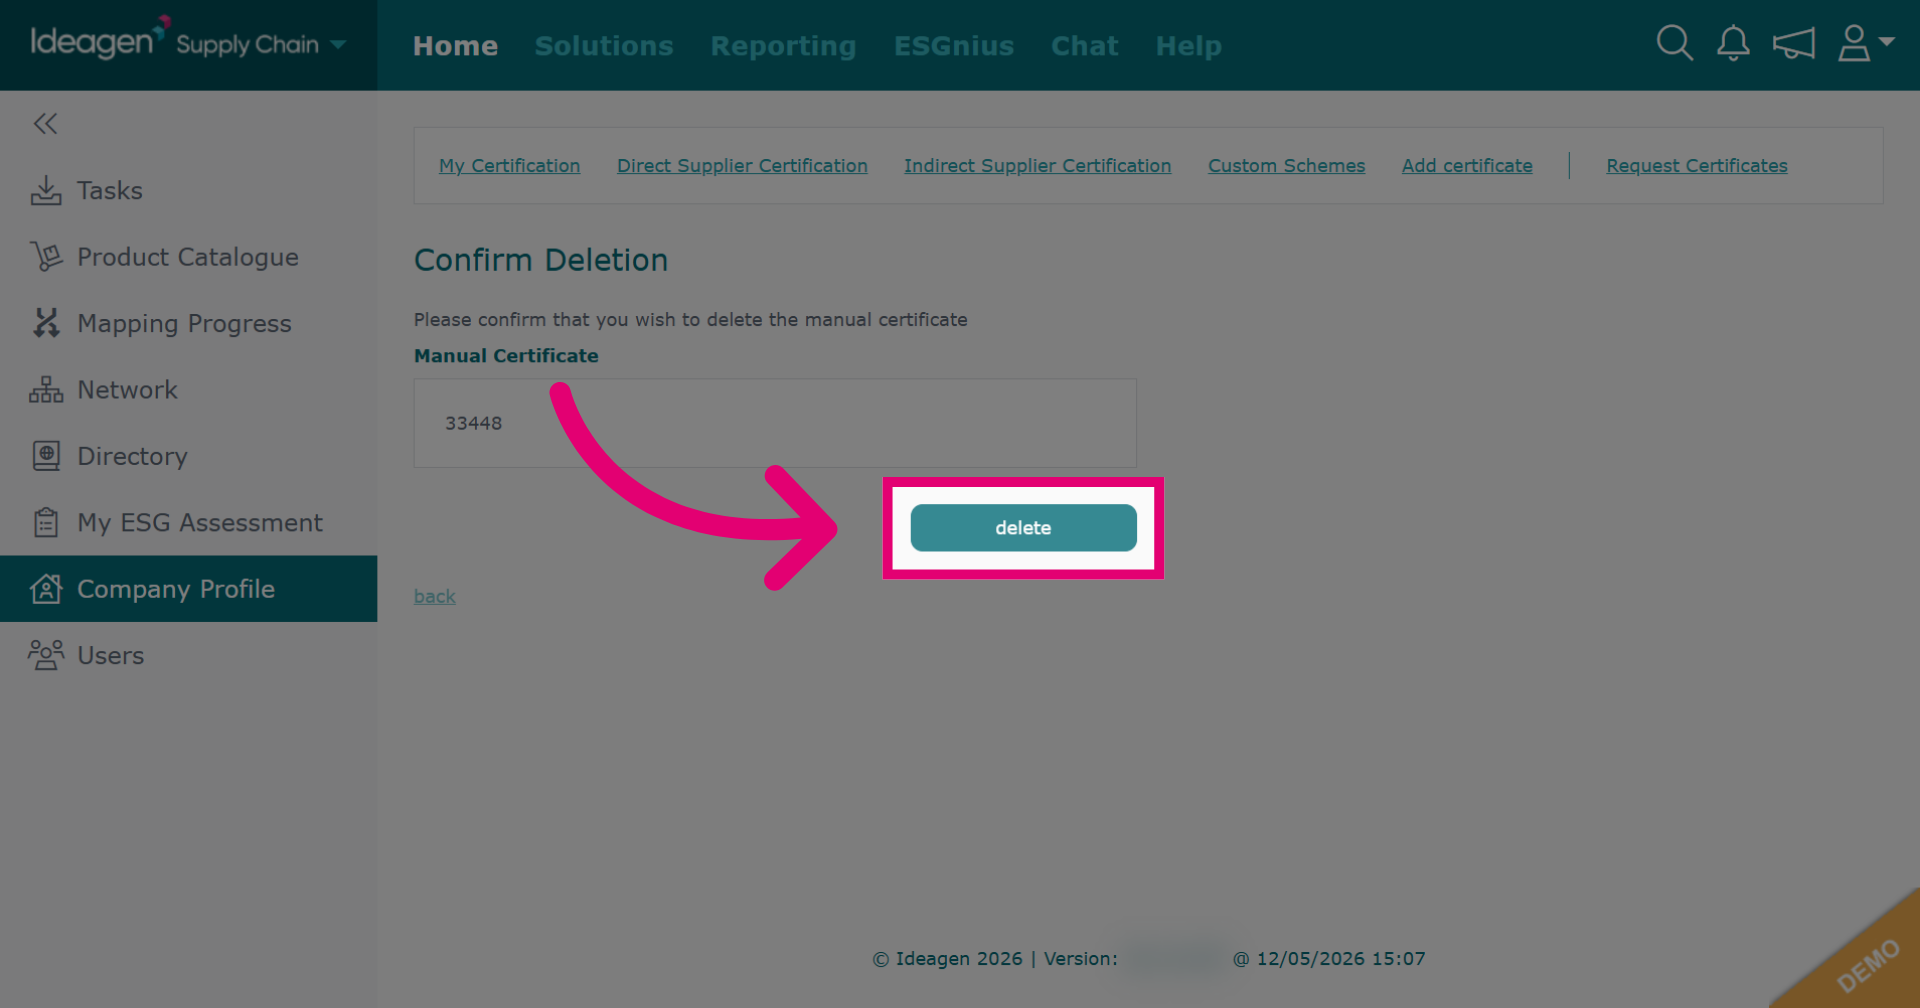
Click Delete again to confirm and permanently remove the selected certificate.
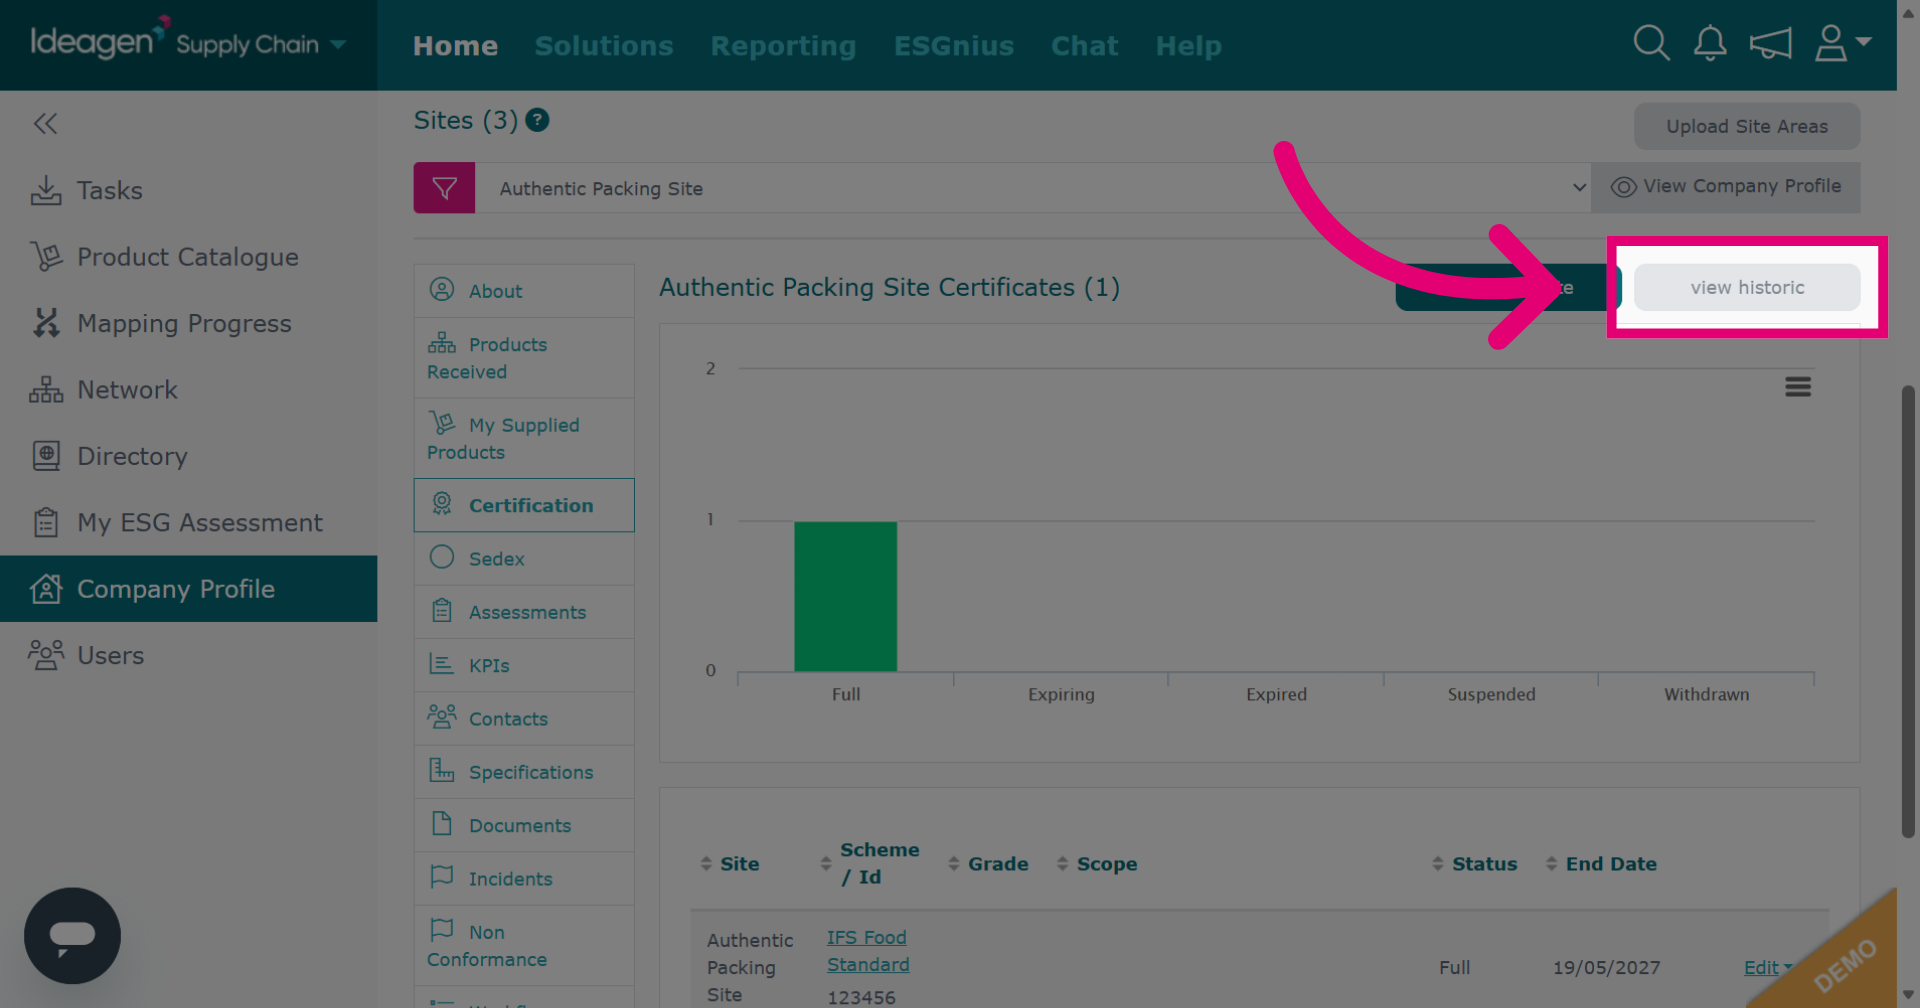
To view expired and historic certifications, click View Historic. 60 days after expiry, certificates will move to the historic area.
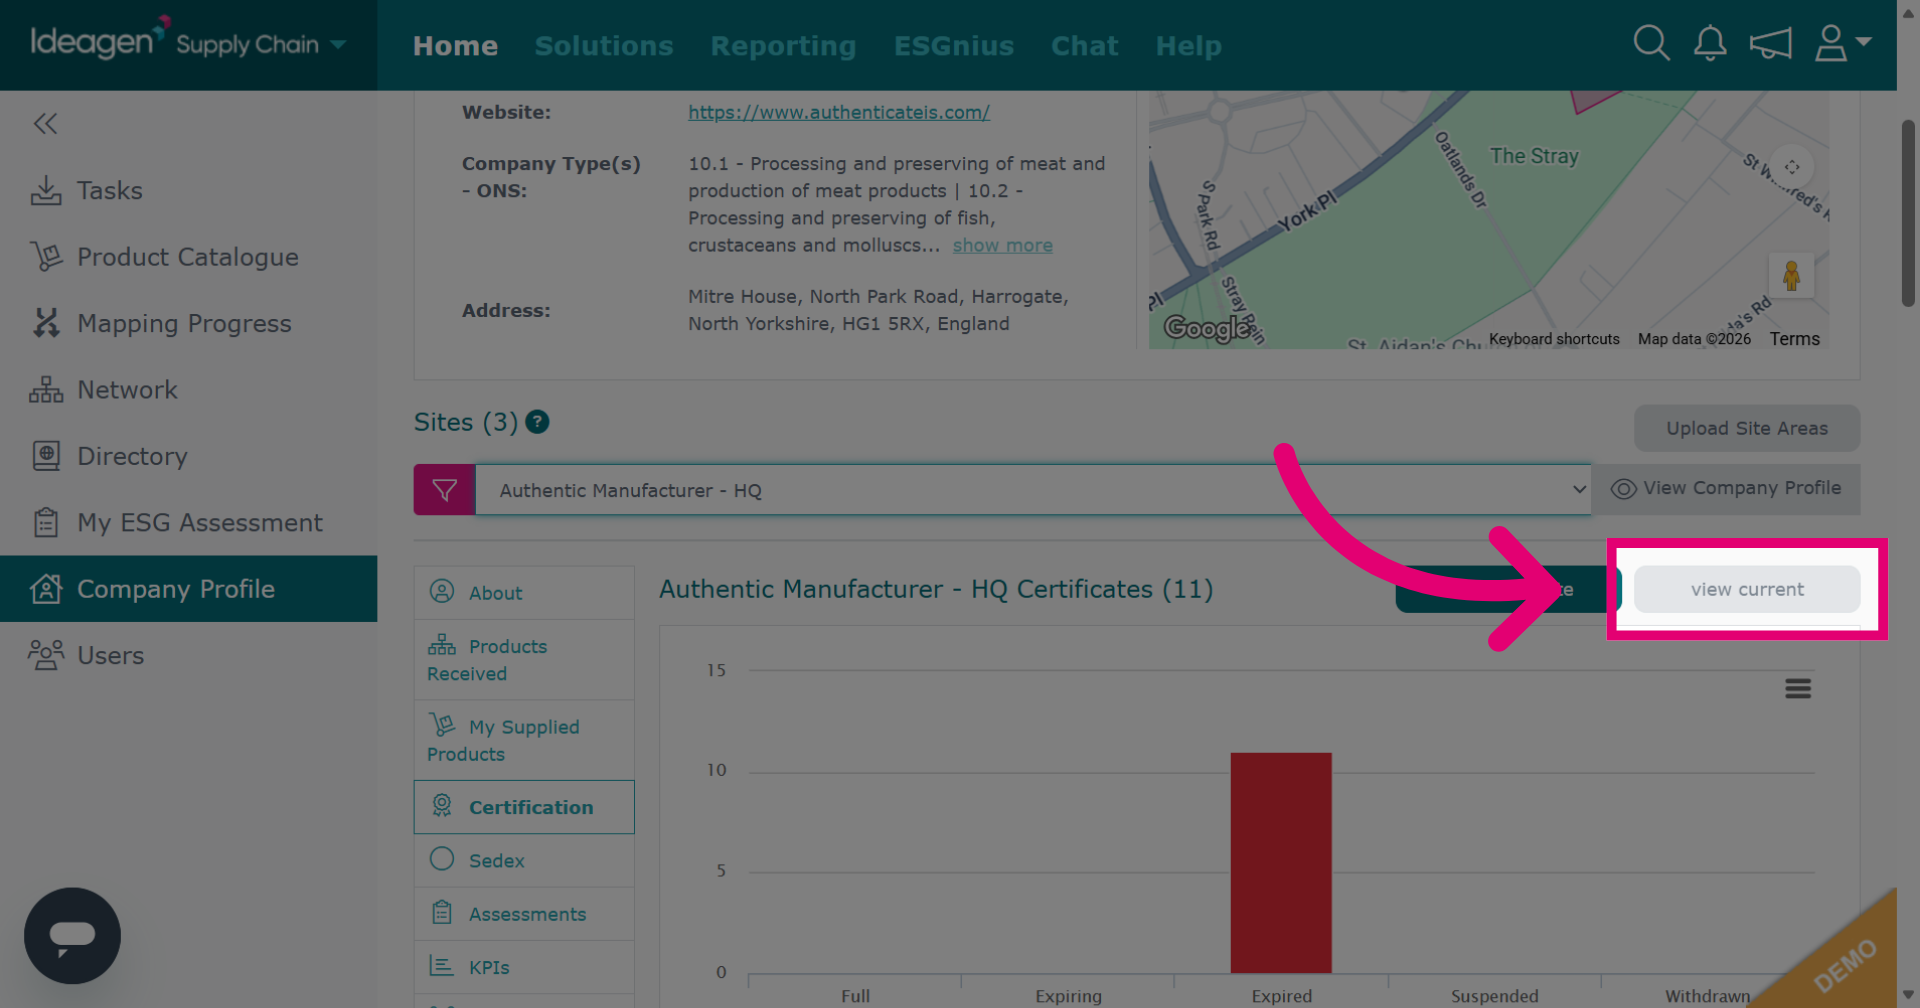
Click view current to return to viewing valid certification.
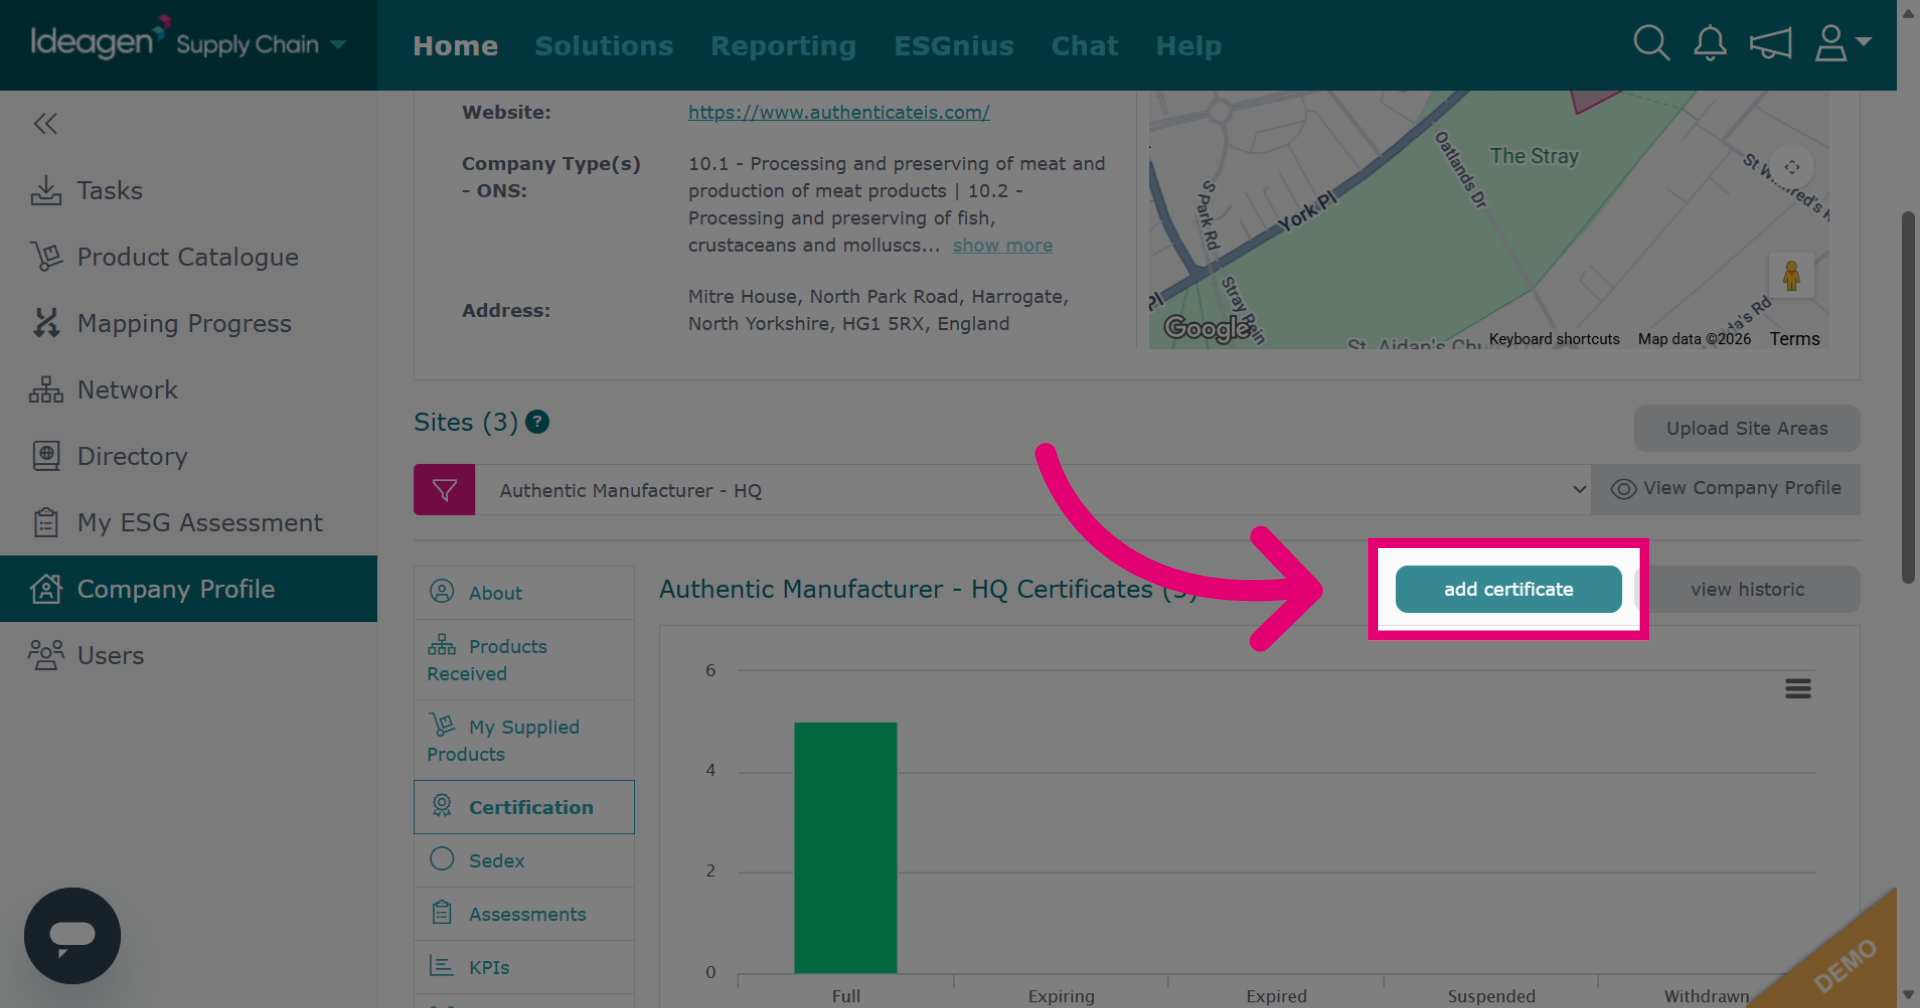
If a certification scheme you wish to add is not available, click add certificate to begin adding a new scheme.
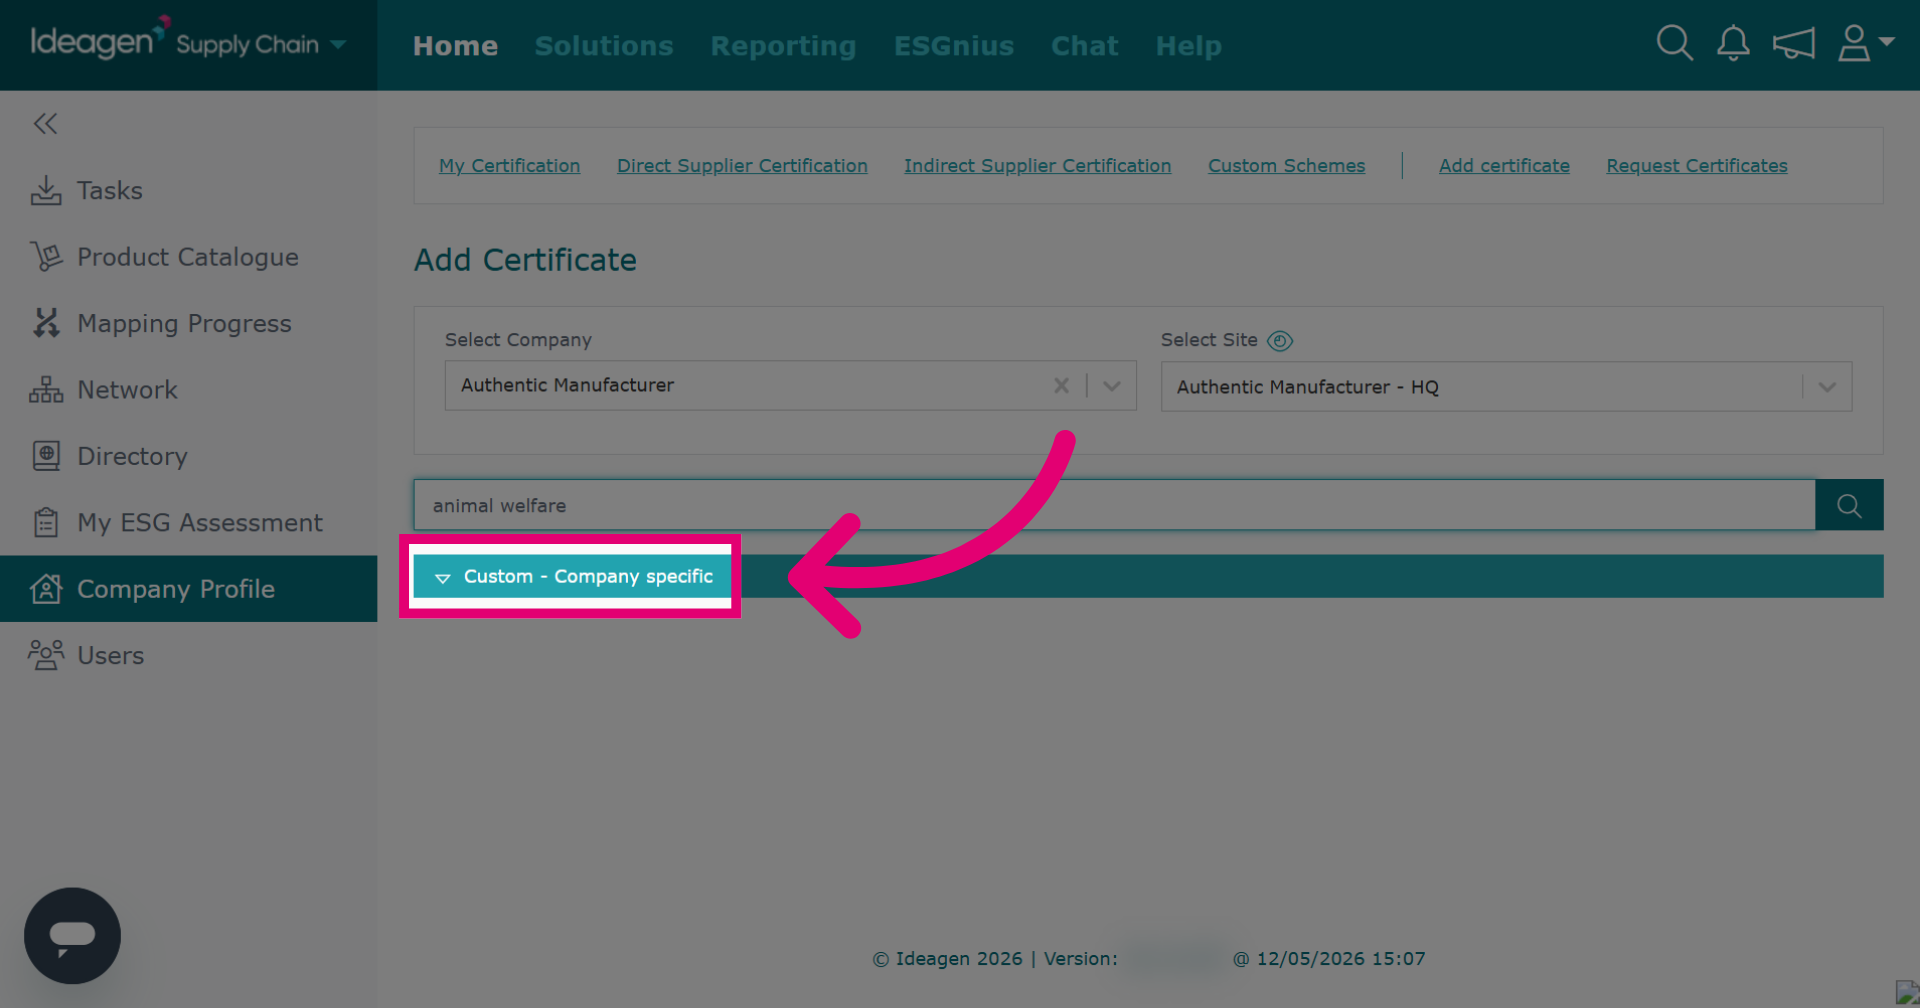
Click Custom - Company specific.
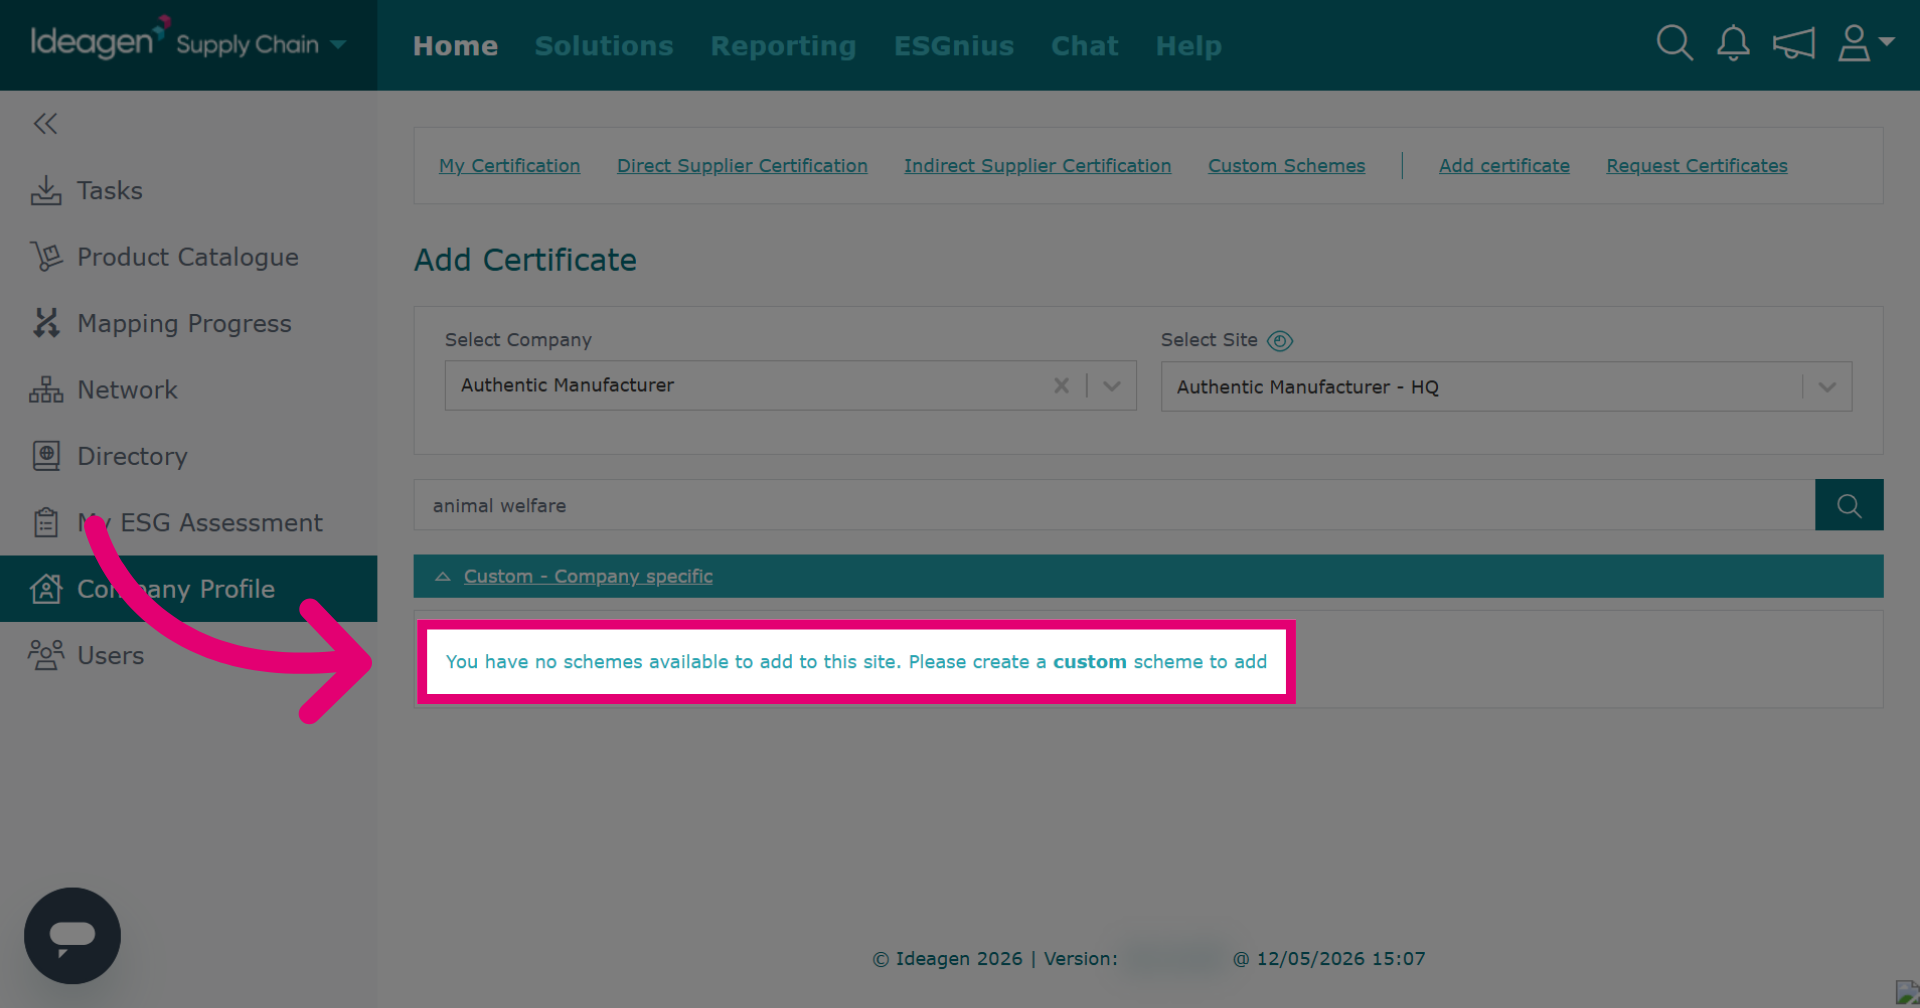
Click You have no schemes available to add to this site. Please create a custom scheme to add to proceed with creating a new scheme.
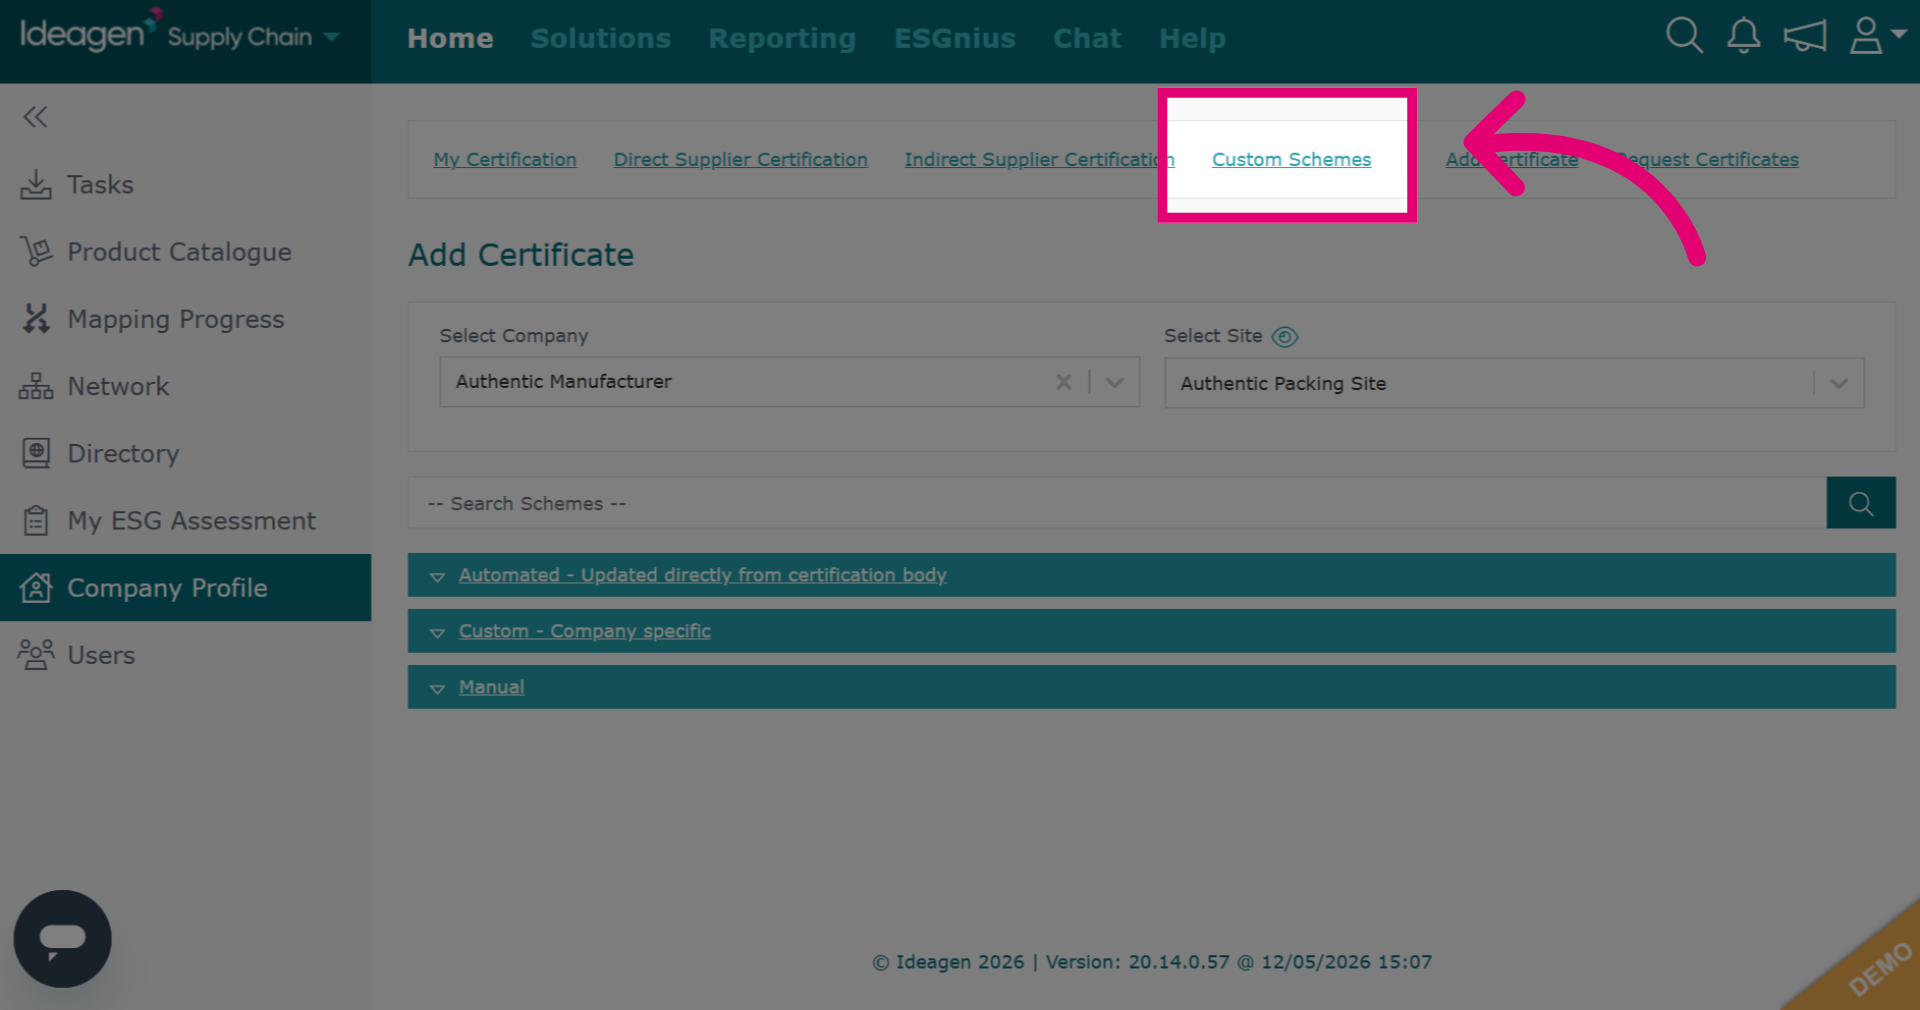
If you do not have this message, you can select Custom Schemes from the heading in the navigation bar at the top of the page instead.
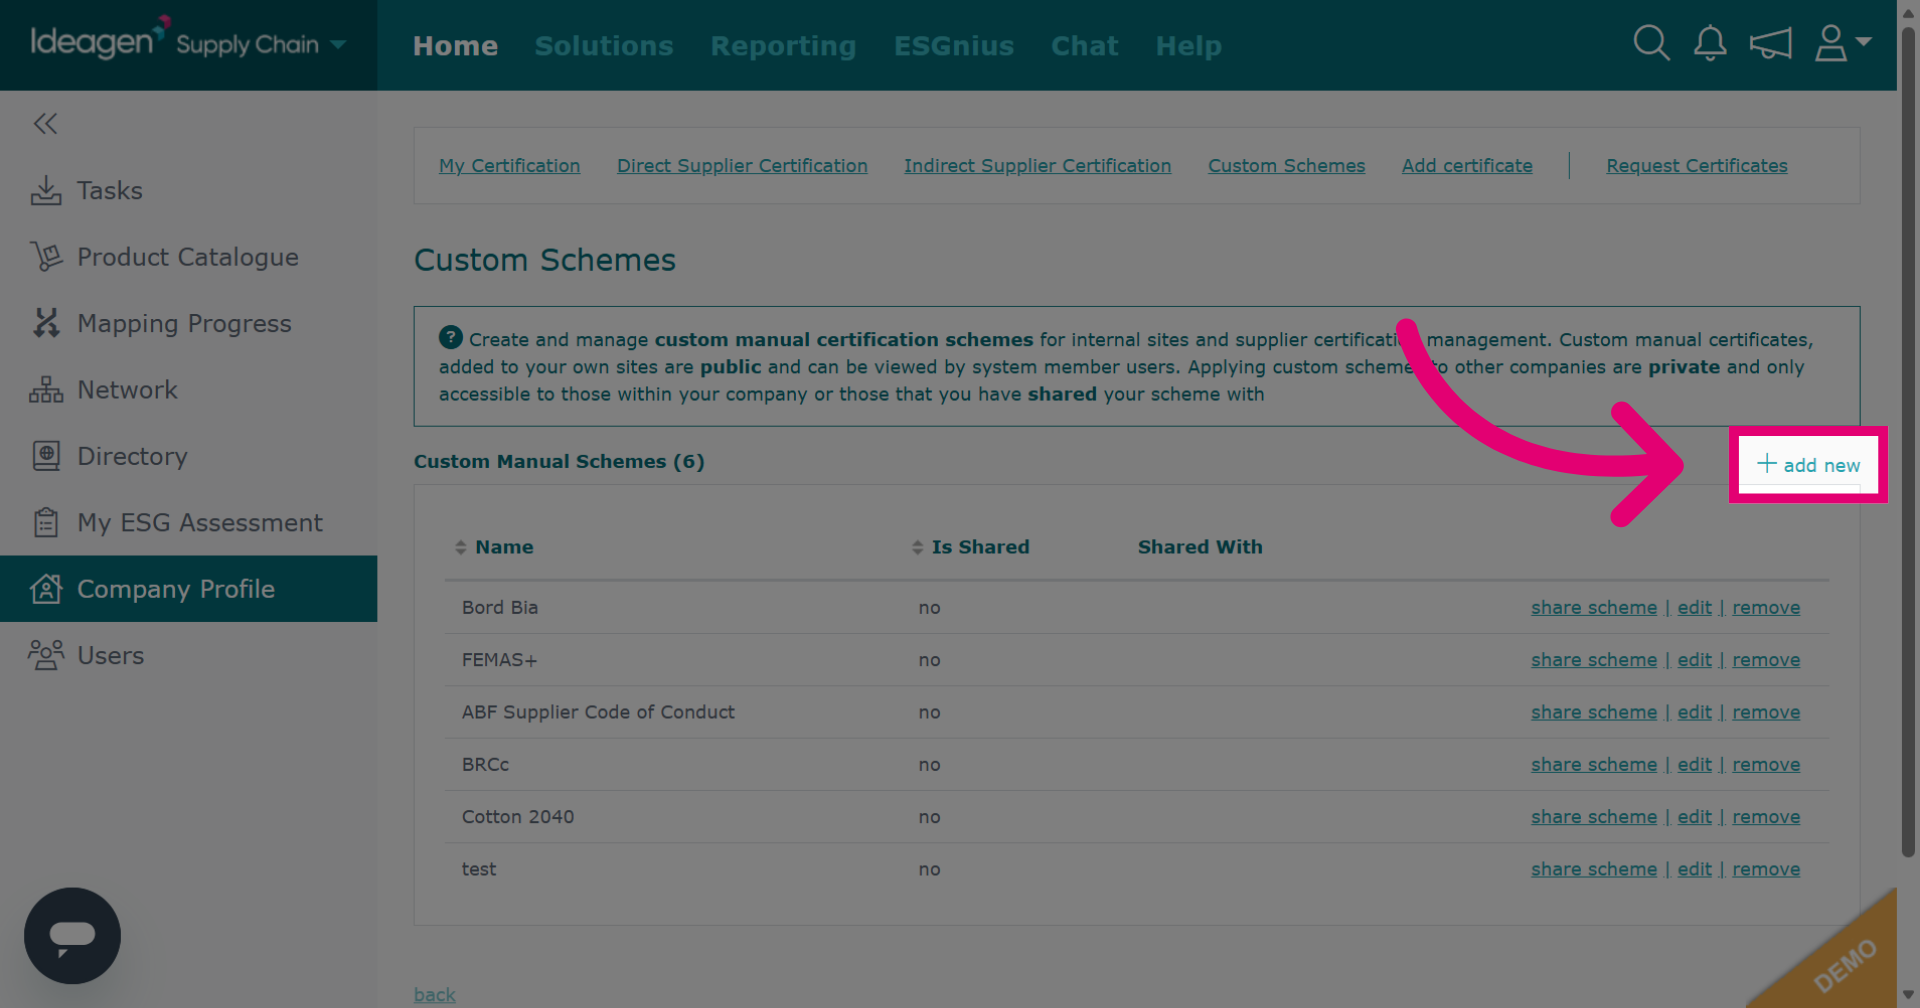
Click add new to start creating a custom certification scheme. Then input any details for the new custom certification scheme.
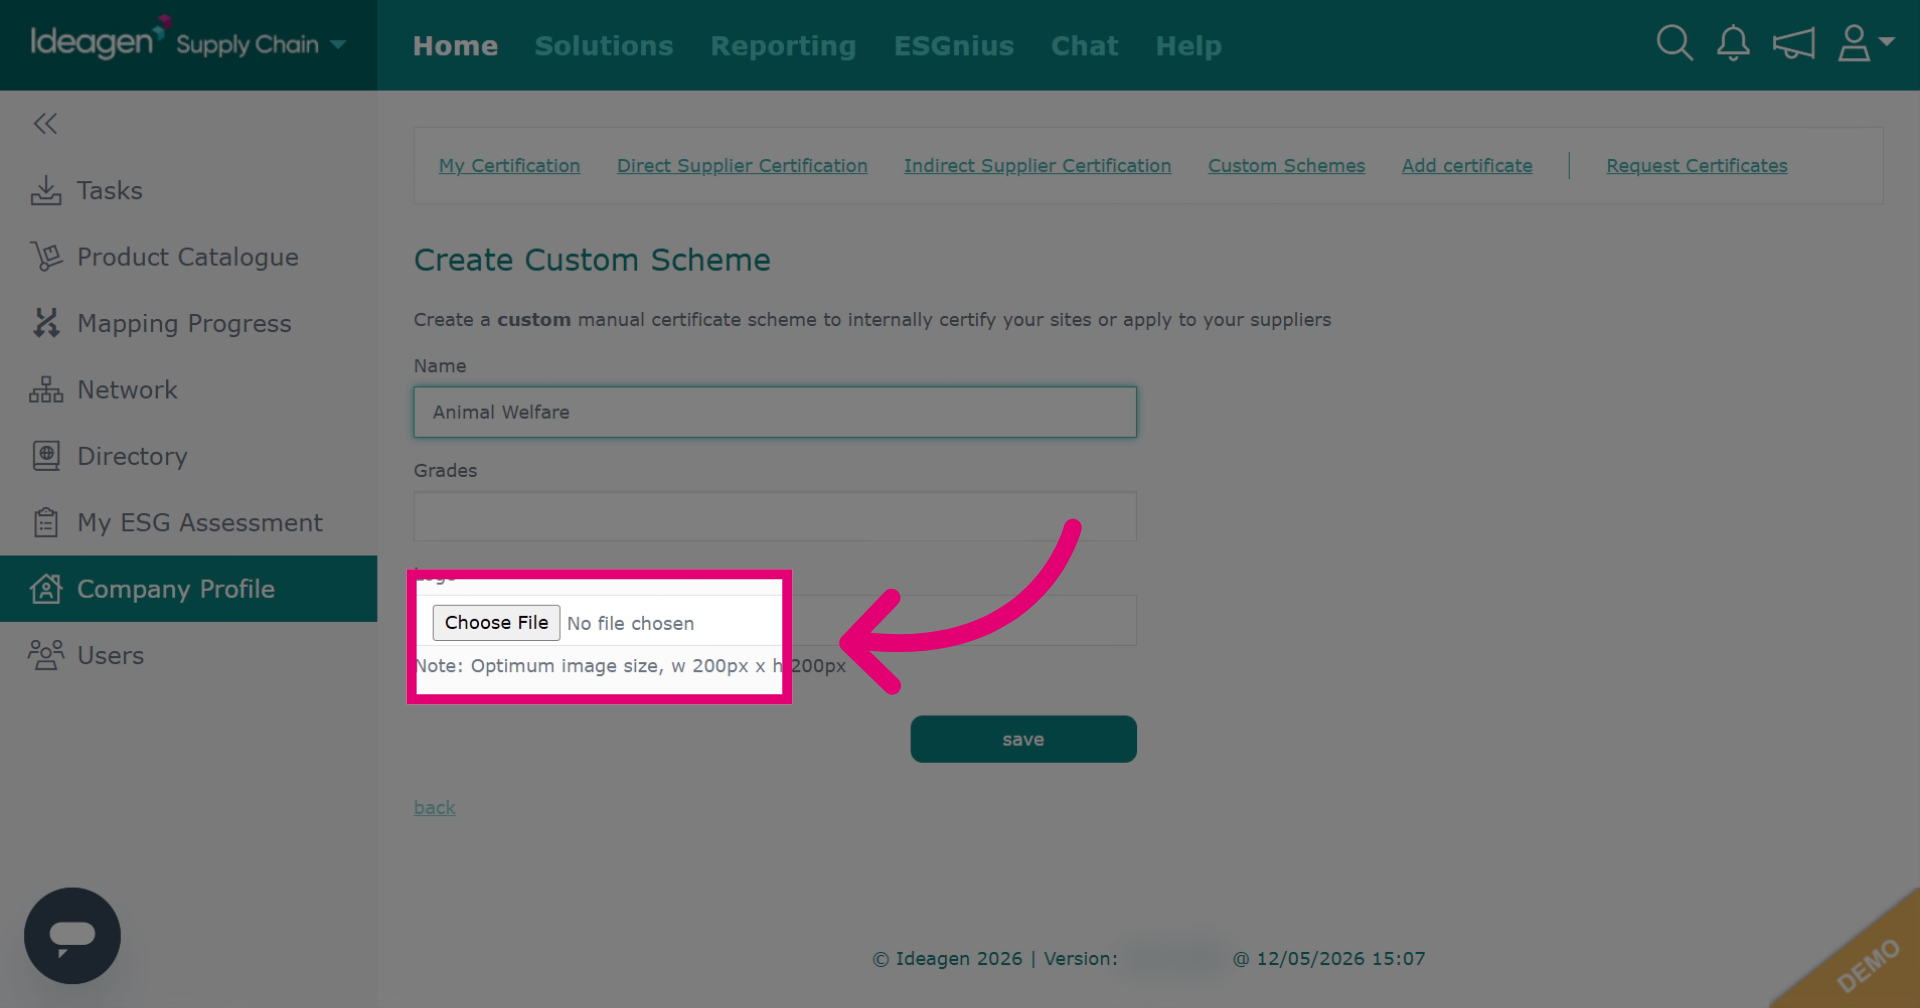
You can add grades if needed, however this is optional. You can also add a logo if desired by clicking Choose File and uploading from your device.
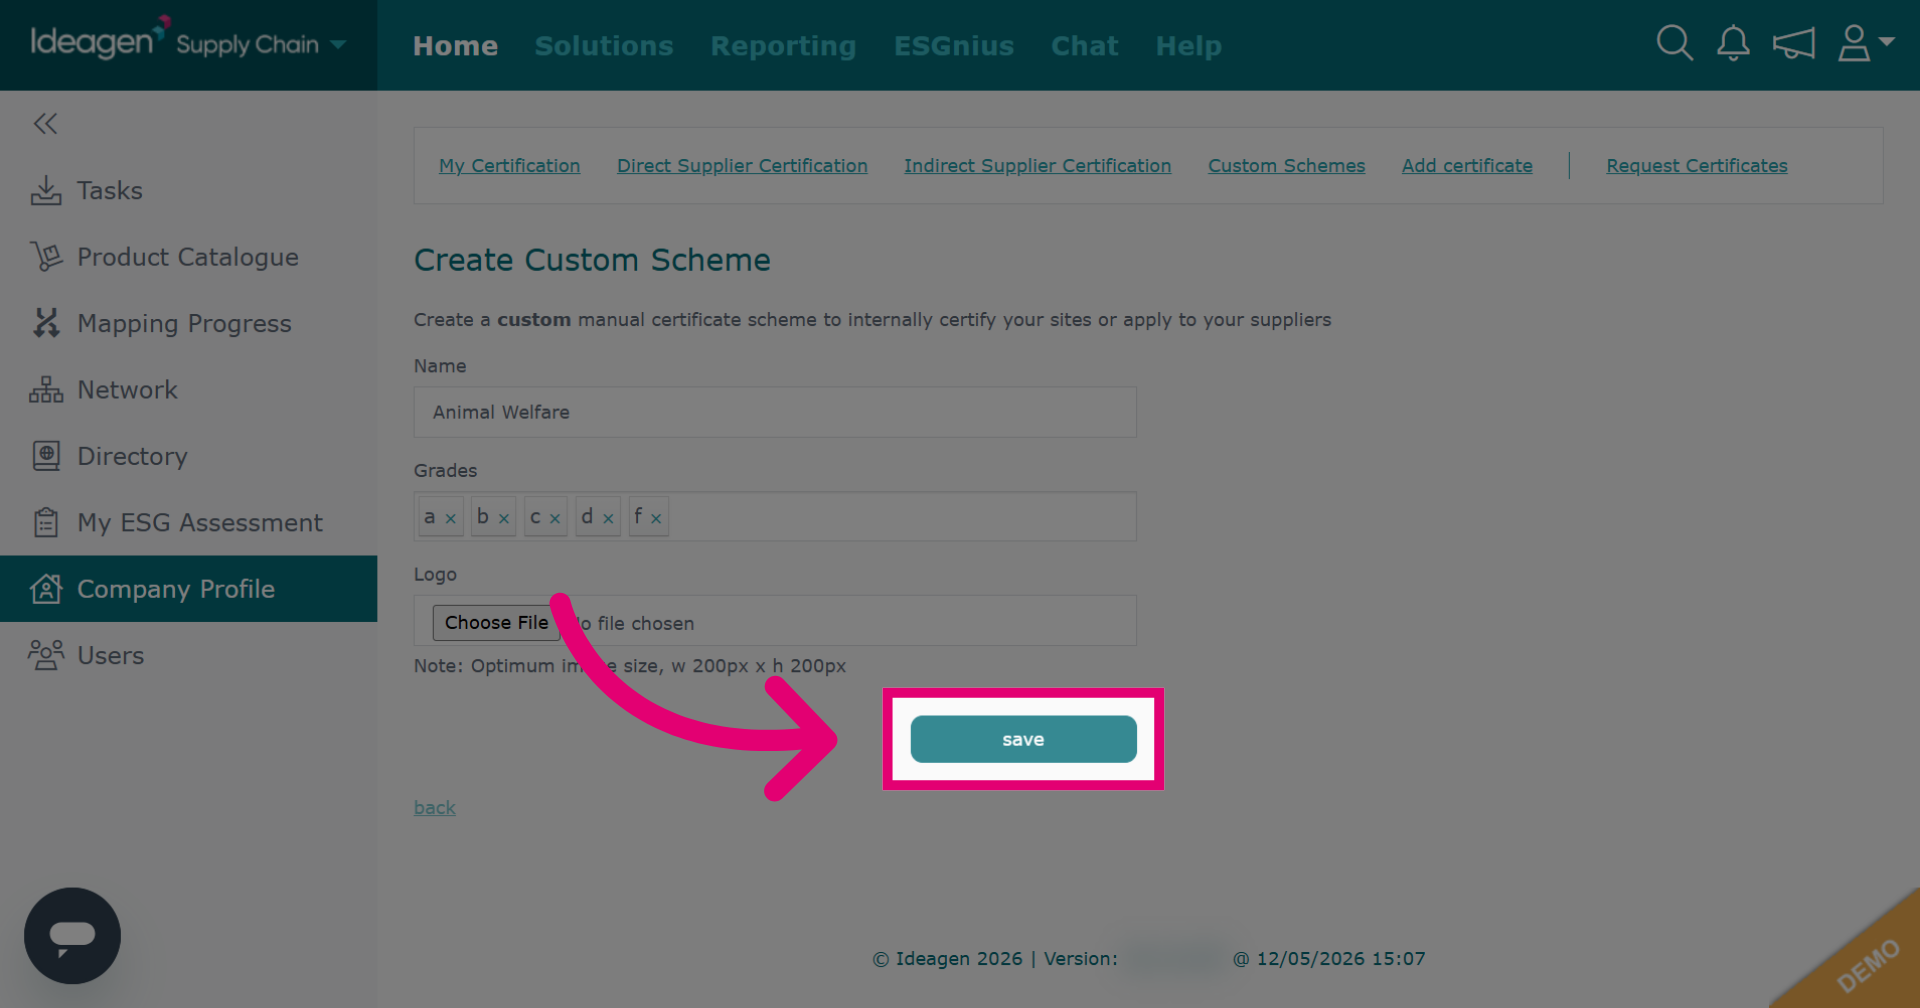
- Click Save to store the scheme. It will then appear under Custom Schemes when adding certificates.