
New article
Recently updated
Plotting Site Areas - Company Profile

Who is this article for?
Users who want to plot site areas on their company profile.
Platform admin permissions are required.
This tutorial guides you through configuring plot areas for your sites on the company profile.
You will learn how to use the mapping tools to define geographic boundaries for your site locations.
Configuring plot areas for your sites
-
Log into the system.
-
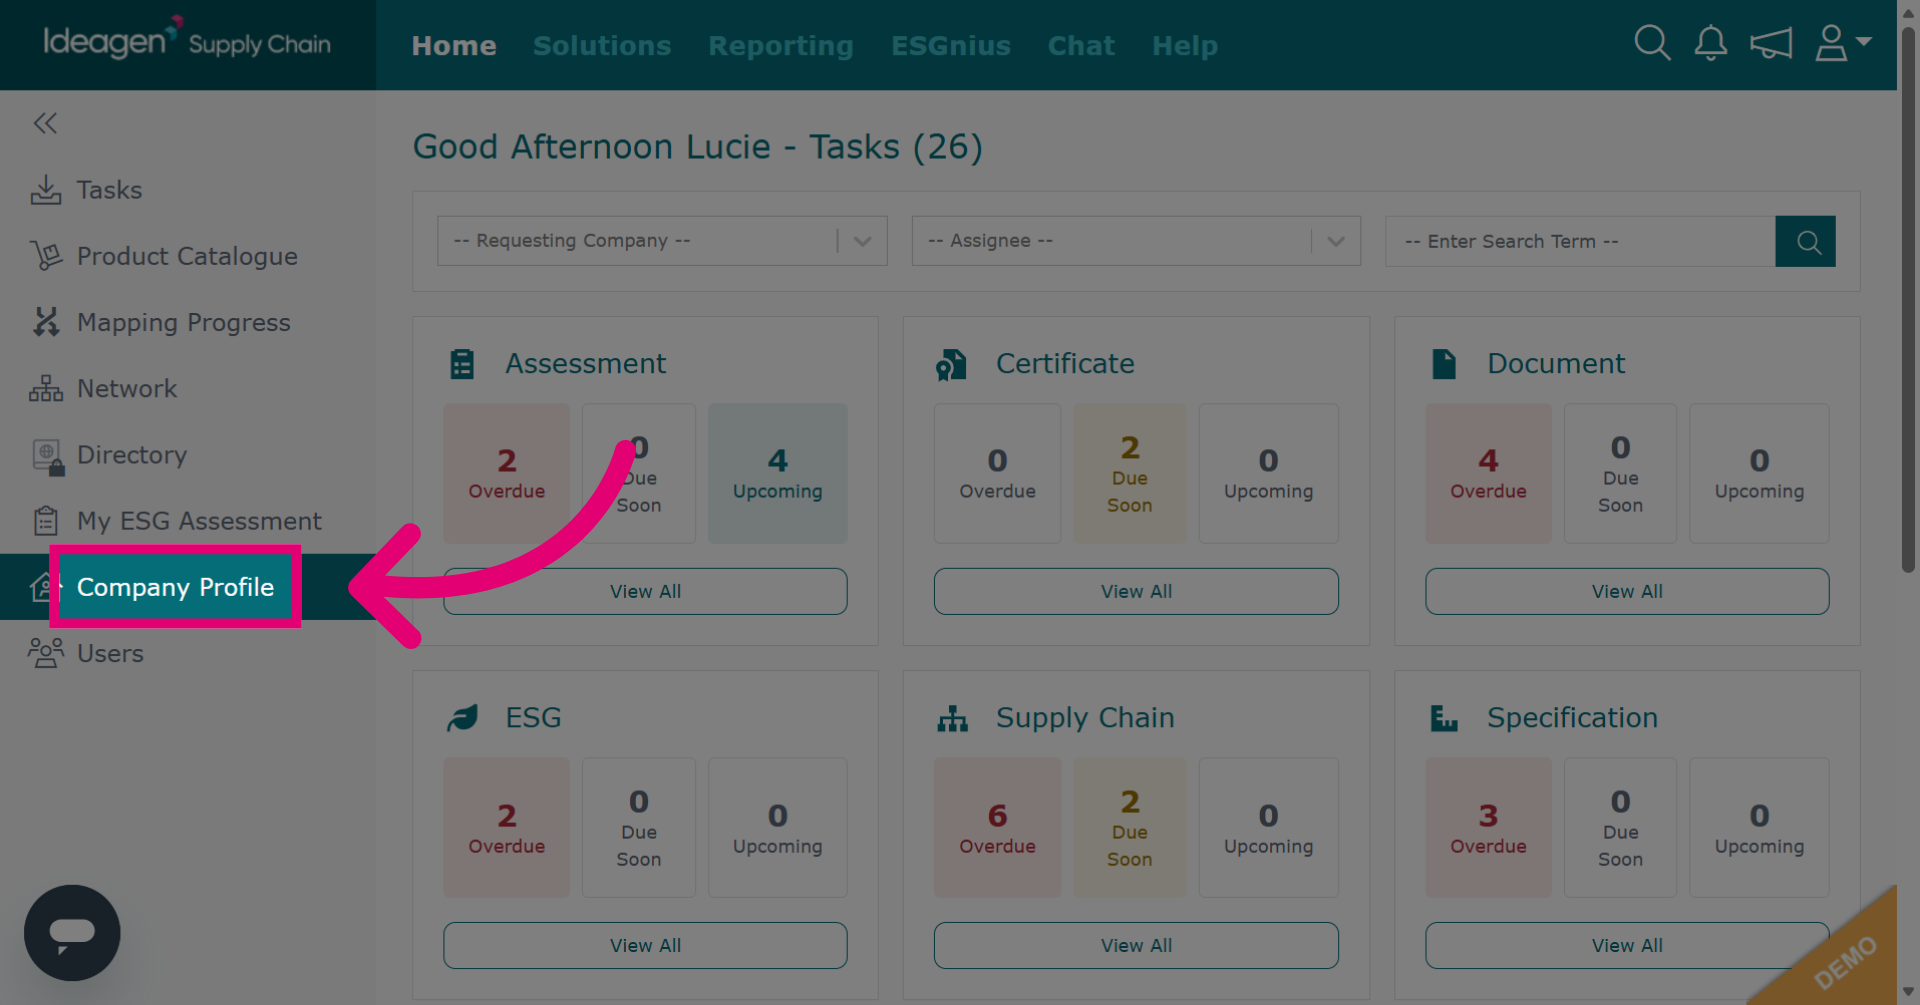
Click Company Profile to access the configuration area.
-
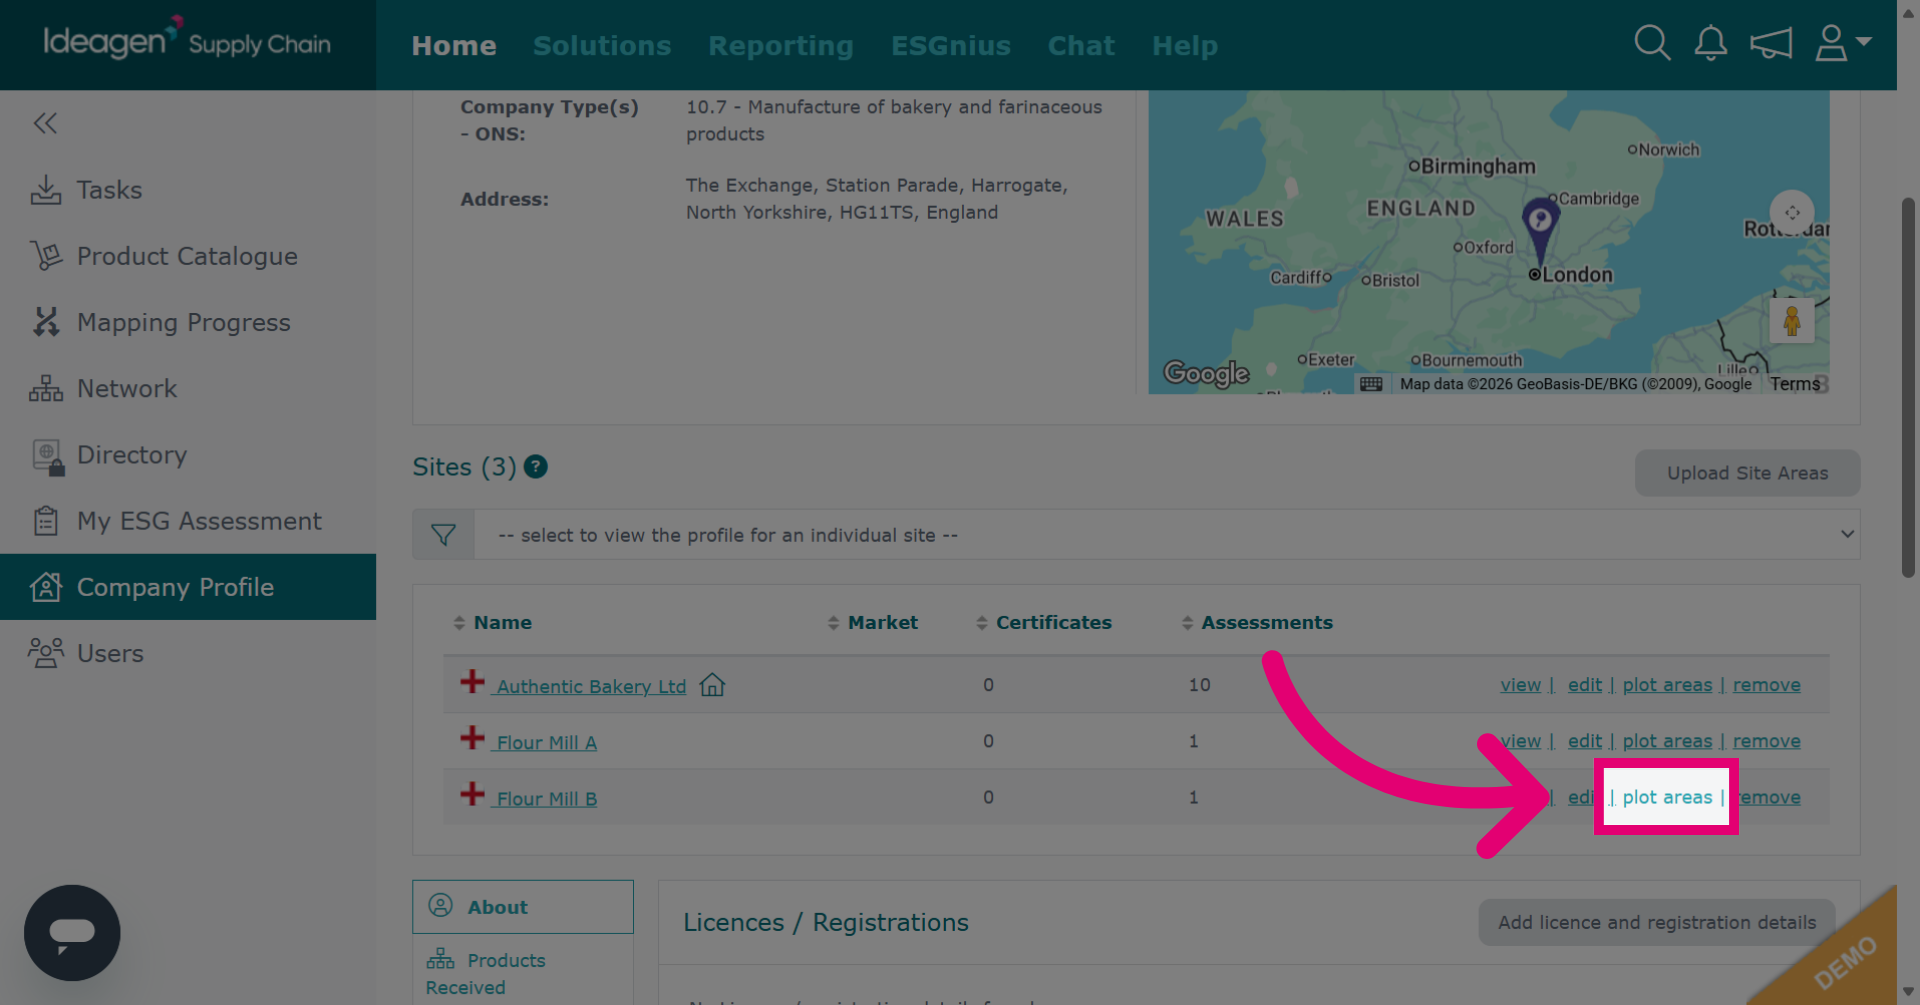
Click plot areas to view and manage geographic plot areas for your sites.
-
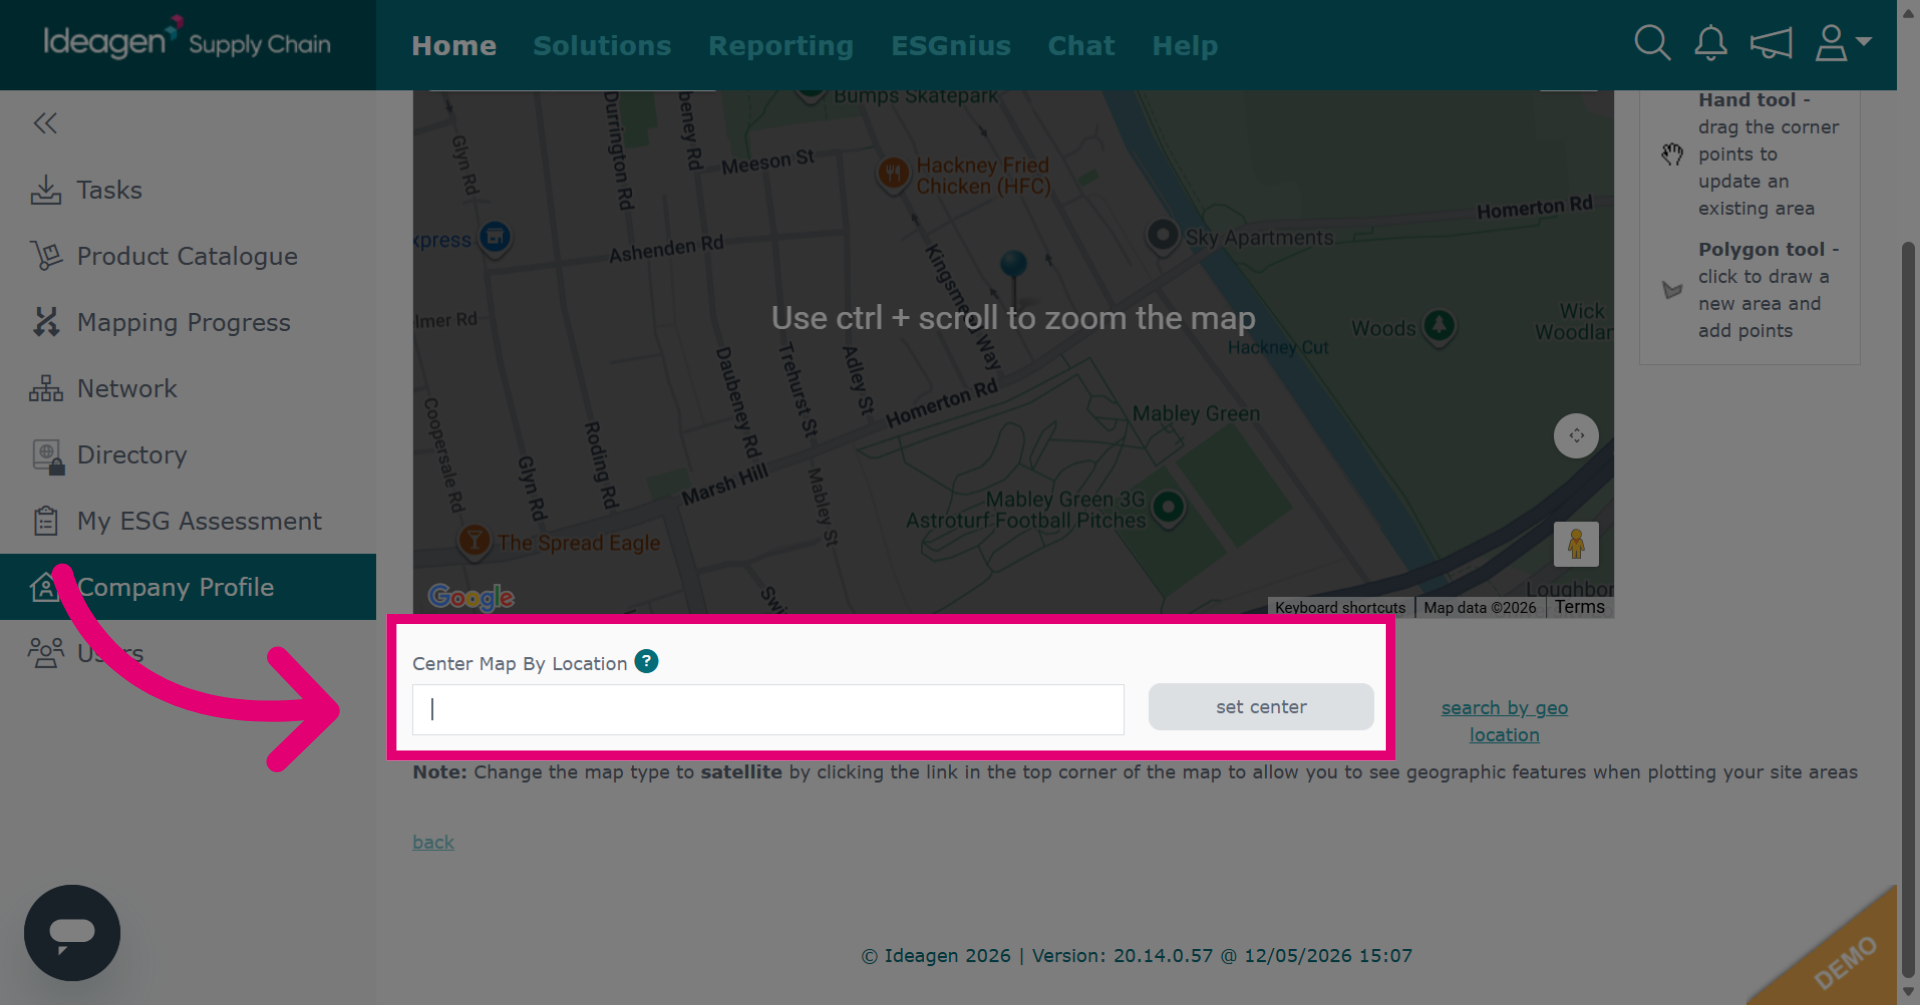
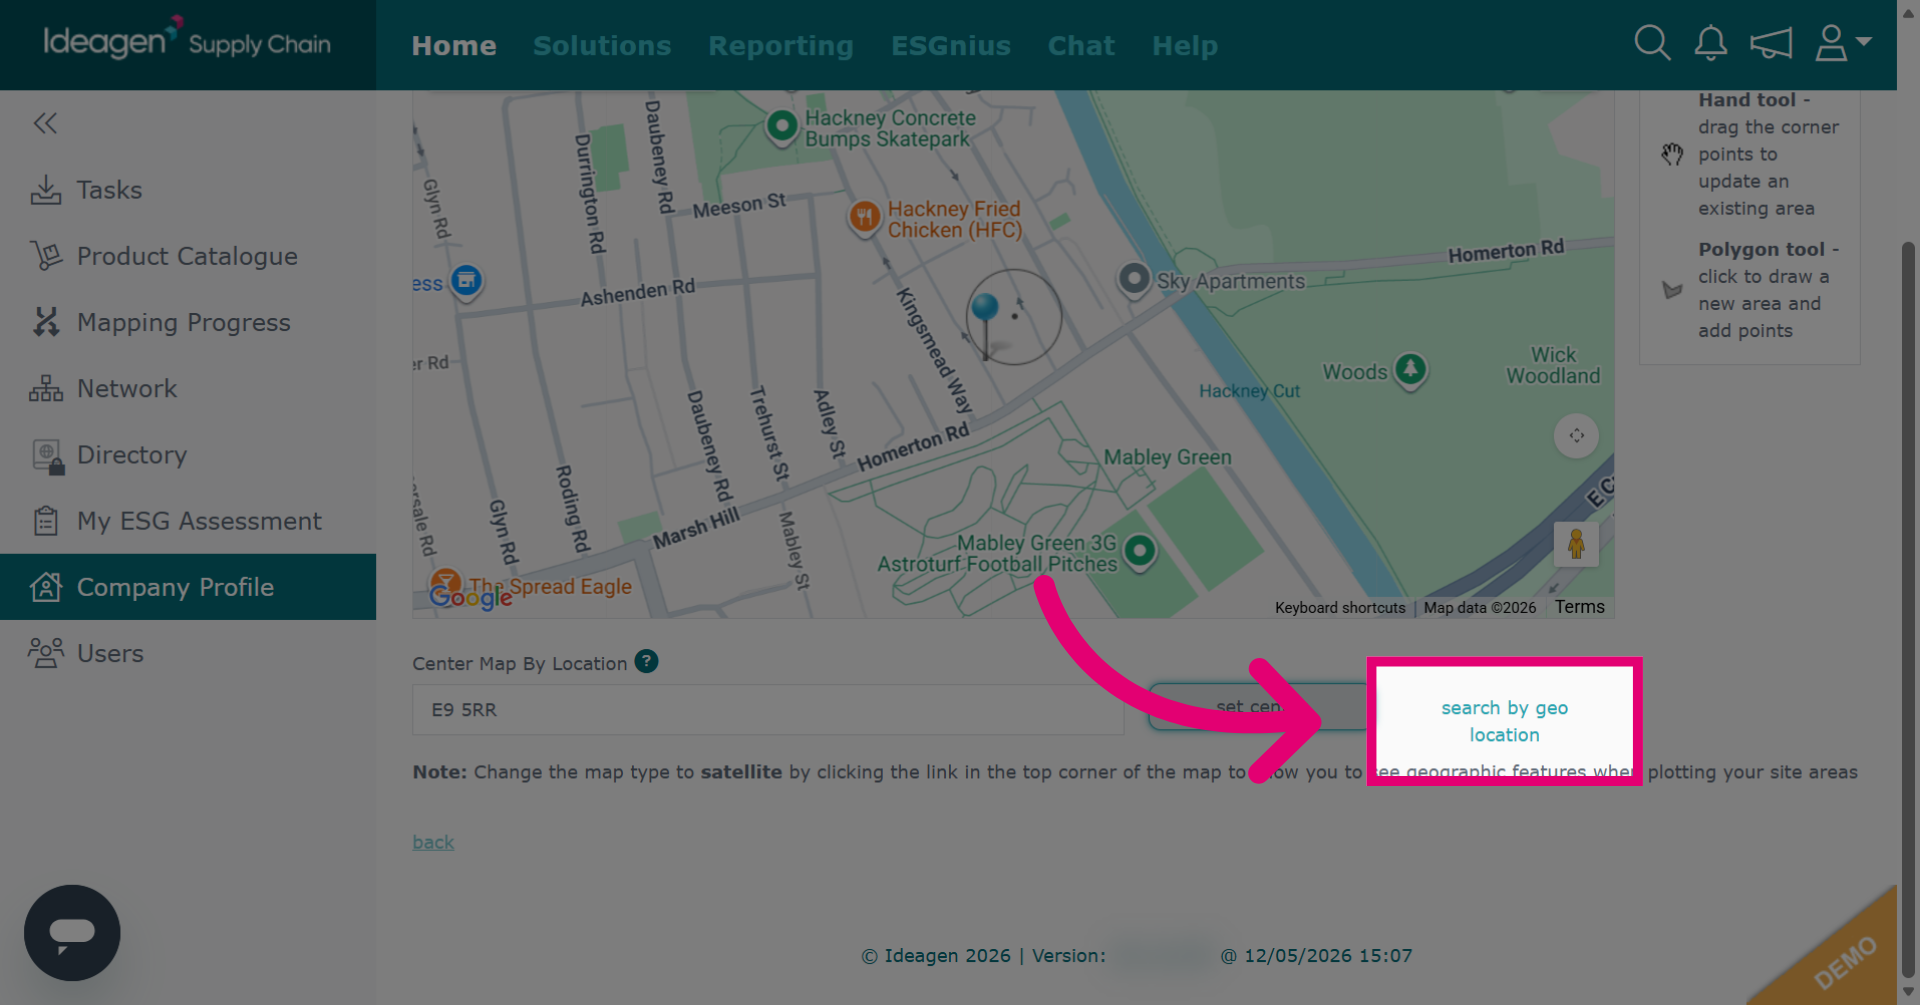
To find the correct area for your site on the mini map, click Center Map By Location and enter a city, region, country, postcode, or a combination of these address fields.
-
Enter details for centering the map and then select set center.
-
Alternatively you can click search by geo location to find the specified location on the map using geographic coordinates.
-
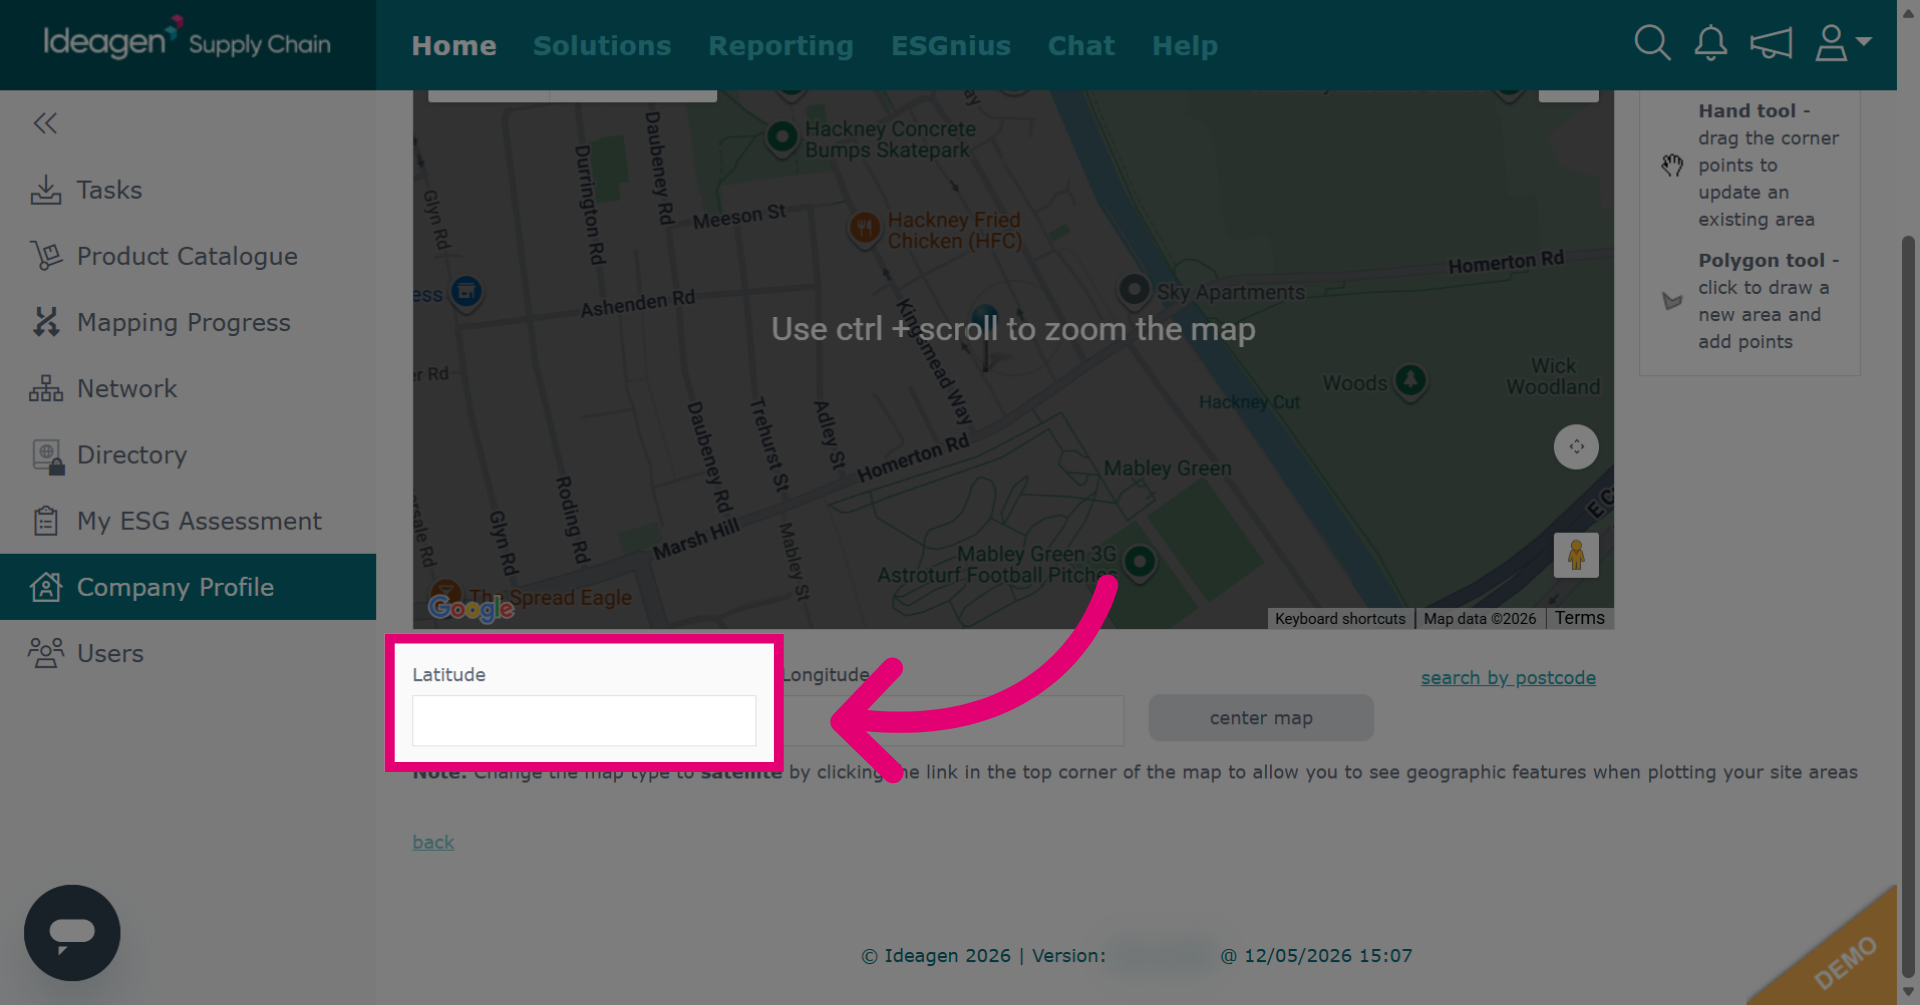
Click Latitude to specify the latitude coordinate for the map center.
-
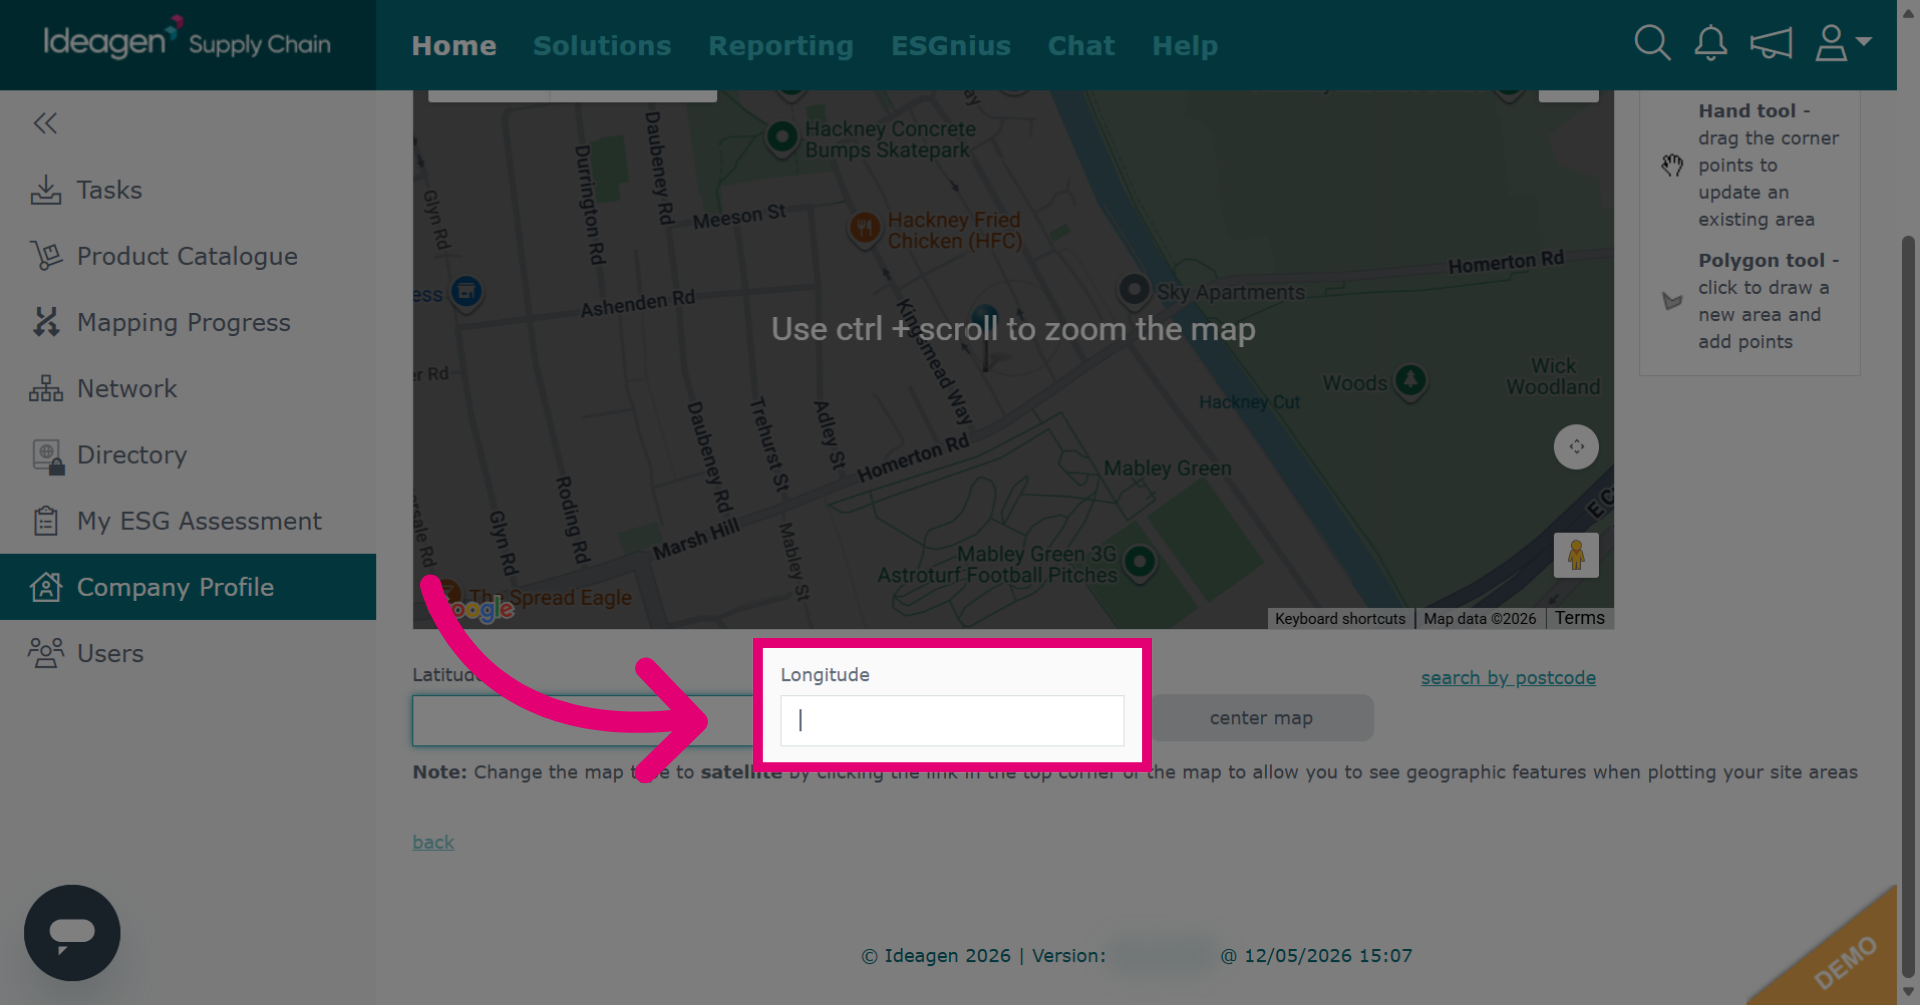
Click Longitude to specify the longitude coordinate for the map center.
-
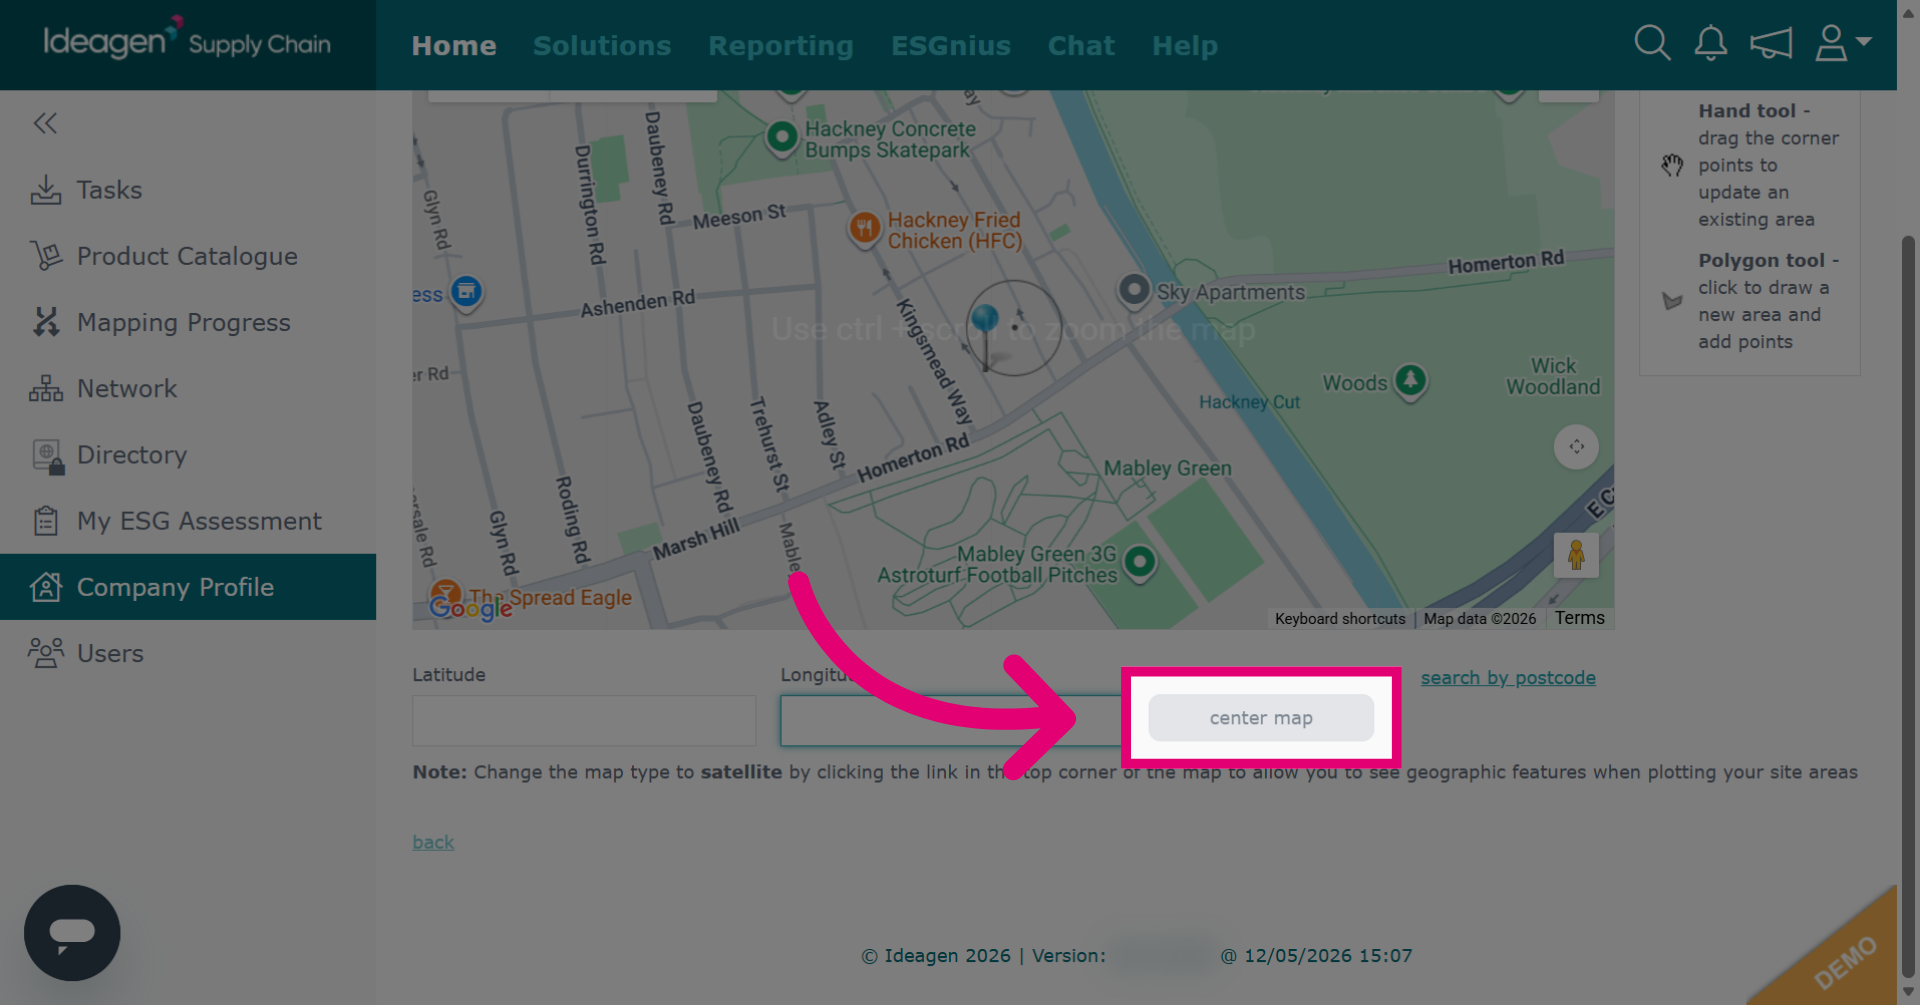
Click center map to update the map view to the specified coordinates.

-
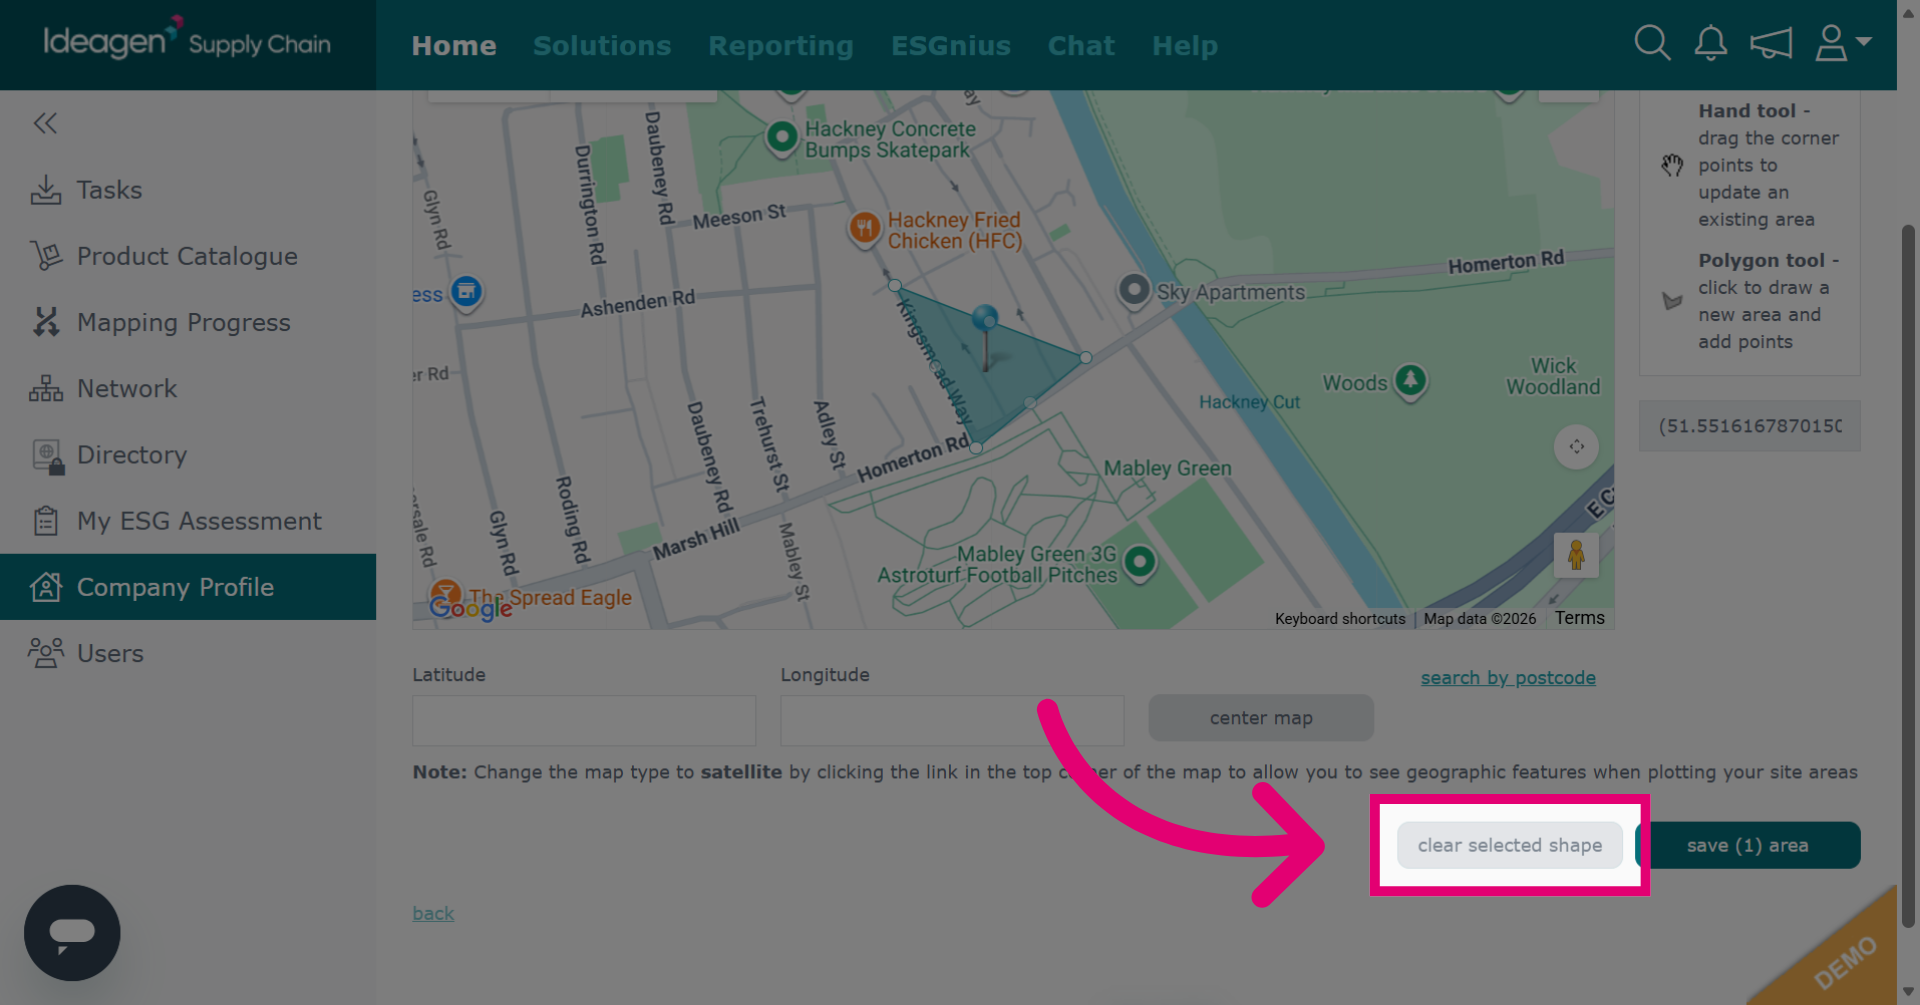
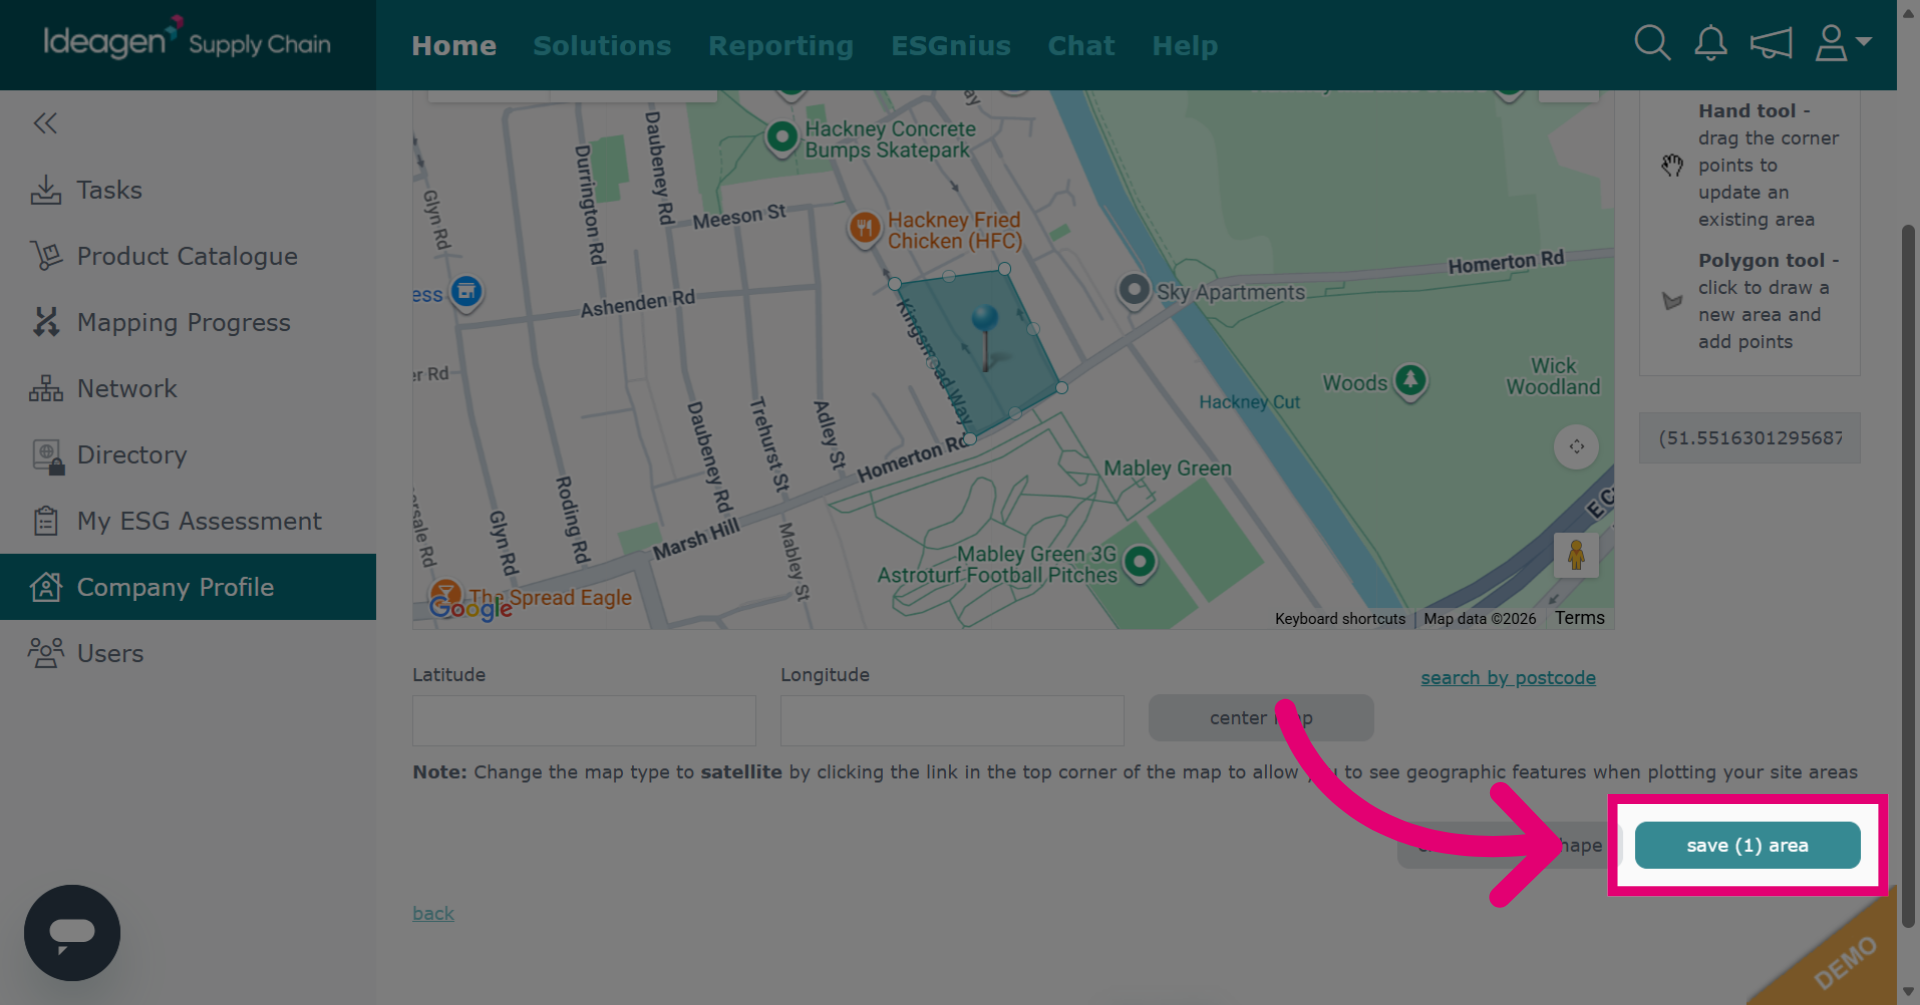
Enter Pin Drop Points on the map to draw the land plot. These should join together to form a solid shape.
-
Click clear selected shape to remove the current selection from the map.
-
Click save area to store your current land plot selections.
-
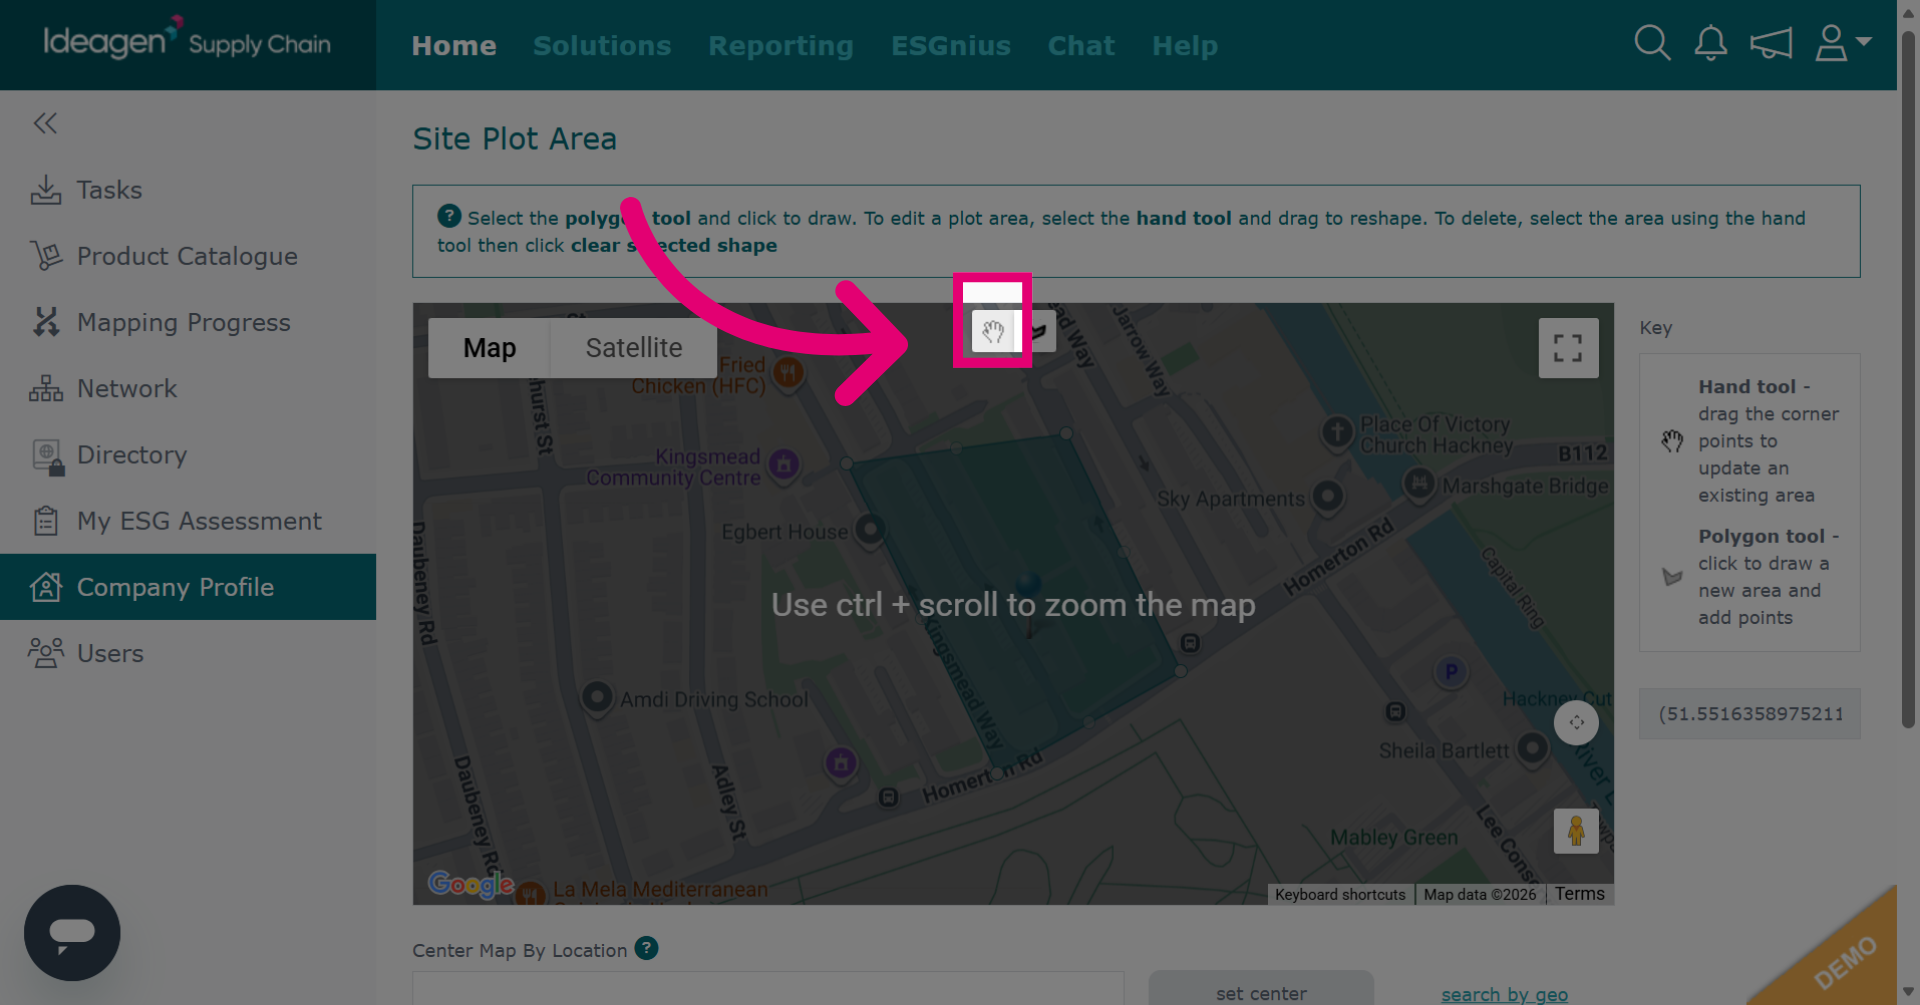
Click the hand tool and then click the pin drop points to move and adjust the shape as necessary.

-
Click the pin drop points and move accordingly to edit the area. To remove the area entirely, ensure the hand tool is still selected and then click clear selected shape.
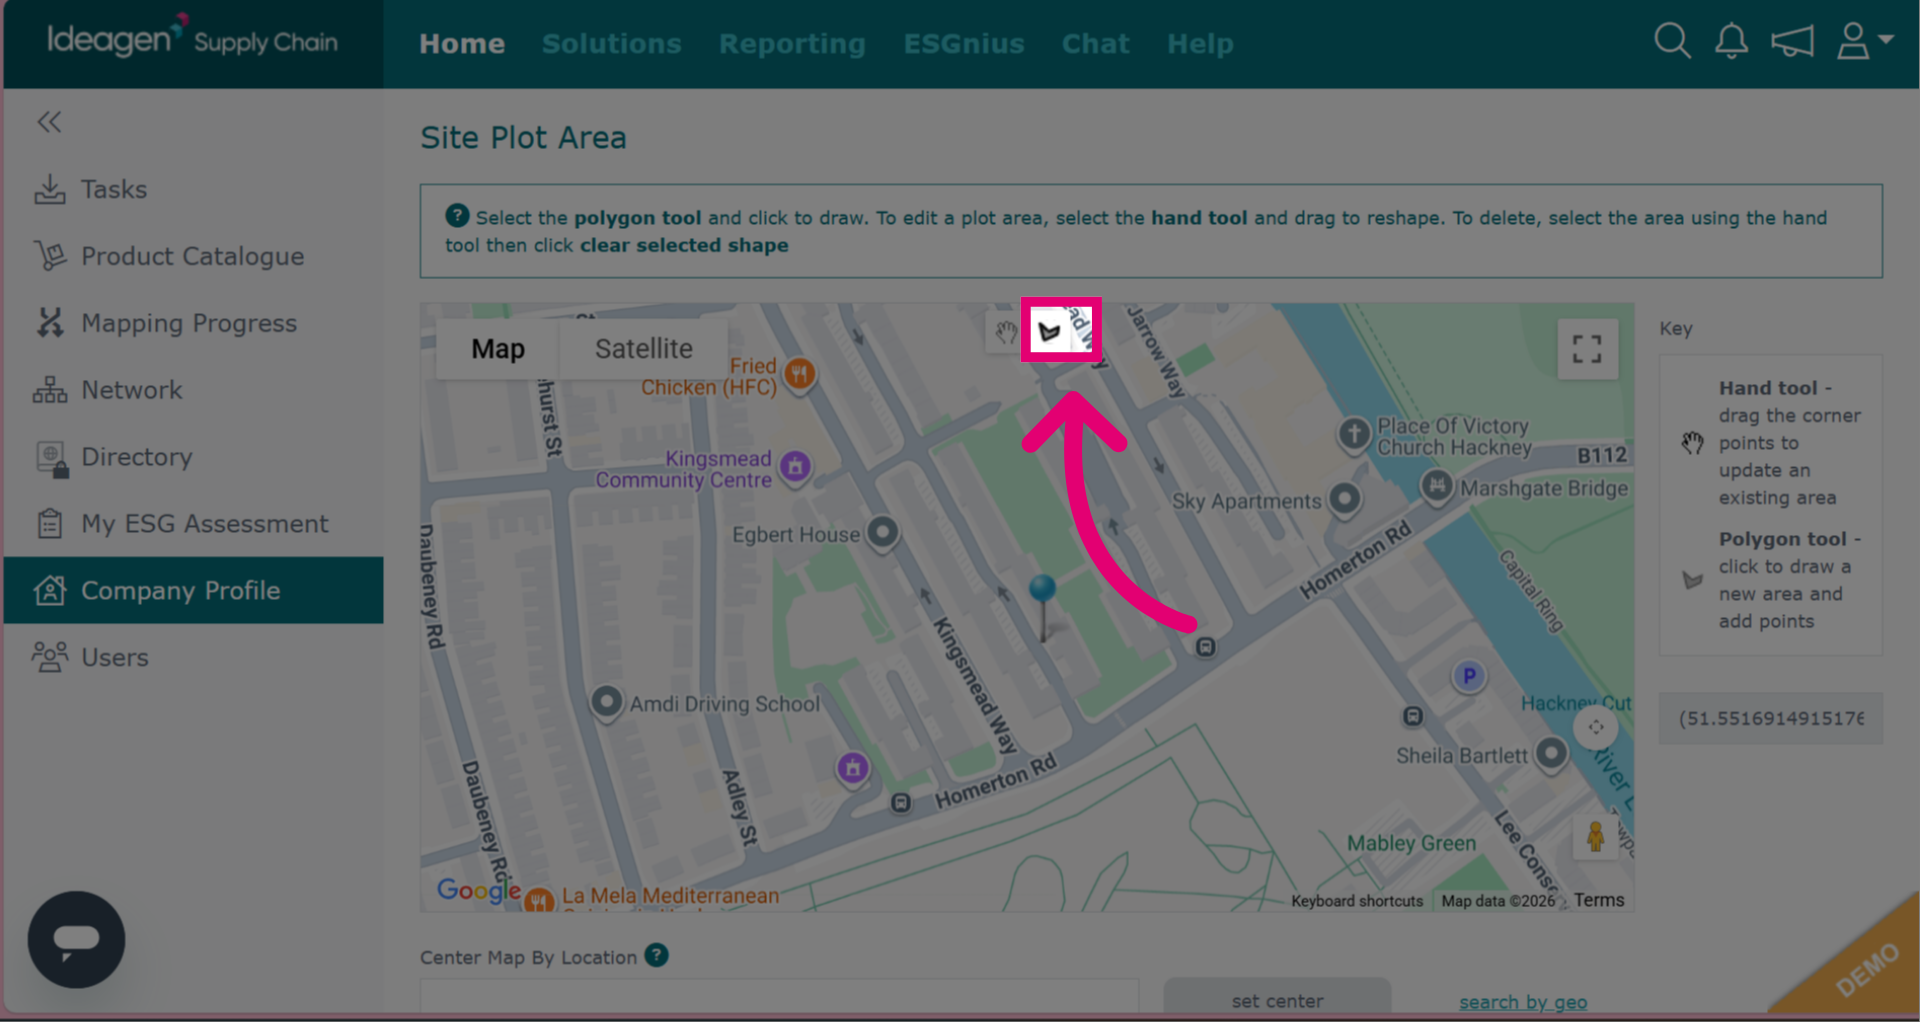
- To draw a new plot, click back onto the pin drop tool option. When you are finished adding, editing or removing plots click save area.