New article
Recently updated
Creating a workflow

Who is this article for?
Users who want to learn to create a workflow.
Workflow admin permissions are required.
This tutorial guides you in creating and publishing workflows in the Ideagen Supply Chain platform.
Workflows auto-send task requirements, reducing manual input.
Creating and publishing a workflow
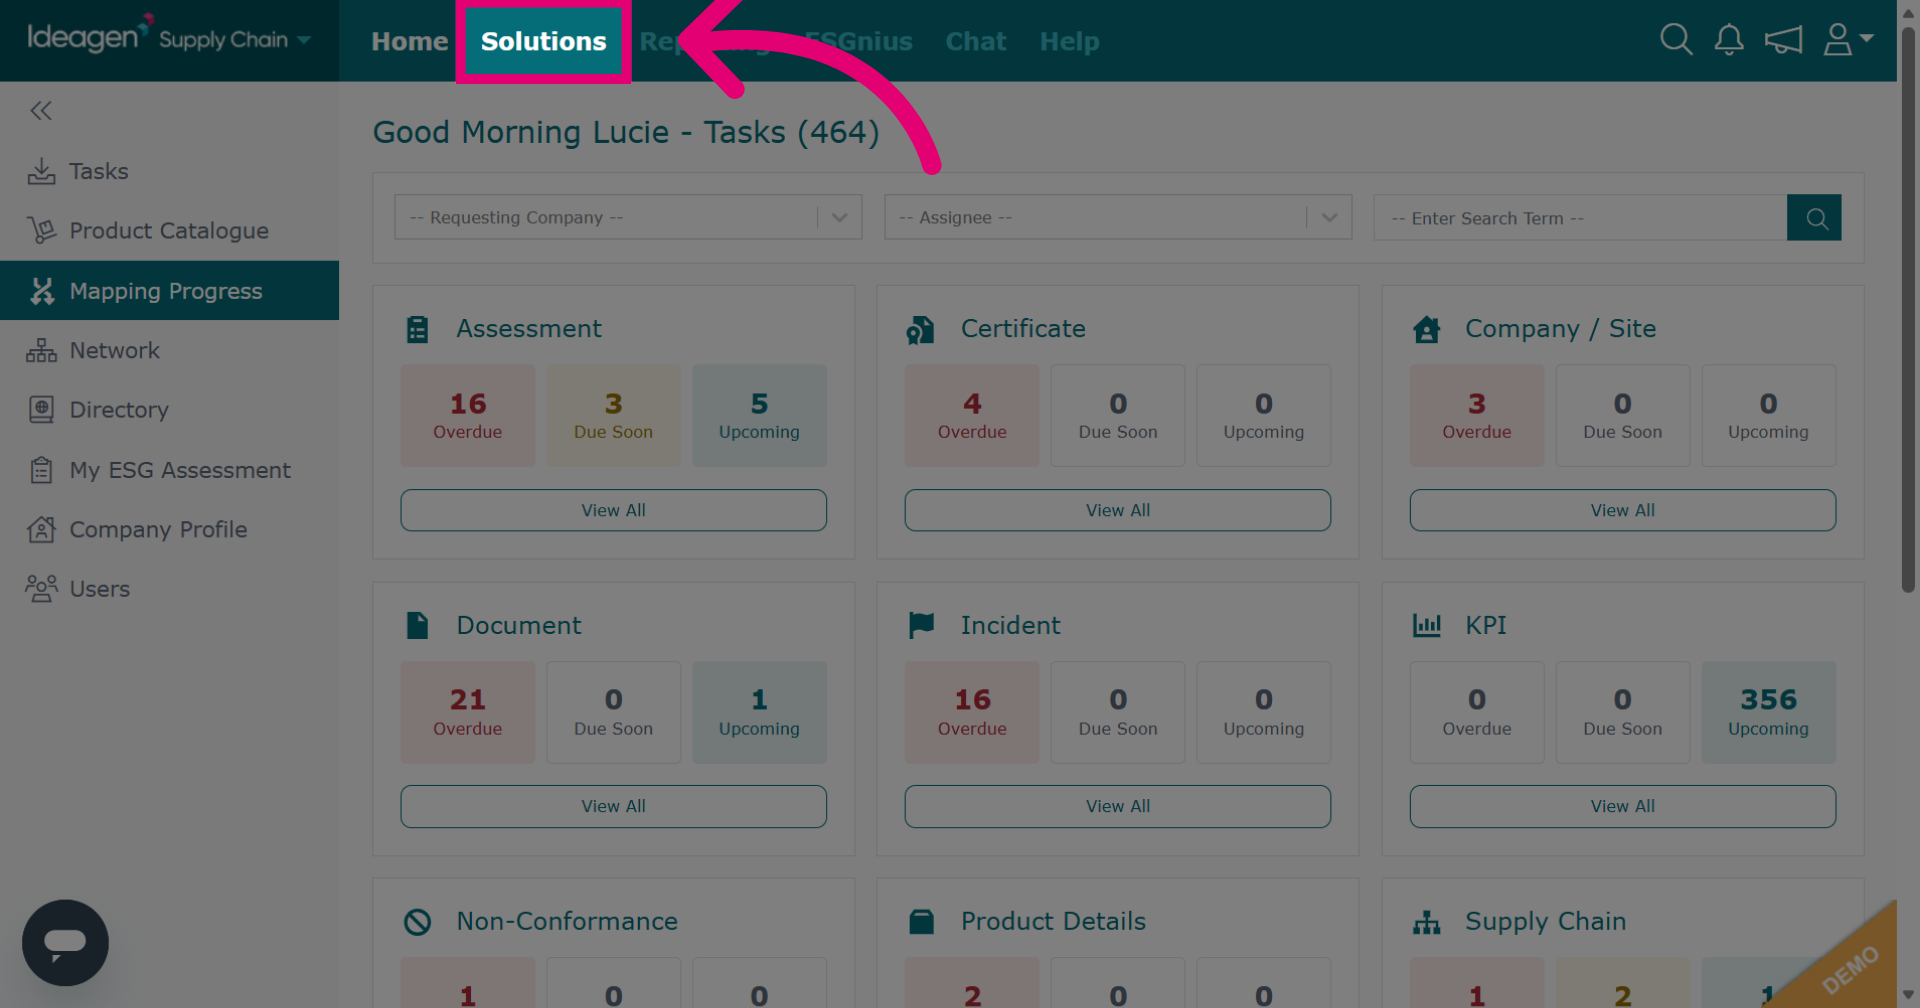
Click Solutions to access the solutions menu.
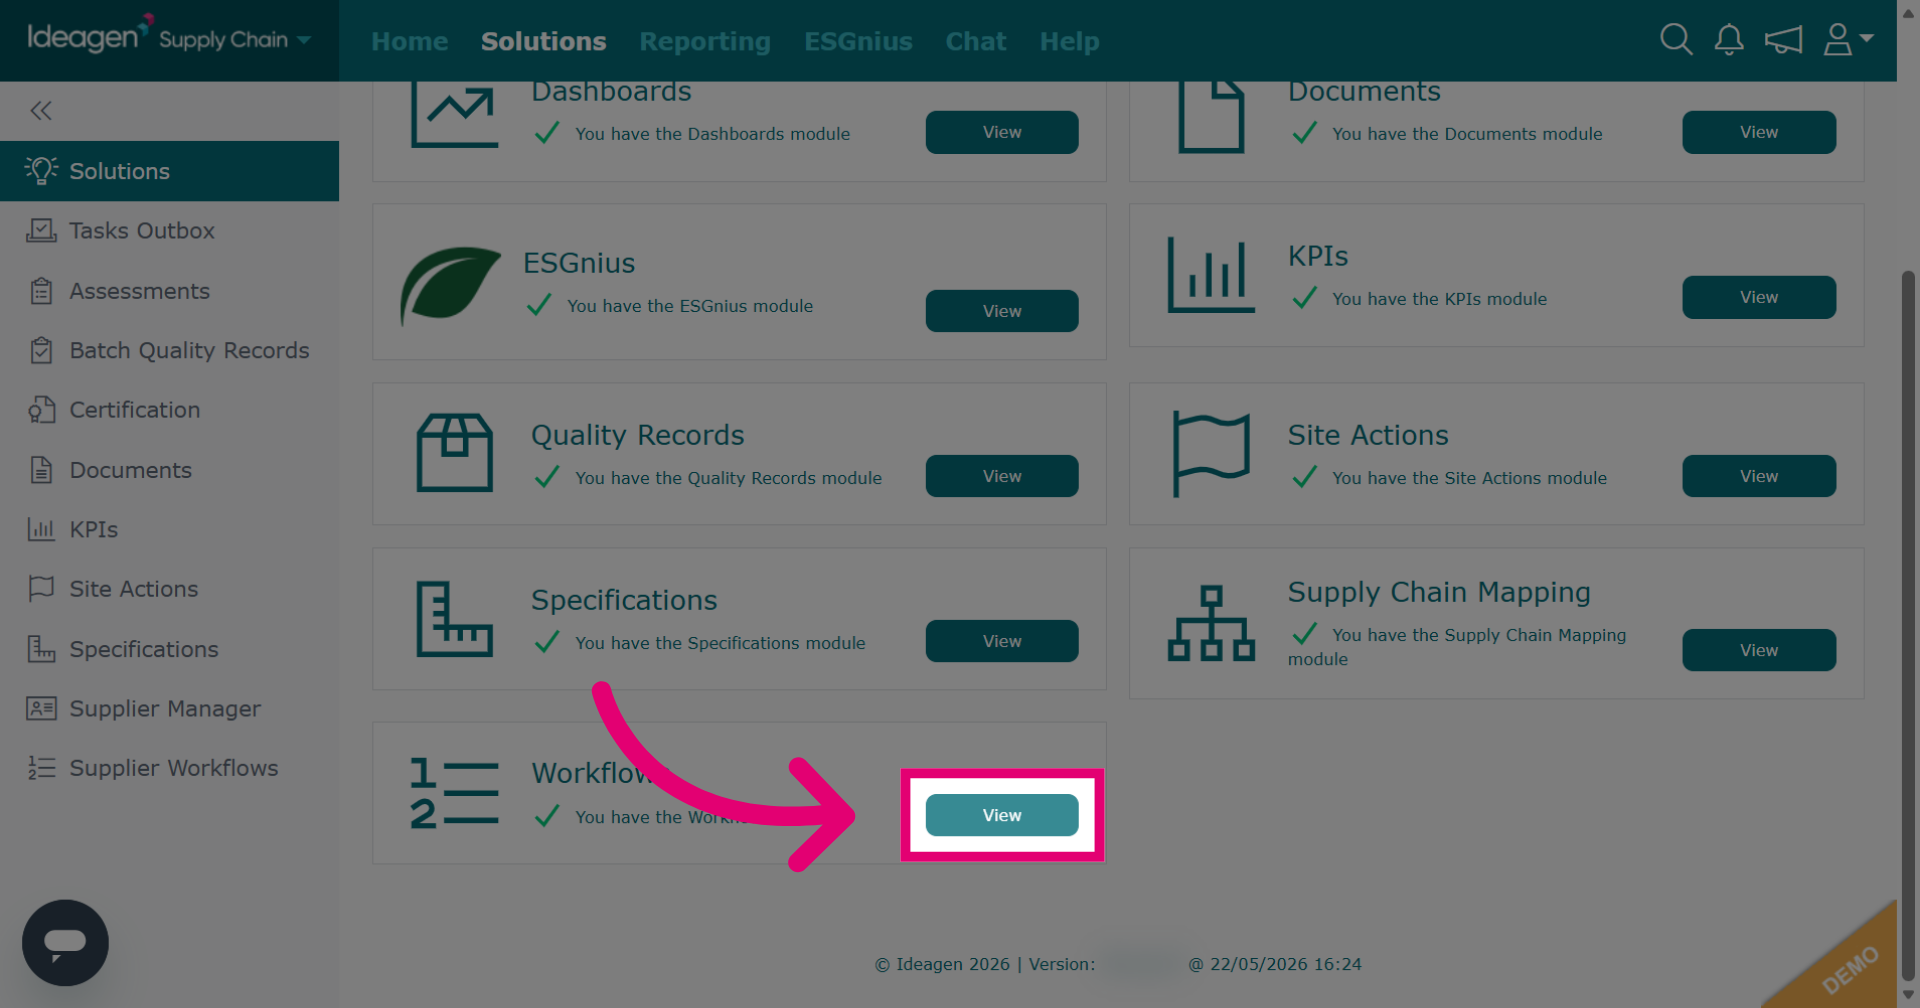
Click View next to the workflows module.
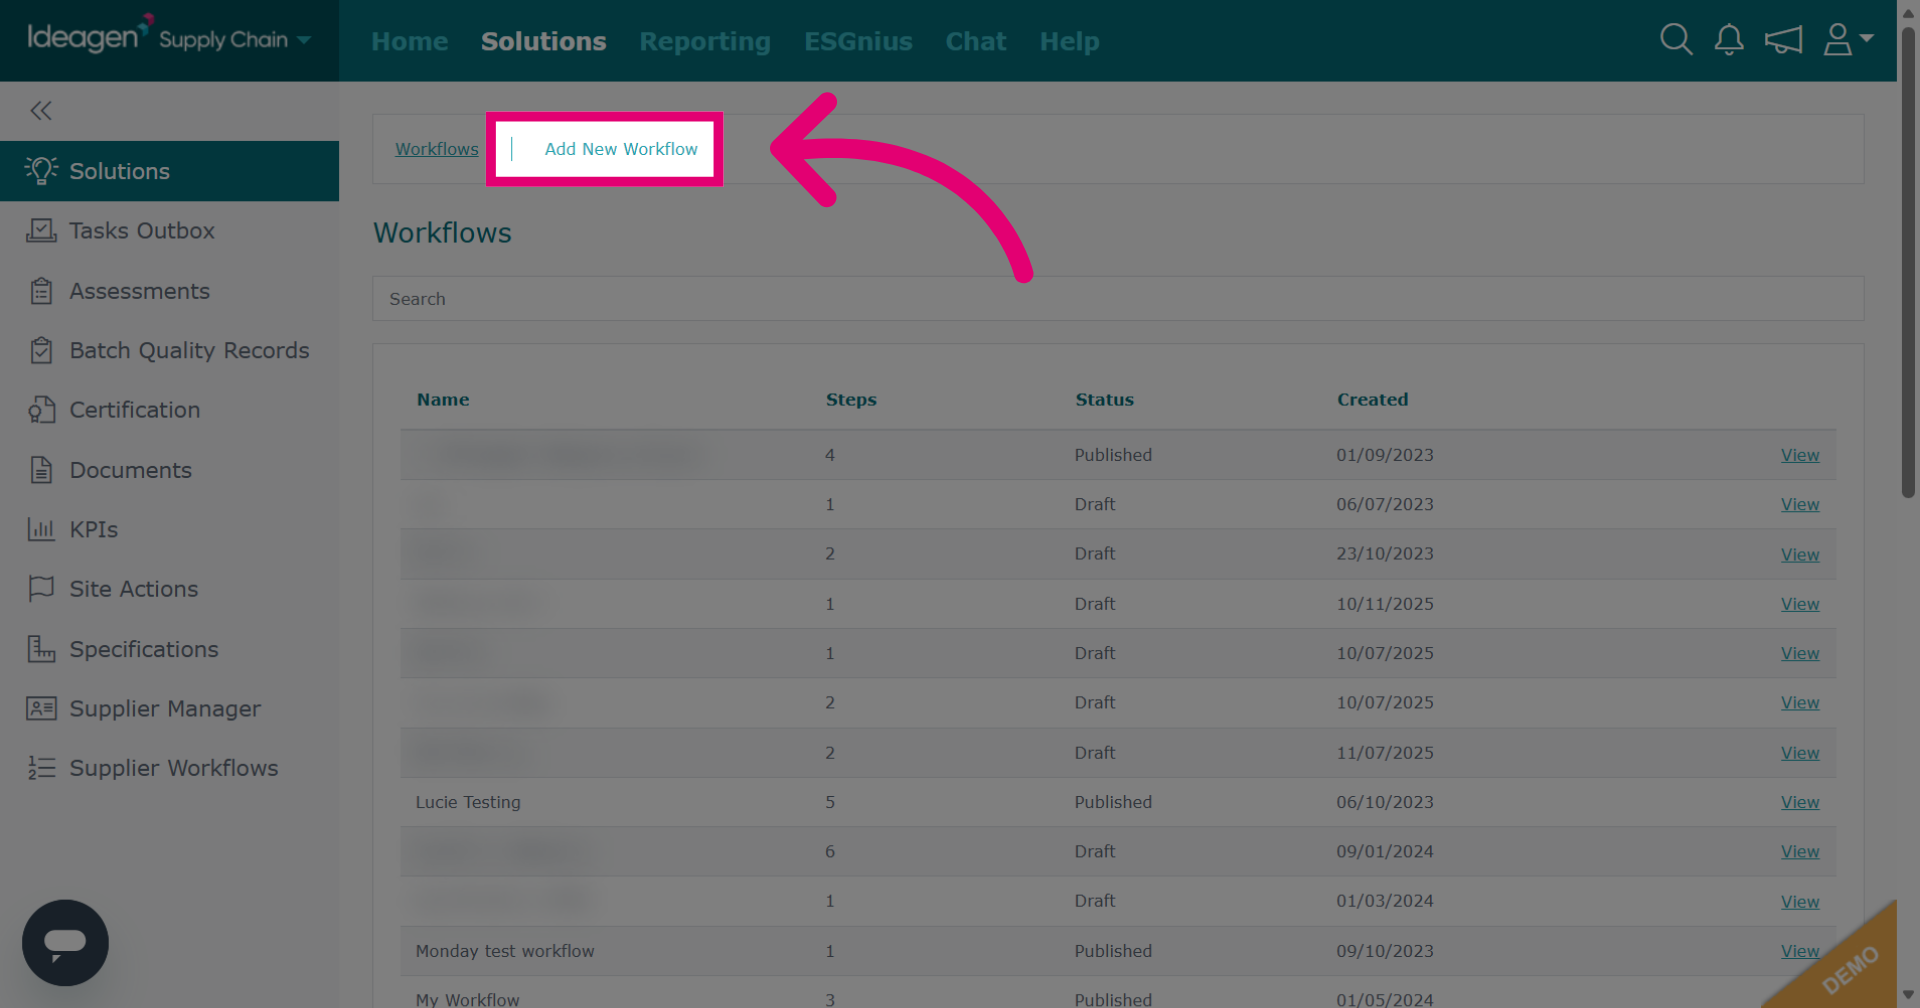
Click Add New Workflow to start creating a new workflow from scratch.
Enter the name for your new workflow.
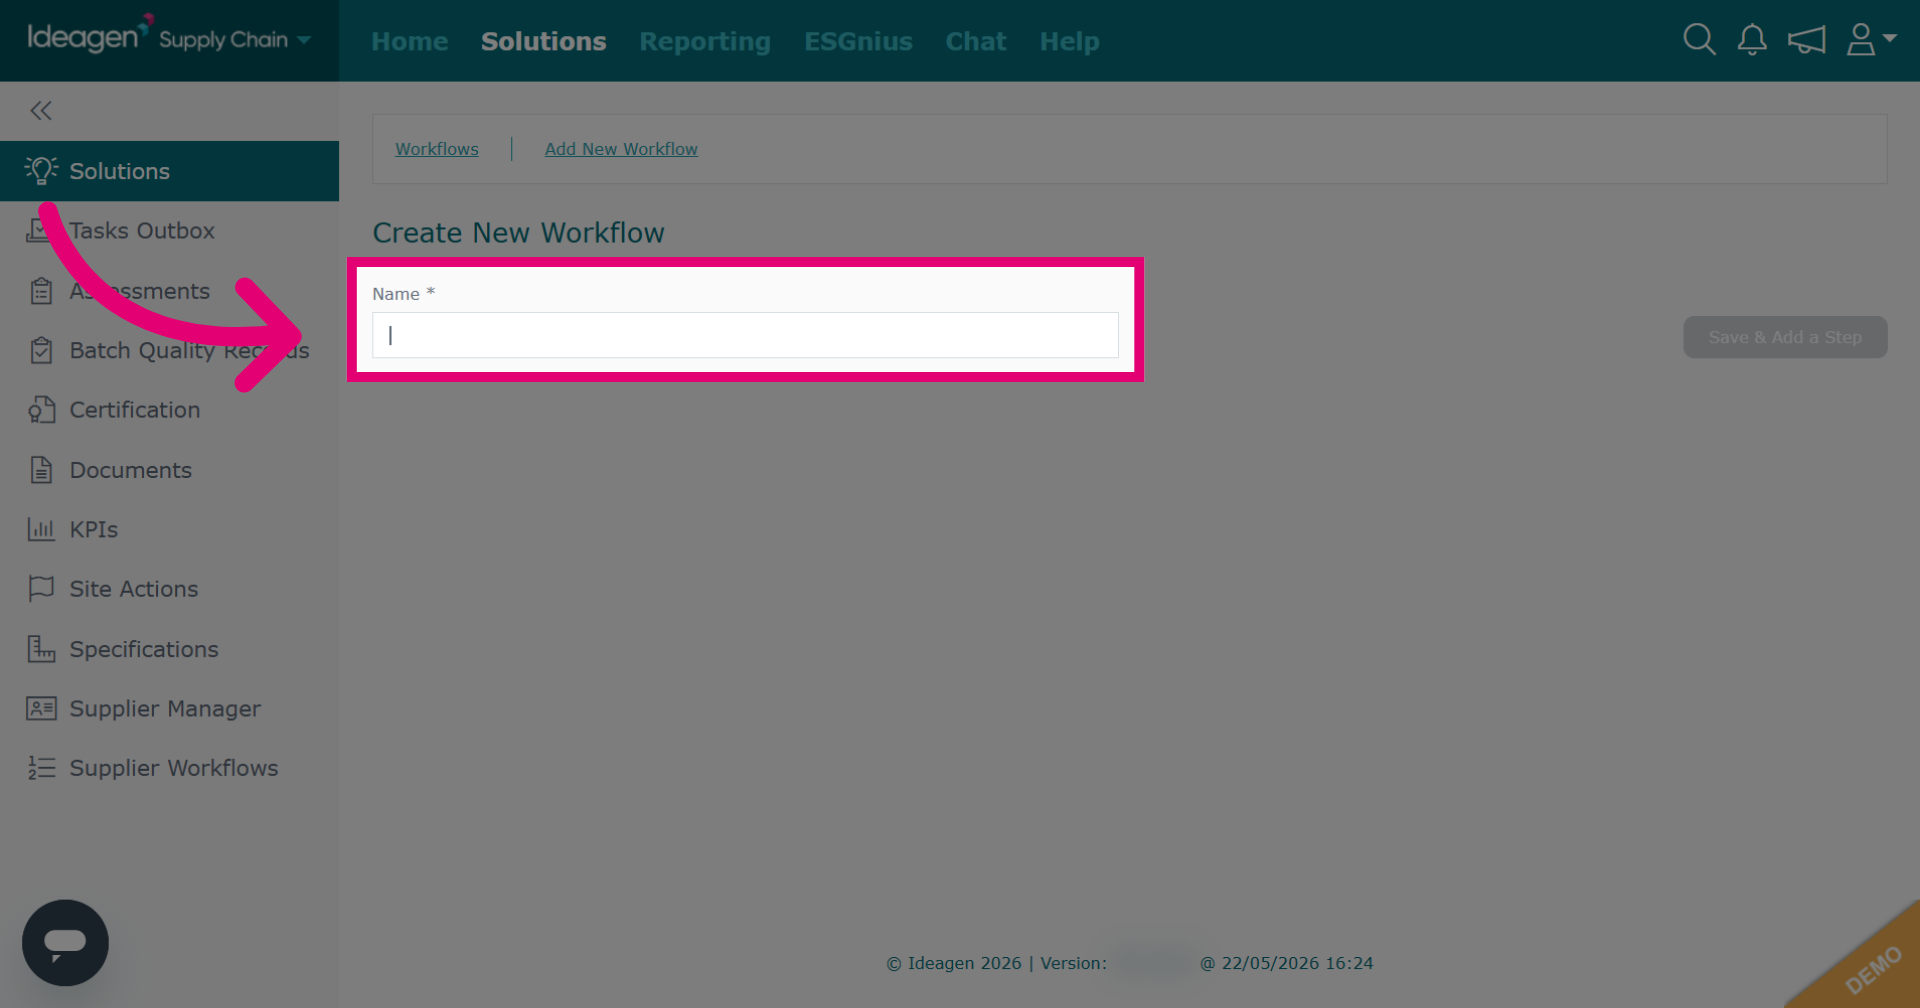
Click Save & Add a Step to save the workflow name and proceed to adding steps.
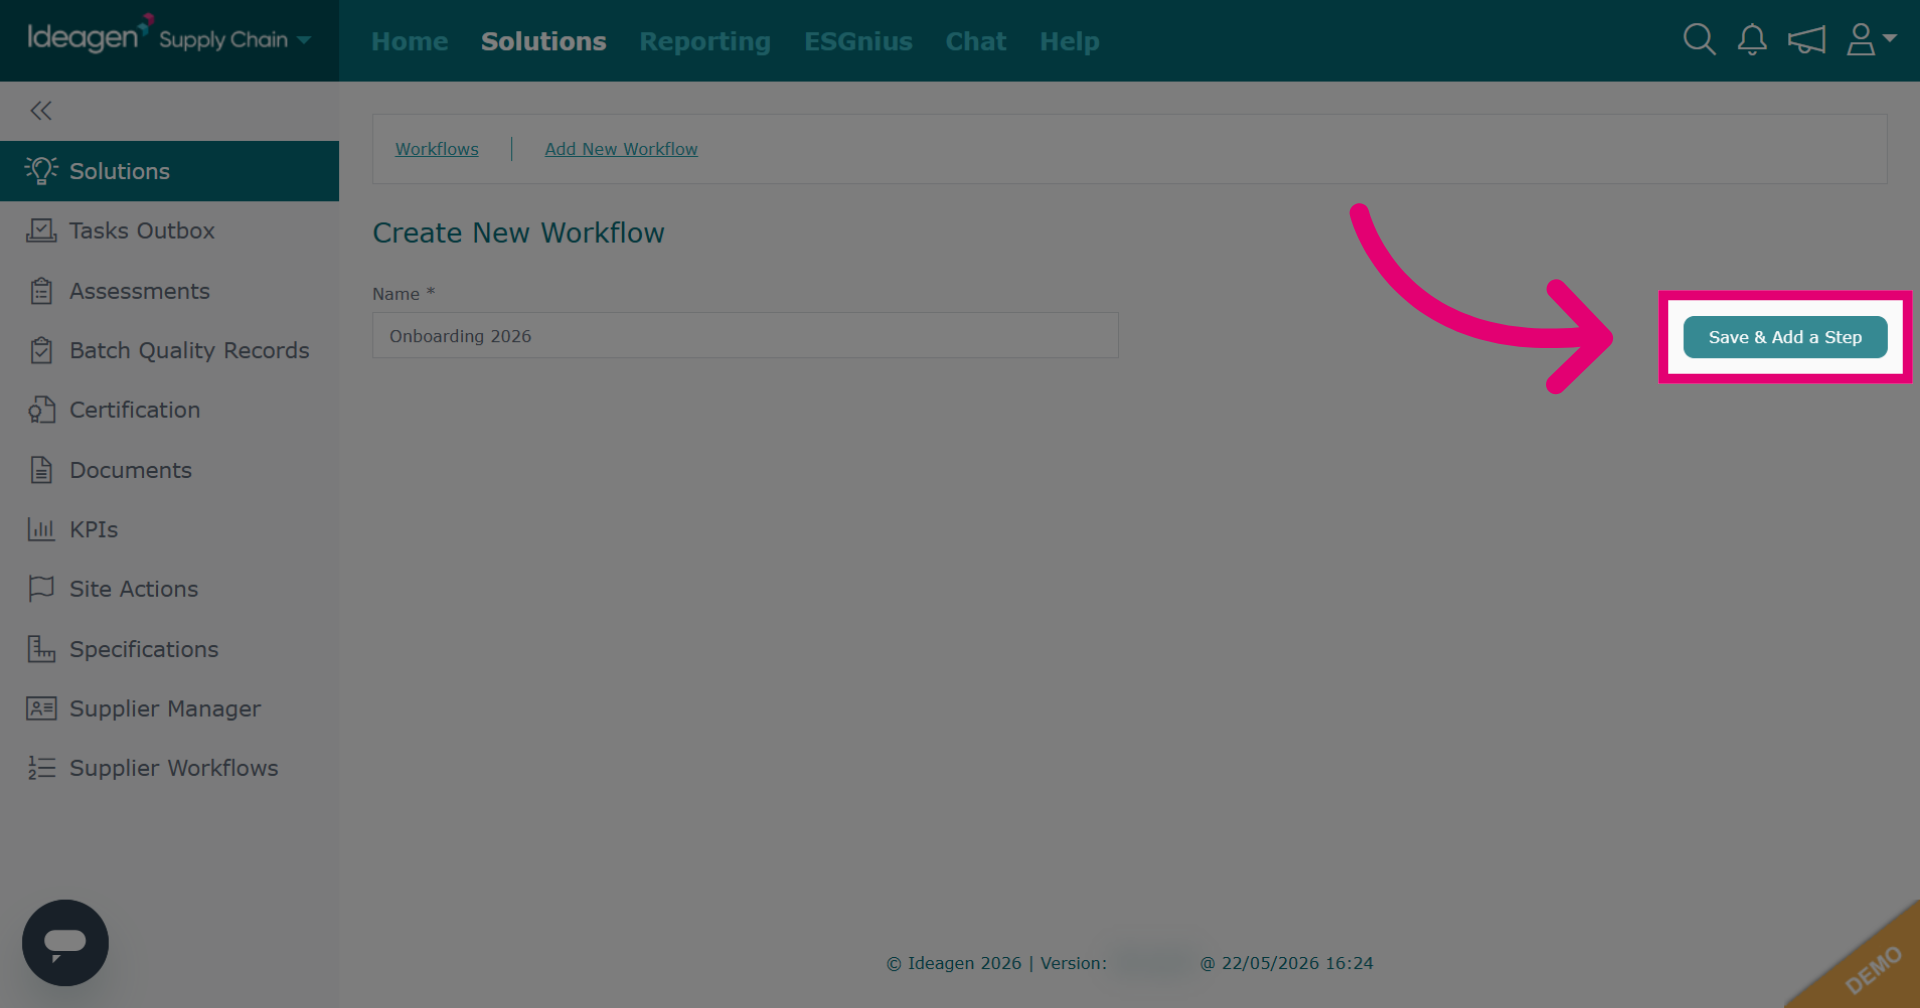
Click Add Step to define a step in your workflow with task requests for suppliers.
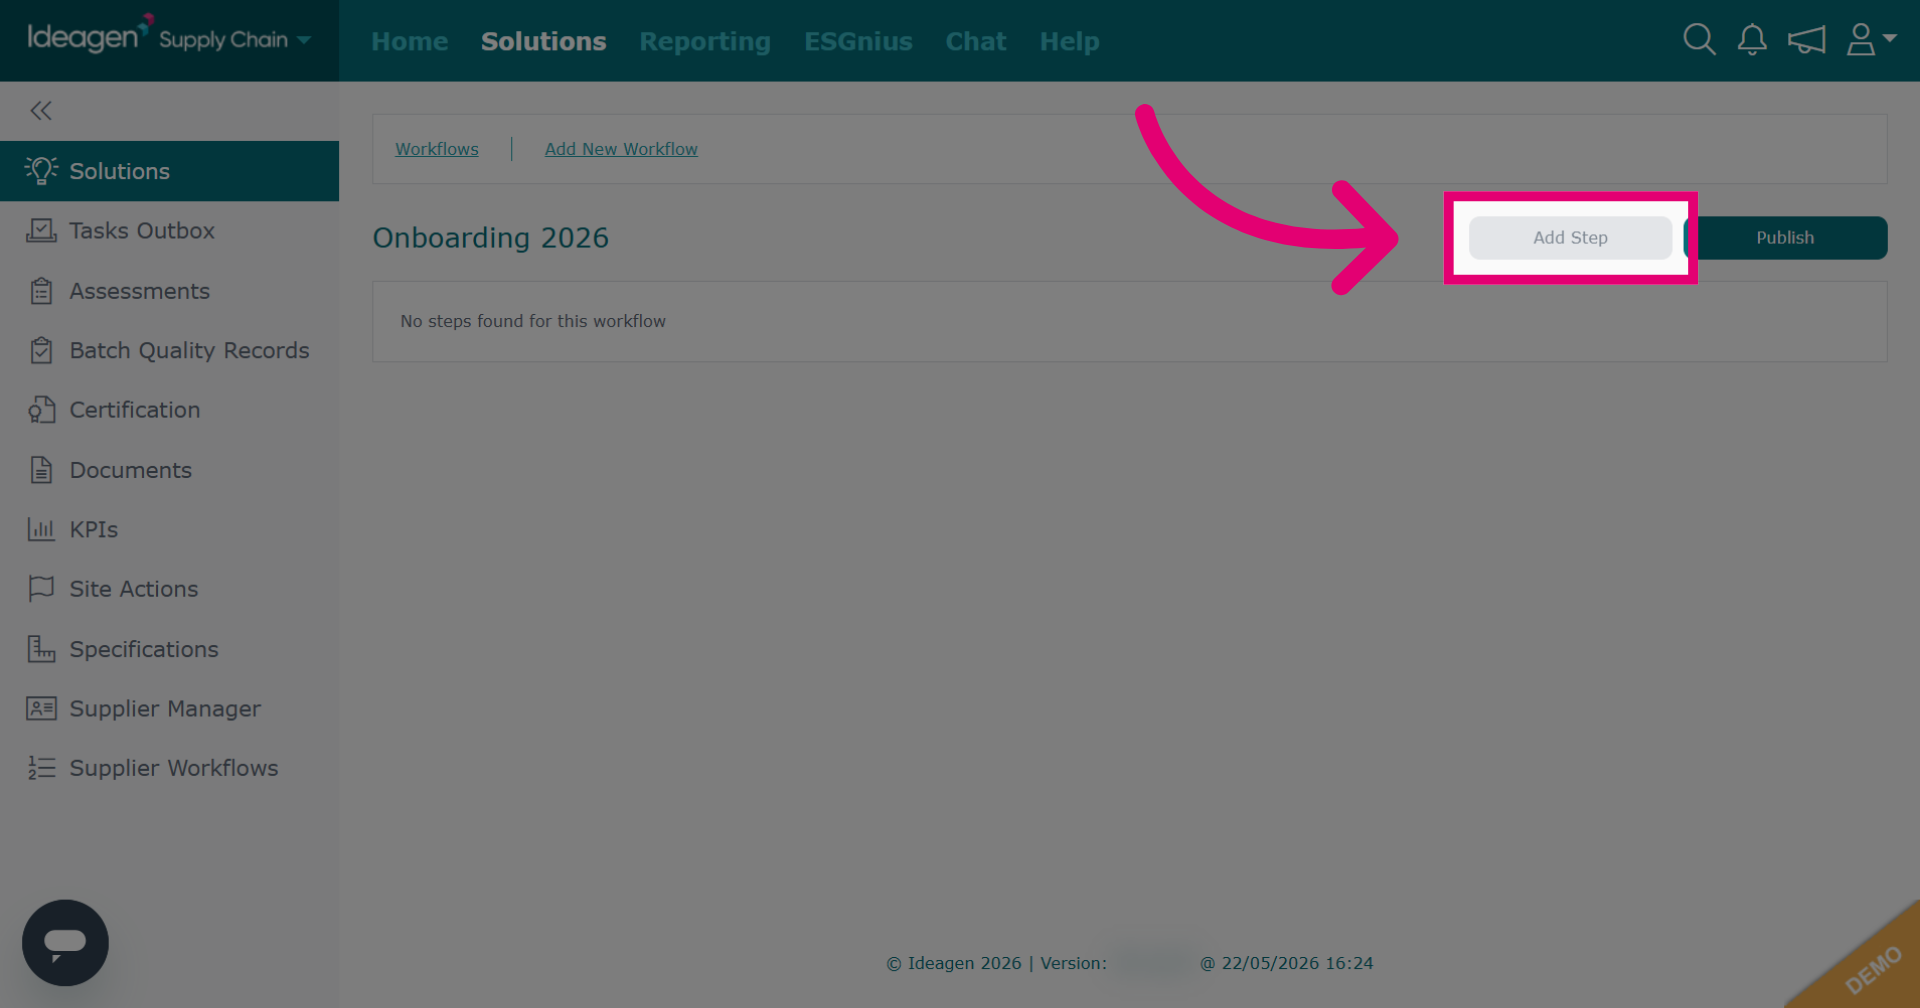
Input a name for the step.
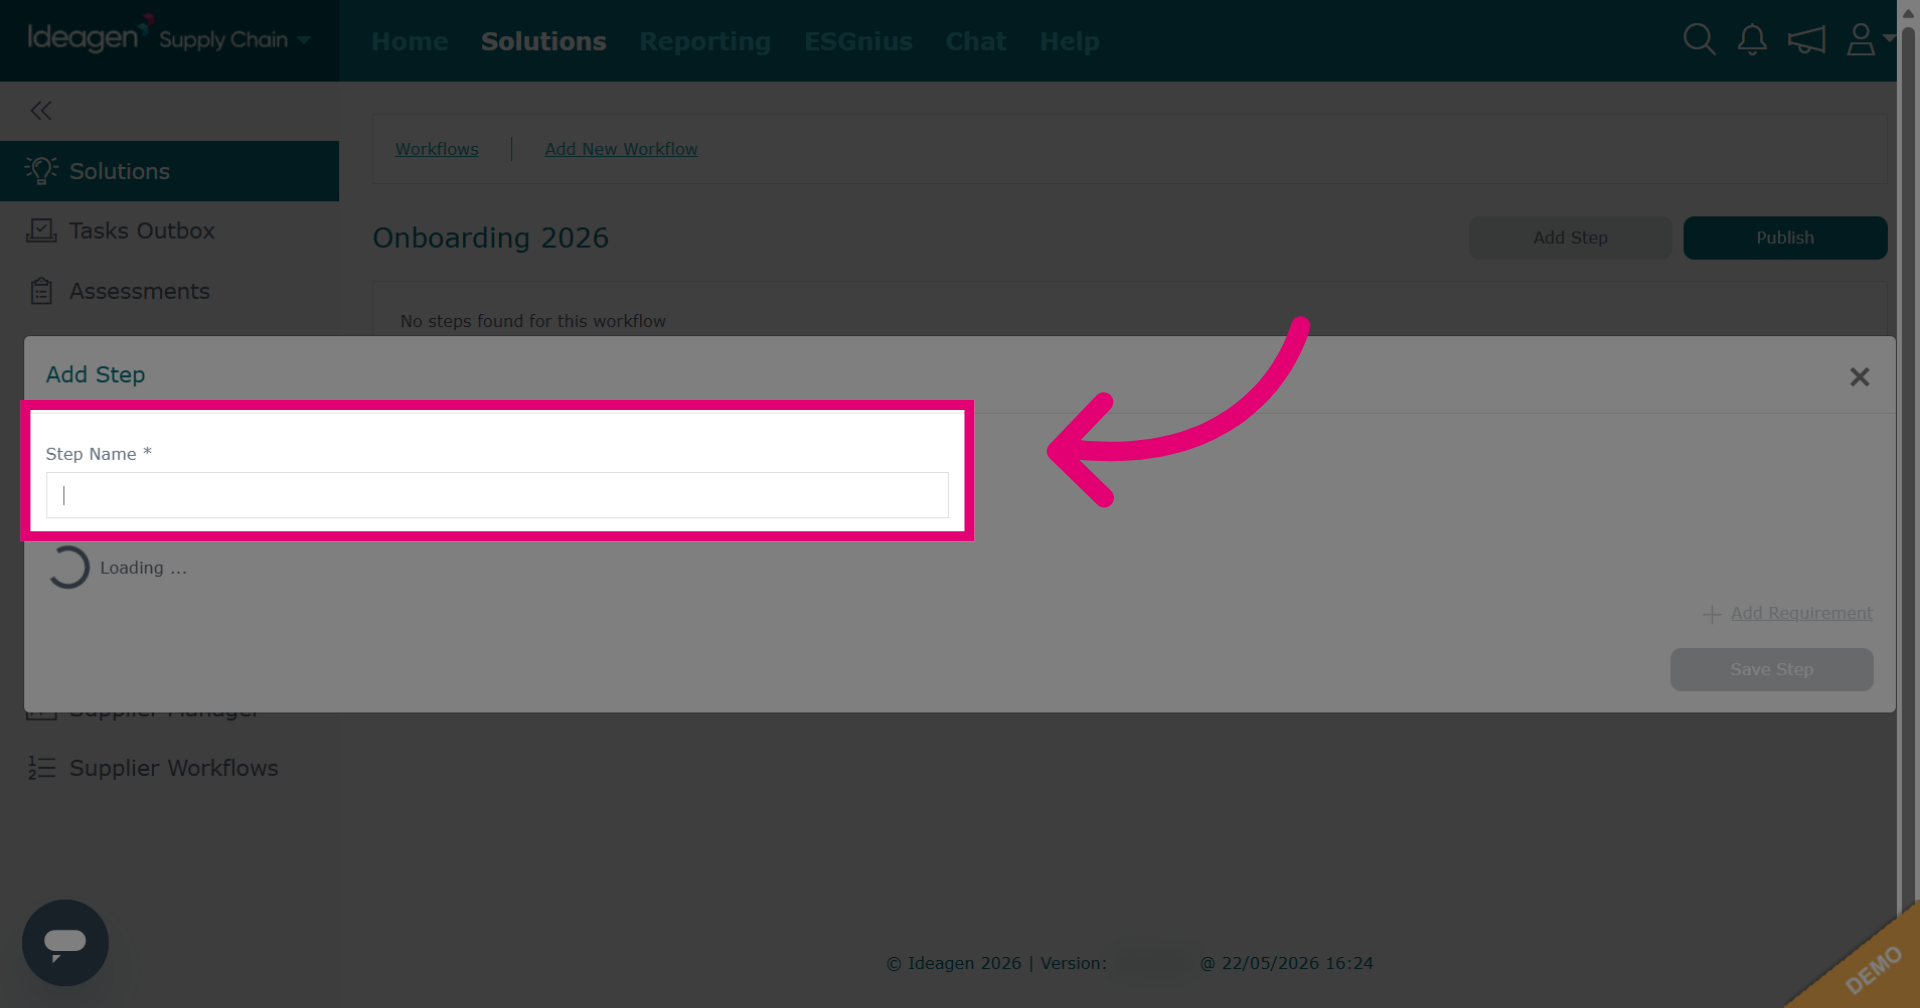
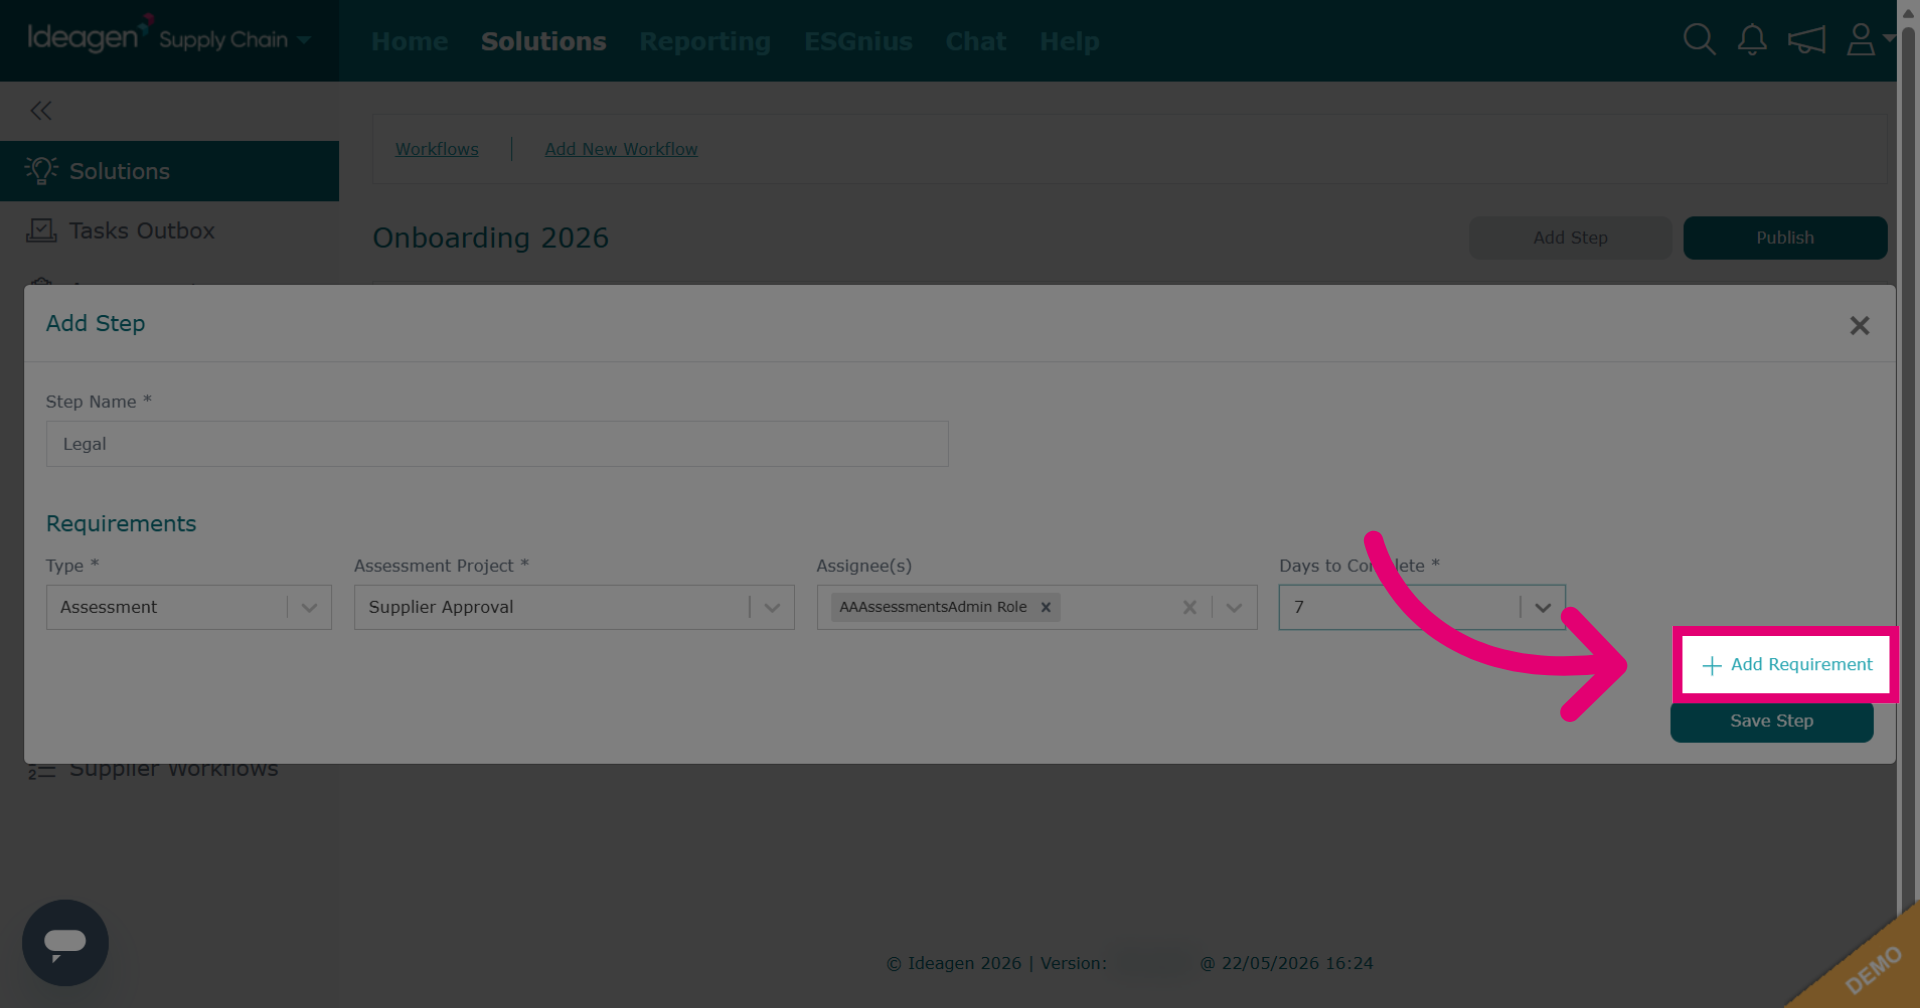
Click Add Requirement to set task requirements.
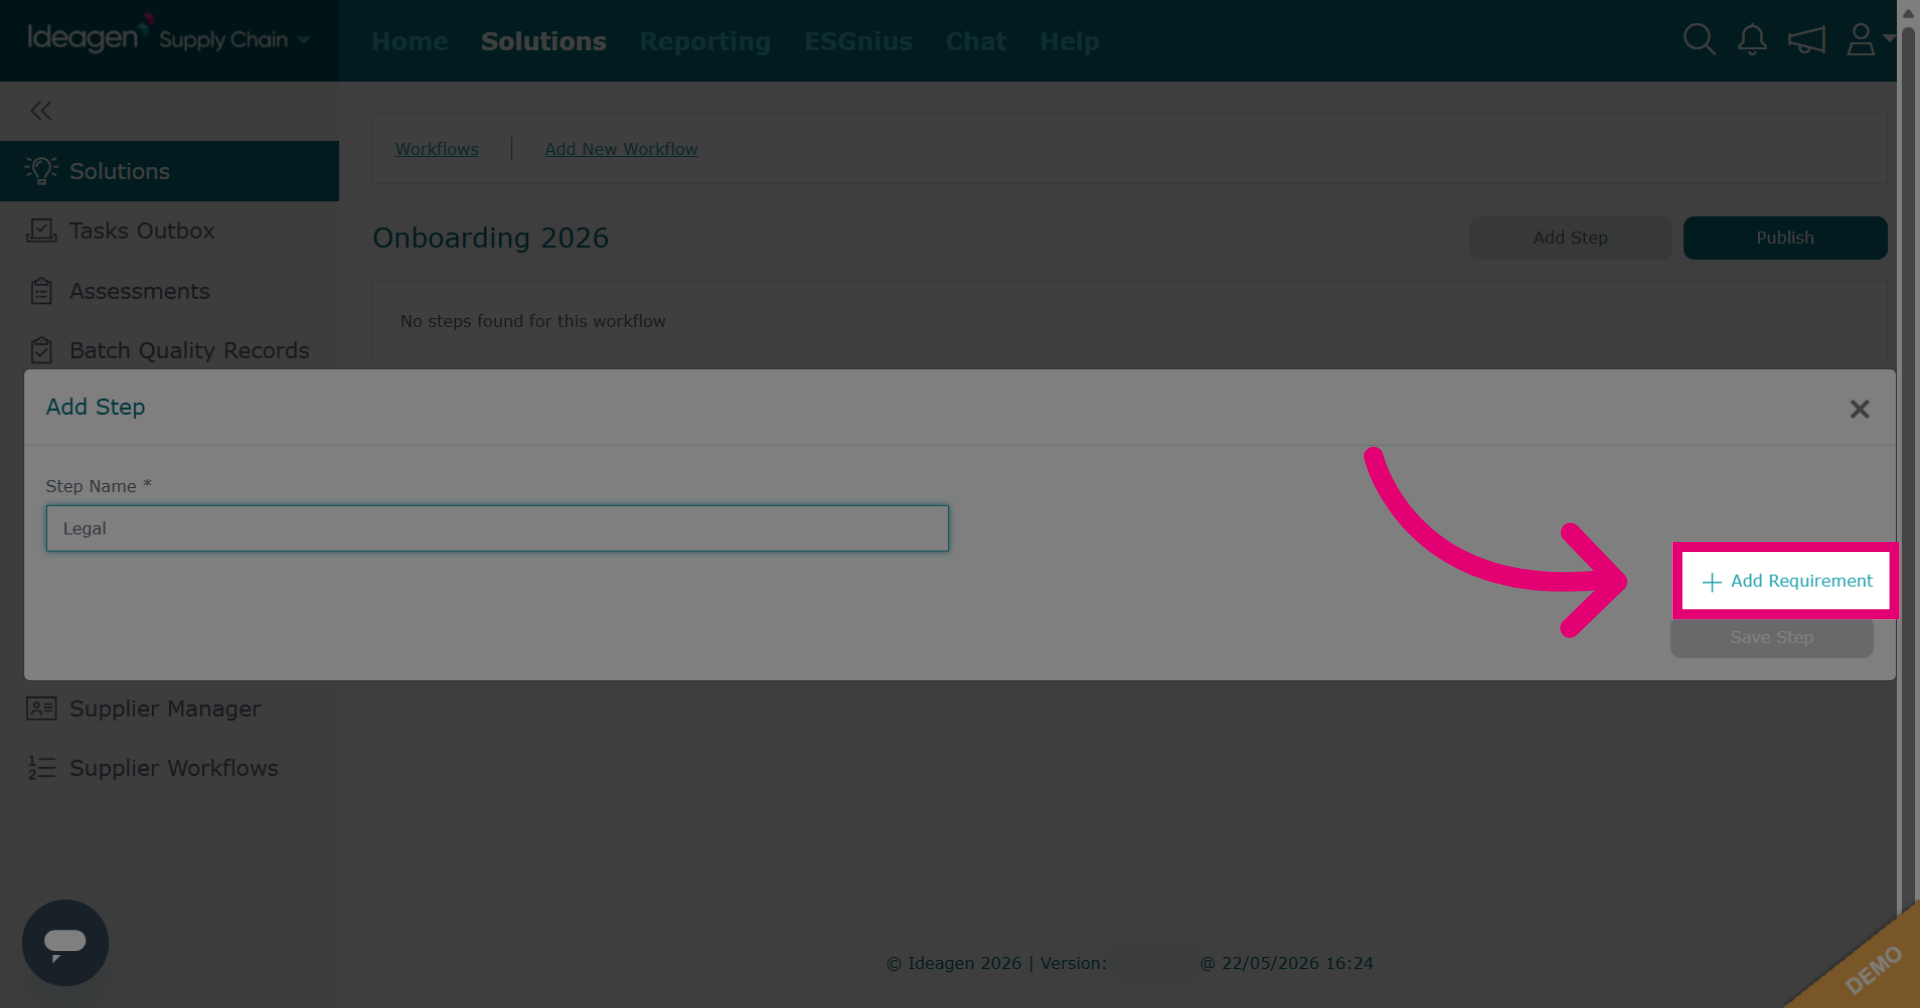
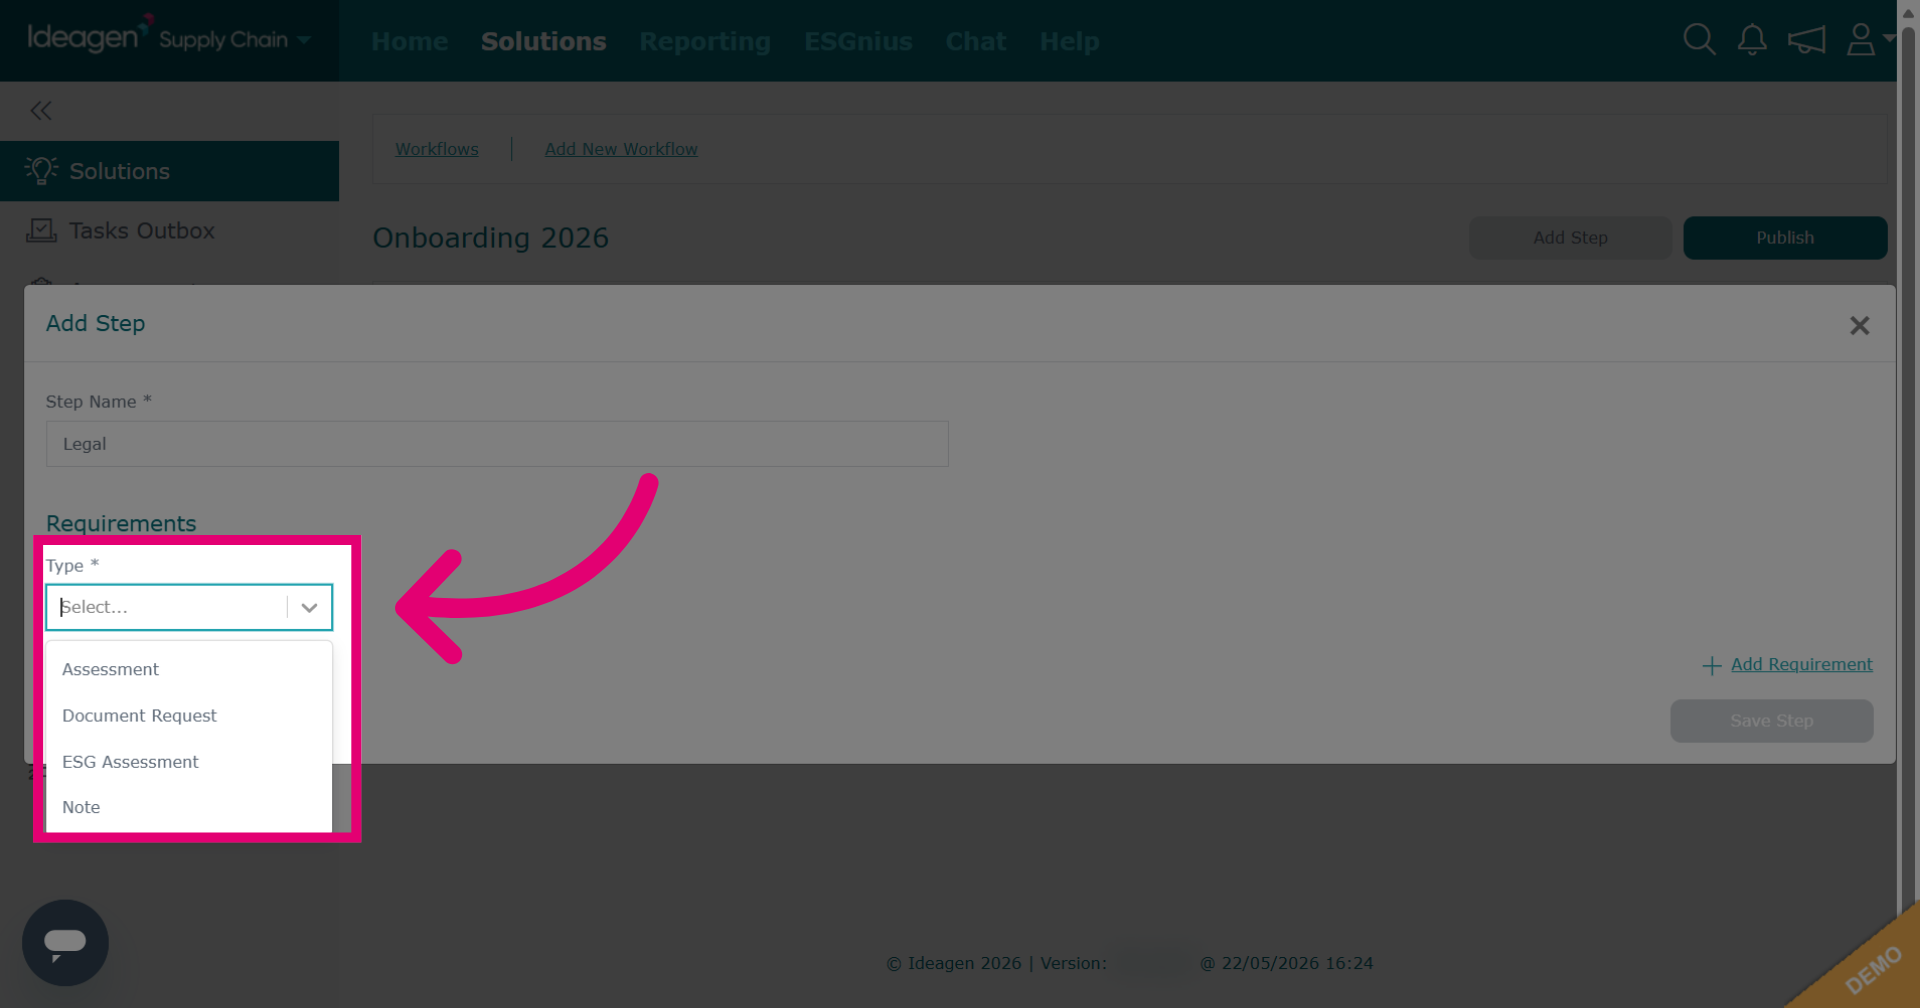
Select requirement type from assessment, document, ESG, or note. These are the only modules for a workflow. Your assessment and document projects must be pre-existing to be added. If you haven't created the assessment or document, do so first.
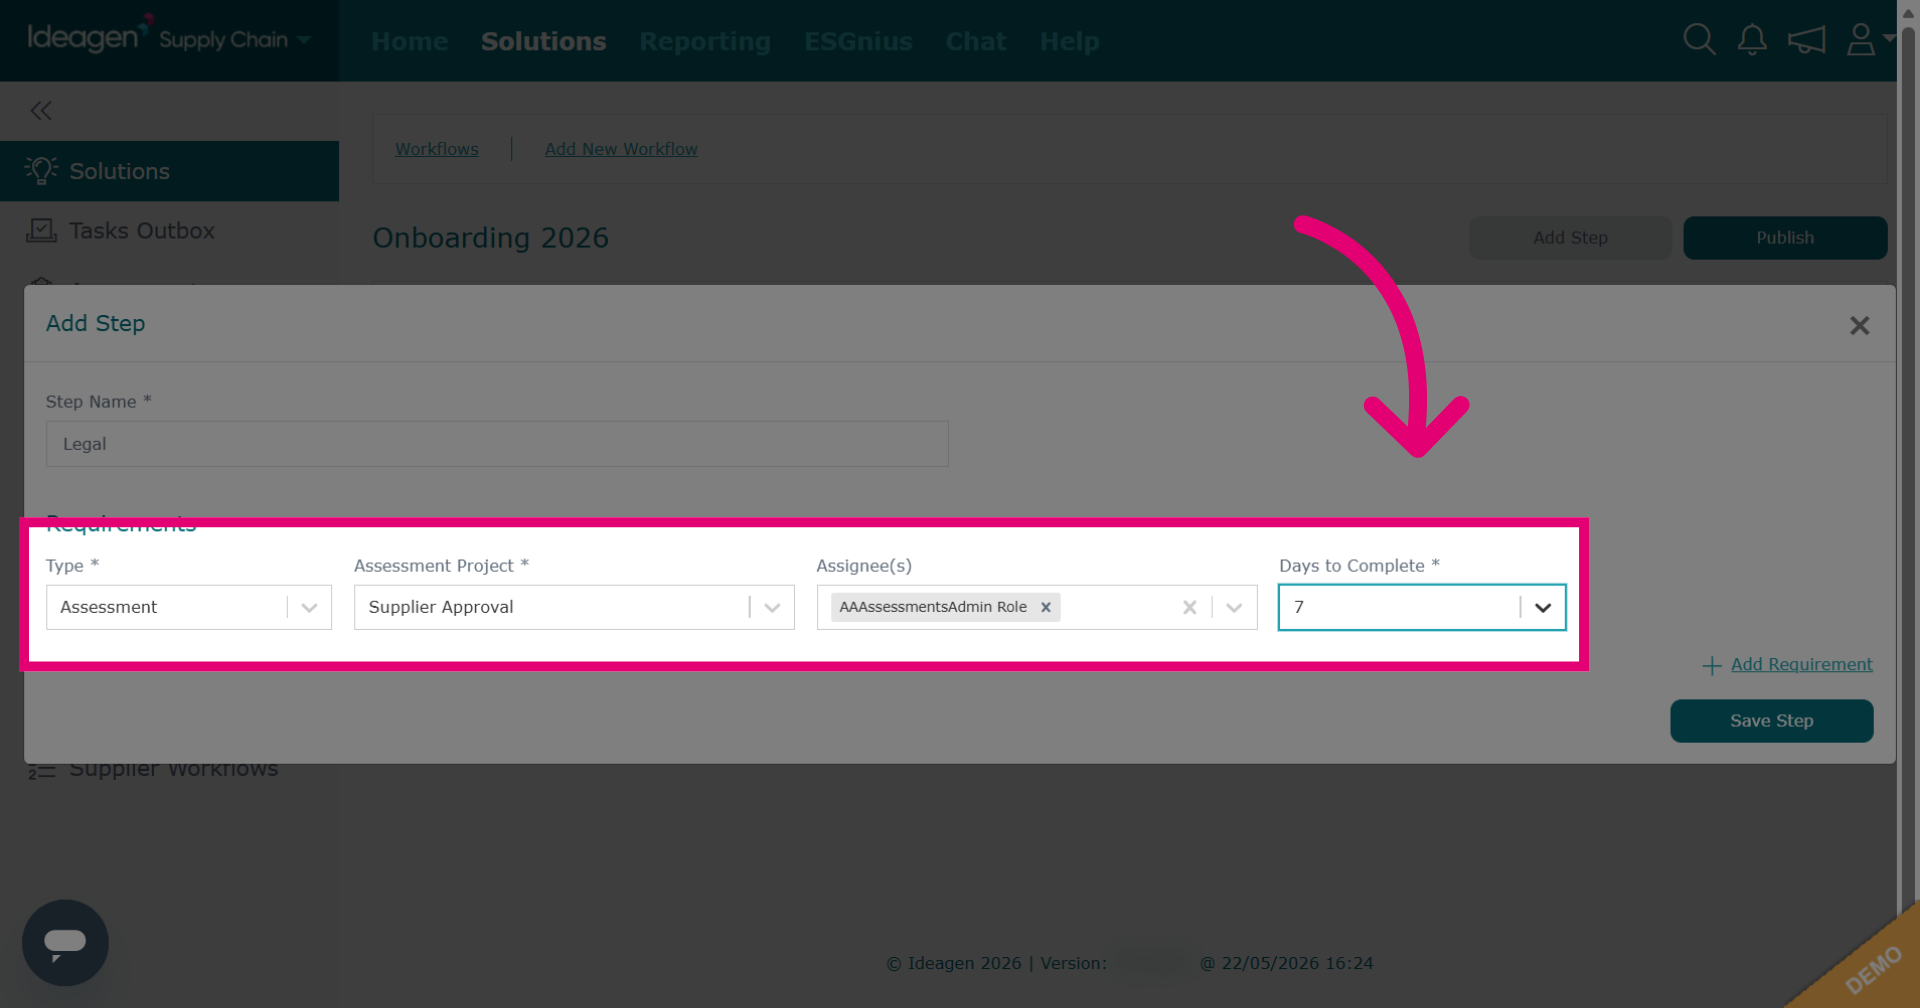
Select the request data to be included within the requirement such as project, assignee and number of days the task should be completed within.
Different request types need different data. ESG takes days to complete with one ESG assessment managed by Ideagen Supply Chain. This requires a name and whether it's for company or site level, as private notes aren't project-based.
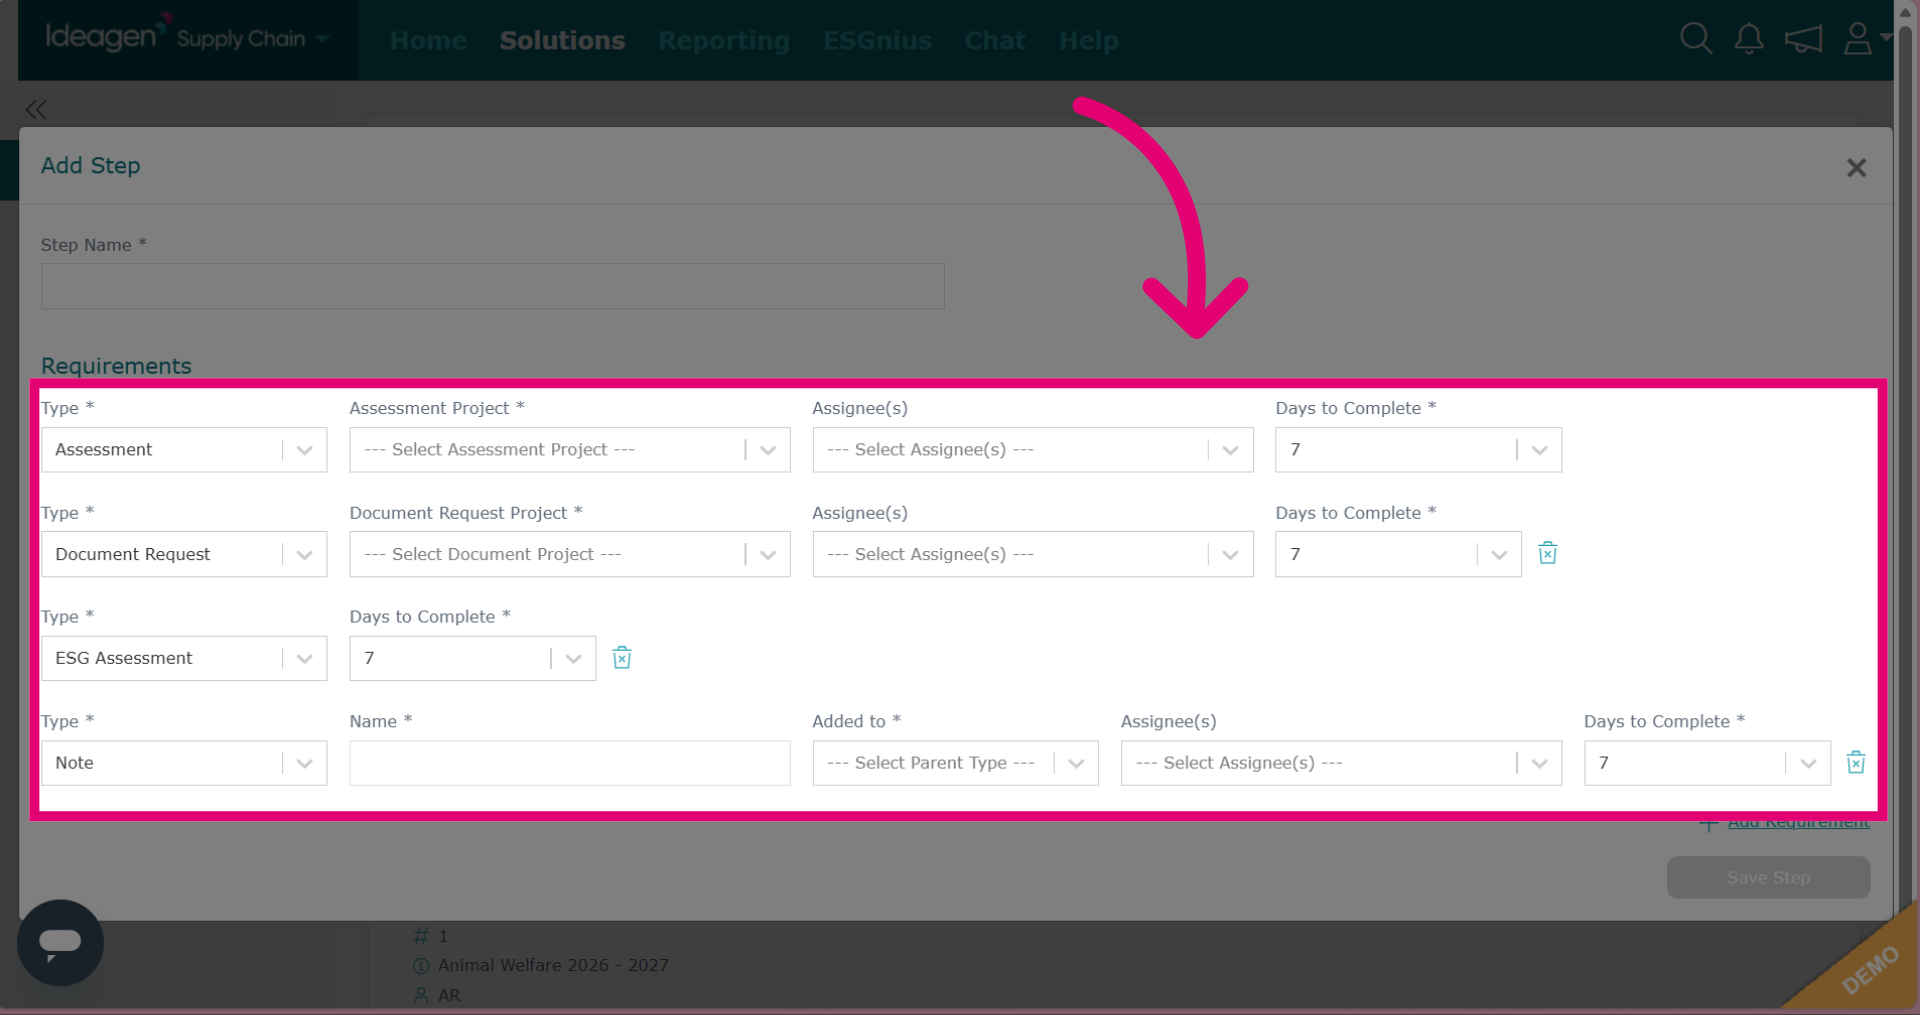
If you would like a step to have multiple requirements, click Add Requirement to include additional tasks for the workflow step.
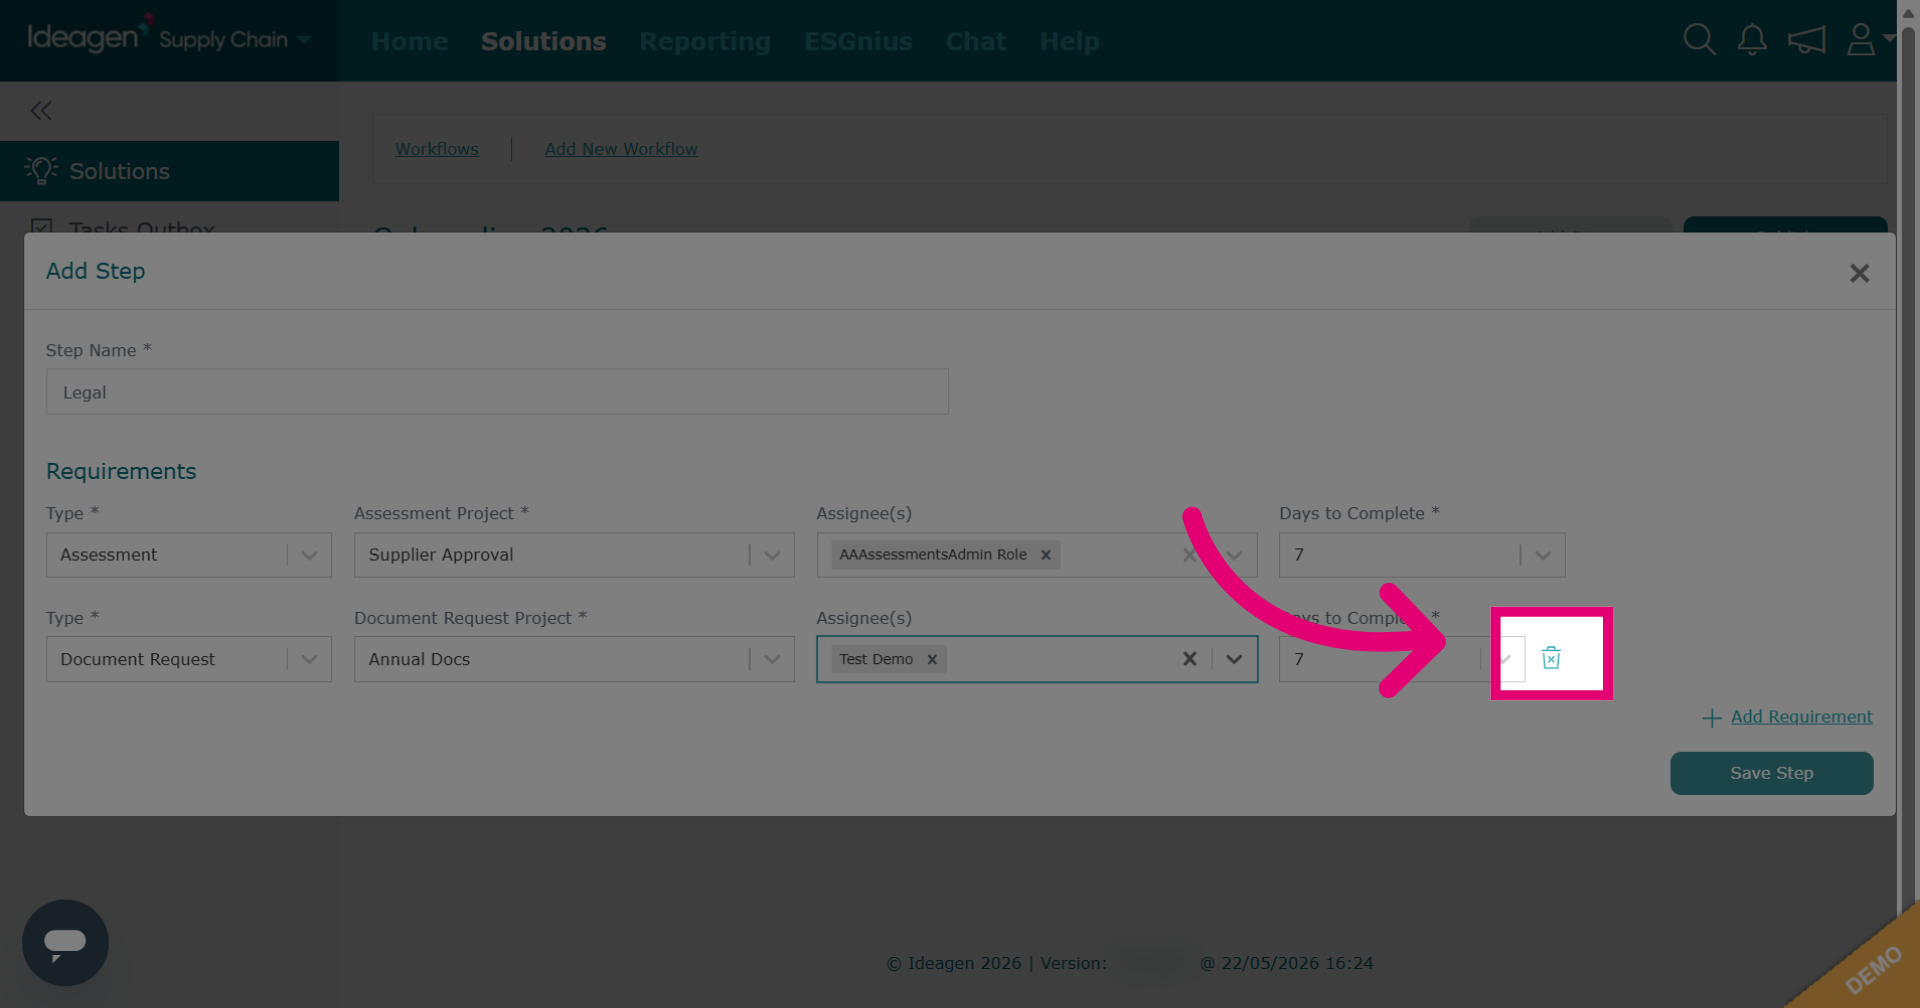
All steps must have one requirement; delete extras by clicking the bin icon next to the item.
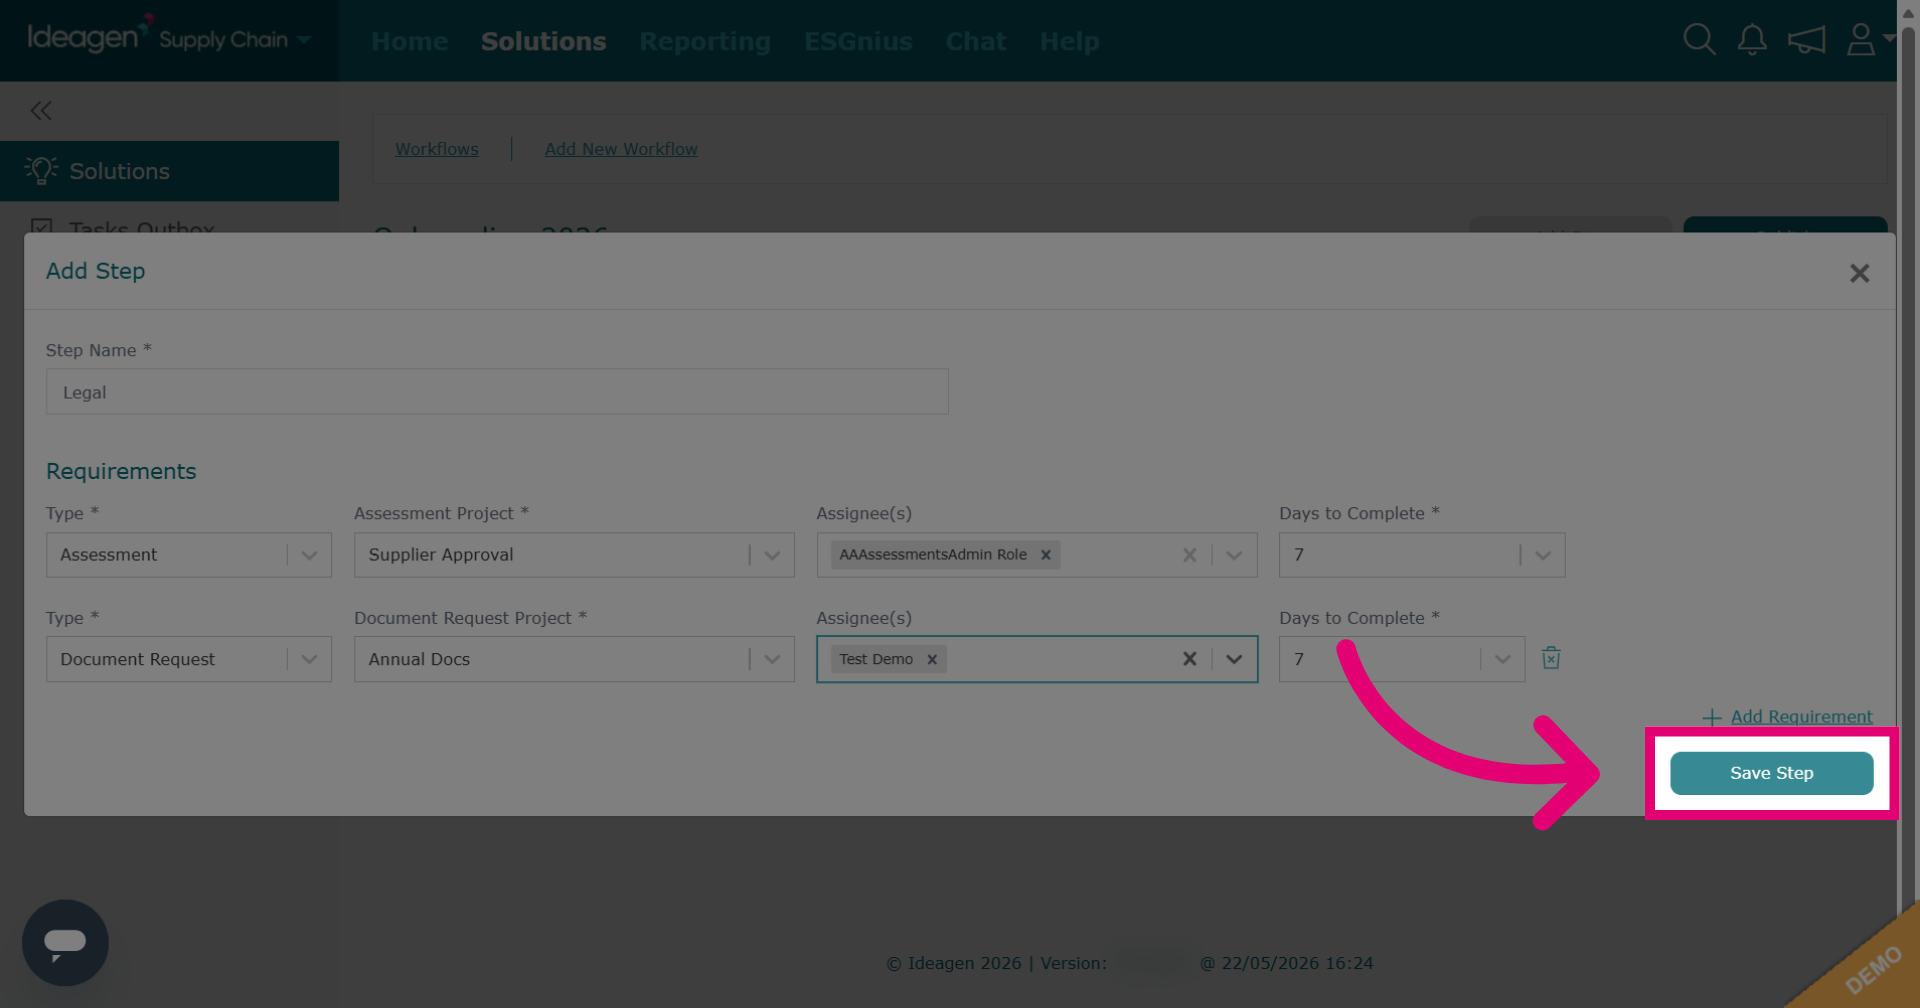
Click Save Step to save all configurations made for this workflow step.
Tasks in the same step are sent together. Multiple steps are sent in order, with each step starting only after the previous one is completed and passed. If a supplier fails a task, no further workflow steps will be sent.
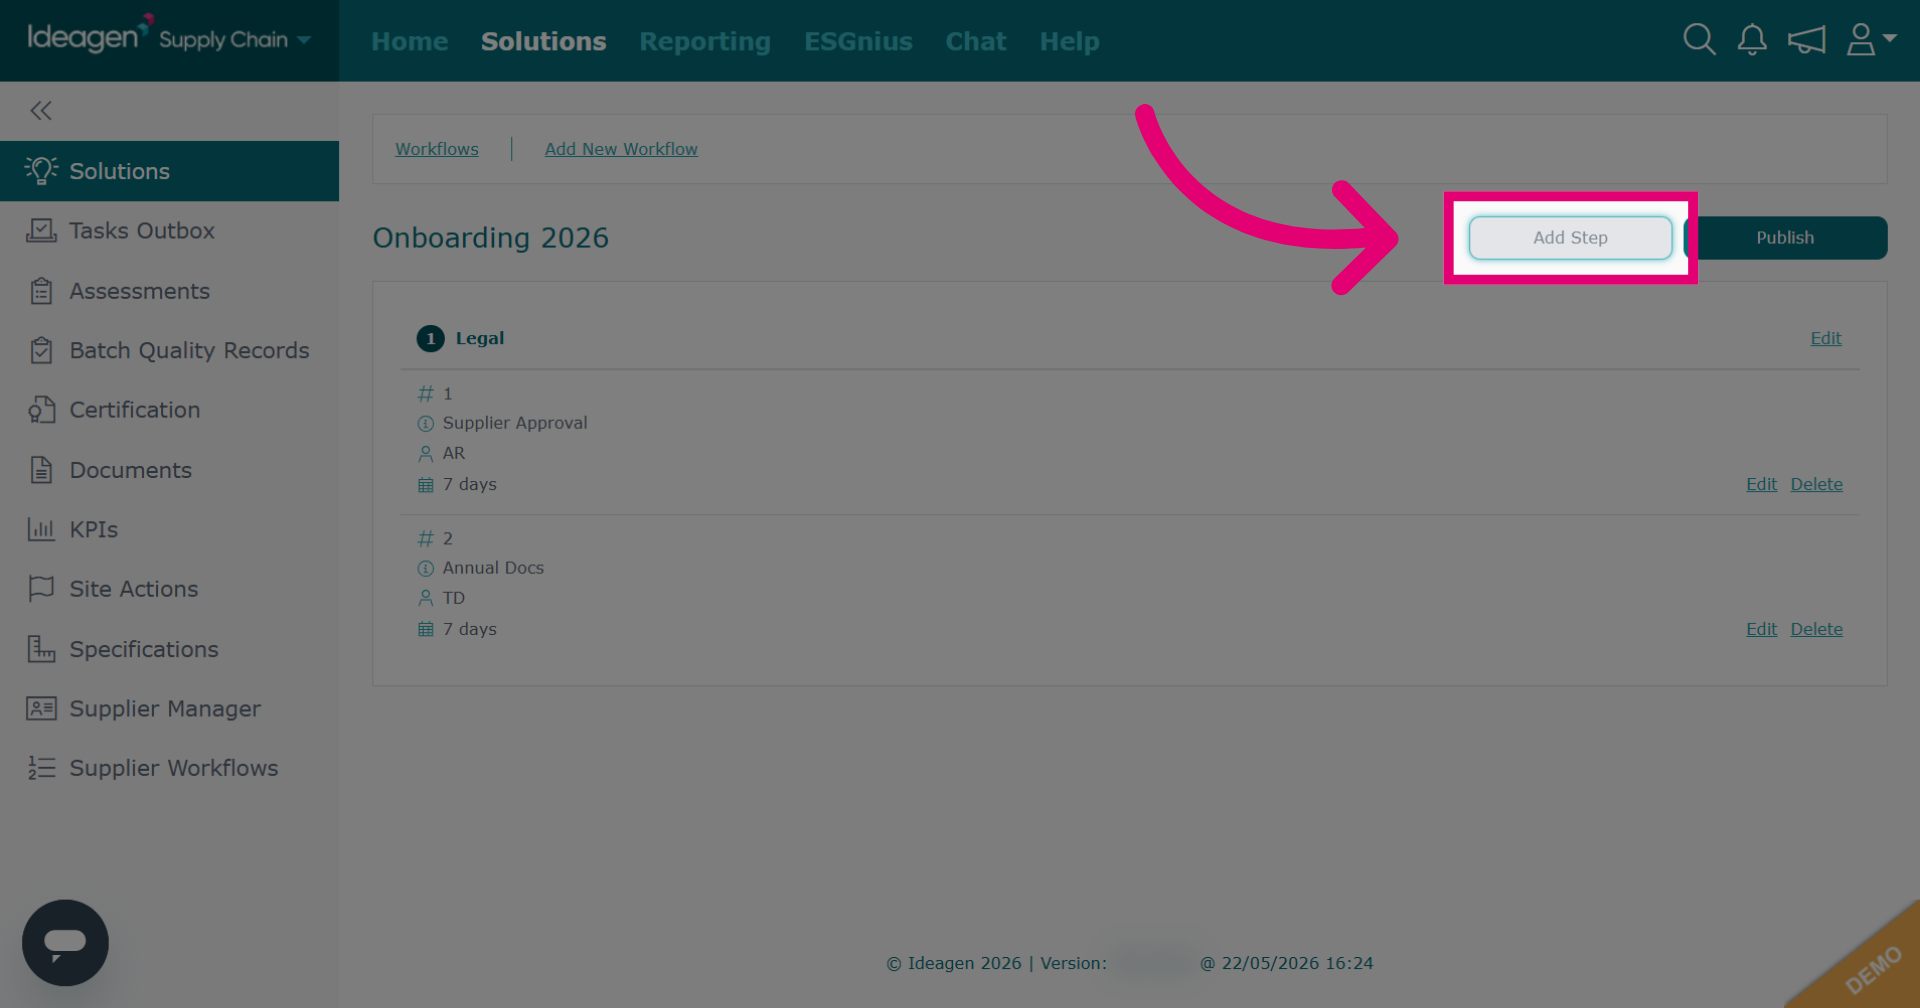
Once you've added all steps and requirements, you can edit or delete them using the Edit and Delete options. Steps cannot currently be deleted, and requirement edits are limited to assignees and completion deadlines. Contact us if further changes are needed.
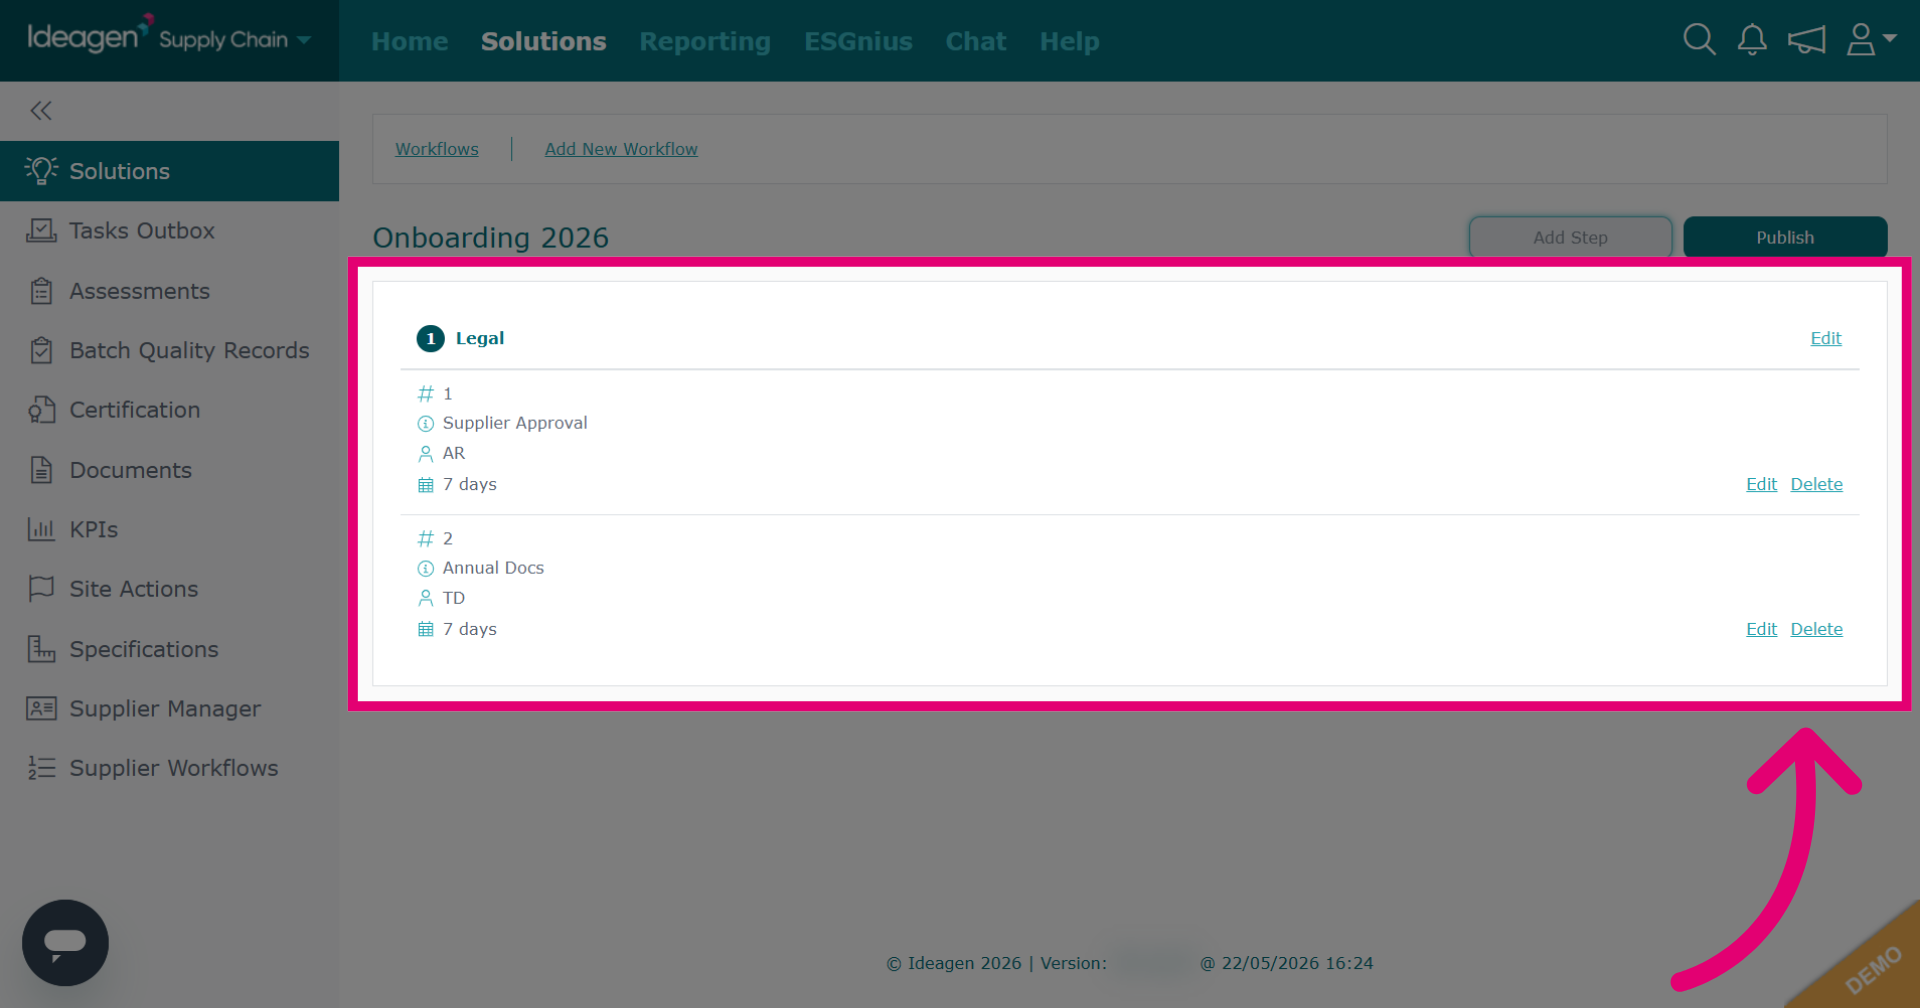
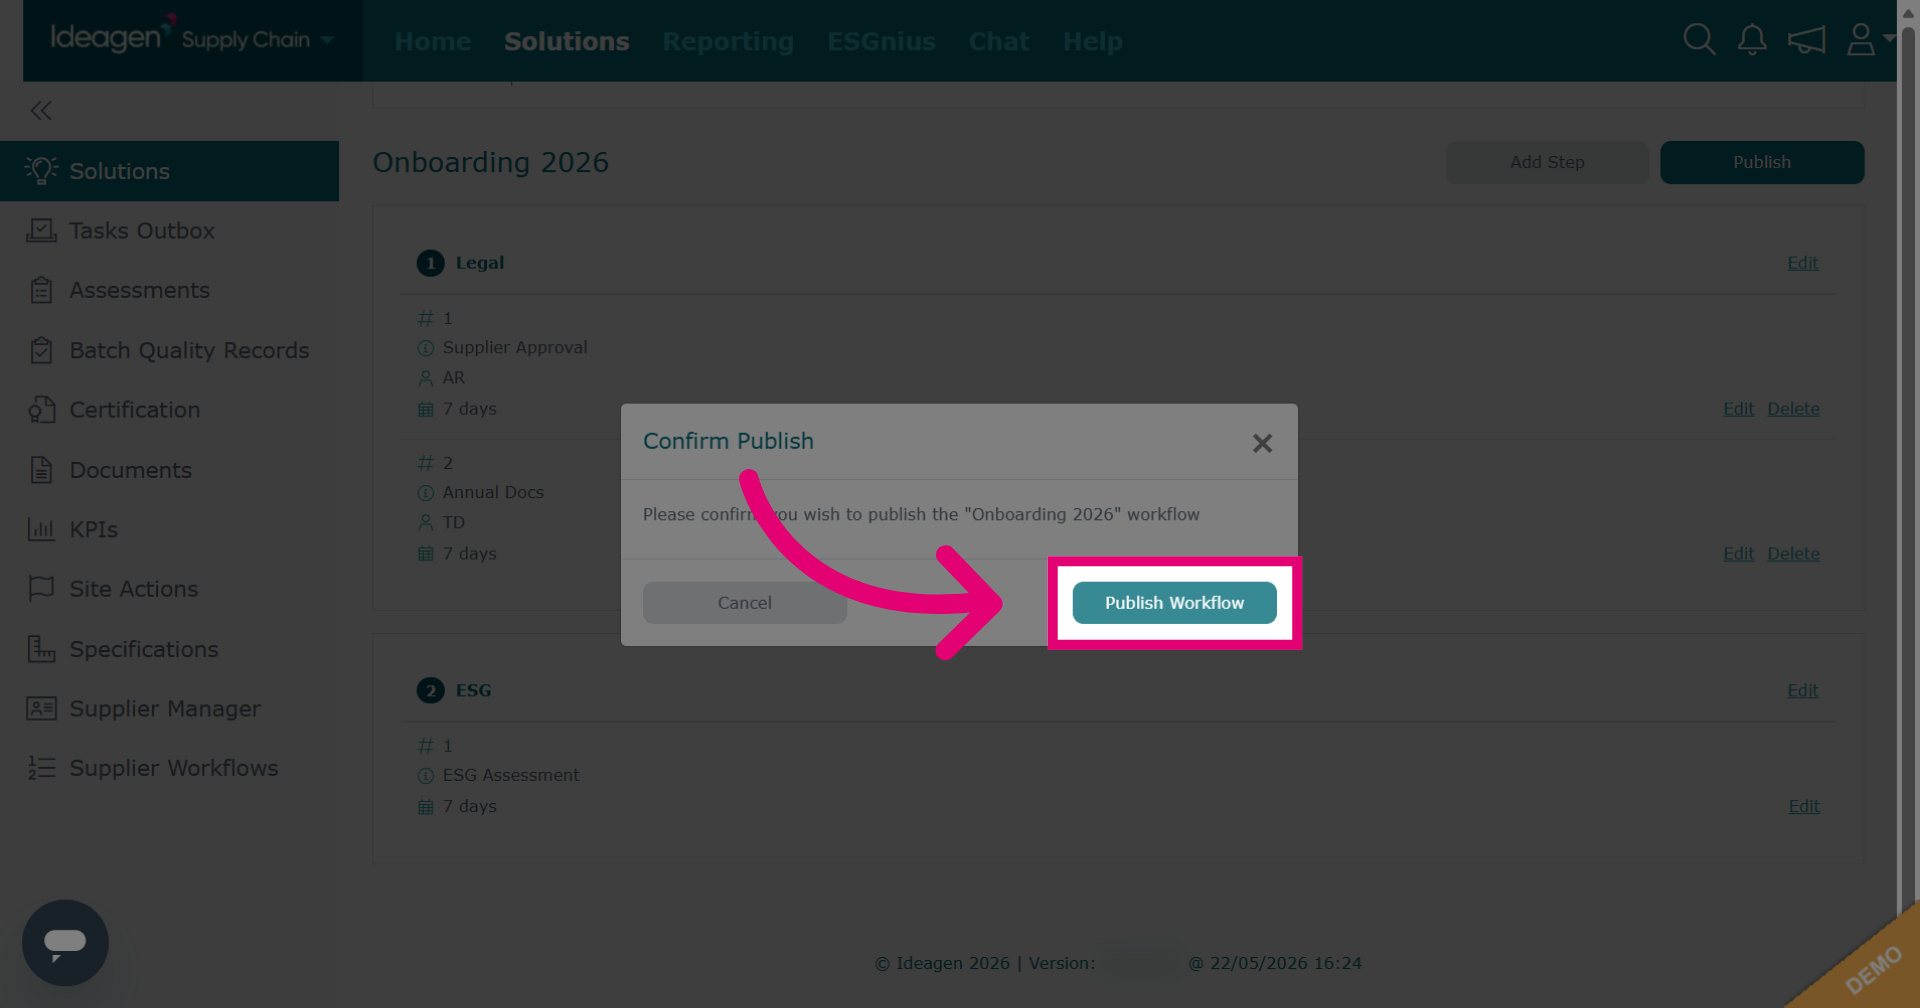
Click Publish to start the workflow. Once published, no changes can be made.
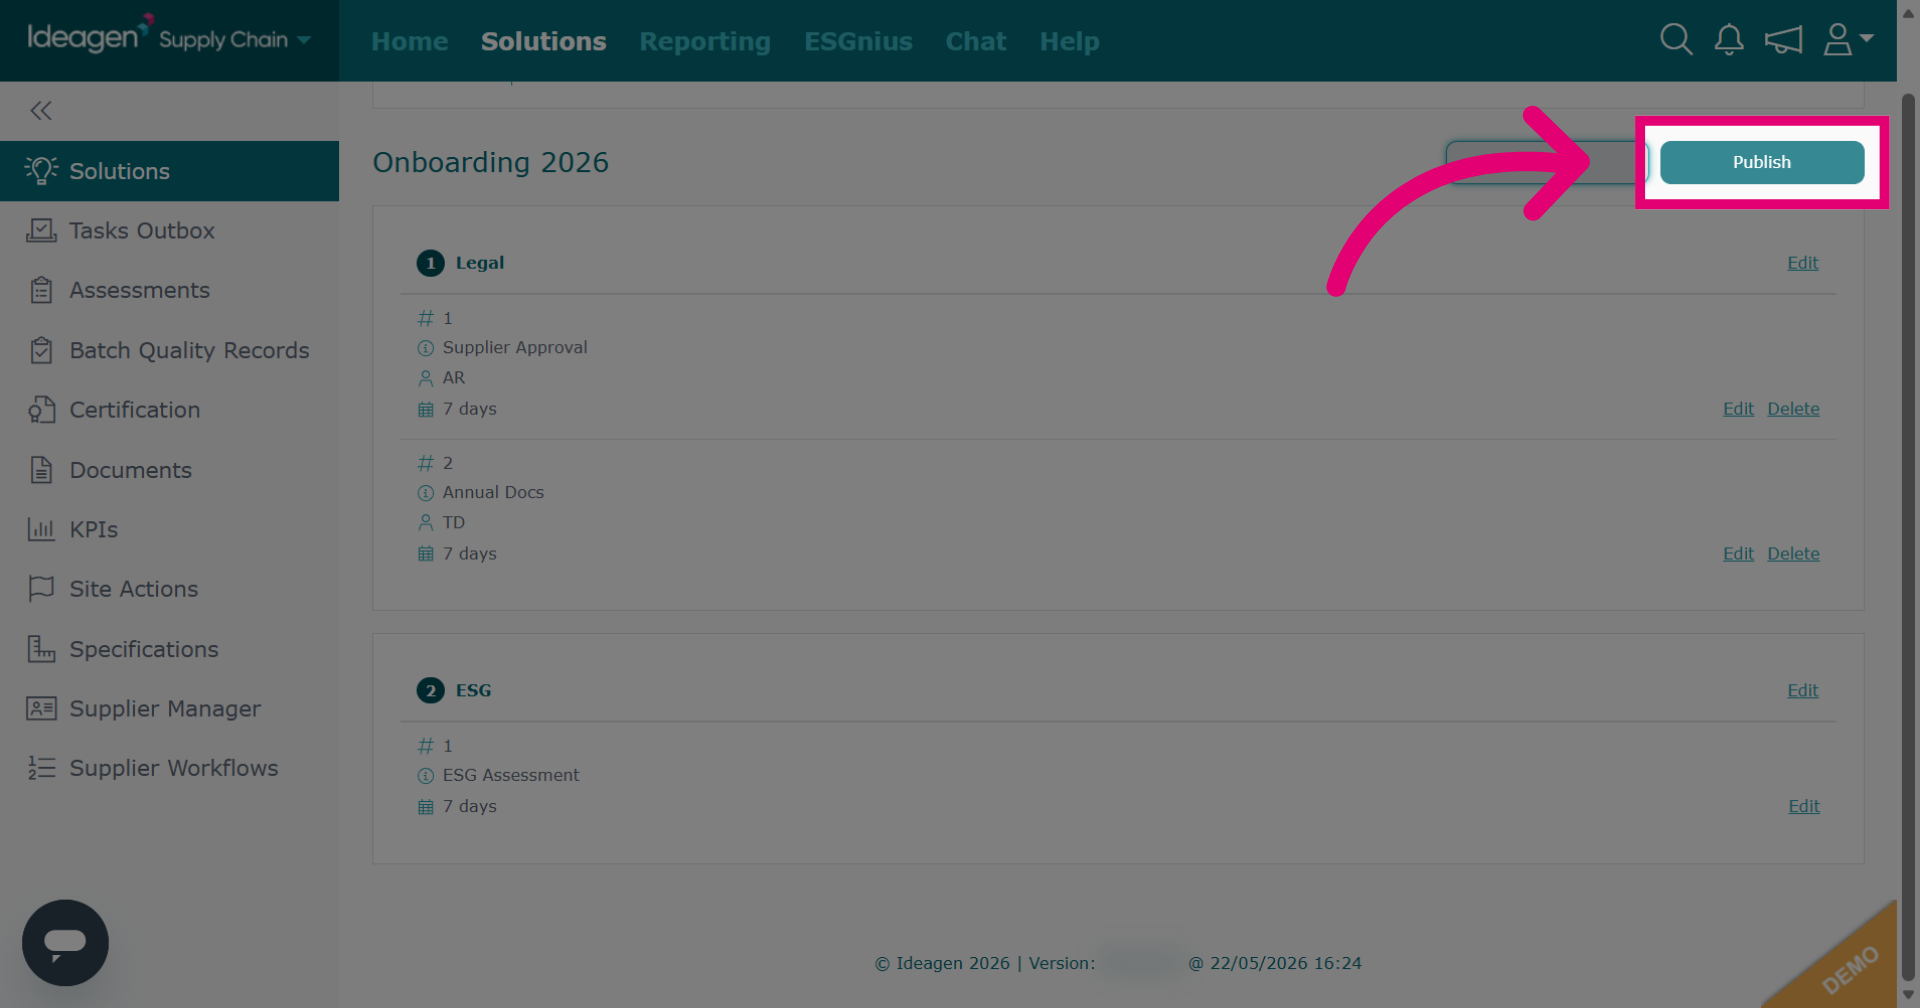
Click Publish Workflow to finalize or click cancel if not ready.