New article
Recently updated
Creating a non-conformance

Who is this article for?
Users who want to create a non-conformance within the site actions module.
Site actions admin permissions are required.
This tutorial guides you through creating non-conformance records within the Ideagen Supply Chain platform.
Creating a non-conformance record
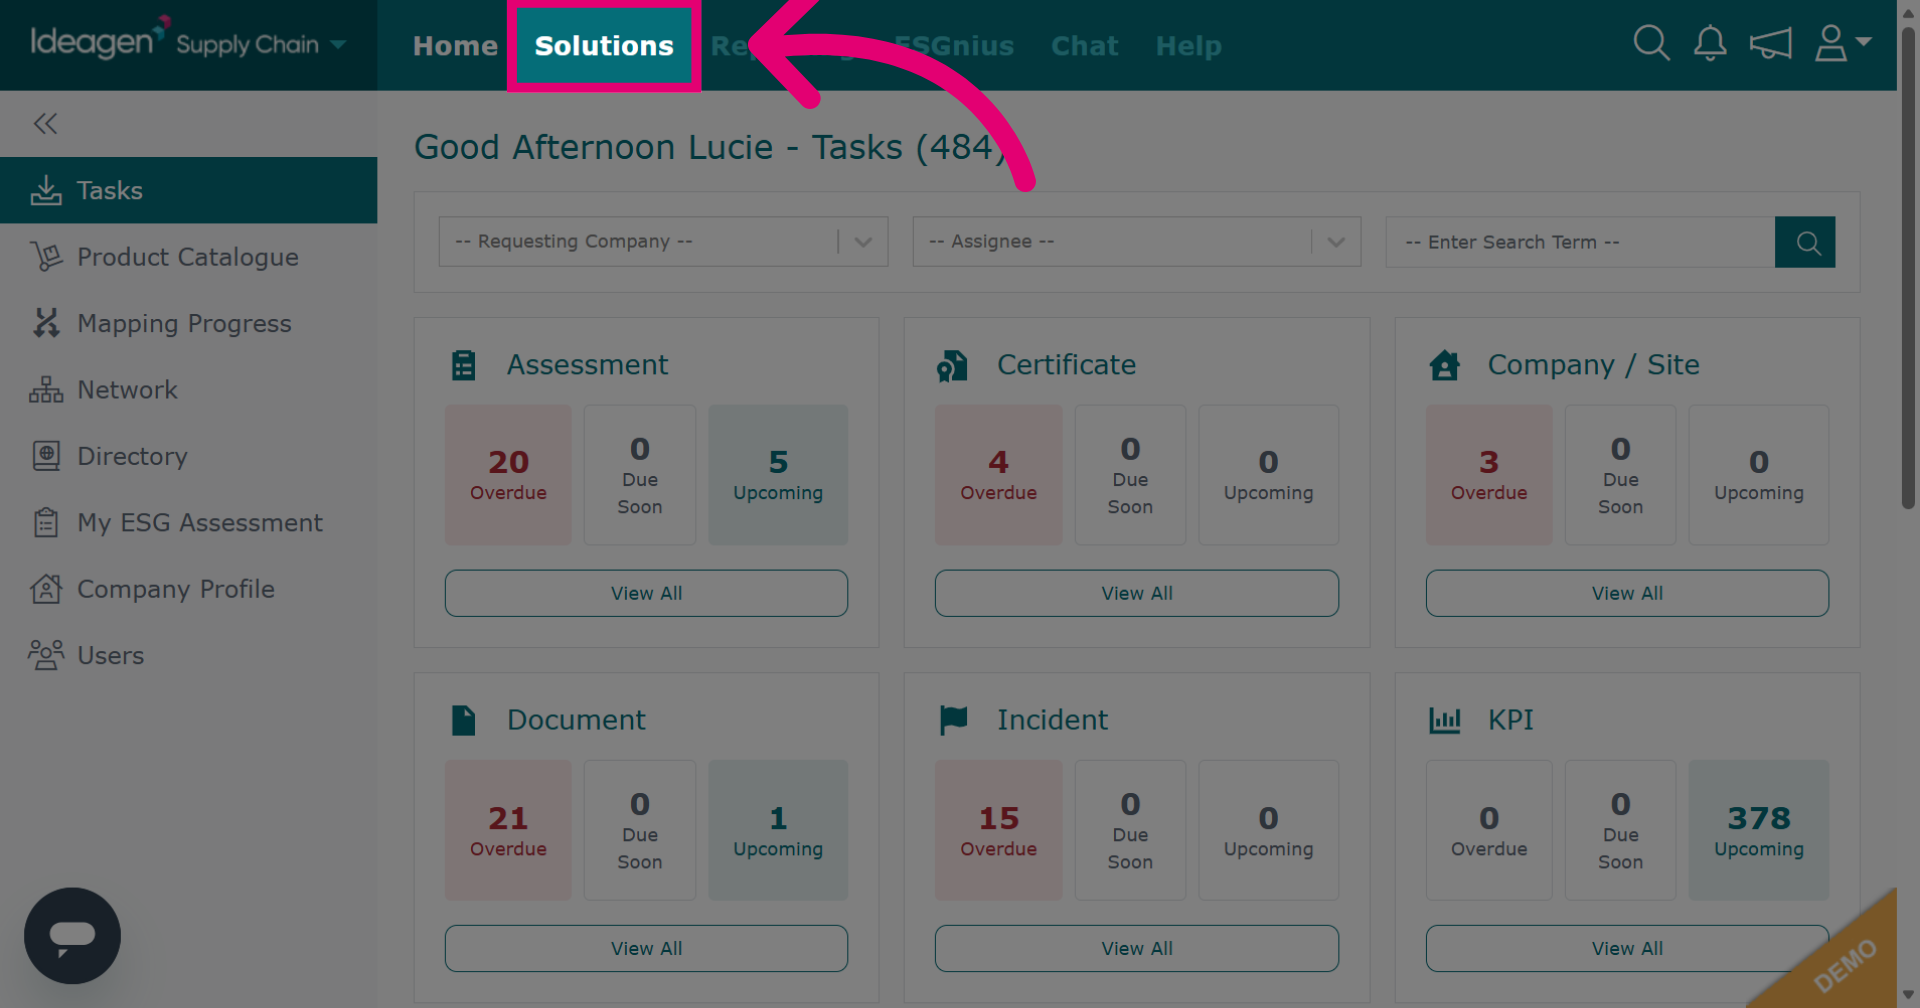
Click Solutions to open the main module menu.
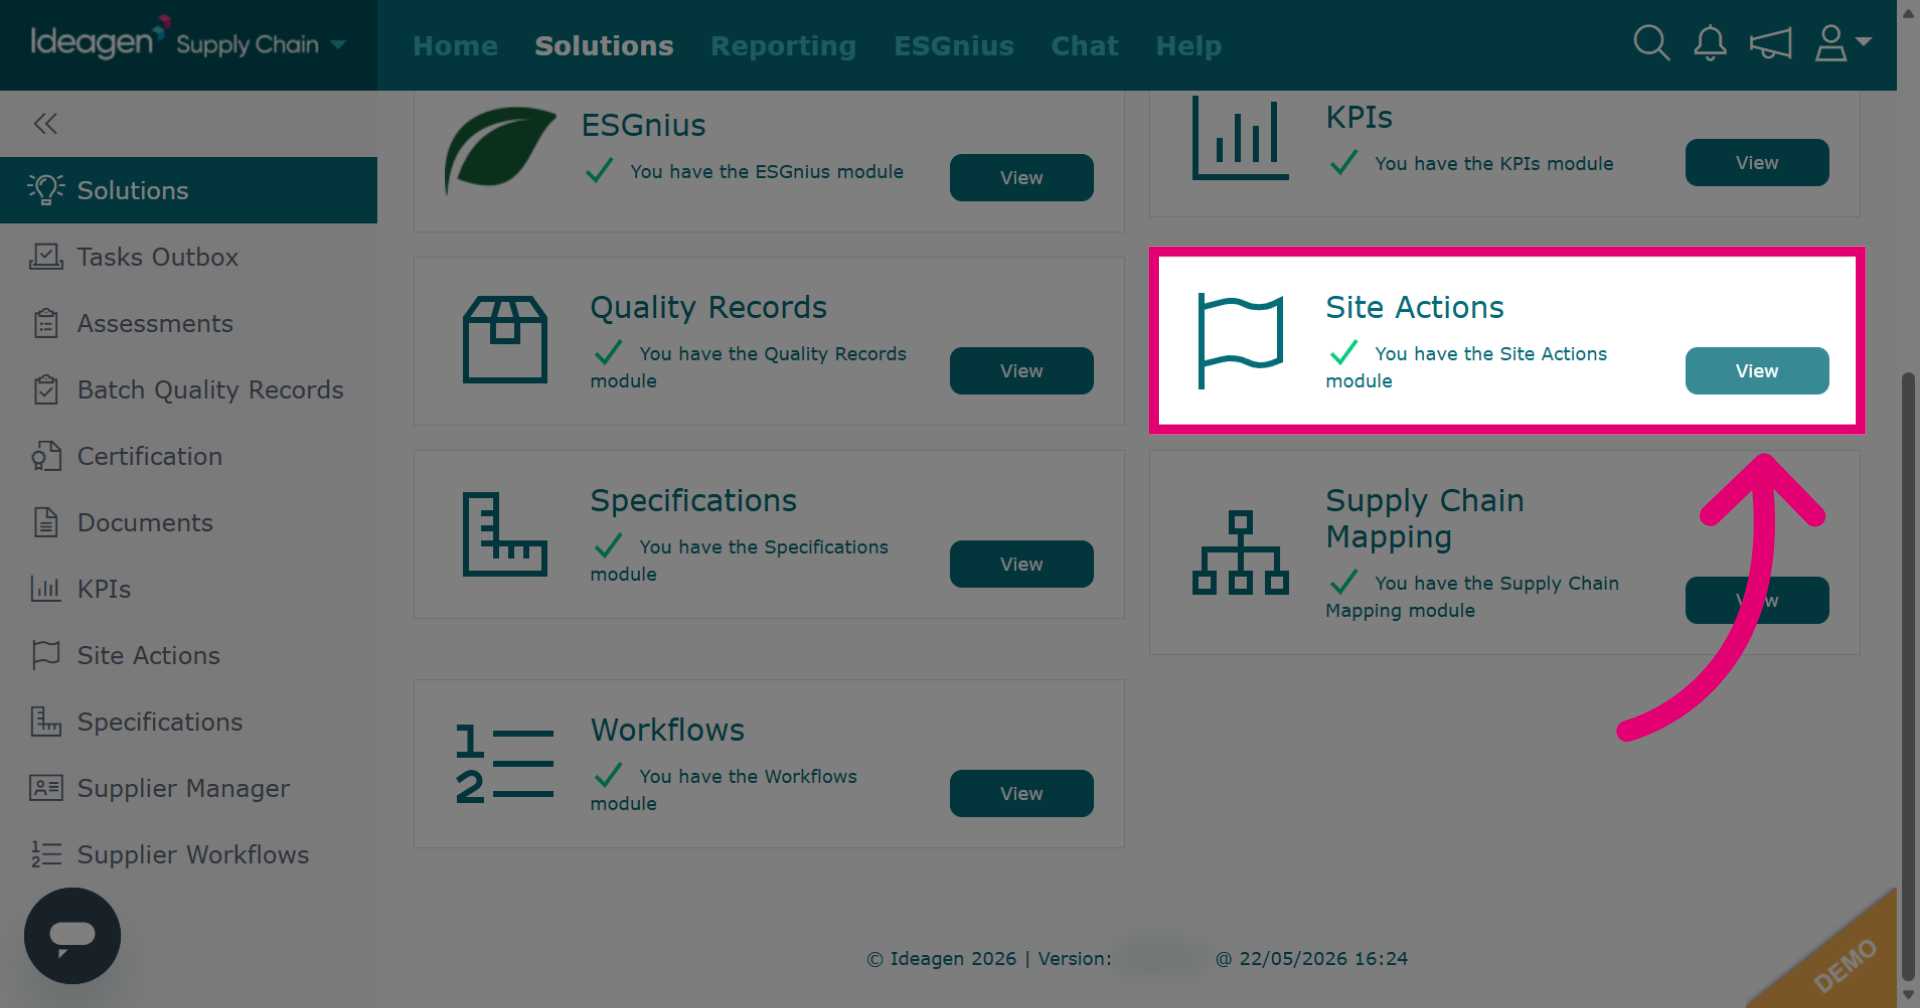
Click View next to the site actions module.
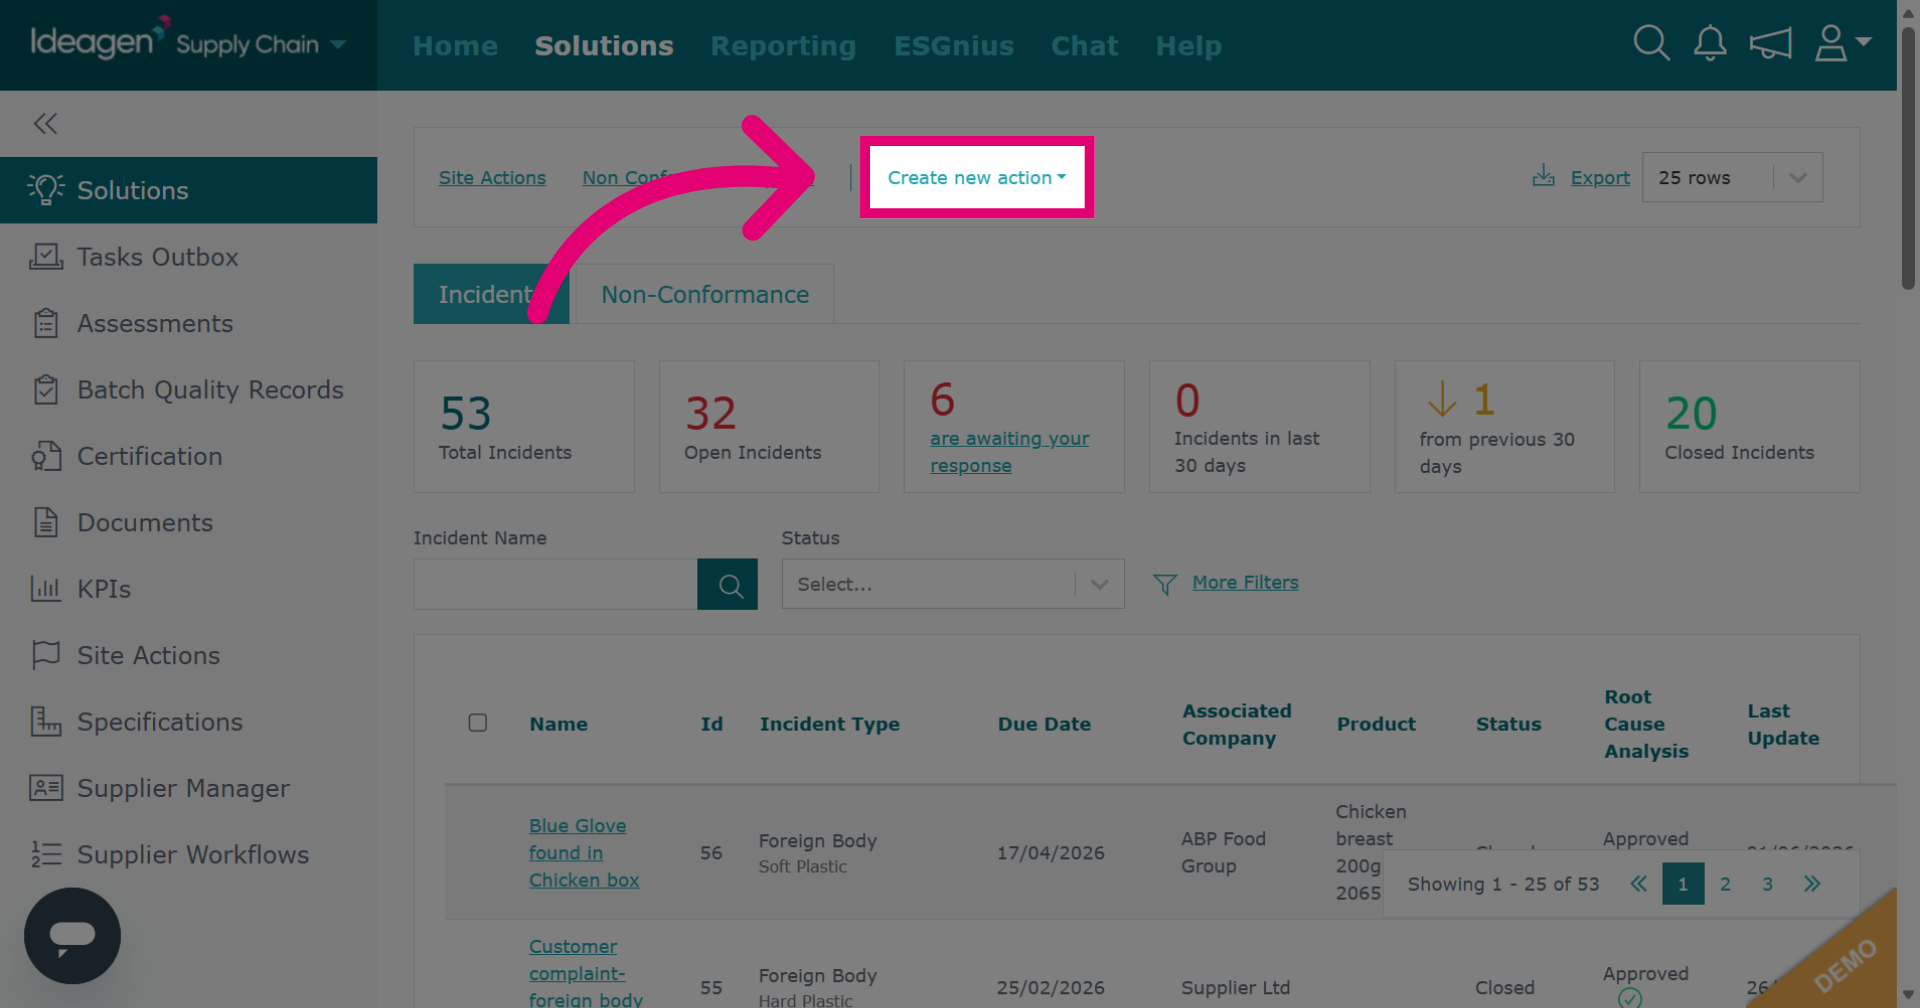
Click Create new action to start the process of adding a new record.
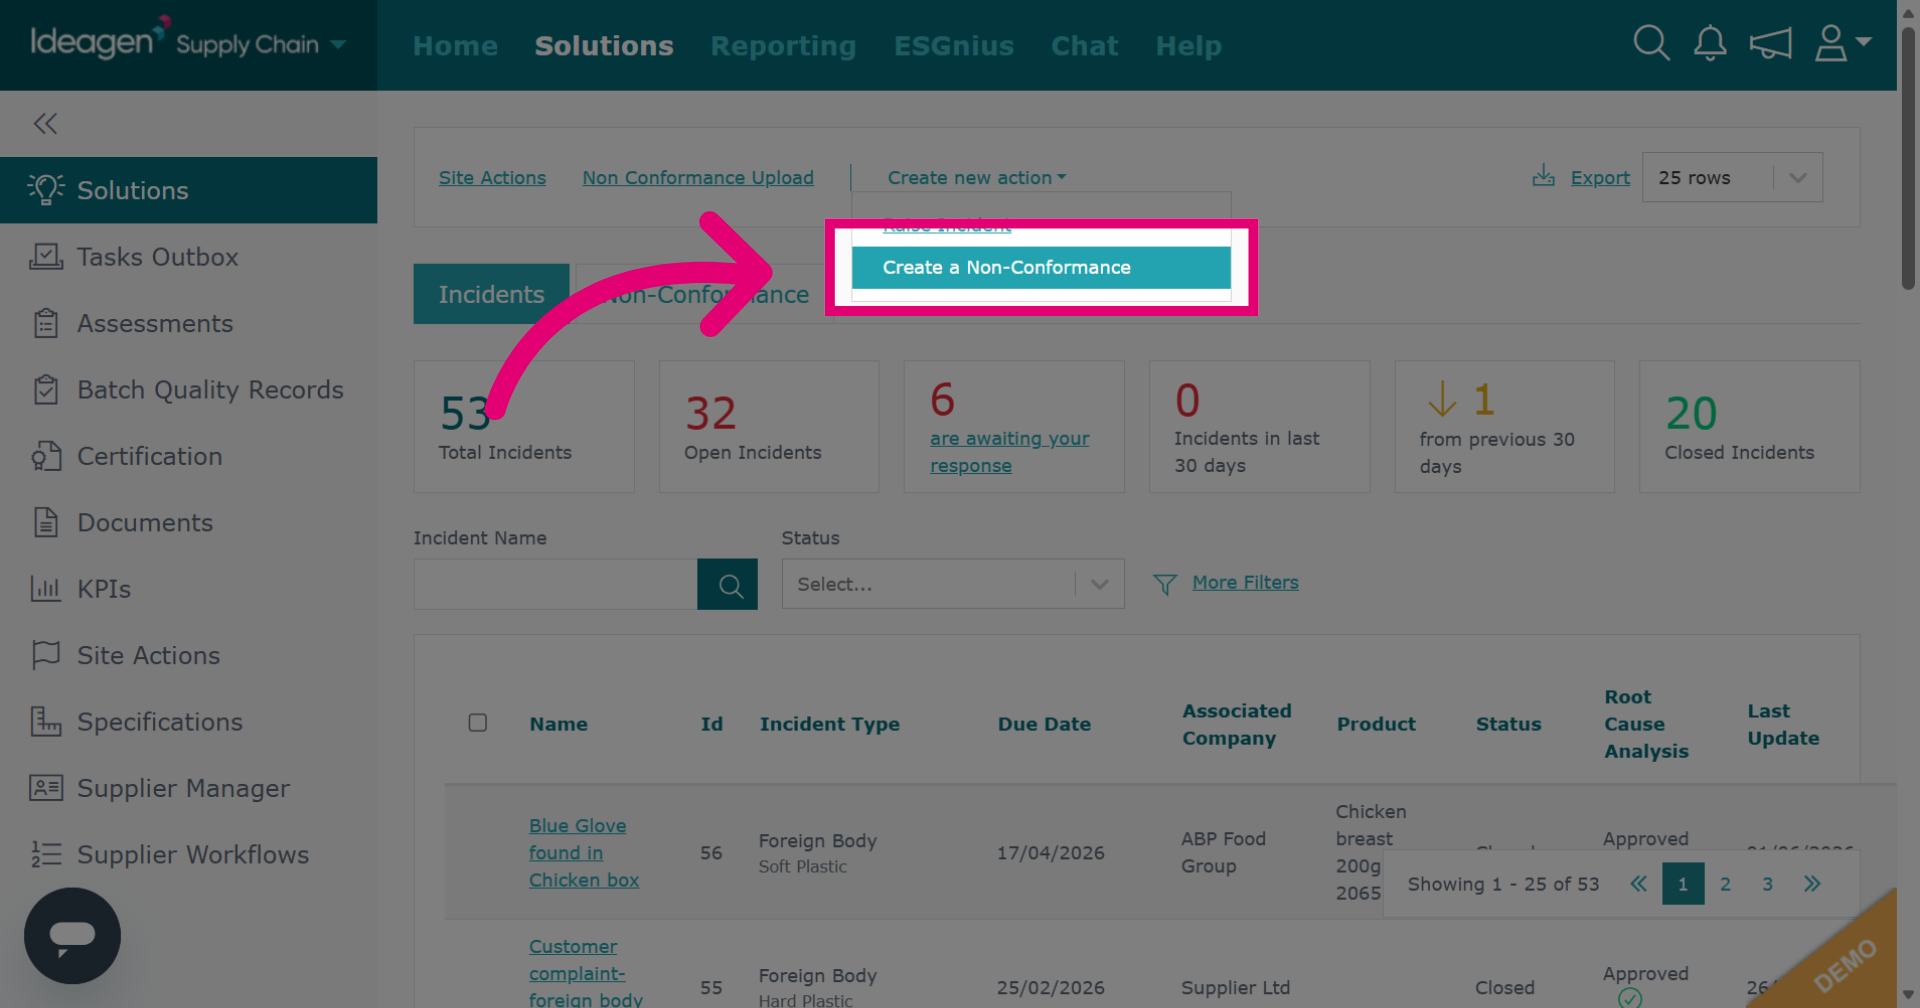
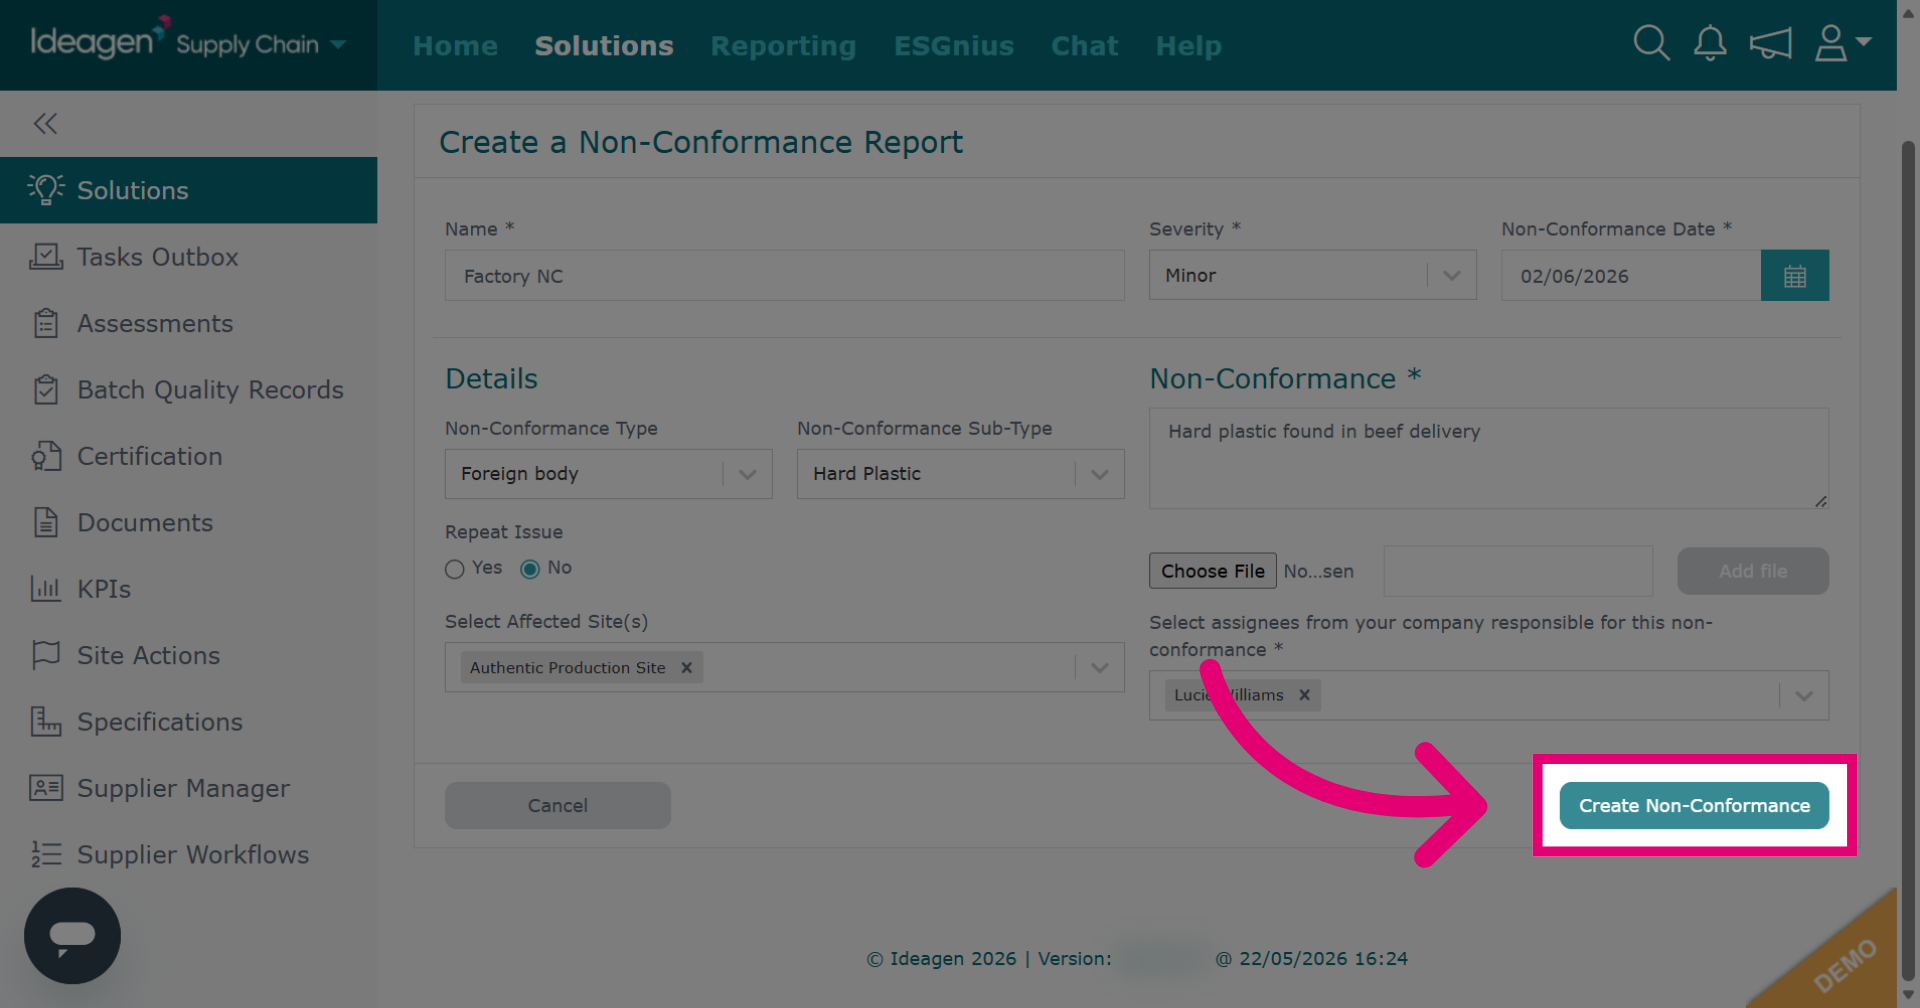
Click Create a Non-Conformance to begin documenting a new non-conformance issue.
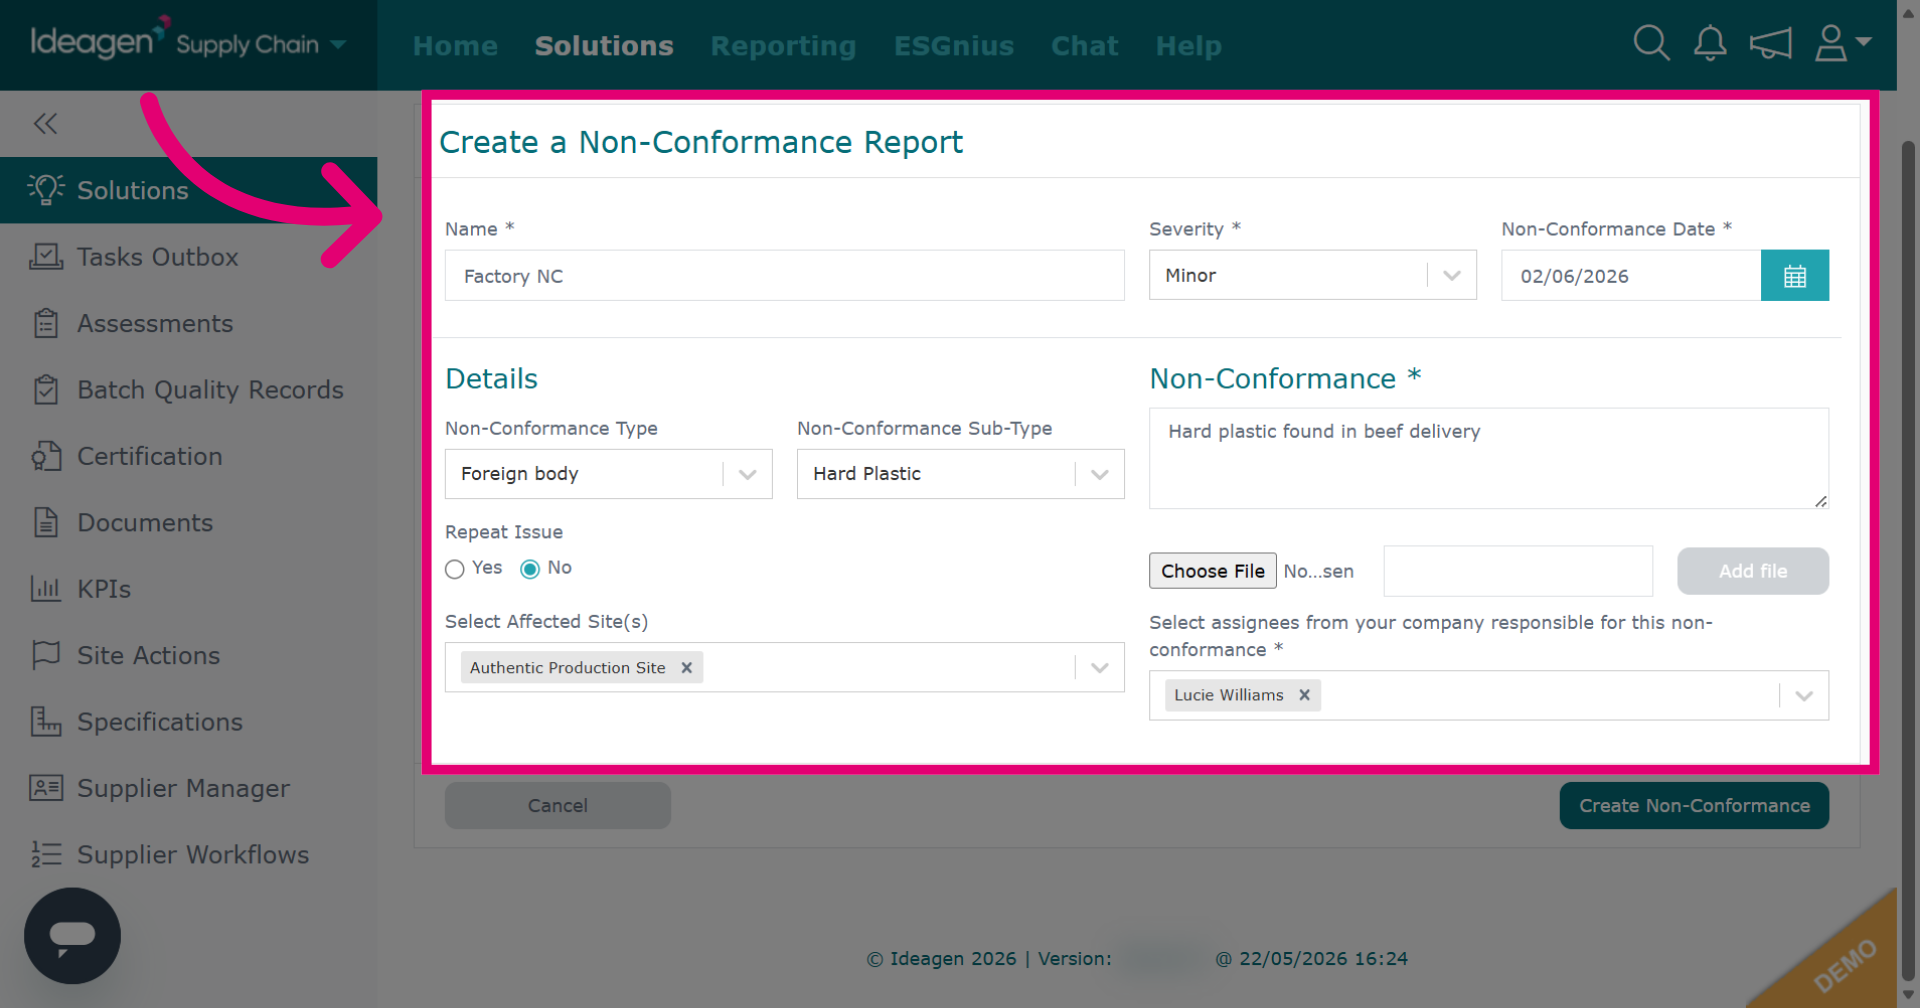
Input the details for the record. Fields with an asterisk are mandatory.
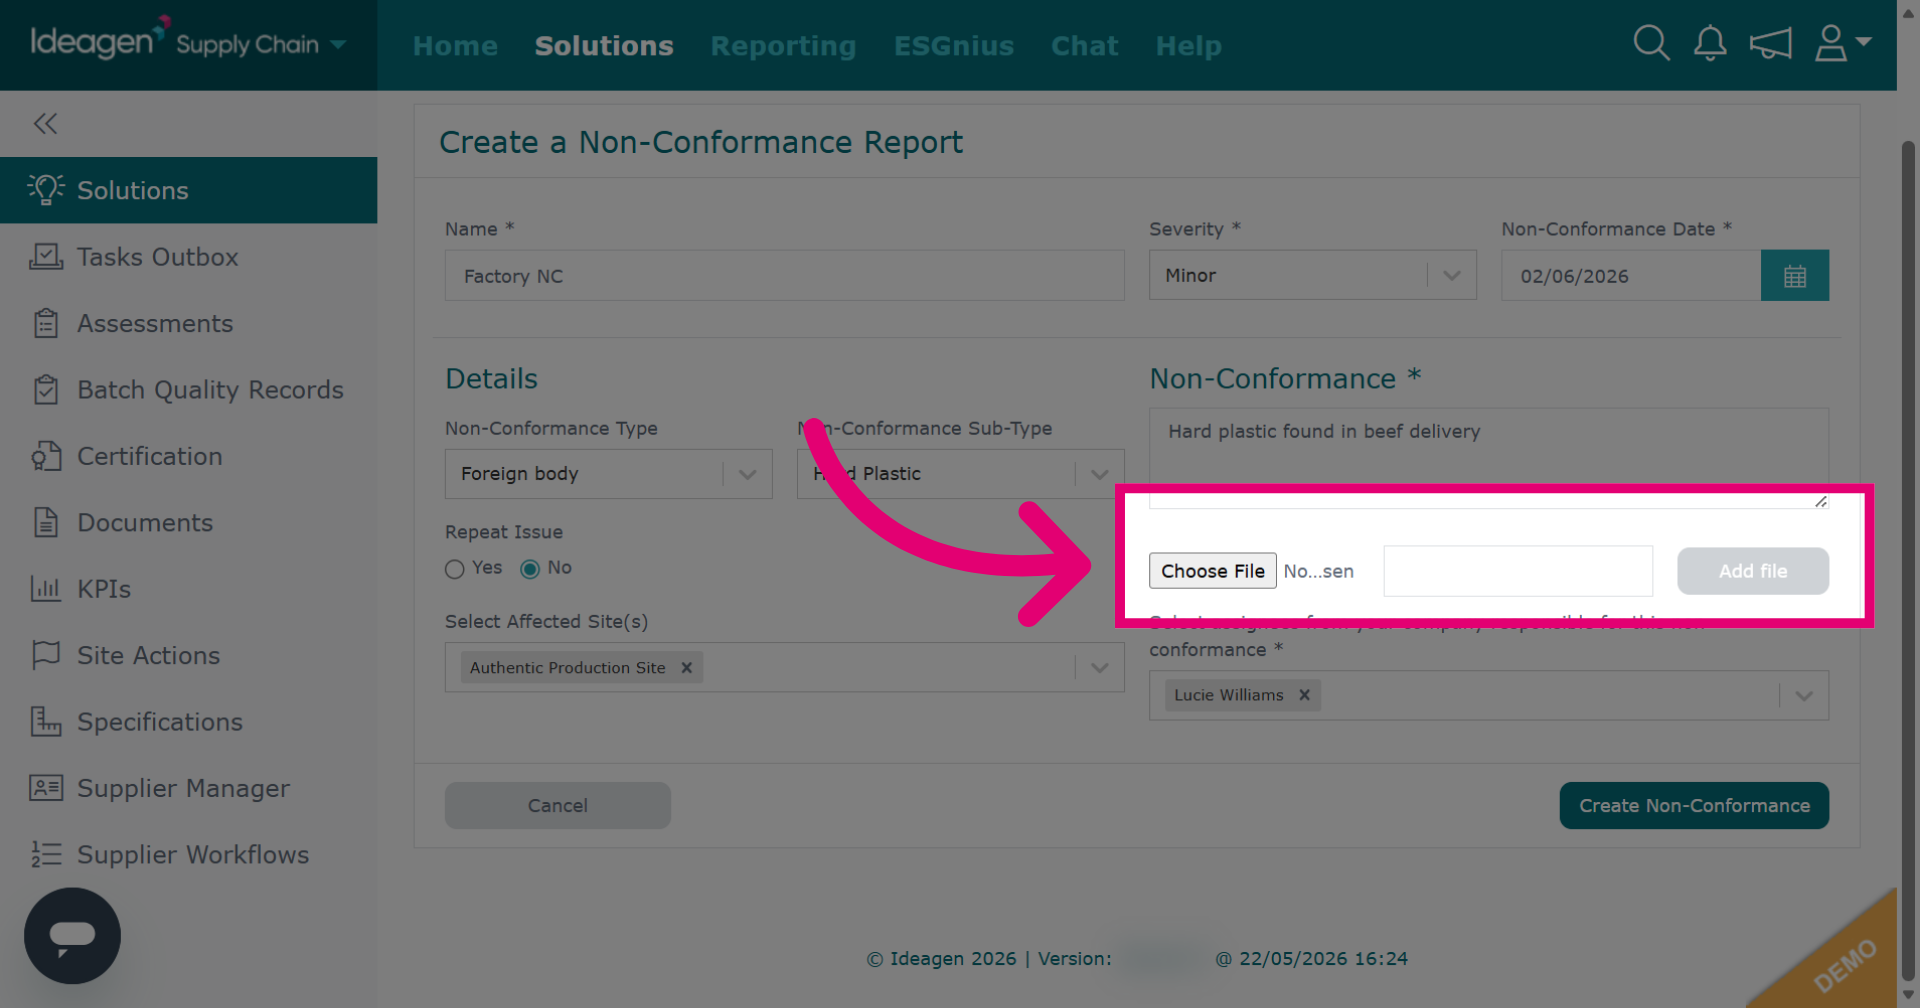
Attach a file from your desktop to the platform. Click Choose File to select.
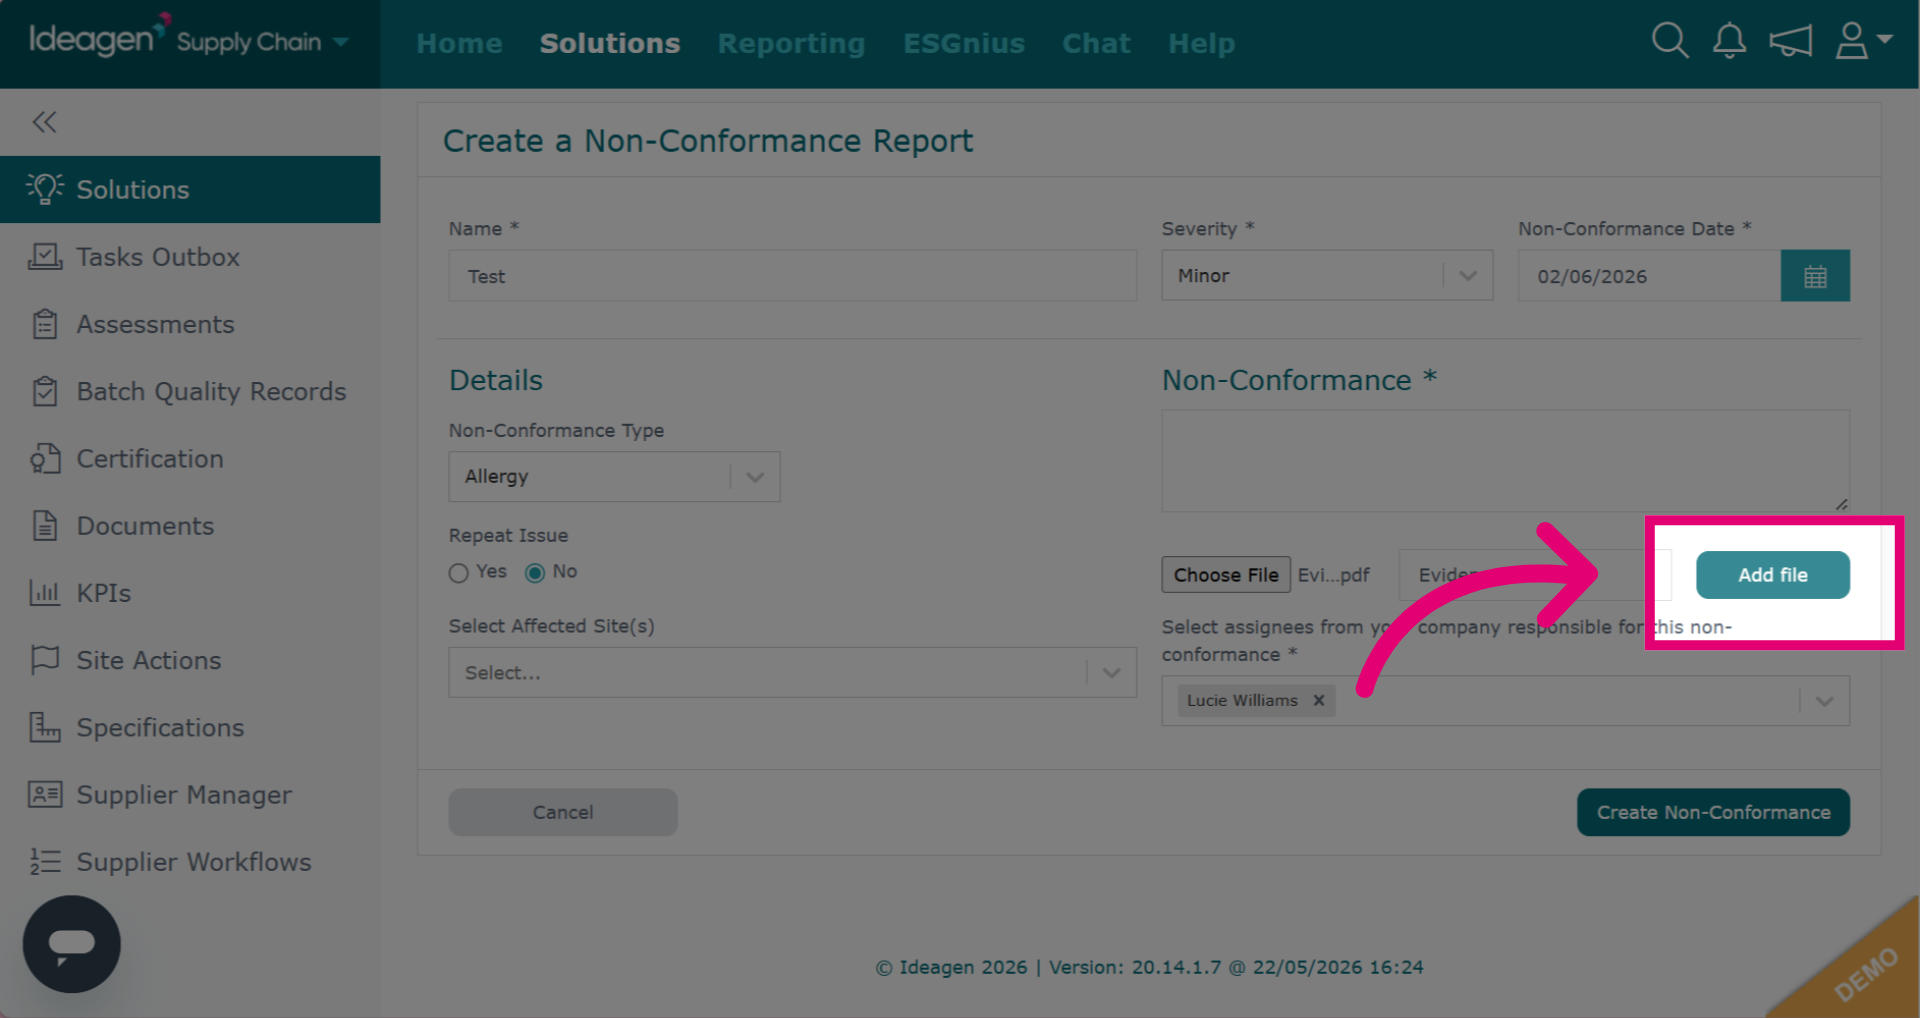
Then click Add File once it has uploaded to add to the non conformance record.
Click Create Non-Conformance to progress to the next stage.
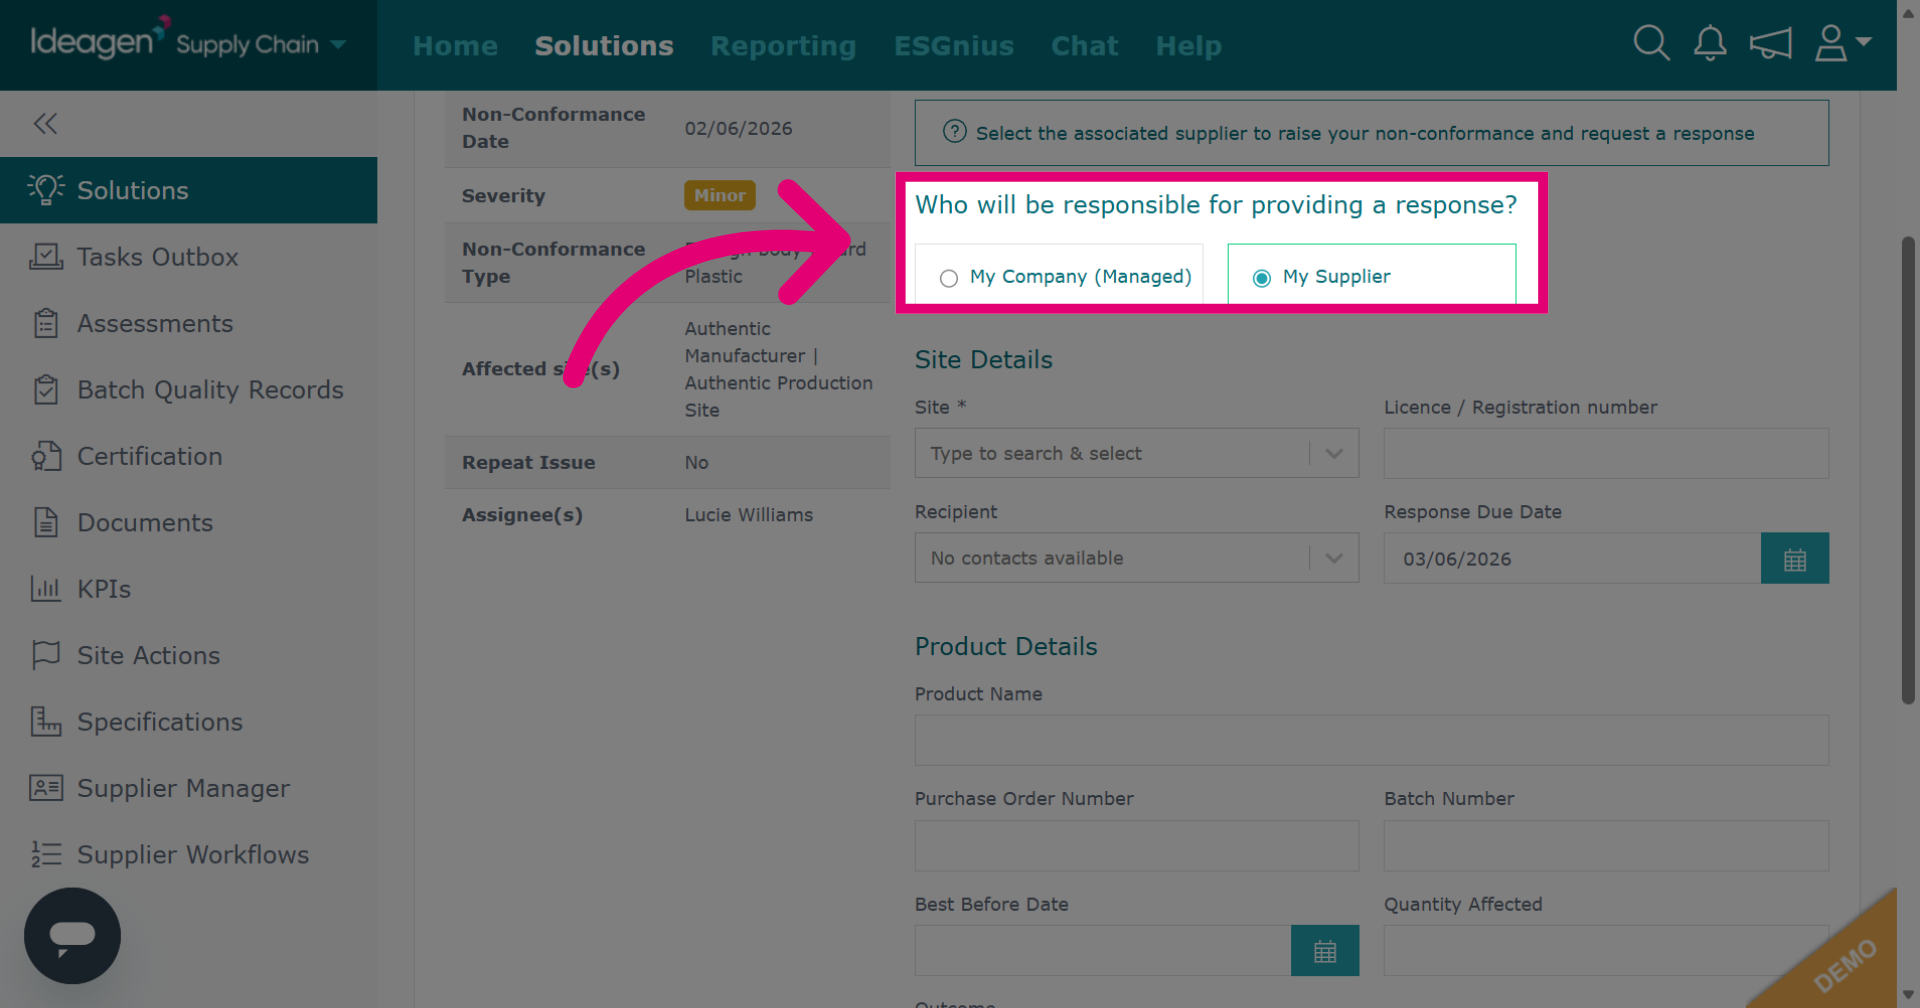
Decide who responds to the non-conformance. Click My Company (Managed) for a company response or My Supplier to send it to your supplier.
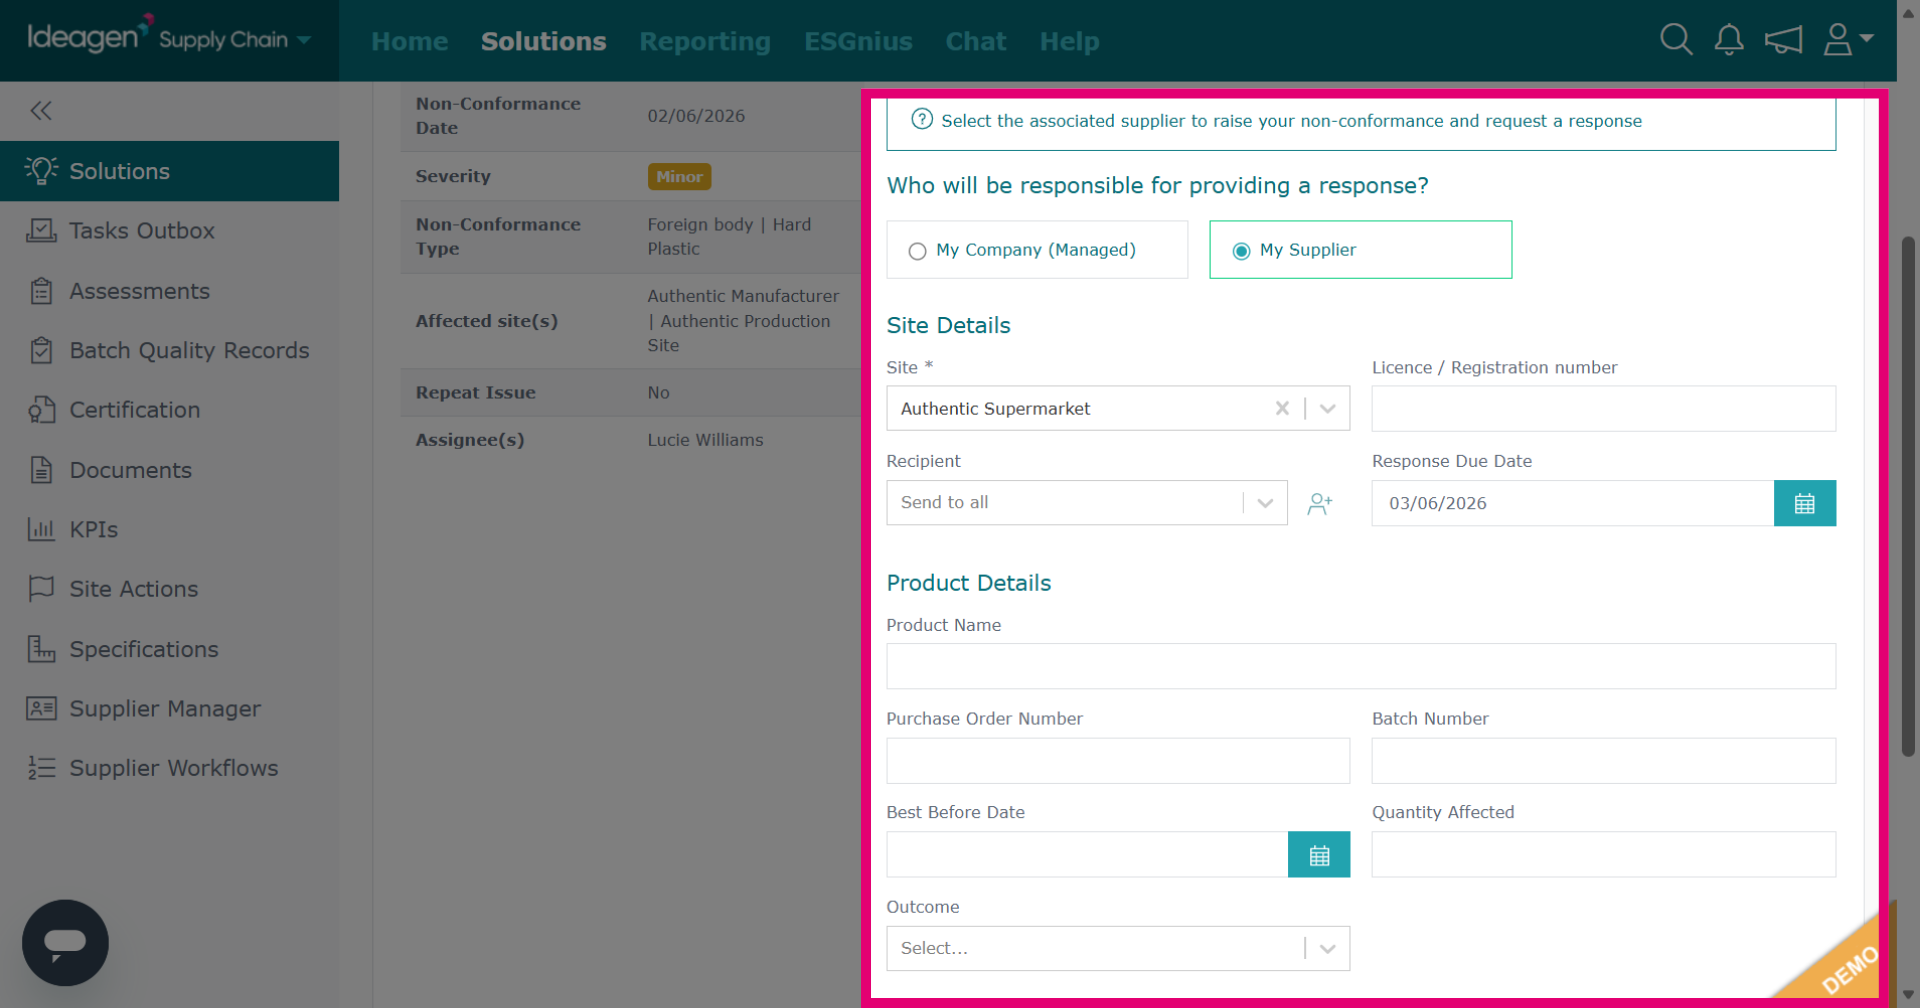
Input site and product data. Type the company name in the search box and select the relevant profile from the dropdown.
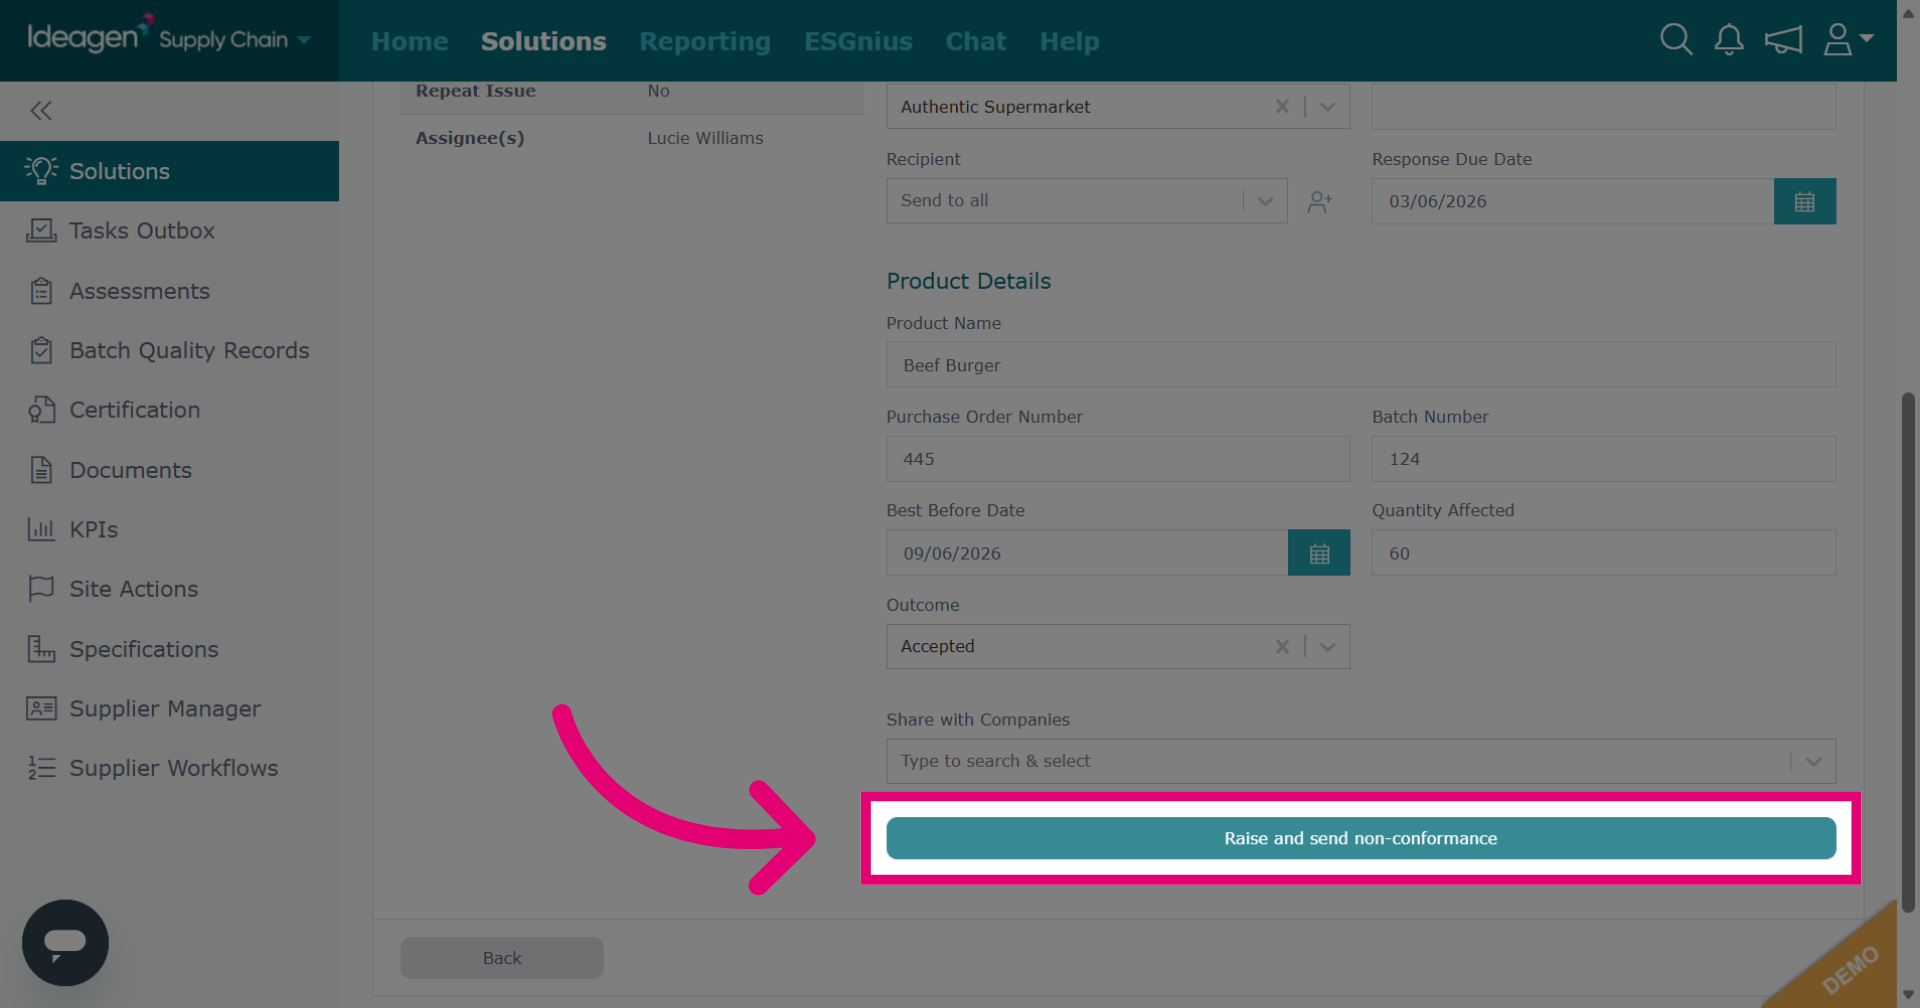
Click Raise and send non-conformance to submit the report. If managed by your company, it will read Raise non-conformance instead.
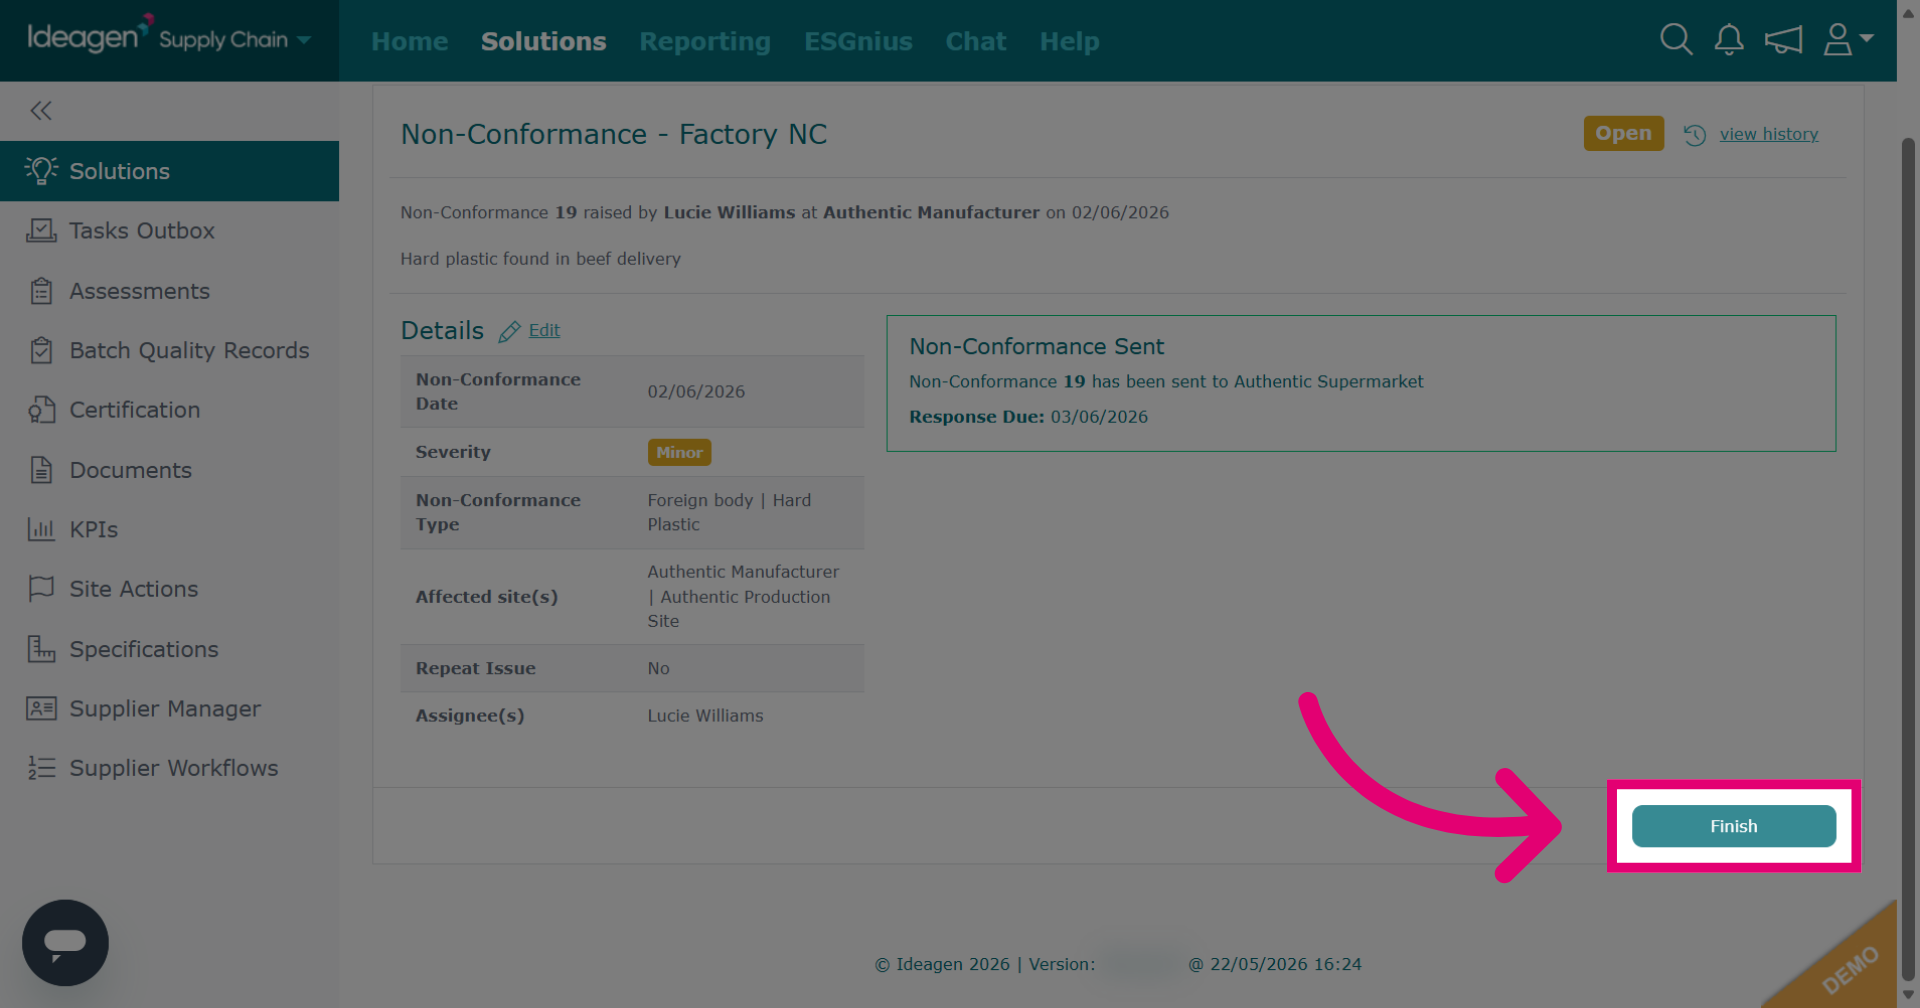
Click Finish to complete non-conformance creation and return to the main actions page.